## Jelly Candle Making
Jelly candles, or gel candles, are a unique and creative way to enjoy hot wax and a flame. Not only are they fun and colorful, but they are also easy to make and relatively inexpensive. Whether given as a gift or kept as a home décor item, jelly candles make a beautiful statement wherever they’re placed.
**Advantages of Making Jelly Candles:**
*Economical and Crafty*
Jelly candles are a great way to bring color and light to any room without breaking the bank. Not to mention, they offer an awesome opportunity to be creative. Creating homemade candles is a great way to express yourself and to show off your creative skills.
*Variety and Flexibility*
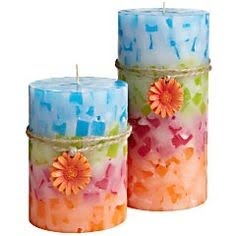
Jelly candles don’t have to look the same. You can dye the gel to any color of your choosing, and you can layer different colors for a unique look and feel. You can also alter your wax’s scent with essential oils, blends and fragrances.
**Getting Started With Making Jelly Candles:**
* Prepping the Gel*
The most important item to make your jelly candle is the gel. There are a variety of color and opacity options to choose from and gel usually comes in 1-gallon containers. Before adding dye, scent, or anything else to your gel, you’ll need to prepare it. This can be done by cooling the gel down to a temperature of 120-130˚F before pouring it in to a separate container.
*Creating the Base**
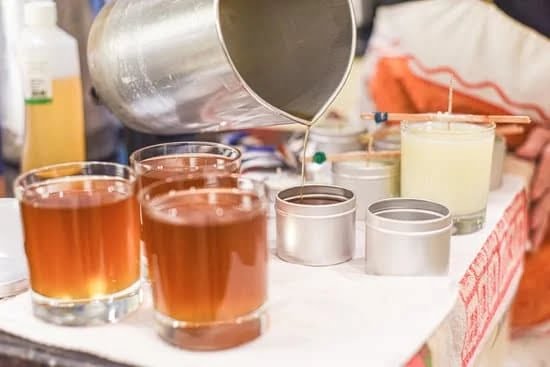
Once your gel has cooled down, it’s time to create your candle’s base. To do this, you’ll need to place four wicks in each side of your container, and make sure they’re centered. Then, you can place a small amount of gel into the bottom of the container and let it cool for about 10 minutes.
*Adding the Color *
The fun part of candle making is seeing the finished product, so now it’s time to add some color. You can either dye or paint the gel or use a combination of both. To dye the gel, simply mix color-safe dye in with the prepared gel, ensuring that you mix it properly. After you’ve finished with the base, you can begin to layer the dyed gel in to the container, one color at a time.
*Adding the Scent**
With dye chosen and layers in place, you can now choose the scent of your candle. Choose your favorite scent and add drops of the fragrances while the gel is still liquid. How much fragrance you’ll need will depend on the type and size of the candle you’re making.
Painting and topping off your candle will complete the look. After all your layers have cooled, you can add a melting crayon or colored candle wax to the bottom of the container. This will give a swirled effect when melted and will add a unique touch to the finished product.
When all is said and done and your candle has cooled, you’ll be able to enjoy the unique beauty and radiance of your very own jelly candle. The possibilities for making them are endless – all you need is the right supplies and a little bit of imagination.
## Conclusion
Making jelly candles is a fun, creative, and economical way to bring light and color to any room. With just a few basic supplies and some free time, you can create a unique, one-of-a-kind candle that will be sure to bring a smile to your face. And, who knows? Perhaps you can even start up your own candle-making business!

Welcome to my candle making blog! In this blog, I will be sharing my tips and tricks for making candles. I will also be sharing some of my favorite recipes.

