Introduction
Pillar candles are a type of candle with a cylindrical shape. Unlike most other types of candles, they stand on their own without the need for a holder. Pillar candles come in a variety of colors and sizes, and they can be used to create beautiful home decorations.
Making homemade pillar candles has many advantages. Materials are relatively cheap and easy to obtain, so there is no need to purchase store-bought candles at expensive prices. Making your own allows you to customize the look, since you can choose your own colors and scents. You can also be creative in designing unique shapes and designs for your pillars, creating one-of-a-kind pieces that no one else will have. Additionally, for those who are environmentally conscious, homemade pillar candles are made from natural wax, which is biodegradable instead of traditional paraffin wax which is non-biodegradable and releases hazardous emissions when burned. Finally, making pillar candles can make a fun activity to do with friends or family. It can be extremely satisfying to see something you’ve created firsthand that not only looks great but also smells lovely!
Gather the Supplies
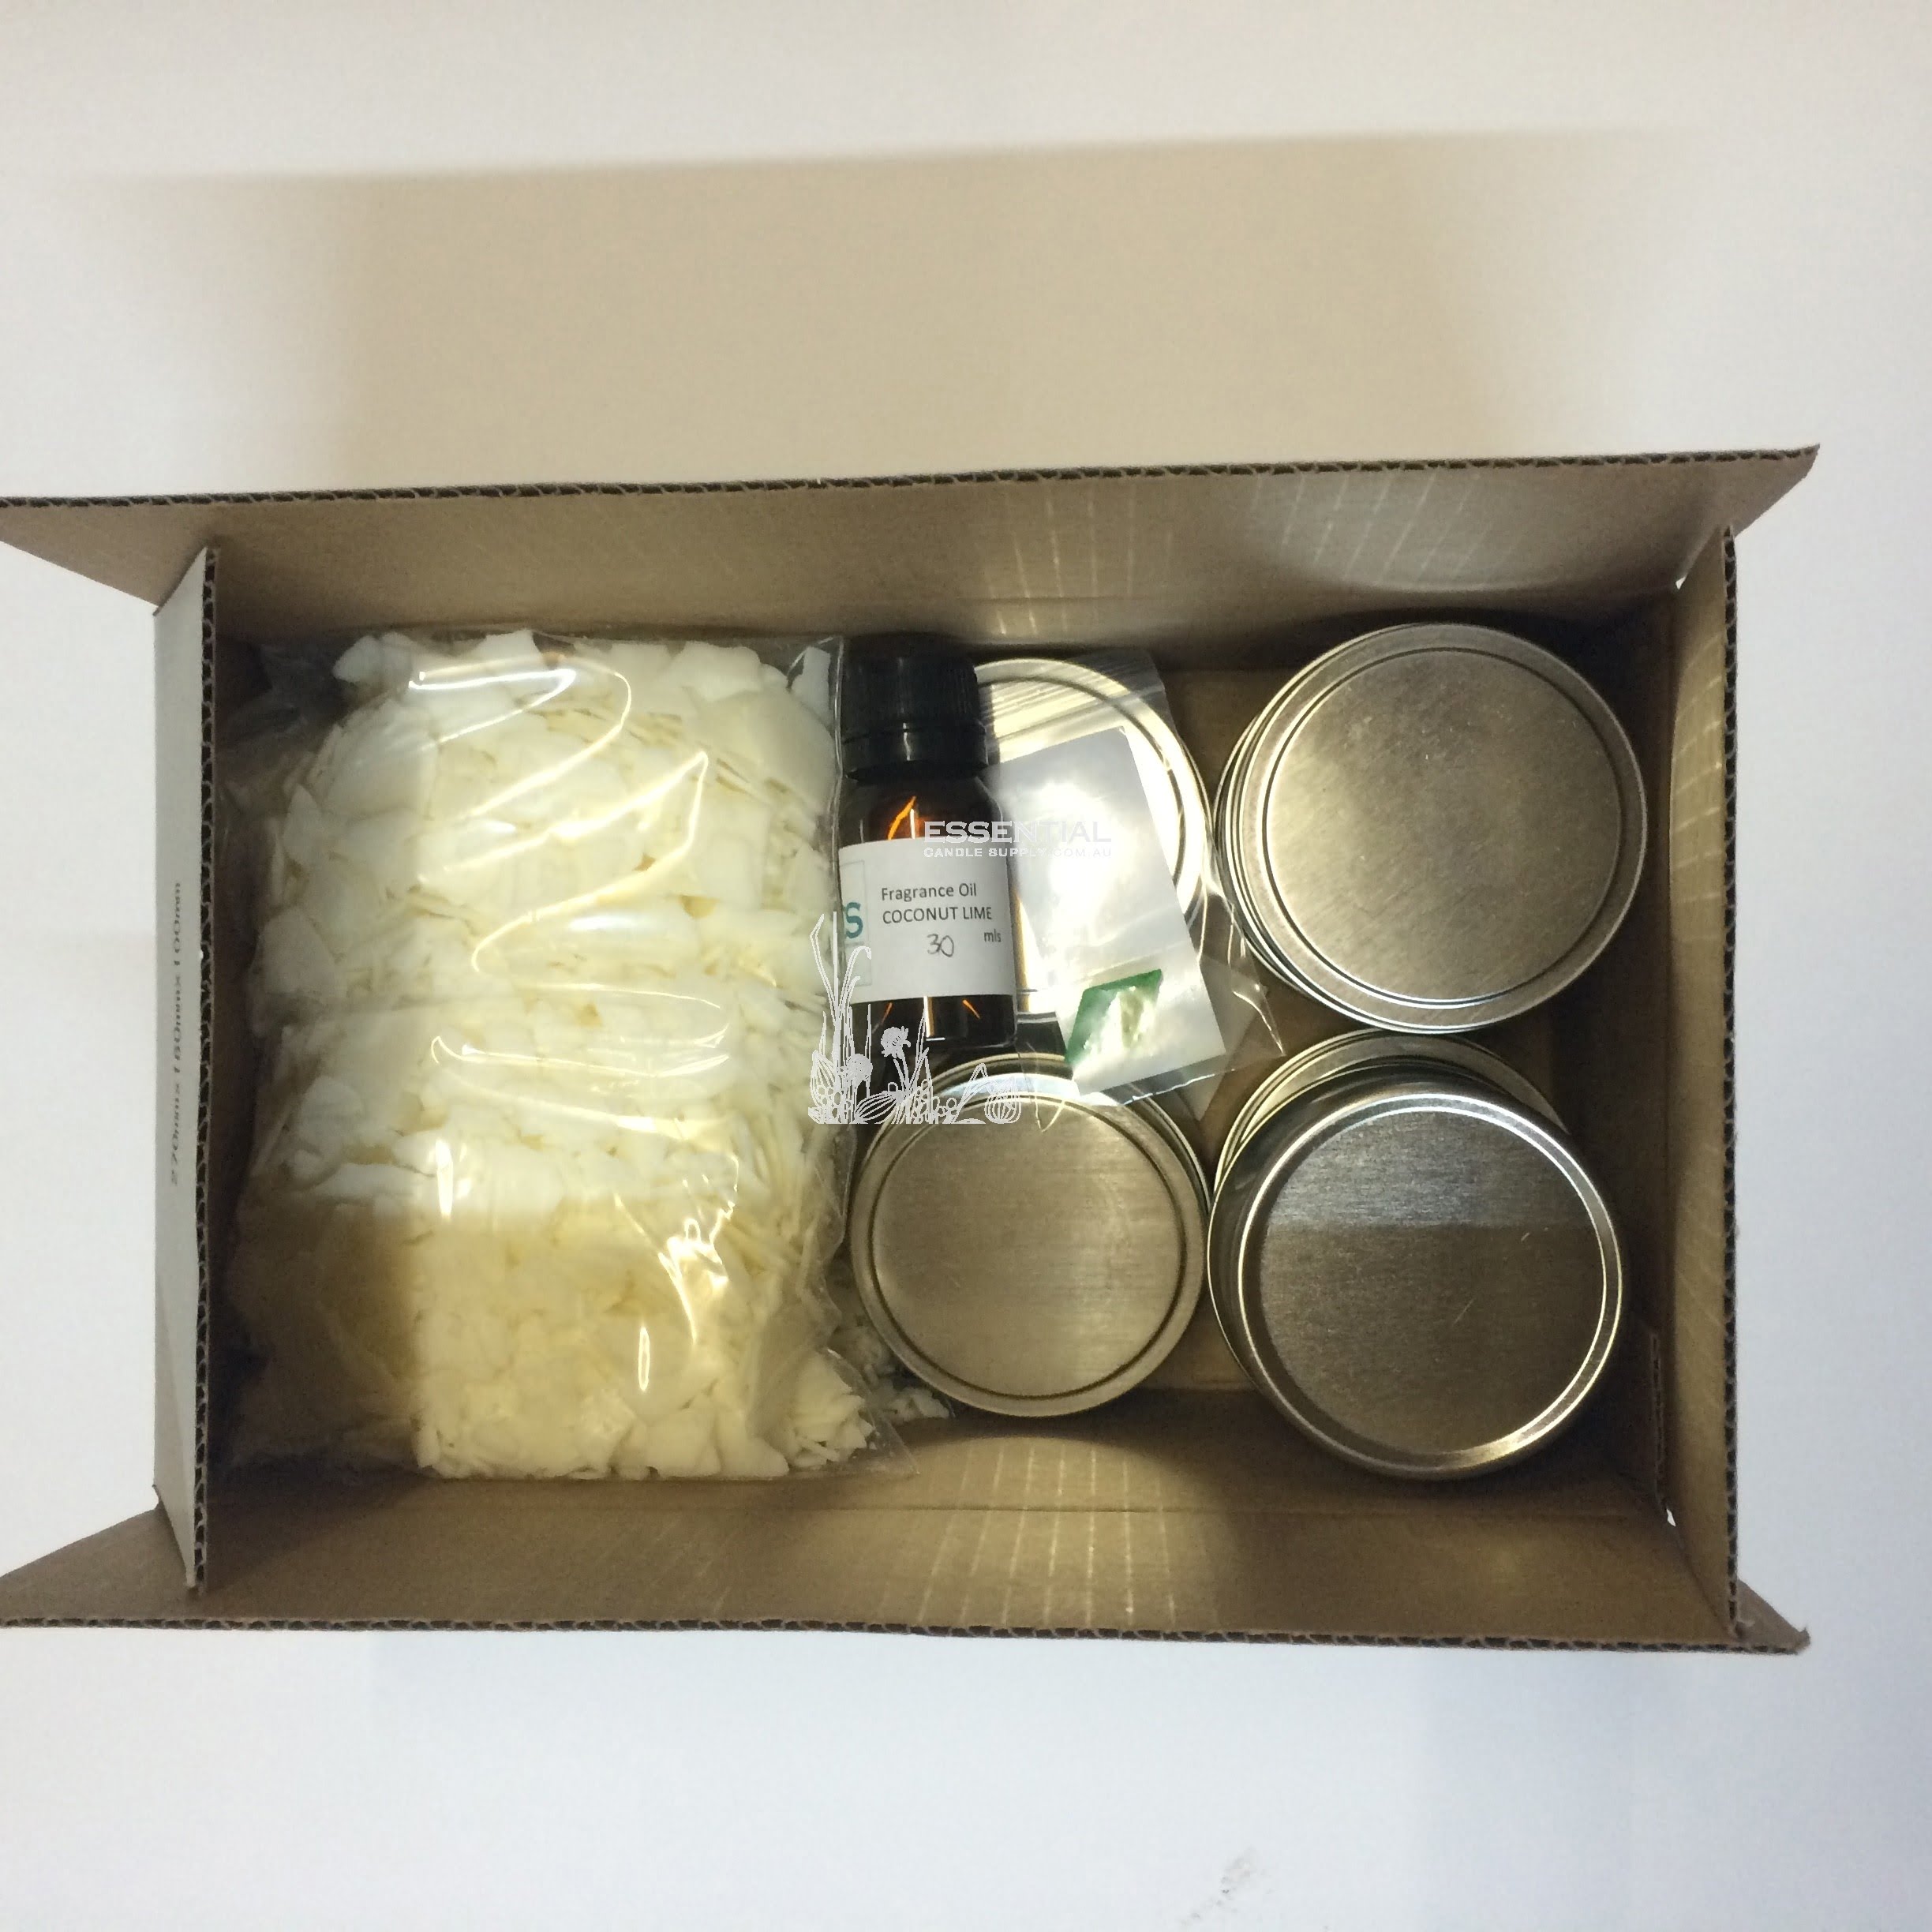
Making homemade pillar candles requires a few basic supplies, including beeswax, wax dye, fragrance oil, candle wicks, and paper towel tubes. Beeswax is the main ingredient used to make pillar candles and can be found in most craft supply stores or online. Wax dye can also be purchased at craft stores or online, which will give your candles color. Fragrance oils can be used to make scented candles; just add a few drops after the candle is melted. Candle wicks are typically sold in packs at craft stores as well. Lastly, use cardboard paper towel tubes as your mold for the candles.
Alternatively, you could melt down left-over chunks of wax from previous projects and get creative with materials you have around your house for molds. You could even borrow molds from friends or family who don’t need them anymore. You can get creative with colors and aromas by adding spices or essential oils like cinnamon or lavender to the melted wax. Before you start making the candles, cover your work area with newspaper to help contain messes should anything spill over during the process!
Prepping
Making homemade pillar candles requires some basic supplies. Before you can begin, you’ll need to gather the necessary tools and materials. First, you will need candle wax in the desired color and scent if desired. Next, melt the wax on the stovetop or in a slow cooker until fully liquefied. Then, measure out enough wick for your project and attach to a cardboard circle at one end using hot glue or metal fastener looped through a hole punched in the center of the circle. Another option is purchasing pre-tabbed wicking ready for use with no additional preparation required. To minimize curling of lengths used, apply a small amount of wax to one end before attachment so it stays put when heated during assembly. Attaching the wick vertically is recommended as well when creating your own base. Finally, secure the other side of the wick to a chopstick or pencil that rests across an open container so that the wick stays taut while pouring your melted wax into molds or glasses
Once everything is prepped and ready, it’s time to proceed with assembly! Have an accurate thermometer ready so you can monitor molten wax temperature throughout the process; successfully assembling homemade pillar candles requires specific temperatures between different steps of dipping and/or pouring repeatedly until they reach their desired thickness. This may sometimes take up to several layers as each must cool completely before adding another layer (ideally pour between 180° ” 190°F). When done properly, this should yield beautiful pillars that burn evenly without much work on your part except for regular clipping or snipping of excess blackened wick above your desired height whenever new candles are lit!
Wax Melting
Melt and Blend Candle Wax
When making homemade pillar candles, one of the most important steps is to melt and blend your candle wax. This step requires you to safely liquify the wax before adding color and fragrance. There are a few different ways you can accomplish this, including using a double boiler, a wax melter, or an electric hot plate.
Double Boiler Method
Using a double boiler is the safest way to melt your candle wax at home. Begin by filling the bottom chamber of the double boiler with water. Place this on low heat over your stove top so that it begins to simmer slowly. Once you have some gentle heat in the bottom chamber, place the wax pellets in the top chamber of the double boiler and slowly stir them until they’re completely melted. Make sure to use an oven mitt when handling both chambers as these may get quite hot during this process.
Wax Melter Method
If you choose to use a dedicated wax melter instead of a double boiler, fill it halfway with melted paraffin wax from an already used batch or from an old candle ” this helps create insulation while melting your own batch of paraffin without having direct contact with open flames. Over a low heat source such as a hot plate or electric stovetop, slowly lower the temperature until it’s warm but not boiling over and then add additional ingredients such as fragrance oils and dyes into your melted paraffin going in small increments until everything has dissolved fully into liquid form. Then carefully pour it into whichever mold type you are using for your pillar candle.
Clean Up: Disposing of Hot Candle Wax Safely
Once you have finished creating your homemade pillar candles, it is important to dispose of any leftover candle wax safely and properly according to local laws and regulations regarding hazardous waste disposal. Leftover hot wax can be poured back into its container if suitable for reuse, though many environmental agencies advise against reusing it since its flammable properties make it dangerous for unintentional combustion hazards when reused again for household use such as cooking in pots or pans). If necessary simply allow cooled wax chunks on smooth concrete surfaces like driveways where they will harden quickly and make clean up easier than dealing with hot liquid which can be difficult without proper safety equipment ” always wearing gloves when handling consumed paraffin or any kind of flammable material!
Pillar Building
Pillar candles are a great addition to any home décor. They can be used to accentuate the beauty of any room, as well as a great way to add a bit of ambience and warmth. Making your own pillar candles is an enjoyable craft project that can also provide you with homemade decorations for any occasion or season.
To begin the process of making your own pillar candles, you will need some basic materials such as wax, wicking, fragrance (optional), and either double boilers or a microwave oven. If using double boilers, the first step is to place the wax into one boiler while the second contains water in order to heat up the wax without burning it. Once melted, add additional essential oils and pour into pre-made molds or prepared wick holders made from PVC pipe and metal washers. The size and shape of the molds will determine how large each candle will be.
Once cooled and hardened, cut away any excess wax from around each pillar candle before stringing through each candle’s newly crafted wick holder by looping the wicking through its metal washer at the end for added stability along with an aesthetically pleasing look once lit. Embellishments such as dried flowers can be pressed gently onto each pillar’s surface for extra decoration if desired before making sure every area near these pillars have been checked for flammable items as burning any type of candle should always be done in an area free from potential hazards that could set off a fire safety alarm or worse cause injury during usage.
Decorative Touches
Making homemade pillar candles can be an enjoyable, creative outlet for everyone. Not only can you customize the scent, color and design of them, but you will also have great satisfaction knowing that the candle is handmade. Consider using special essential oils to create a unique scent for your candle. You can then add natural dyes or even dried botanicals to make it aesthetically pleasing. Experiment with different shapes and sizes ” try round, oval or even a square pillar ” and use any designs you please to create an attractive effect on your candle.
Adding glitter is also an easy way to give your homemade pillar candles that extra sparkle. Simply sprinkle some sparkly mica powder on top of the melted wax before it sets completely, so it adheres nicely to the surface. You can also layer different colors of wax if you want more visual appeal! Once poured, the candle should cure overnight before burning or displaying. With a little bit of creativity, you’ll quickly discover that making homemade pillar candles is both fun and rewarding!
Troubleshooting
One of the most common challenges experienced while making homemade pillar candles is forming air bubbles. These air bubbles are usually caused by improper heating of wax, typically during melting. To limit this issue, it is important to melt wax over low heat and add ingredients such as additives, colors, and fragrances at a temperature below 180 degrees Fahrenheit. Additionally, agitating the wax with a lip when it’s close to being fully melted helps remove any pockets of air that may have formed during warming.
The wicks used in your pillar candles can also be problematic and cause them to not burn correctly or to flare up if not chosen properly. To ensure the wick is suitable for your candle’s diameter, an old trick is to take a strand from a cooked piece of spaghetti” the circumference should closely match that of the candle’s diameter. Additionally, pre-waxed wicks are available which already come with a coating that reportedly burns nicely and prevents smoking. Finally, once your pillar candles are finished and cooled down overnight before attempting to light them!
Conclusion
Making your own homemade pillar candles has several benefits. One of the most obvious is that you are able to save money by not having to buy ready-made candles from a store. Another benefit is that you have the ability to customize your candles by choosing different scents, waxes, and colors for each one. Handmade pillar candles can also make great home decor pieces. Place a few on your mantel or tabletop and use them to add warmth and ambiance to any area in your home. They can be used as centerpieces at weddings or other special events, or just set up around the house for decoration. Moreover, handmade pillar candles make wonderful gifts since they are unique and artisanal, representing an eternal symbol of love and care from the person who made them. Homemade pillar candles can thus bring joy on any occasion, whether it’s a birthday or other holiday celebration.

Welcome to my candle making blog! In this blog, I will be sharing my tips and tricks for making candles. I will also be sharing some of my favorite recipes.

