Introduction
Molds for making beeswax candles are a great way to create beautiful, long-lasting candles that bring light and warmth into your home or workspace. Beeswax candles provide a unique flame and rich scent when burned, with some varieties providing hints of floral or other aromatic scents. These candles possess unique features due to the properties of beeswax such as its honey-like sweet aroma and clean burning qualities. It can also be used to make molds in more than one style, so when it comes to making beeswax candles there are many options at your disposal.
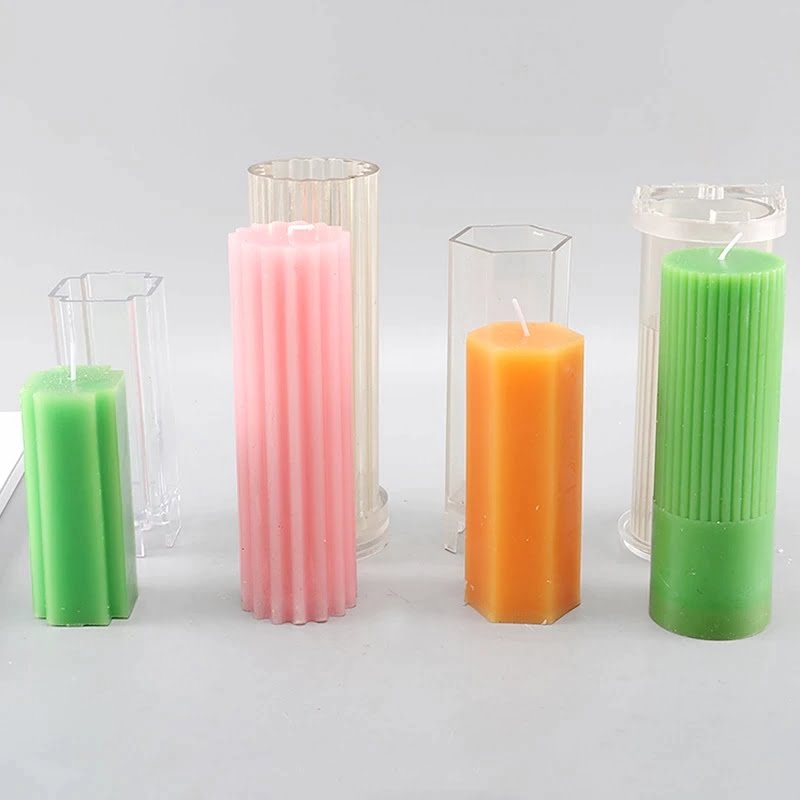
Types of molds available range from more traditional styles like pudding molds and pillar molds, to modern designs like cylindrical taper molds and ball molds. There are even bee shaped candle molds depending on what type of look you’re going for! You can also purchase specialty acrylic pours for creating extra intricate designs which make it easier to keep the hot wax from spilling over. Of course you can always hand shape the wax without any assistance if you don’t mind taking the time to meticulously craft each candle.
No matter what type of mold you choose they all result in beautifully handmade wax pieces that let off your desired scent while creating an inviting atmosphere suitable for relaxation or sparking creativity. To sum up, whatever your preference may be, having a variety of molds on hand is sure to give every project an individual touch!
Types of Molds for Making Beeswax Candles
There are many types of molds for making beeswax candles, ranging from simple to complex. The two most common types of molds are sheet molds and tube molds. Sheet molds create flat, solid sheets of wax which can be cut into various shapes and designs. Tube molds, on the other hand, are used to make cylindrical candles that can be twisted for a unique look.
Another type of mold is a carved mold. This is typically a wooden block with cavities carved out in intricate patterns that give the finished candles a decorative edge. There are also cupcake-style silicone molds as well as traditional metal tins, both of which allow varying sizes and shapes depending on the type of design desired. Additionally, there are shapes and themes available such as stars, hearts, hummingbirds and more! With these specialty shapes, you can add personality to your candle set that’s all yours.
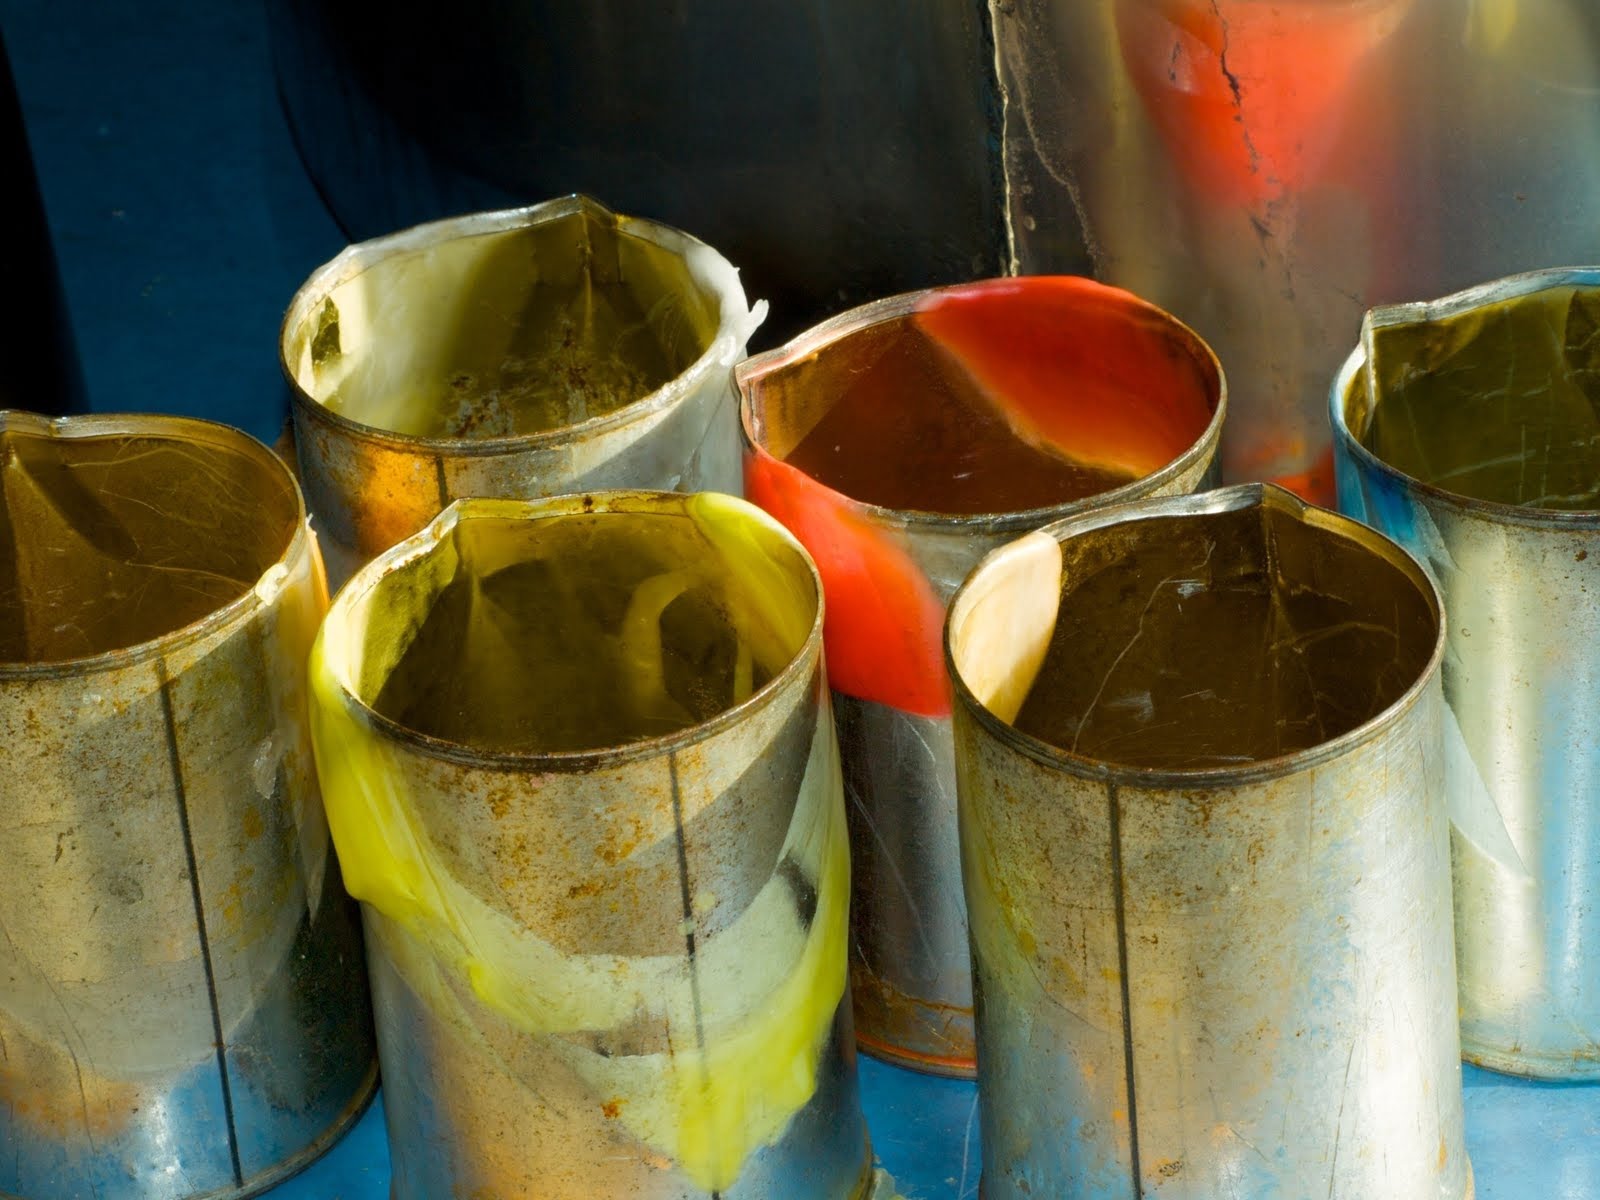
You can even use an old drinking glass or tin that you no longer need to make your candle in if you happen to have one handy! Even a cardboard box with aluminum foil could serve as a makeshift mold for those wanting to try their hand at DIY candle making! Whatever style is desired aesthetic wise – from rustic to modern – there’s certainly something available for everyone’s particular creative purpose when it comes to beeswax candle molds!
Advantages of Using Molds for Making Beeswax Candles
Using molds for making beeswax candles is a great way to provide a unique and beautiful candle to use in decor or as a gift. Some of the advantages of using molds include time savings since the process of melting and pouring the wax into the molds is much shorter than it would be if one had to manually construct the candle from scratch. Also, cost savings are realized when purchasing premade molds that can be used several times with minor adjustments needed. It also allows for more intricate designs and shapes due to the extensive selection of mold sizes, shapes, textures, and designs available.
However, there are risks and disadvantages associated with using molds that one should consider before making a purchase. For example, investing money in these items may not prove fruitful if you do not make use of them or have an understanding of how they work before attempting projects with them. Furthermore, filling and cooling wax in these types of materials can cause cracking or other damage over time which could potentially lead to a loss in quality of the finished product. Ultimately, those interested in using molds for making beeswax candles should weigh these pros and cons carefully against their experience level before committing to buying them or starting projects with them
How to Create the Perfect Beeswax Candle Using a Mold
Beeswax candles are a great way to create decorative and fragrant lighting in your home. One of the easiest ways to make beeswax candles is by using a mold. Molds come in various shapes, sizes and design options which give you complete control over your candle’s size and shape.
Here’s how to turn beeswax into a beautiful, custom-made candle using molds:
Step 1: Gather the supplies needed for making the candle. You will need beeswax, wick, an appropriate mold, and any additives to add fragrance or color (optional).
Step 2: Melt the beeswax down in A double boiler or bain-marie until it has completely melted. Adjust temperature setting as needed for optimal melting process ( e.g. if it’s too hot and beginning to bubble adjust temperature down). Add any desired additives at this stage for color or scent ” use sparingly as suggested in their directions.
Step 3: Carefully pour the melted wax into a suitable mold ” tap lightly on countertop if necessary to pop any air bubbles that might have inhabited during melting process. Side note: pick molds that are stable and not likely to tip over due to weight imbalance once full with wax!
Step 4: Place wick into center of mold preferably with a few inches of tab/lead exposed above top of wax so you can easily attach it to stick or support later on when burning and hanging up your finished product. If no tab/lead is available then opt for three-wick technique instead where two short pieces about one inch long are anchored at each side close together at wax surface level with a longer piece placed vertically in center ( approx 6” from top) spanning between these two points reaching around 1/2” -1” below surface depending on desired burn time length required). Make sure all pieces are securely fastened into place either using glue before filling with molten wax or else by pinning them into walls of mold cavity itself or better yet both options combined!
Step 5: Allow your finished product at least 24 hours before removing carefully from its temporary casing – most brands should come out of their molds easily but sometimes extra effort like running warm water over them may be necessary…and voilà you have your very own homemade beeswax candle now ready for burning!
Step 6: Hang up your newly made version either indoors or outdoors depending on preferences and weather permitting – use either metal hangers provided typically with this sort of item purchase OR simply tie string around top part near thread/leader ends before letting it dangle freely from whatever support system available in desired height location chosen!! Enjoy watching flames dance as they illuminate aura surrounding YOU…
Troubleshooting Potential Problems With Beeswax Candle Mold Making
When making beeswax candles, it is important to be aware of potential issues that can arise when they are made in molds. For example, when working with older or improperly prepared molds, wax tends to harden up at the ratchet side of the mold or fails to hold its shape. If this happens, the best remedy is to ensure that the mold is well seasoned before using it; this can be done by lightly rubbing an even coat of vegetable oil on both sides of the plastic sheet and letting it sit for a few minutes. Additionally, if a mold has not been used recently and wax still remains from a previous candle making session, it should be melted away and the bits discarded before injecting new wax into the mold. Furthermore, maintaining relatively even temperatures of around 70°F helps to guarantee successful results when making beeswax candles. Lastly, too much force should never be used when pressing down on the pour spout as this can damage both the molds and delicate details within them. By following these tips and tricks, you should experience success in your beeswax candle mold making endeavor!
Cleaning and Storing Beeswax Molds
When it comes to molds for making beeswax candles, proper cleaning and storage is essential. It’s important to always clean the mold after each use, and inspect it for any damage before storing it away. To clean the mold, use either hot water and a soft sponge or cold water with mild dish soap. After washing, dry the mold completely with a cloth or paper towel. Repeat this step if needed to make sure all of the soap residue has been removed. Once the mold is dry, lightly apply oil or cooking spray on the inside of the mold before using it again; this will help ensure that your beeswax candles come out easily every time you use them.
To ensure that your molds last as long as possible and that they continue looking great, store them in a cool and dark place away from direct sunlight when not in use. Furthermore, be sure to keep your molds nestled inside a soft cloth pouch or container to protect them from scratches while they are stored away. If you have multiple collections of molds, designate one area of your home specifically for their storage”this will make cleanup easier and minimize chances of anything damaging them over time. Additionally, if you plan on using your molds for an extended period of time, consider having some sort of organizational system set up so you can easily locate particular designs when needed. This could include designating each type of mold its own container/bin or setting up drawers with designated sections for different types of candlemaking paraphernalia.
Resources For Finding Molds and Supplies
When you are ready to start making beeswax candles, the first step is to find molds for your creations. Luckily, there is no shortage of resources available for finding all the supplies you need. Online retailers, craft stores, and even beeswax candle-makers themselves can be excellent sources for finding molds and materials such as beeswax.
When looking online make sure to read reviews or ratings so you know what other people have experienced with that particular supplier or product. Also look into any return policies that may be offered if the product proves deficient or inadequate. It’s also advisable to compare prices; different packages may have varying prices depending on the size and quantity of supplies included.
For those who prefer a hands-on approach, visiting local craft stores is a great way to get started. Here it’s possible not only to see a selection of molds in real life but also other necessary items such as wicks, wax pans, cutters, measuring spoons, double boilers and more. A bonus is that staff members are usually on hand to help answer questions or give advice – making sure you carry away exactly what you need!
Of course, an often overlooked source is from experienced local beekeepers and candlemakers themselves who often have tips about where to buy the best quality material at competitive prices. Word of mouth referrals and recommendations can help weed out suppliers whose quality control or customer service leaves something to be desired – saving both time and money in the long run.
Conclusion
Making your own beeswax candles is a fun and rewarding activity that has many benefits. Using molds makes the process even easier. Not only are you able to make beautiful, scented candles with often minimal effort, but the wax from beeswax candles has health benefits too. Beeswax is natural air purifier that can help reduce dust and other airborne contaminants. Additionally, it doesn’t release carbon dioxide into the environment like paraffin wax does when burnt.
Overall, making your own beeswax candles using molds is a great way to create unique home décor items while also benefiting the environment and your health in the process. Beyond making raw candles, there are plenty of creative ways to craft with beeswax such as decorative wax seals for stationery or as a coating for furniture and other wood surfaces. And don’t forget about lip balm! With a few simple ingredients, you can mix up lovely homemade balms that make great gifts or stocking stuffers during the holidays.

Welcome to my candle making blog! In this blog, I will be sharing my tips and tricks for making candles. I will also be sharing some of my favorite recipes.

