Additional Section
When making homemade candles, using candle molds can make the process much easier and more efficient. A number of materials are commonly used for candle molds, each with advantages and disadvantages for specific projects.
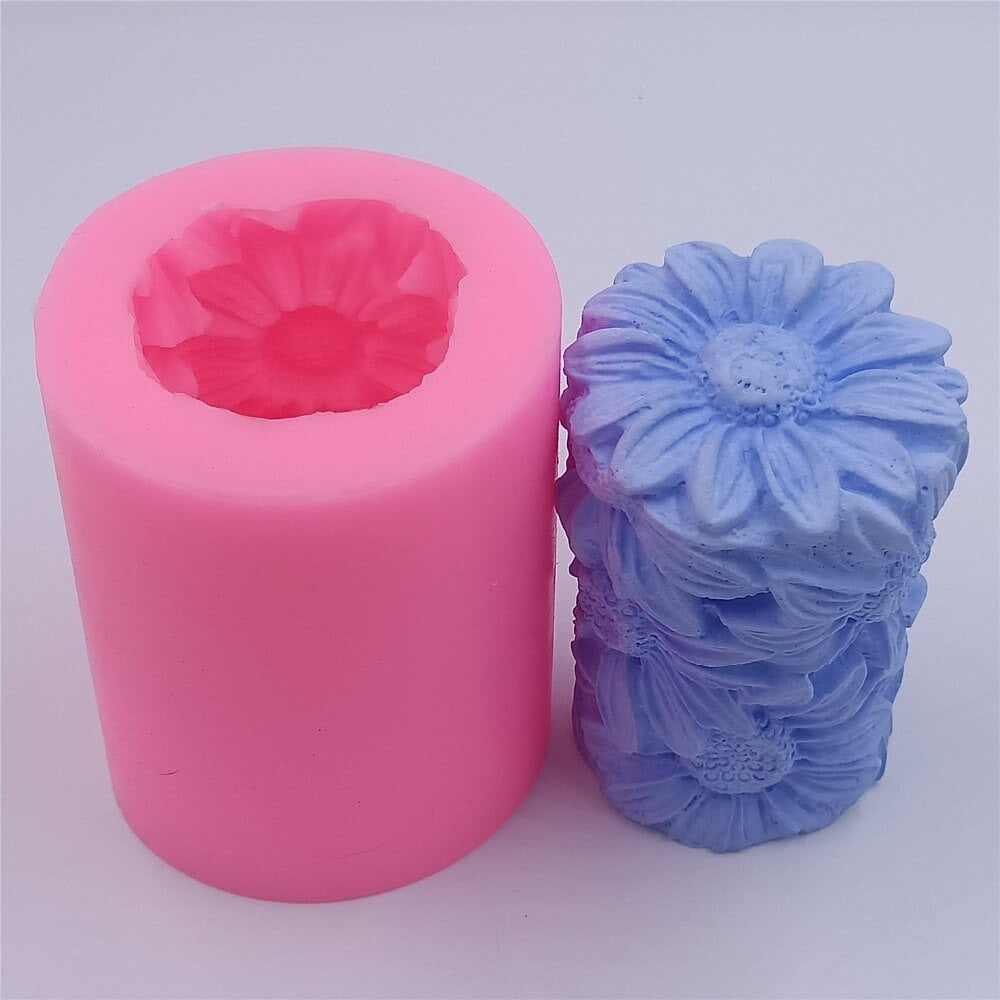
The most popular materials for homemade candle making molds are silicone and metal. Silicone molds are usually made from FDA-approved food-grade materials and come in a wide range of shapes and sizes. They are also nonporous and don’t require extra oil to keep the wax from sticking. However, they don’t hold their shape as well as metal when pouring larger batches of candles.
Metal molds are typically made from steel or aluminum and hold their shape better than silicone when creating larger batches of candles. They also get hot quickly which helps paraffin wax liquify faster. The drawback is that they need to be oiled before pouring in order to keep the wax from sticking.
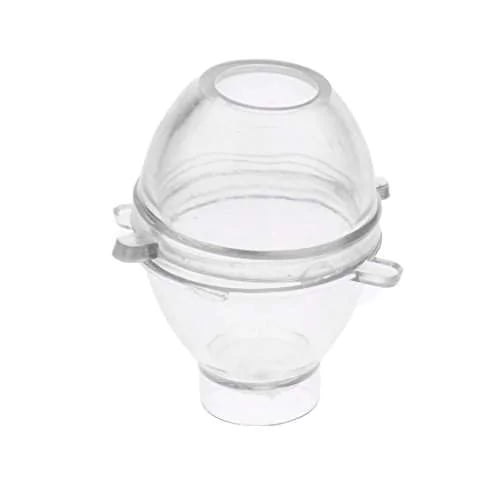
Other lesser common materials used as candle making molds include glass, ceramic, plaster, paperboard, and foam rubber. Each material has its own range of benefits and drawbacks depending on the project being undertaken so it is important to consider what the desired end result should be when choosing a molding material for a particular project.
Expanded Section
Silicone: One of the more popular molds for making candles is the silicone mold. Silicone molds are a great option because they are an affordable, versatile and non-toxic material that allows for easy removal of the finished candle. As a result, silicone candle molds produce candles with intricate shapes and details that show off your creativity. The temperature resistance of silicone also provides stability when melting wax. Furthermore, reusing silicone molds saves time and money as well as makes them inexpensive to use over and over again. On the other hand, there are some drawbacks when using silicone molds such as releasing bubbles in the finished product due to the excess heat produced. Additionally, if you use too much pressure on your pour, it can damage or puncture the walls of your mold, resulting in unevenly shaped candles.
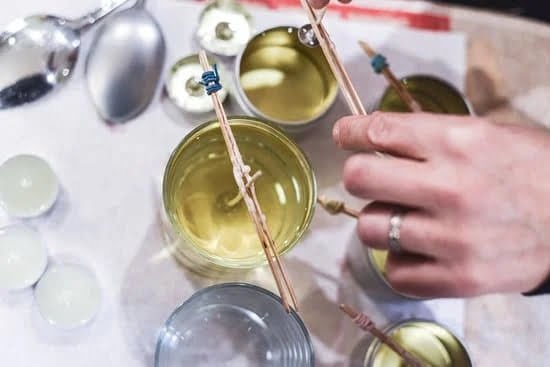
Aluminum Cans: Aluminum cans can be used as an alternative to conventional candle molds. While they are often cheaper than silicone molds and generally easier to build or purchase, aluminum cans are also suitable for making small sized candles with intricate designs or patterns depending on their shape. However, aluminum cans tend to be more prone to burning due to their thin metal layers and lack of insulation compared to other types of molds which can cause the waxed surface of your candle to become charred or blackened from heat exposure. Furthermore, you must ensure that the interior surfaces have been lined with either wax paper or Parchment paper so that no contaminants seep into your melted wax while pouring it in, otherwise this can cause all kinds of havoc once your candle is lit!
Glass Jars: Glass jars make great homemade candle making molds since they’re easily accessible and provide a great way to display beautiful edible candles without breaking any kind of sealant around them just like any other type of glass jar does when opened up completely like beeswax wraps etcetera.. While glass jars offer stunning aesthetic results for making decorative edibles since most jars come in various nooks & crannies inside it which desirable shape forms from warm liquid wax & results in unique flicker during combustion phase – one downside with this particular type of design structure is more time required during cooling phase as well as difficulty in extraction due scaley texture left behind after solidification process by earth elements present inside waxy mixture itself!
New Section
Sometimes when utilizing homemade candle making molds, issues can arise which can cause concern. The following are some of the most common issues that arise with homemade candle making molds and instructions for resolving them.
One issue that can occur is too much or too little wax in the mold. If there is not enough wax, the candle will be significantly thinner than expected and may have a less than desirable shape. To remedy this issue, simply add more wax to the mold and try again until satisfactory results are achieved. If there is too much wax then it can cause the shape of the candle to become distorted and wavy; simply pour out some of the excess wax to fix this problem.
Another common issue involves difficulty removing candles from molds after they have set and cooled down. This is commonly due to using too low a temperature when pouring into a silicone mold. Silicone molds should typically be heated to a temperature of at least 90°F before pouring wax into them; if this is not done then it will be difficult to remove the candles from their molds afterwards. Additionally, when dealing with metal or plastic molds, never expose them to extreme temperatures as this can also make it difficult to remove candles successfully at later times.
Finally, an issue which may occur with any type of candle making mold is uneven surfaces on walls post-cooling; this is caused by incorrect cooling times being used after pouring wax into a mold and often looks unpleasant cosmetically. To fix this issue, first use gloves or oven mitts depending on your mold’s material to reduce scalding risks while handling while hot. Then take the entire unit outside in order to cool back down naturally ” cooling in open air usually brings far better results than icing water baths or similar methods so keep that in mind before attempting for best results.
Expanded Section
When preparing homemade candle making molds, it is important to ensure that the surface of the mold is completely clean. This can be done by scrubbing the mold with a sponge and mild soap in order to remove any traces of dust or residue. Additionally, if the mold contains any air bubbles or uneven edges, use a rubber mallet to gently tap the underside of the mold at regular intervals. This will allow air bubbles to rise and create an even surface for filling with wax. After tapping, wipe away any excess wax residue from the mold’s exterior before pouring. Finally, applying petroleum jelly or vegetable oil on both interior and exterior surfaces of the homemade molds helps wax release quickly once cooled.
Expanded Section
When removing candles from a homemade candle making mold, it is important to take your time and similarly cautious measures as you did when pouring into the mold. The best approach for removal can vary depending on the type of mold and tools available, but here are a few suggestions you may want to try:
– Unusually shaped molds may require gentle jiggling side-to-side or directly upwards in order to loosen the candle from the sides.
– If possible, first use a hairdryer to warm up the outside walls of the mold, thereby increasing flexibility along with hopefully making it easier to come away from the candle itself.
– Once one part of the candle has been removed ” either base or top ” it should be frozen with ice cubes while being turned carefully until completely free of the mold.
•For plastic molds that do not respond well to cold temperatures, it may be necessary to first use heat in order to increase their flexibility before attempting any removal methods. With those particular types of molds, care must also be taken not to cause any damages due their low melting points.
•If at all possible, it is advised that all attempts are made with two sets of hands so that together one person can hold and stabilize while removing and/or warming, if necessary.
•In general however when using homemade candle making molds a bit more patience is usually required then commercial pre-made or wax melts due variously sizes and shapes ” but this extra effort normally results in very unique and exquisite end products!
New Section
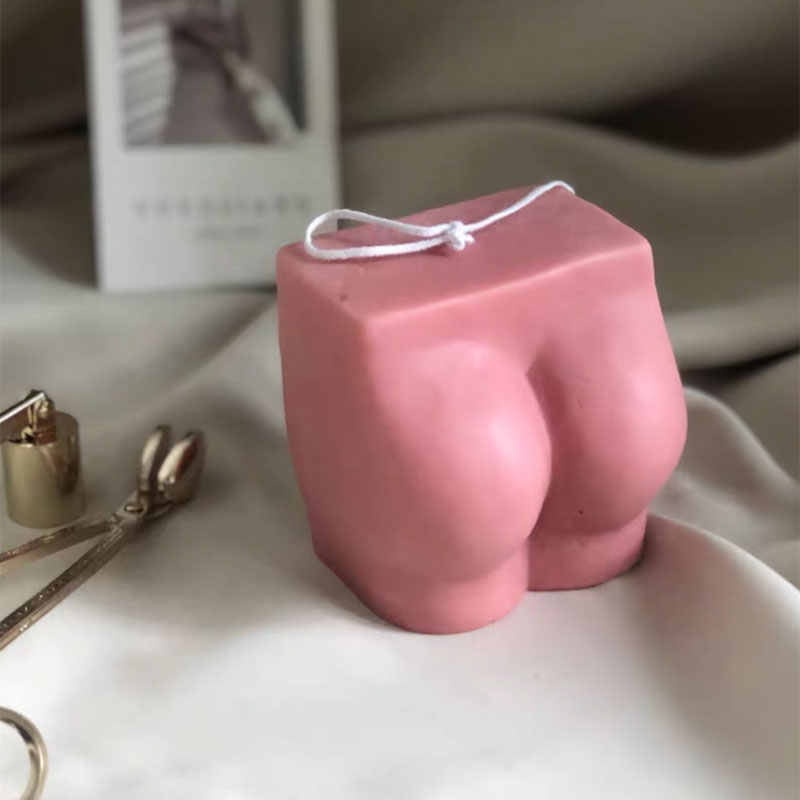
Homemade candle making molds are an essential tool for those looking to bring their unique vision for a candle design to life. By using different types and sizes of molds, one can create candles of various shapes and styles, from bears to hearts and everything in between! Depending on the type of mold used, candles can feature intricate carvings or smoother surfaces. Additionally, a selection of molds will allow one to create multiple designs with differing heights, widths or even thicknesses.
The materials used for a homemade candle making mold will also impact the design of the final product. Soft materials such as silicone or latex may provide more creative scope whereas harder ones such as metal cans may be ideal for taller candles since they are less flexible. The temperature of the liquid wax during pouring also plays a major role: if too hot, bubbles may form on cooled surface and spoil the design; if too cold, blobs can be formed that prevent an even mold filling process.
With knowledge on how best to use and combine different-sized as well as various types of material molds, creative enthusiasts can achieve truly unique and eye-catching candle designs with varying shapes and textures.
Updated Conclusion
This post has explored the various types of homemade candle making molds and the importance of properly preparing them before use. It has highlighted the many benefits, such as cost-effectiveness and customization options, that utilizing homemade candle molds can offer experienced and novice candle makers alike. As a reminder, understanding the different options available and properly preparing and caring for homemade candle making molds is key to producing high-quality candles with a professional finish.

Welcome to my candle making blog! In this blog, I will be sharing my tips and tricks for making candles. I will also be sharing some of my favorite recipes.


