Introduction
Beeswax candles are a natural and environmentally friendly choice for home lighting. Not only does beeswax burn brighter, longer, and cleaner than paraffin or soy wax; it also has many intrinsic ecological benefits. Beeswax is a renewable resource sourced from beekeepers all around the world. The manufacturing of beeswax does not produce dangerous emissions into the atmosphere, thus making it much more eco-friendly than many other common candles on the market. In addition to this, burning beeswax gives off negative ions that help purify the air in your home resulting in a healthier environment for you and your family to breathe. This can reduce respiratory allergies and other risk associated with indoor air pollution. Furthermore, due to its pure organic nature, beeswax candles have a pleasant natural honey aroma that enhances the scent of any room they inhabit. So in short, beeswax candles are good for both your home and your environment!
Materials Needed
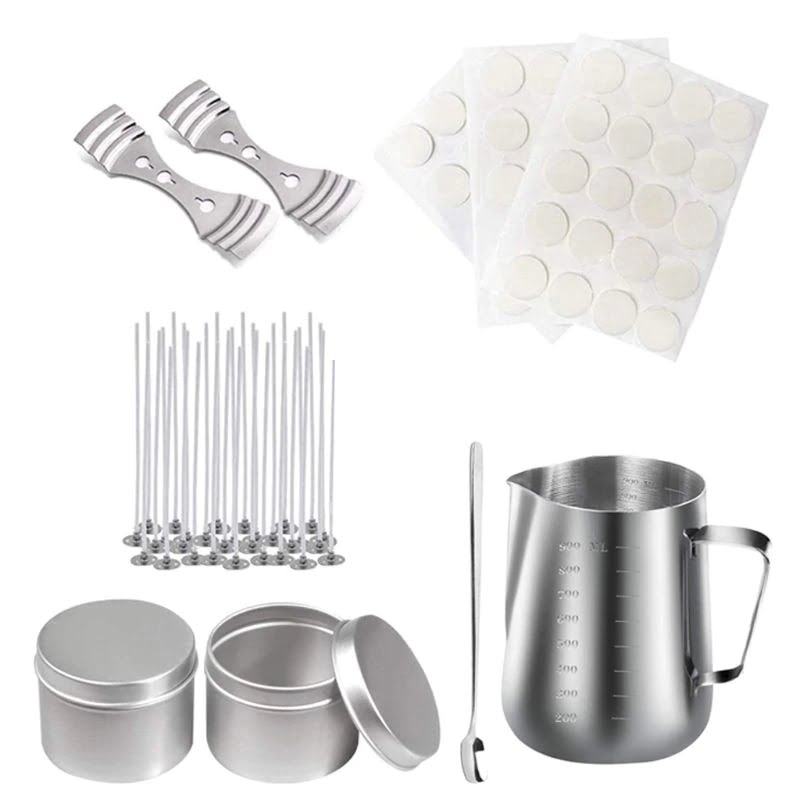
In order to make bees wax candles, you will need bees wax, wick, double boiler (or a pot and bowl which can interlock), essential oils (for scent) and pinking shears. Bees wax can be bought in many craft stores or health stores; it is also possible to purchase it online with retailers such as EricXLight and GloryBee. Wick can usually be found from the same places that carry the beeswax, however a specialty site called Candlewic also carries wick online. Double boilers are available for purchase at most kitchenware stores, or Walmart for an affordable price. Essential oils provide a nice scent for the candle and come in many varieties depending on preference ” something like Plant Therapy is an awesome place for purchasing quality oil. Finally, pinking shears are scissors with notched blades used when trimming excess wick from candles after they’ve been lit ” these can often be found at craft stores or online through outlets such as JoAnn Fabrics.
Making the Candle Mold
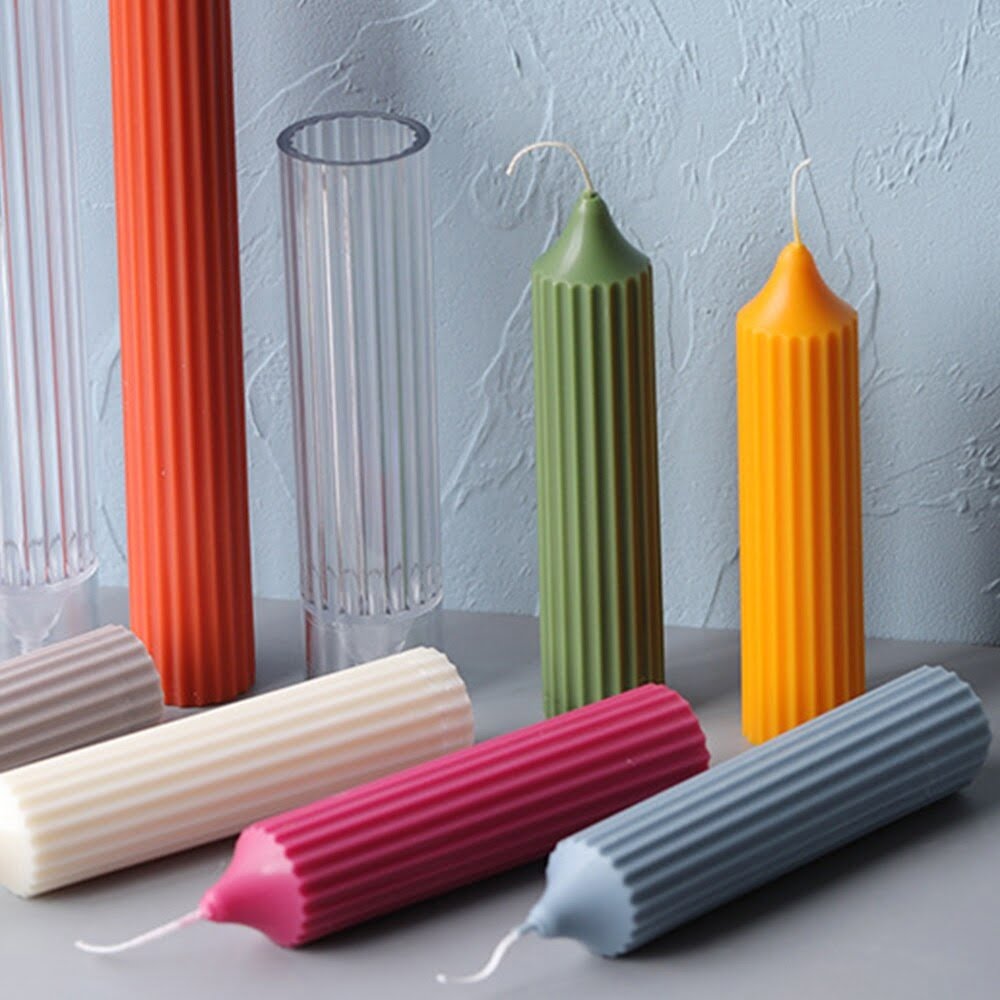
1. Prepare Items: Gather the following items: a container or mold of your desired shape, beeswax pellets, wicks, a double boiler (or substitute), an old pot, and kitchen tongs.
2. Line Mold: Line the inside of your candle mold with wax paper. Make sure that it is securely bonded to the edges of the container, you don’t want any wax leaking out of your mold later on!
3. Plan Wick Placement: Cut your wick down to size so it will stay seated in the bottom of your candle mold when you’re done pouring the wax. Tie one end around a pencil or stick and lay it across the top of your mold so that it hangs inside at least 1/4 inch from the bottom of the container; this will help ensure that your wick stays in place when you pour in the wax later.
4. Put Together Double Boiler & Melt Wax: Place beeswax pellets into a heat-resistant double boiler and melt them down on low heat for 20-30 minutes ” keep an eye to make sure that it doesn’t overheat! Alternatively, you could use an old pot filled with 2 inches (5 cm) of water instead.
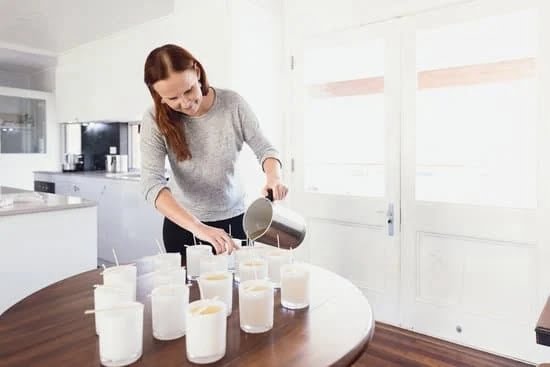
5. Pour Wax into Mold & Secure Wick: Once melted, be careful not to get burned as you pour in melted wax into your lined candle mold until it reaches ½ inch (1 cm) from the top rim. Hold onto the sticking part of your wick while doing this so that it remains secured firmly at the base and doesn’t slip out.
6. Let It Cool & Harden: Leave your newly madebee wax candle alone until completely cooled off and hardened; this can take anywhere from 8-12 hours depending on temperature and size of candle! Finally, carefully remove it from its mold and enjoy!
Melting the Wax
There are two main ways to melt beeswax for making candles: using a hot plate or a double boiler. A hot plate is simpler, since all that’s needed is to place the wax in a container and heat it on low-to-medium heat. This should take about an hour, though time depends on the container used and amount being melted.
A double boiler is preferable for larger amounts of wax to ensure even heating. To use one, add just enough water to the bottom pot so that it covers the bottom of the top pot when placed inside, but doesn’t come more than halfway up its sides. Place the wax in the top pot and slowly heat for at least an hour with occasional stirring until fully melted ” be careful not to let the heated water boil or sputter as this can cause scorching and discoloration of your wax!
Inserting the Wick
Before inserting the wick into the melted beeswax, dip it into a bowl of cold water to dampen and stiffen the wick. Cut the wick slightly longer than desired length (1 inch) of the finished candle; this will ensure that your wax doesn’t cover the wick once you’ve completed making your candle. Then insert one end of the wick into a metal paperclip, create a loop to hang onto the edge of your container then submerge the other end into your melted beeswax. To hold the wick in place while pouring wax over it, attach each side of the metal paperclip to either scale up sides. This can help keep tension on the wire and secure it in place as you carefully pour wax around it. Make sure there is sufficient tension on your wire so that it does not unravel or come loose as wax cools and sets.
Decorating the Candles
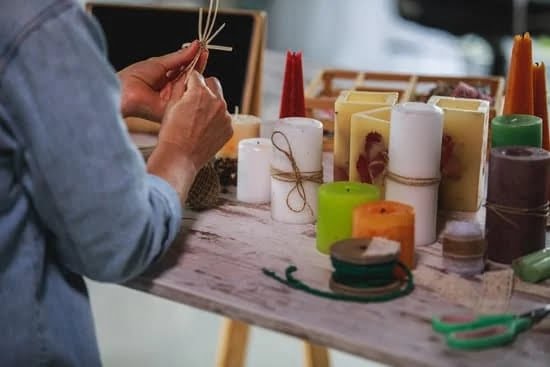
When decorating a beeswax candle, it is important to start at the base and work up. If you wish to add other decoration elements, it helps to begin with a mixture of 1 part mica powder plus 1 part melted beeswax. Apply this combination to the base of the candle in long smooth lines using a paintbrush. This will create an interesting visual effect which can be further enhanced with pieces of natural mica or other accoutrements.
To further embellish the candles, use permanent markers, stickers or ribbons for even more interesting decorations. Permanent markers are especially useful for writing inspirational messages on beeswax candles and can be used on various sizes too. The use of ribbons at the base and other areas provides texture and additional complexity to your work while adding another layer to the overall design. Photos, diagrams and tutorials are often helpful when designing with beeswax since they provide guidance on how different decorations will look when placed into your finished products.
Conclusion
Making beeswax candles is a fun activity that can be enjoyed at home by the entire family. With just a few simple steps, you can create beautiful, long-lasting candles with a unique honey aroma. To get started, head over to our store and pick up all the supplies you’ll need to make your own beeswax candles. Once you have everything ready, check out our detailed blog post on how to create your very own beeswax candles right at home!

Welcome to my candle making blog! In this blog, I will be sharing my tips and tricks for making candles. I will also be sharing some of my favorite recipes.

