Introduction to Making Soy Candles with Essential Oils
Safety Recommendations for Making Soy Candles with Essential Oils: When making soy candles, safety measures must be taken to ensure a safe process. Always keep flammable materials away from heat sources, such as stoves and open flames. Wear protective goggles and gloves while working with hot wax or wicks. Use a double boiler setup when melting the wax, to avoid direct contact between wax and heat sources. Keep the temperature of melted wax at or below 200°F (93°C) to reduce risk of fire and/or burns, which can happen suddenly and without warning. Never leave burning candles unattended and maintain adult supervision if young children are helping with the candle making process. Make sure your workspace is well ventilated and free from combustible items such as paper towels, newspapers or rags that may catch fire easily in presence of heat or open flame. After completing your soy candle, test it for appearance, scent throw and burn time before giving it away as a gift or selling it.
Necessary Ingredients and Tools
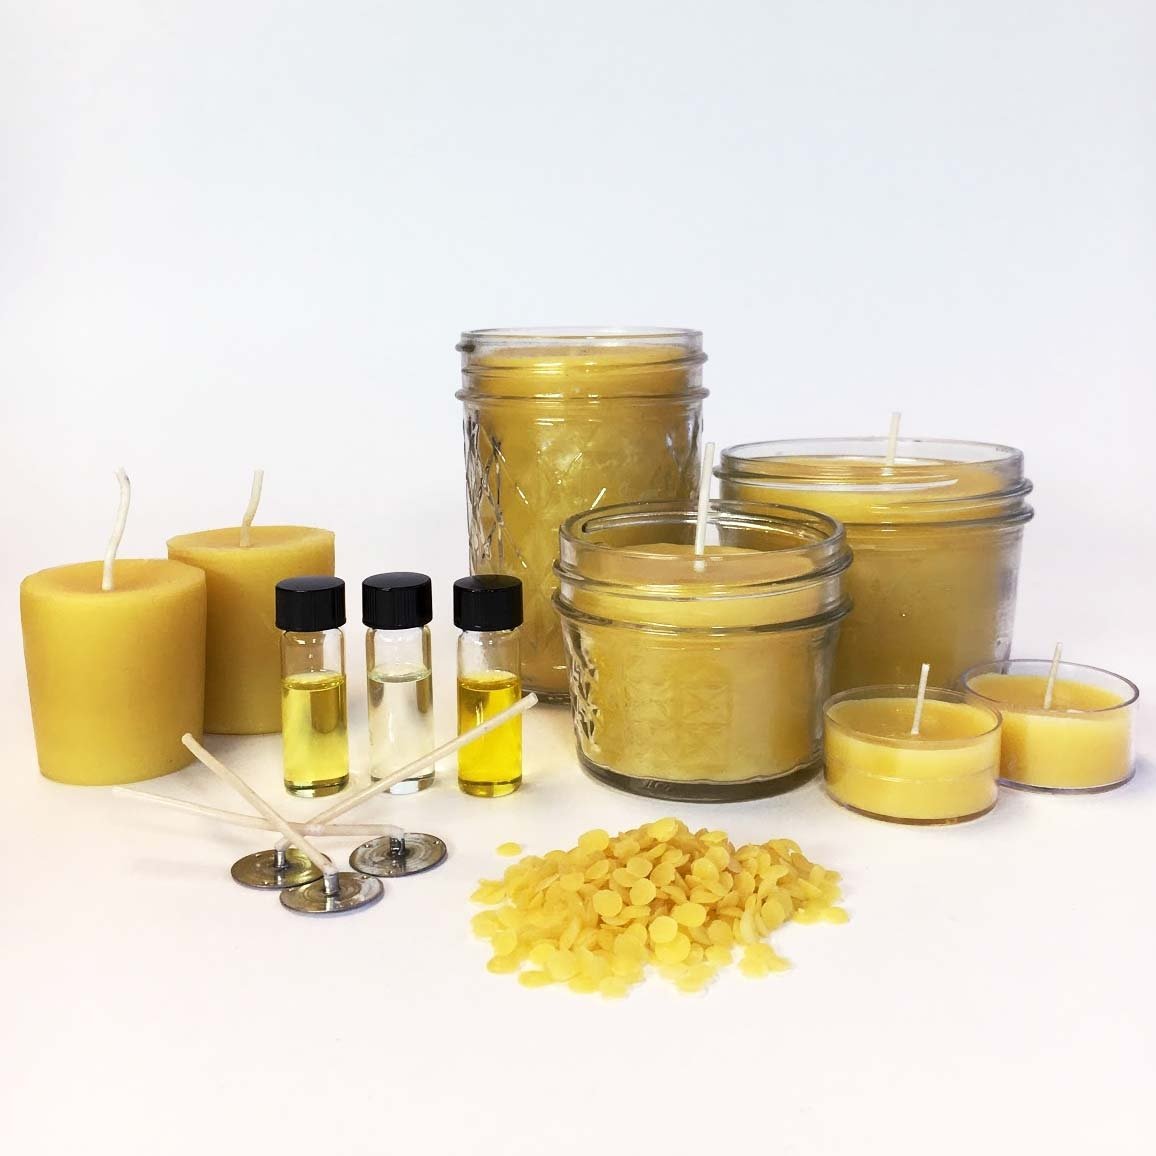
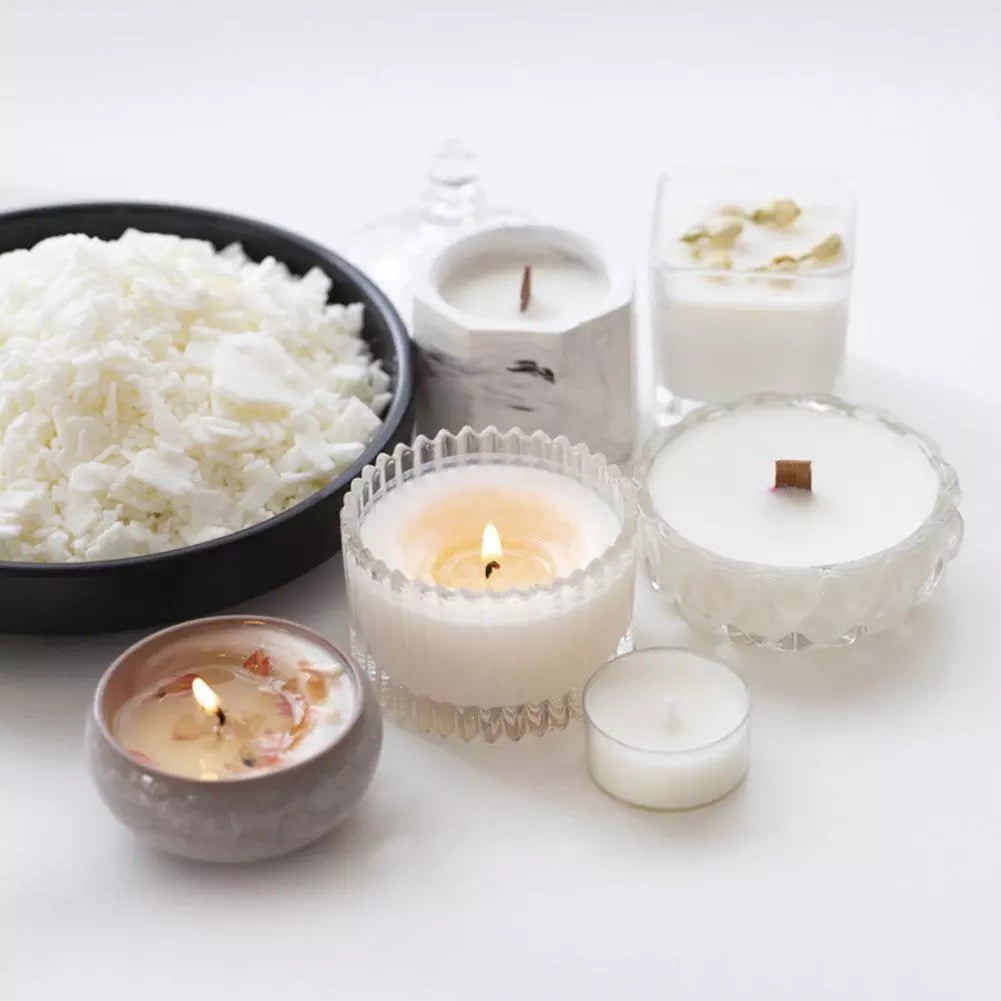
To make your own soy candle with essential oils, you will need the following ingredients and tools:
1. Soy wax flakes: These are used to form the foundation of your candle. The amount of wax flakes you need depends on the size of your container, but it is usually recommended to use one pound for a 16-ounce container. You can buy bulk or pre-measured packages of soy wax flakes from websites like Amazon or Etsy.
2. Essential oil: This is what gives your candle its aromatic scent. Popular choices include lavender, eucalyptus, peppermint, and jasmine. Essential oils can be purchased online at many health food stores, as well as craft stores like Michaels or online retailers like Amazon.
3. Wicks: To ensure that your candle burns evenly and without any issues, you’ll need a few quality wicks specially designed for soy candles (it’s best to avoid metal wicks or lead-free ones). Take into account the diameter of your jar when selecting wicks ” wider jars require stronger wicks for proper burning. You can buy pre-made wick tabs with metal bases from craft stores or online retailers like Amazon as well..
4. A heat source: You’ll need this to melt the wax flakes before adding in the essential oils and pouring it into the container of choice. Safety first ” use a double boiler setup instead of an open flame to help avoid any accidents! Alternatively, you could also use a microwave safe bowl if one isn’t available.
5) Container/Jar (or Molds): This is what will house your finished product so make sure that you pick something that fits both your style and budget! Mason jars are popular picks but really anything that has an even surface works just fine (e.g., teacups).
6) Adhesive thermometer: To monitor the temperature during melting process, an adhesive thermometer should be affixed near the melting vessel.. This helps prevent burning and uneven distribution of scent within finished candles by monitoring progress during melting phase – keeping temperatures between 120°F – 170°F at all times for optimal results!
Step-by-Step Guide to Making the Candles
Step 1: Gather Materials: For this project, you will need soy wax flakes, essential oil of your choice, candle dye in your desired color (optional), a double boiler, wick and holder, votive containers or molds to pour the wax in, scissors to trim the wick, a thermometer to measure temperatures of melted wax and an aluminum can or container for melting the wax.
Step 2: Prepare Wick: Before beginning the process of making your soy candle with essential oil, make sure the wick is ready by threading it through the center of your vessel through its holder. Then cut the end of the string and feed it through one hole on top of its holder. Then make sure that when you place it in your vessel over wax below that it stays sturdy and upright without flopping away or being submerged.
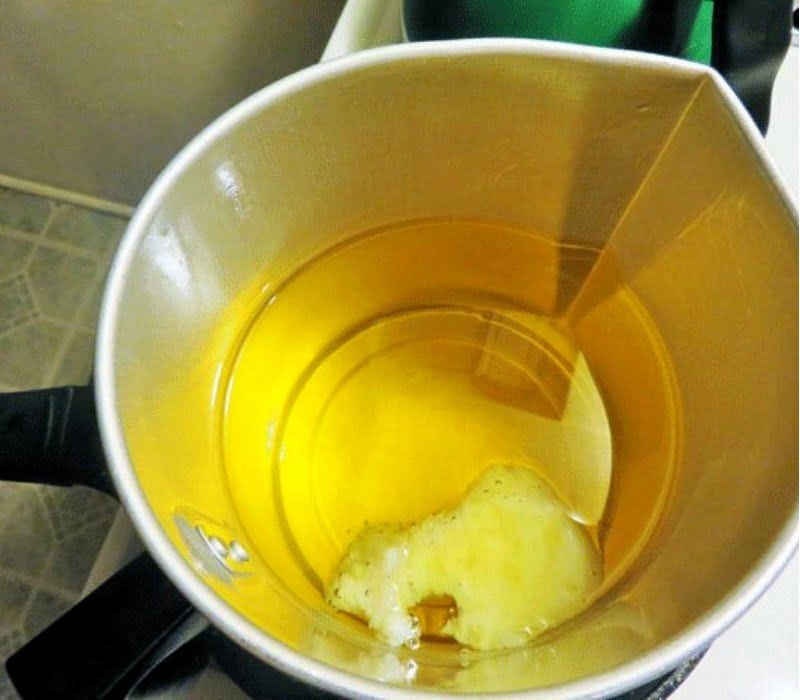
Step 3 : Melt Soy Wax Flakes: Heat up soy wax flakes using a double boiler until they are fully melted and their temperature reaches around 120 degrees Fahrenheit using a thermometer.
Step 4 : Add Essential Oil To The Wax And Stir: Add 8 ” 15 drops of essential oil or aromatherapy scent of your choice into the melted wax container ” stir gently for an even blend. You may also add additional colors at this stage by adding color dyes as desired but this step is optional.
Step 5 : Fill Container As Desired : Once all ingredients have been successfully added to the melted wax and stirred as needed ” fill each container with hot liquid soy wax with caution as it may be hot to touch. Make sure that when pouring in liquid soy into your containers straight from double boiling pot that you pour close enough so that minimal air is trapped inside then wait for approximately 10 minutes before continuing with next step to allow surface of candles to cool down before inserting wicks again.
Step 6 : Insert Wick Into Melted Wax : Finally take wicks holders including threader attached onto one end out from containers then insert them back into position through one end towards bottom (bottom should touch surface area). Mark off desired lengths if needed using scissors then wait few minutes until all parts have become room-temperature solidified again before ultimately testing out products upon completion & enjoy!
Tips and Tricks for Successful Candle Making
For creating unique, special scents for soy candles with essential oil, here are some ideas:
• Create a blend of floral scents such as lavender, jasmine and rose. This combination can provide a calming effect.
• Make a summery scent combination of citrus fruits such as grapefruit, orange, and lemon. This trio can give you an energizing scent for the hot season.
• For those seeking something fresh and light, consider combinations such as bergamot and mint or eucalyptus and spearmint.
• For a spicy aroma, mix together notes like cedarwood, cinnamon bark and clove bud.
• Add a fruity feel by combining sweet orange, fig leaf and juniper berry oils.
• Put together an herbal scent using geranium, lemongrass and palmarosa oils.
Experimenting with different combinations will help you find the perfect scent for your soy candle with essential oil. Happy mixing!
Ideas for Experimentation
Beginner Level:
1. Start your soy candle-making journey with a simple, single-wick scented design. Learn the basics of how to prepare the wick and melt your wax, as well as how to lightly scent your candle with essential oils.
2. Make a decorative votive with a patterned glass container and more complex scent combinations that tease out meaningful aromas and induce calming sensations in your space.
Intermediate Level:
3. Step up the complexity by trying out multiple wicks and a variety of balm holders for unique homemade creations like snowman figures or mini potted plants. practice layering different colors of wax together to create new effects and colors, while adding complementary scents of essential oils for added depth.
4. Get creative by making colorful layered pillar candles in tall, thin tumblers or custom jars. Use different colored dyes or natural pigments to get the effect you desire, then layer them various essential oil scents for an inviting finish product!
Advanced Level:
jarred candles can be used for any occasion and make wonderful gifts for friends and family. Experiment with larger containers and intricate designs on the outside such as marbling or filigree work, while adding multiple layers of top quality essential oils for complex fragrances made from scratch!
Conclusion
Now that you have successfully made your own soy candle with essential oil, why not show off your work? Share photos of your final product on social media and tag us to let us know! If you enjoyed this project, perhaps you can take it one step further by incorporating additional elements to customize your candle. You could add a wick spacer or mix in different kinds of scents or even stir in dried flowers and herbs. Show us how creative you can get with your craft and inspire others to do the same. Who knows what kind of unique results may come out of collective ideas?

Welcome to my candle making blog! In this blog, I will be sharing my tips and tricks for making candles. I will also be sharing some of my favorite recipes.

