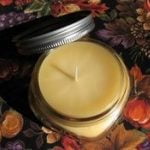
Introduction to Easy Candle Drip Making
Making easy candle drips is a great way to give your made-from-scratch candles a beautiful and rustic, natural look. Candle drips are the melted wax that slowly forms from heat being given off from the flame at the top of your candle as it burns ” basically, it’s wax dripping down the sides in ribbons of varying sizes! Not a lot of people know how easy it is to create this effect and that typically purchasing already made dripped candles can be costly. This tutorial aims to give you an insight into how to make these customised easy candle drips yourself! Making easy candle drips is incredibly simple and can come in all sorts of different combinations: use multiple colours, layer with texture or just keep it classic with plain melted wax. Plus, you don’t need any additional supplies other than those required for making homemade candles. Let’s get started on creating some handmade easy candle drips!
Benefits of Creating Easy Candle Drips
Creating easy candle drips is a great and simple way to add flair and elegance to any atmosphere. It is also a great conversation starter – drawing the eye, drawing attention to the details of your decor while sparking conversations among friends or family. Candle drips bring warmth and light into any room, plus you can make them in whatever color or scent you choose! With this tutorial, everyone can learn how to make beautiful candle drips that make wax art look effortless – all without having to worry about taking classes or spending too much money on supplies. Plus, they can be used again and again, so you don’t have to worry about throwing away your hard work when its done being appreciated.
Materials Needed for Easy Candle Drip Making
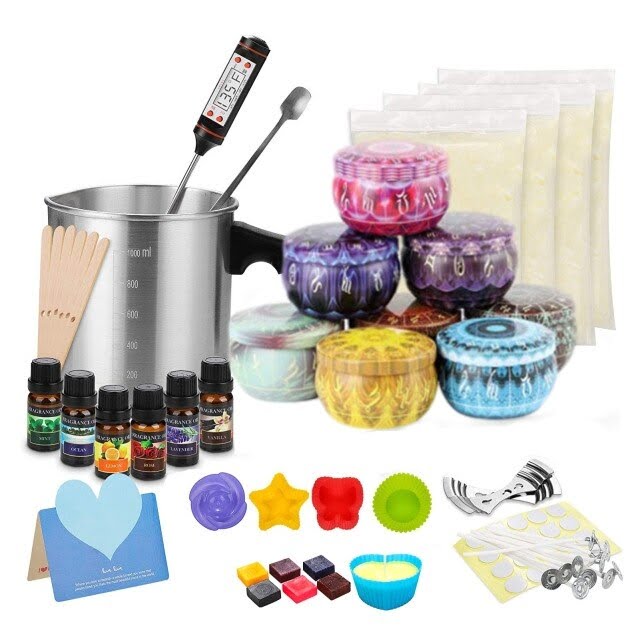
Materials Needed for Easy Candle Drip Making:
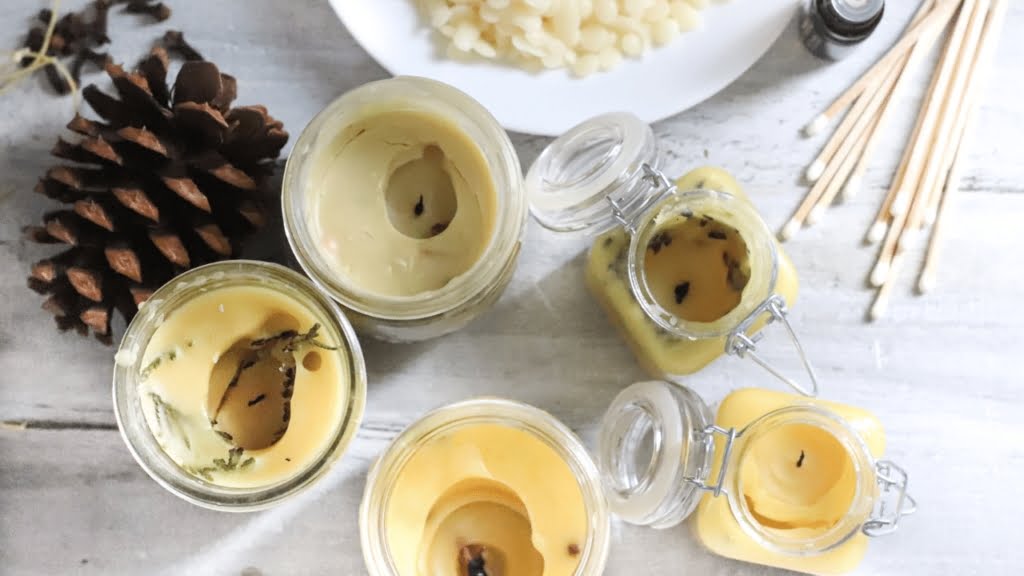
– Beeswax pellets
Fragrance oil
– Thermometer
Melting pot
– Candle dye (if desired)
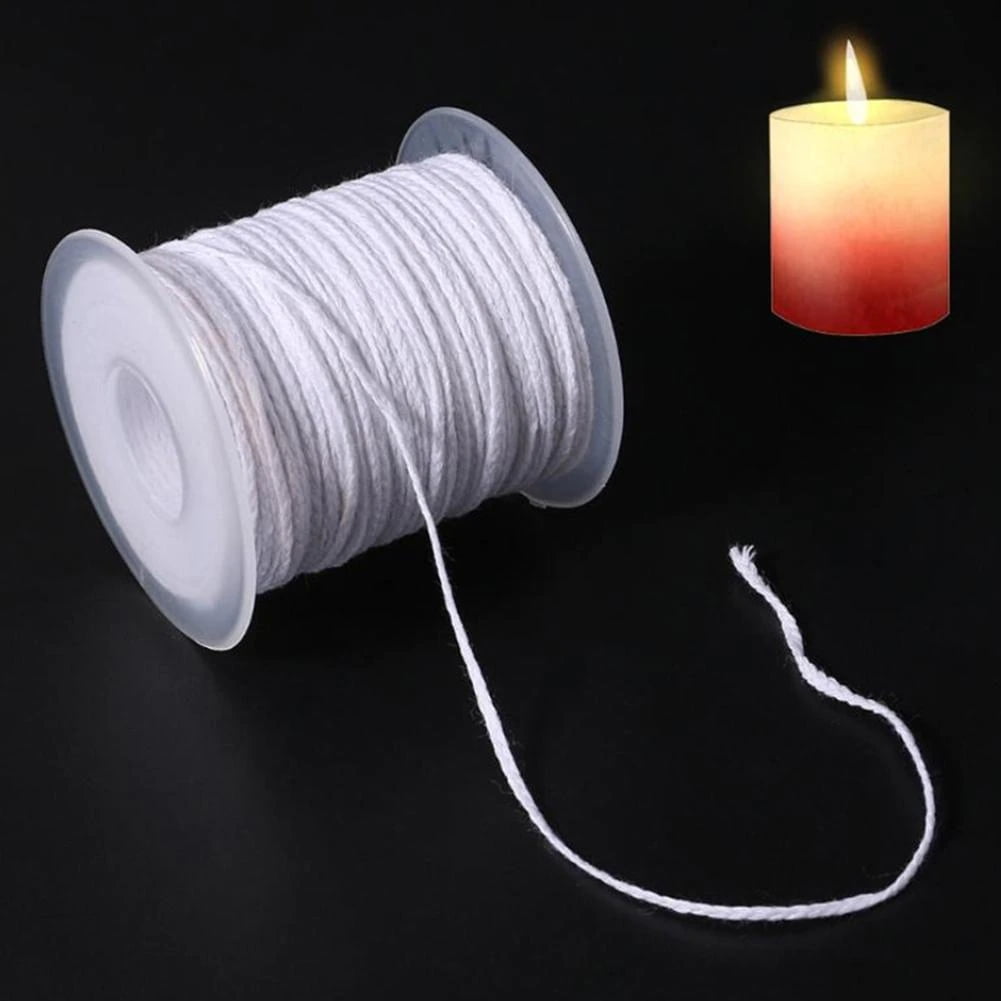
Candle wick
– Wax paper
Shaping tools
– Custom wicks
Instructions for Easy Candle Drip Making
Making a candle drip is easy and fun, but there are some tips and tricks that will help you make sure the wax is properly poured into the mold. Before you pour, melt the wax using a double boiler to the temperature specified in your recipe.
Next, prepare your mold by rubbing it with shortening or light oil so that your finished product won’t get stuck in the mold. Finally, pour the hot wax slowly and steadily into the mold, making sure it does not spill out. If you are pouring wax from multiple containers, use a stirring stick to blend them together before pouring them in.
If you’re concerned about air bubbles appearing in your candles as a result of improper pouring technique, preheat your wicking to prevent this issue from occurring. Always allow for adequate cooling time before moving onto the next step of your process – depending on how much wax has been poured, it can take up to 12 hours for everything to fully set!
Even if there are issues with air bubbles or any other irregularities during this process, don’t panic! Melt and remelt those troublesome sections until they smooth out properly and then move onto the next step – enjoy creating beautiful handcrafted candles!
Finishing Touches for Easy Candle Drip Making
Embellishments and decorations for easy candle drip making include fun shapes like hearts, stars, or circles. You could also add 3D elements like figures or embed shaped shells or stones in the wax. Colorful powders can be sprinkled on the drips for a pop of color, or pieces of dried flowers can be placed on them as well. Glitter and sequins are popular choices along with flakes of metallic leaf and small pieces of rope-like jute twine. Iridescent film cut into thin strips adds an interesting texture and extra sparkle. Glue crystals to the surface for added shine, or smear wax around them to create abstract designs. Finally, melted crayons can be drizzled down the surface; this will give your candle unusual patterns and unexpected hues!
Tips & Tricks for Easy Candle Drip Making
When making candles with drips, it is important to be careful and wear protective gloves when handling the melted wax. The wax can become very hot and burns can easily occur. Additionally, when adding colorant, only food-grade ingredients like food coloring or beeswax should be used to guarantee that your candle will stay safe to use. Also keep in mind that using more than a few drops of liquid colors may make wax first crackle or produce bubbles after cooling down. It is best to avoid any fragrance oils as they may cause unintentional burning issues during the melting process. As always, good ventilation is critical as many essential oils are highly flammable. To ensure that you don’t have any safety accidents when working with candles and their components, do ample research ahead of time so you are aware of each ingredient’s potential hazards.
Conclusion
Congratulations! Now that you have completed the Easy Candle Drip Making Tutorial, you are one step closer to creating your own unique and personalised candles. To summarise, here are the steps involved in easy candle drip making: Firstly, prepare your work surface by laying down a mat to protect from heat. Next, melt your wax over your double boiler and add the desired colour or fragrance oil to it. Once thoroughly mixed, pour it into molds or containers and place wicks into the molds before the wax hardens. After that, wait until the candles cool down and loosen up the edges of each candle with a knife carefully before removing them from molds. Finally, if desired decorate with embellishments of your choice.
To achieve perfect candle drips every time remember to be patient when melting wax ensuring not to get it too hot – hotter than 50°C can leave oil droplets in the candles wax finish – and spacing wicks appropriately so one isn’t higher than its neighbouring mold as this will create uneven sizes upon cooling. With these tips you’ll be able to craft homemade perfumed masterpieces tthat look great and smell amazing!

Welcome to my candle making blog! In this blog, I will be sharing my tips and tricks for making candles. I will also be sharing some of my favorite recipes.

