Introduction
The Hearth and Harbor Candle Making Kit allows you to create beautiful, custom candles in the comfort of your own home. The kit includes everything needed to make hand-poured soy wax candles”including natural wax, containers, wicks, dyes and fragrances. You’ll also find detailed instructions on how to put it all together to create beautiful, unique homemade candles that will brighten up any space. With the kit and its contents at hand, you can make simple scented votive candles or spend more time crafting intricate patterned tapers. In any case, you’ll be able to customize each candle’s scent, color and shape just as you imagine it. Let the Hearth and Harbor Candle Making Kit guide you through the creative journey of bringing your dream candles from concept to reality!
Introduction
Candle making is a fun and rewarding hobby that can provide wonderful benefits. Not only do you get to explore the creative possibilities with scents, shapes and sizes, but you also have the satisfaction of creating something with your own hands. A quality candle is one of those gifts that people truly appreciate for its safe burning and fragrant scent, and there’s nothing quite like homemade candles for adding a unique finishing touch to any home décor. In fact, many people even make an extra income from selling handmade candles online or in craft markets! The Hearth And Harbor Candle Making Kit provides all the supplies needed to start exploring this enjoyable craft right away.
What’s Included in the Kit
The Hearth and Harbor candle making kit includes everything needed to create unique and beautiful fragrant candles. The kit includes a 2 lb. bag of natural soy wax, 4 pieces of 1″ hemp wick, a small soaking pitcher, 4 glass candle jars with wick clips and round lids, 10 assorted fragrance oils in labeled bottles, 4 dye blocks in blue/green, yellow/orange/red and purple colors (4 blocks for each color), a melting pitcher for wax melting, 20 wick stickers to fasten the wicks to the jars and detailed instructions with photos. Additionally, the kit also comes with safety instructions and warnings regarding the use of hot wax.
Setting Up Your Workspace
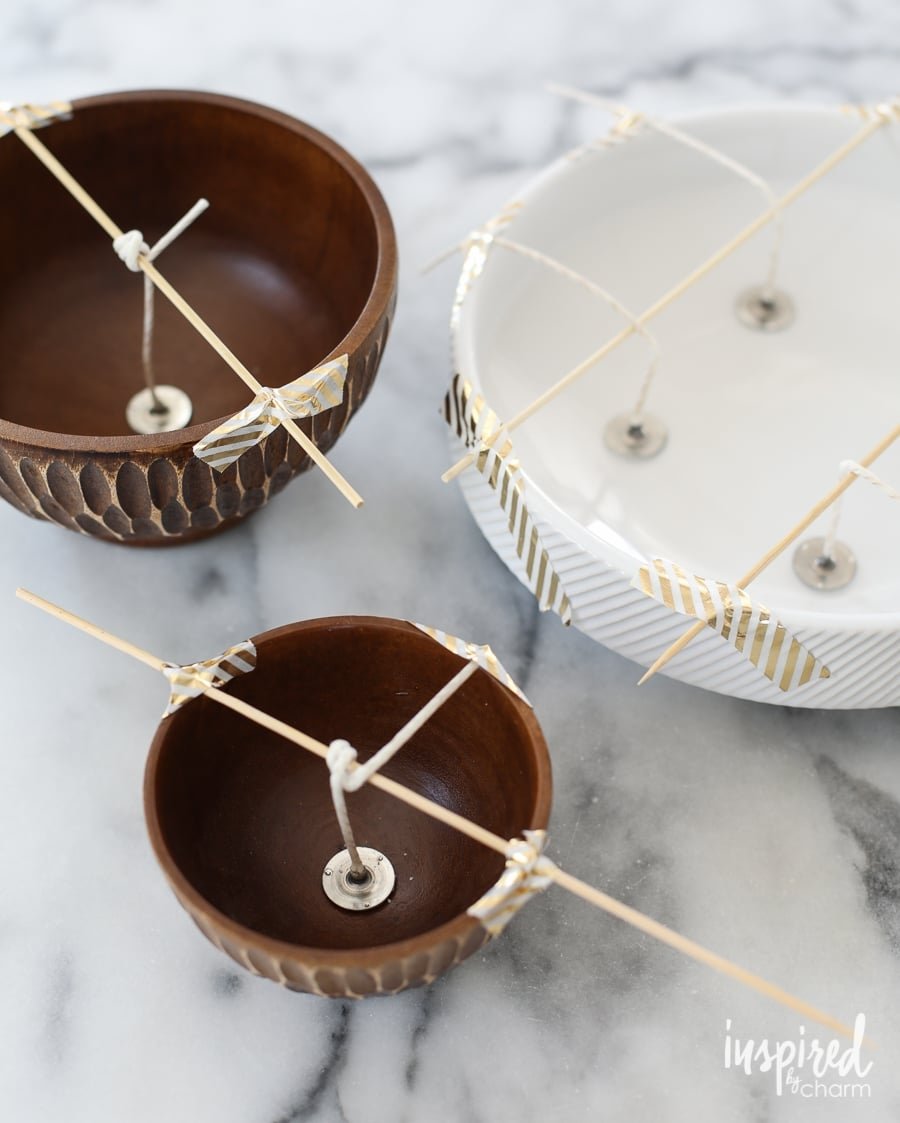
Before you can begin making your own unique candles, you will need to set up your workspace by preparing the necessary tools and supplies. First and foremost, you’ll need a heat-resistant work area that’s well ventilated — a kitchen counter is ideal but outdoor spaces such as a balcony or patio could also work. Ensure any fabric or paper items are at a safe distance from potential melting wax or hot wicks. Next, gather your mold(s) chose during the candlemaking kit selection process ” these can be tins, jars and more. You’ll need several sheets of newspaper to protect surfaces from wax spills and splashes; the newspaper will also serve as a wrapping material for each candle once it hardens completely. Finally, you’ll need common household items such as scissors, spoons, towels, heavy rubber bands and/or skewers to secure your wicks in place while the molten wax cools.
When working with molten wax and open flames it is important that safety measures are taken before embarking on candle making process in order to minimize risk. Make sure all areas used for candlemaking are free of flammable materials such as fabrics, furniture or curtains. Furniture should be moved at least a few feet away from any burning candles during use. Depending on where the workspace is located, it may be necessary to consult local laws regarding open flame lighting in indoor spaces (especially if other people who do not participate in the process are present). Additionally, ensure all participants handling molten wax use protective accessories such as face shields and gloves beforehand; This will help prevent burn injuries due to possible steam explosions occurring at high temperatures when stirring and pouring hot wax.
Different Types of Wax & Wicks
The Hearth And Harbor Candle Making Kit capsules a variety of components to make candles, including different types of waxes and wicks. Some of the most common waxes used in candle making are paraffin, beeswax and soy wax. Paraffin wax is the primary type of wax used in candle making as it offers good scent throw, low shrinkage and good adhesion when used with appropriate wicks. Soy wax is becoming more popular as it is eco-friendly, biodegradable and safe to use around household pets and children. Beeswax provides an opaque appearance when melted into a candle container but does not offer as much scent throw as paraffin wax or soy wax.
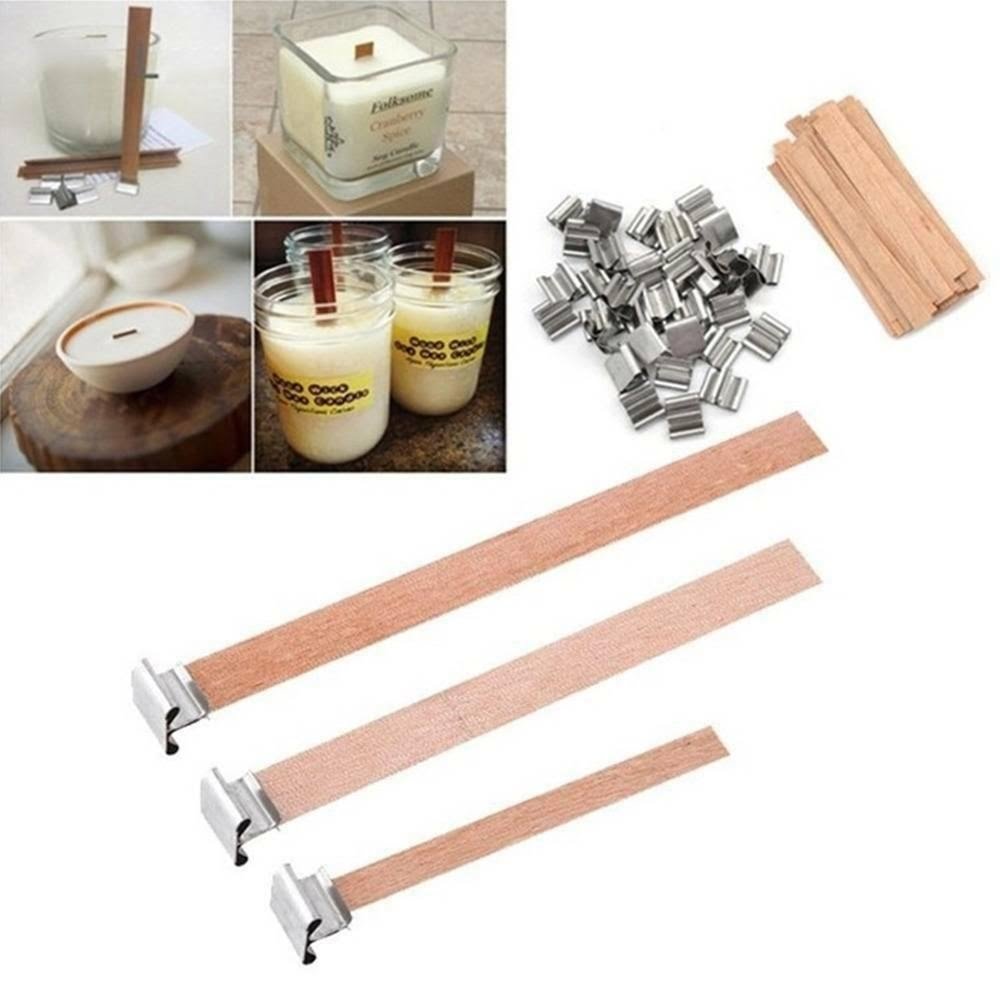
Wicking material also plays an important role in creating successful candles. The Hearths And Harbor Candle Making Kit comes with sturdy cotton core wicks which are suitable for most container candles regardless of their size or shape. Metal tabbed wicks were traditionally used when pouring large containers; these have become obsolete in recent years due to their tendency to break apart when burning. Lead-free paper core wicks are another option for those looking for a sustainable approach that is free from risk exposure; however, Zinc Core wicks provide the strongest fragrance performance and burn rate capabilities for container candles.
Step-by-Step Instructions for Making a Candle
1. Gather the necessary materials: wax pellets, wick, a heat-safe container, and an adjustable wick holder.
2. Heat the wax pellets in either a stovetop or microwave. Stovetop methods are generally faster, while microwaves require less supervision. Make sure to keep a close eye on the wax in either case to avoid overheating it.
3. When the wax has melted, carefully pour it into your heat-safe container up to the desired level.
4. Securely place your prepared wick into the adjustable holder, then lower it into the melted wax so that it rests at the center of your container. Anchor it at the bottom by gently pressing downwards from the top of your container until you feel some resistance.
5. Allow the candle to cool naturally for minimum three hours before attempting to move or light it for best results – this gives time for a strong bond between your wax and wick to form completely around it and hold steady when lit later on!
6. Once cooled and hardened, trim away any excess wick sticking out of the candle – this helps ensure even burning when lit and that no outer edges will get burned away too quickly in comparison! You should now have a beautiful handmade candle of your own! Enjoy it!
Adding Color & Fragrance
The Hearth and Harbor Candle Making Kit provides you with all the necessary materials to make beautiful, aromatic candles in your own home. Before you can start wax melting, adding color and fragrance to your candle, you need to prepare the kits, tools and materials.
First, assemble the candle kit, making sure each piece is clean and free from dirt and dust. Make sure all wicks are firmly secured inside the wick sticker placed at the bottom of a jar. Place one end of each wick in the pre-drilled hole at the base of each jar. The other ends should be attached to a wick sticker that is on top of each jar’s lid for stabilization.
Next, pick out fragrance oils or essential oils that match your desired scent profile for your candle. Determine how much fragrance oil you will use in each candle based on its size – usually no more than 8%. To ensure an even distribution of color throughout the wax mix it evenly with a wooden stir stick before pouring into containers and add color according to preference using dye blocks or liquid dye drops. Whilst stirring continuously, pour melted wax into prepared containers up until it reaches just below the inner lip of each container. Refrain from overfilling containers as they may not settle properly once cooled! Finally, wait until wax has fully hardened before using or gifting your custom-made scented candles!
Finishing Touches
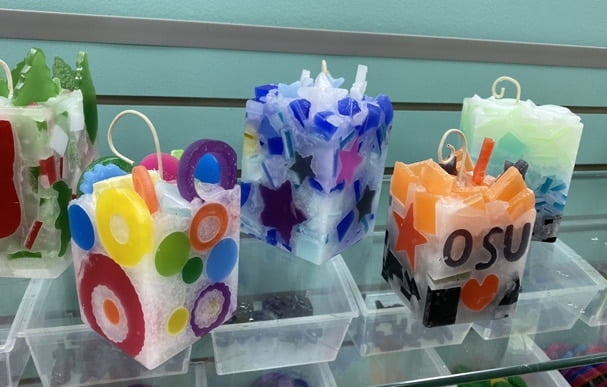
Once your candle jar is filled with wax and has a wick in place, you can add extra decorations or embellishments to make your creation unique. The possibilities are endless here, from using paint markers, glitter, mica shavings, dyed wax chips, and more! Be sure to place the embellishments along the sides of the jar or directly on top of the wax so they stay put when burning. For example, if you’d like to sprinkle mica around the sides of the jar, you can melt an extra cup of wax and pour it over top of the mica before it hardens. This will help everything stick together better. You could also use glitter to achieve a similar effect as well as add some sparkle and shine to your candle. If desired, use a paint marker to write messages or draw images on top of the surface once it is dry or even add layered colors for an impressive display.
Finishing Touches
The final touches of your candlescape are just as important as the candle making process itself. To cap off your candle making experience, it’s important to experiment with different methods for arranging the candles. As a general rule, try not to create straight lines with the illuminated areas and instead opt for asymmetric displays that make use of deep purples and warm yellows in combination to generate an inviting atmosphere. Consider placing low-level tea lights around a grand centerpiece if you have several candles available, such as a chandelier or storm lantern. It’s always beneficial to include seasonal motifs within the design, which can be achieved through subtle foliage accents or evergreen decorations, like small pine cones or mistletoe. Try rearranging different items within the moonshine if light intensity levels look too strong in certain areas, giving more prominence to dimly lit parts of your displays and allowing all components to balance correctly against each other. Finally, don’t forget to place your entire display somewhere central in your home where it can be appreciated fully by family and friends each day!
Helpful Tips & Troubleshooting
Helpful Tips:
1. Start by choosing a wax that is suitable for the purpose that you are using it for. Beeswax is a great option as it is non-toxic and gives off a sweet, pleasant smell.
2. Make sure to wear safety equipment such as safety glasses and gloves when handling hot wax.
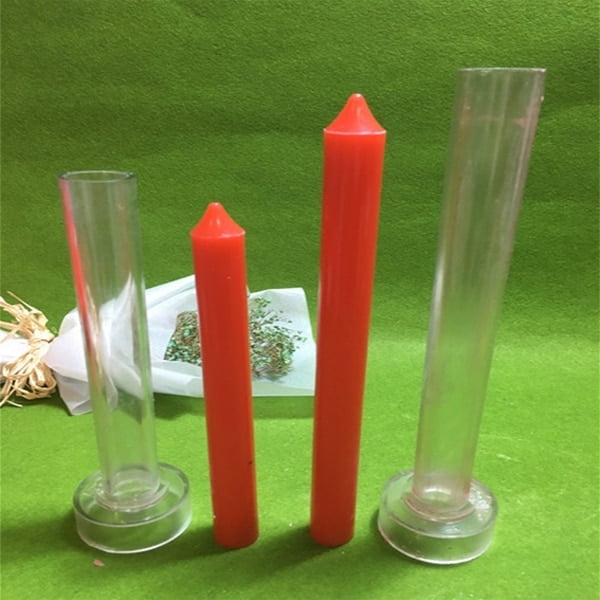
3. It is best to use metal or silicone molds when making candles as they provide the most consistent results. Plastic molds may be easier to clean, but will not provide an even shape and texture.
4. Make sure you buy enough wax for your project so that you have enough material available in case of any imperfections during the candle-making process.
5. Before pouring the wax, make sure your wicks are centered and secure on the bottom of each mold.
Troubleshooting:
1. If your wick falls off when pouring the wax, make sure to secure it again before continuing with candle making process.
2. If you run out of wax during candling making process, melt more wax down in separate container and pour it into the remaining candles moulds before they cool down too much ” this will ensure an even finished product with no ewer marks between two batches of melted waxes
3. If your candle becomes misshapen or has an uneven texture after hardening, re-heat the base of the candle using a heat gun or hairdryer until pliable before reshaping carefully with metal or wooden utensils while keeping safe distance from heat source to avoid over heating
DIY Projects With Your Leftover Candle Supplies
Once you finish making your candles with the Hearth and Harbor Candle Making Kit, don’t throw away the extra supplies! There are so many other projects to do with your leftover supplies. Here’s how you can get creative while upcycling your materials:
1. Make Soap: With the left over wax and wicks, you can make small bars of handmade soap to give away as gifts or decorate bathrooms. Simply melt your candle wax into a mold, add herbs, scent oils and favorite additives before freezing it in the mold and cutting it into bars.
2. Create Pot Pourri: Mix citrus peels with essential oils such as lavender or peppermint, dried petals from flowers like roses and mock orange and spices for a home that smells pleasant; this mix can also be used as a decoration in a bowl on top of a shelf or coffee table.
3. Make Jewelry: With glue guns, cardboard strips and candle waxes, you can create beautiful charms by sticking together melted colors for necklaces, earrings and more! Let it cool down; poke holes to string leather threads through each piece (or glue) for beautiful handmade jewelry sets.
4. Decorate Candles For Others!: Melt any remaining wax onto new containers such as mason jars or beer cans – they make perfect vases – then add glitter, rhinestones and paint to give them unique shapes or designs. You can even try printing out images of cartoons or kanji letters then heatedly press them onto the outside of jars before adding some wax around them. Your friends will love these personalized decorations!
Conclusion
Congratulations on finishing your Hearth And Harbor Candle Making Kit! You have successfully mastered the basics of candle making. From melting and blending your waxes, to choosing the perfect wicks, to mixing essential oils or fragrances into your melted wax – you now have an array of creative ideas and options available to produce beautiful and unique candles. Now it’s time to show off your skills by displaying the candles you’ve crafted in your home, gifting them to friends and family, or even turning your hobby into a business. Whatever route you decide to take with this newfound skill, have fun celebrating your success!

Welcome to my candle making blog! In this blog, I will be sharing my tips and tricks for making candles. I will also be sharing some of my favorite recipes.

