Introduction
Beeswax is a natural wax made by honeybees of the genus Apis. It has been used for centuries as an ingredient in candles, soaps, and cosmetics. Beeswax is composed primarily of long-chain fatty acids, esterified with various long-chain alcohols and hydroxycarboxylic acids. Its use can be traced back to ancient civilizations, providing us with an impressive evidence of how useful this material has been to our ancestors.
The biggest benefit from beeswax is that it emits negative ions when burned, which purify the air and can help improve concentration levels. Studies show that beeswax candles burn longer and brighter than paraffin candles, produce less smoke and usually have a pleasant smell. With its superior burning properties, it makes an ideal type of candle wax for making beautiful artisanal candles.
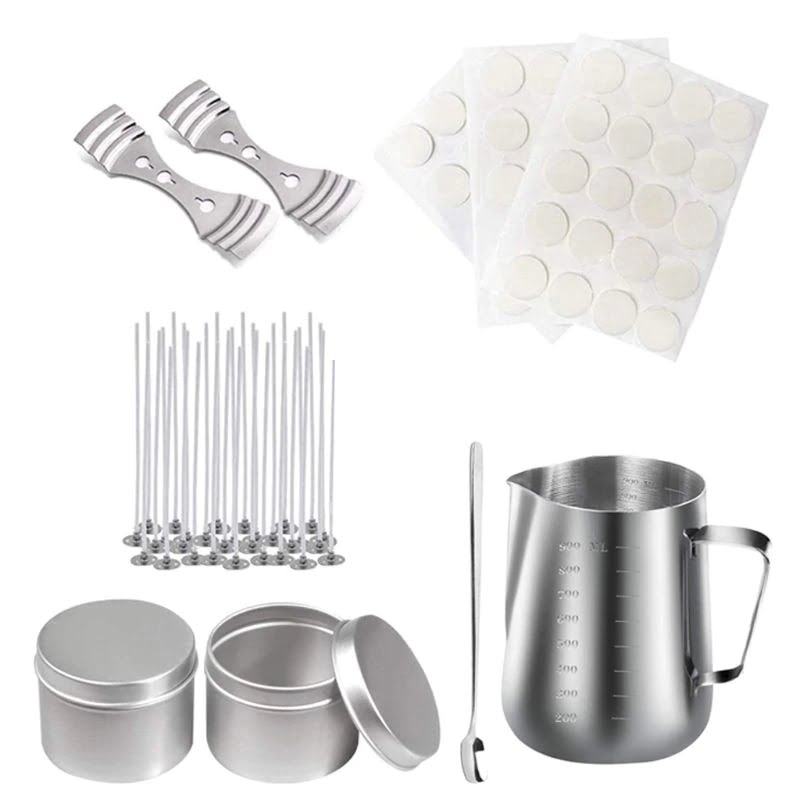
To make beeswax candles out of raw materials like beeswax pellets or blocks requires some essential equipment such as a double boiler to melt the wax in, molds to shape your candles into, wick tabs with attached wicks to fit the molds,. Additionally you need something to mix in fragrances if desired. With all ingredients at hand now you are ready to make your own beautifully crafted beeswax candles! Start by heating up the right amount of wax in the double boiler or a microwave until completely melted and combined with any fragrances if desired. Once you’re done pouring the liquid wax into your molds while suspendedly affixing your wick tab on one end of each mold beforehand , it will set relatively quickly perbarring proper levels temperature control . After cooling period ,remove from mold and trim wick for better burning quality . Your handmade beautiful pure beeswax candle awaits now! Enjoy!
Gathering Materials
In order to make your own candles out of beeswax, you will first need to gather the materials necessary for your project. You can find beeswax from a variety of places, including artisan suppliers, farmers markets, some convenience stores and online retailers. The beeswax should come in small pellets or bars that are easy to cut down into manageable size wax chunks so you can melt them for use in candle-making.
You’ll also need a few other supplies to complete the candles. These include a double boiler and stainless steel pans to create the right temperature for melting the wax without burning it; gloves and eye protection during this process; wicks that fit different candle sizes; essential oils as additives when needed; and various types of molds or containers (such as glass jars) you are looking to make your candle in. Depending on the desired end result, you may wish to invest in kits with these supplies ” such as basic starter sets with different molds, essential oils and wicks ” all packaged together.
Preparing the Wax
Sorting the wax involves going through your beeswax and making sure it is clean, free of debris and any foreign objects. To make your work easier, you can use a sifting screen to quickly break down the larger chunks of wax into smaller pieces that are easy to melt.
Once all of the wax has been sorted, it’s time to begin melting the wax. For this step, you’ll need a double boiler, or an old pot filled with water and a heat resistant bowl. Put all of the beeswax in the bowl and put it on top of the pot o’ water on medium heat until the wax is melted. Be sure to stir it occasionally so that everything is melted evenly.
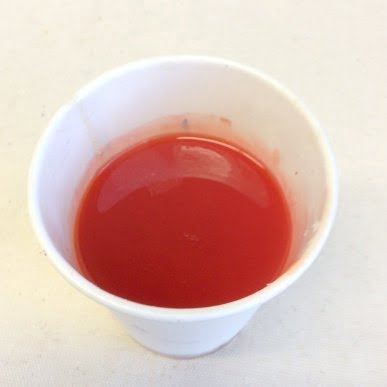
Finally, blend in any desired colors or scents for your candles. This can be as simple as adding drops of essential oils for scenting or powdered pigments for adding colors like red or blue. Once you have added in anything else that you want in your candle, give them one final stir and start pouring into molds ready for cooling and setting!
Molds & Wicking
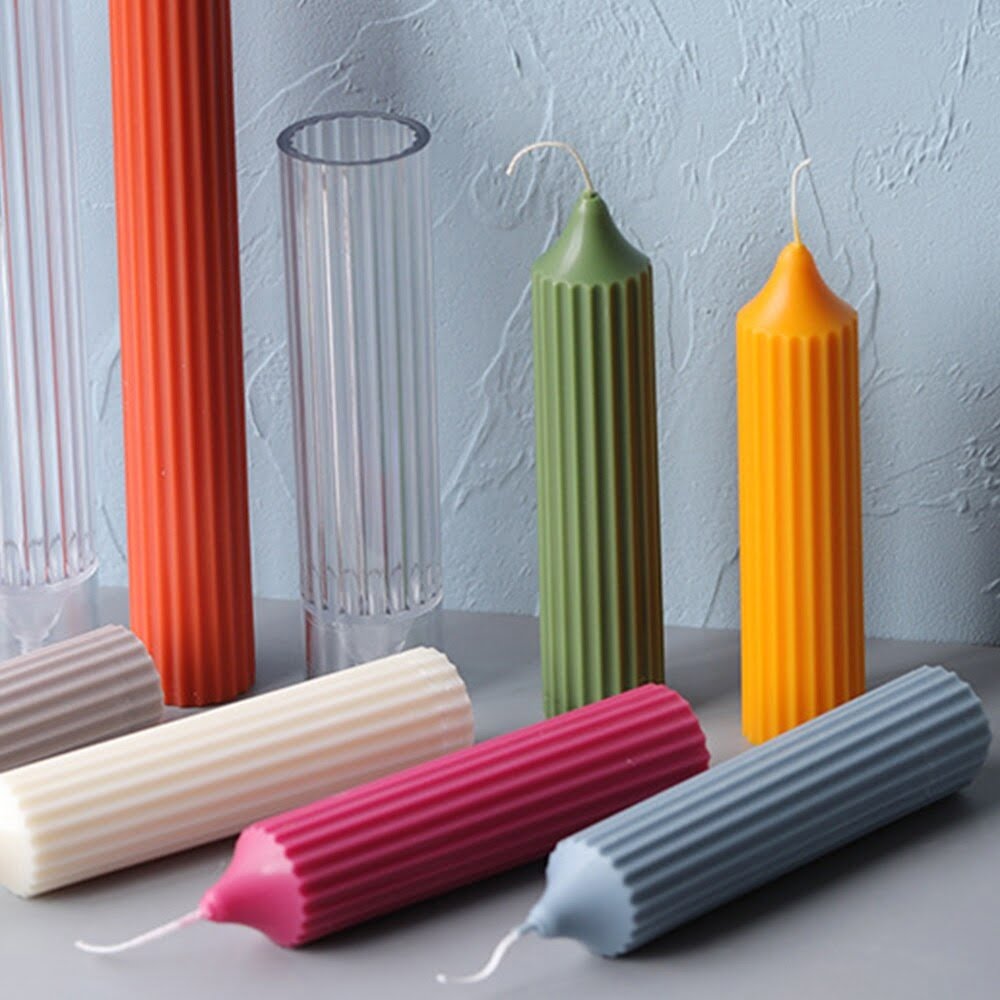
Using beeswax to make candles requires selecting the right containers or molds for your particular needs. These molds can be made from a variety of materials such as metal, ceramic, glass, and silicone. The ideal mold will depend on how you plan to display your candles and the size and shape that best suits your space. After selecting perfect molds, the next step is adding wicks to each of them. This is an important part of making bees wax candles because it helps them burn properly and evenly. Cotton or paper-covered wicking is generally recommended, but hemp core as well as flat braided pre-tabbed wick are sometimes preferred. In any case, you should use larger sized wick than what’s usually suggested for other types of wax such as paraffin or soy wax in order to get an optimum burn rate so that your candle finishes burning while still inside the mold instead of spilling over onto outside surfaces. Additionally, you may want to purchase a specially designed tab that helps hold the wick in place if you don’t plan on using a pre-made tabbed wick.
Melting & Pouring
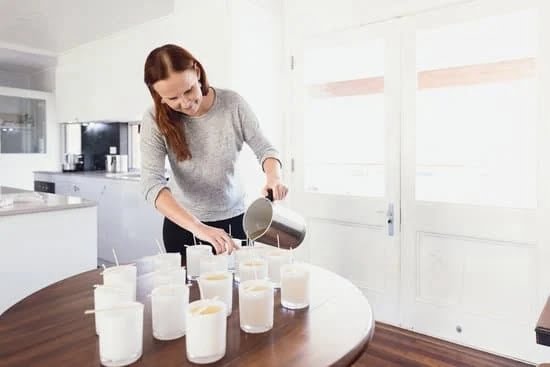
Making candles out of beeswax is a fun and easy DIY project. The process begins with melting the wax. This can be achieved by using a double boiler or by heating the wax in an oven at a low temperature. When the wax has melted, it should be carefully poured into candle molds. It is important to have a steady hand as you pour to make sure that the wax stays in the mold and does not run over the sides. After pouring into each mold, it can take up to 24 hours for them to cool down and harden. Once fully cooled, you can remove them from their molds and add wicks as desired. Depending on what type of candles you want to create, you may also choose to add in items like dried herbs or essential oils for scent before pouring it into the molds. With a little patience and practice, making your own beeswax candles can become an enjoyable hobby!
Adding Color & Scent
Beeswax is a great material to make your own candles out of due its high melting point, pleasant scent and natural creamy color. If desired, you can customize your candle-making process by adding colorants or fragrances. Colorants may be included in the wax mixture before pouring it into the candle holder, giving an even and vibrant color throughout. For layering colors, you may do this in individual pours. Make sure that if you are adding any type of chemical – such as fragrance or dye – to heat them separately before adding them to the wax mixture in order to avoid damaging certain aspects of the wax such as scent or consistency. Many craft stores carry durable dyes specifically designed for use with beeswax. Different types of fragrances can provide many different aromas throughout your home; essential oils are well suited for this task and are available in hundreds of varieties. Before using a particular oil, however, research the specifications on its label; some essential oils have low flash points which might create complications within hotter temperatures and require more frequent replenishment of wick fuel. Therefore, carefully take into account all considerations when deciding on what kind additives to include for your customized beeswax candles!
Finishing Touches
When it comes to making candles out of beeswax, adding finishing touches is the key to completing your project. After you’ve poured the wax into the mold, you need to ensure that the surface of the candle is level. This ensures that the correct amount of wax will be used in the candle and will produce an even burn. You can use a spoon or spatula to gently scrape off excess wax from where it’s needed until it is even with the edges of the mold.
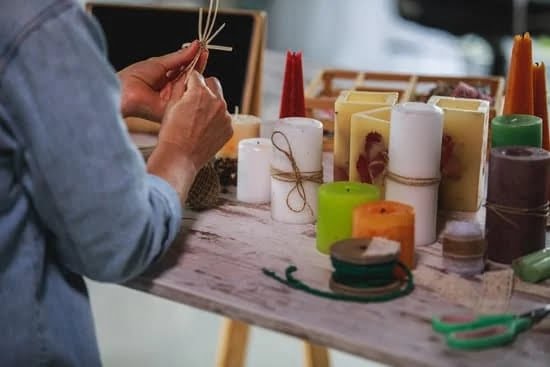
Once your candle is leveled, you can now add embellishments. If you’d like a more decorative look, you could add scent beads or essential oils to your candle. If desired, you may also choose to paint or draw designs on your finished product using natural food coloring or a fine brush. Alternately, you could choose some ribbon or cloth pieces made by hand which could then be glued onto your candle for an enhanced appearance and feel. Lastly, you can finish off your creation with glueing a wick tab onto one end before applying a pre-made cotton wick; this helps keep it secure and centers in place as it burns up from within.
Troubleshooting Common Issues
Tunneling: Tunneling occurs when the wick does not burn all of the way down correctly. To avoid this, you should use a wick that is appropriate for the size container used. You should also pour your wax either at a cooler temperature or let the candle cool completely before burning it. Frosting: Frosting can be caused by pouring the wax at too hot of a temperature or if contaminants are present (such as dust on the sides of the container). For best results, pouring temperatures should be between 100° and 150°F (37°C to 65°C). Also, ensure that all containers and equipment used have been properly cleaned beforehand. Uneven Colors: Uneven colors are often caused by introducing mixing during wax cooling. Make sure to blend your wax thoroughly before cooling it and then don’t disturb your candle after setting it up in the container.
Curing & Enjoying
Curing the wax of your handmade beeswax candles is essential for ensuring that your creations are lasting, quality pieces. This can be done through a simple process of warming and cooling. First, place the candles in a warm room and allow the wax to liquify completely. This will help even out any irregularities in the surface of the wax. Start by leaving it alone for a minimum of 24 hours, then move on to turning each candle upside-down over a pan until all of the excess liquid has been poured away. After this cooling process is complete, leave them undisturbed again for up to 48 hours before finally placing them in their desired shape or container.
When your candles have fully cured, light them and enjoy! Each votive or tea light may take some time to reach its chosen shape as it burns down, and burning them slowly will help keep their scent clean and pure while maximizing fragrance longevity. The resulting glow from your handcrafted candles serves as a reminder of all you have accomplished”from making an invaluable contribution to sustainability with responsibly sourced beeswax from local apiaries to mastering candle design projects with beautiful end results!
Conclusion
Making your own candles out of beeswax offers a number of benefits that make the process worthwhile. The most significant benefit is that the raw materials are natural and renewable, meaning no resources will be lost in the manufacturing process. Beeswax is also considered to be a sustainable and ethical choice because it has a low environmental impact, uses all-natural ingredients such as essential oils as fragrances, and is not tested on animals. Additionally, beeswax candles last much longer than other types of wax candles; they burn brighter and more evenly. Not only do beeswax candles produce less soot, but they are also known for their intense aroma, making for an enjoyable experience with each candle lit. Last but not least, creating your own beeswax candles at home can save money compared to buying pre-made ones from the store since you’ll only need to purchase the necessary supplies once before you can start using them over and over again.

Welcome to my candle making blog! In this blog, I will be sharing my tips and tricks for making candles. I will also be sharing some of my favorite recipes.

