Introduction
Coconut oil has been used for centuries in a variety of applications, particularly as a source of light. In fact, it is believed that the ancient Polynesian navigators who crossed thousands of miles of ocean without the aid of modern navigation technology used coconut oil lamps to guide them. Coconut oil’s relatively high smoke point and the absence of any odour or strange tastes makes it particularly well suited to candle making. In fact, not only do candles made with coconut oil burn brighter and longer than those made with other types of wick material, but it provides an all natural fragrance to your room when lit.
There are generally two types from which you can choose when making candles with coconut oil: refined and unrefined (or virgin). Refined coconut oil is highly processed and typically has no scent or taste; however, it does burn much cleaner than unrefined coconut oil. Unrefined coconut oil still contains some flavour and aroma, although this may be faint depending on the quality of oil you use. Both options provide excellent candles with a good burn time that heats up quickly. They also boost the smell of essential oils such as lavender or lemon if added before melting, since they act as carriers when melted in combination with wick material.
Gather Your Materials
Making candles out of coconut oil can be a fun and easy activity for any age or skill level, creating an aromatic and beautiful addition to your home. In order to make these delicious-smelling candles, you’ll need the following materials:
– Coconut oil (100g): This should be organically sourced with expeller pressed or cold-pressed oil.
Candle wicks (approx 20): Find pre-waxed wicks that are specifically made for candle making.
Wax papers: These will help keep your work area clean while handling the hot wax.
Glass or metal containers: Used as containers to pour your hot wax into.
A double boiler: This is necessary in order to create a safe environment within which to melt your coconut oil before pouring it into the separate containers.
Fragrance oils (optional): You may choose to add these if you wish, as they bring an extra layer of aroma and sensory experience to your candles when burned.
Candle dyes (optional): To further personalize your candles, use candle dye to achieve the desired color of wax once it has cooled down.
A metal spoon: Used for stirring and mixing during the candle-making process.
Preparing the Container
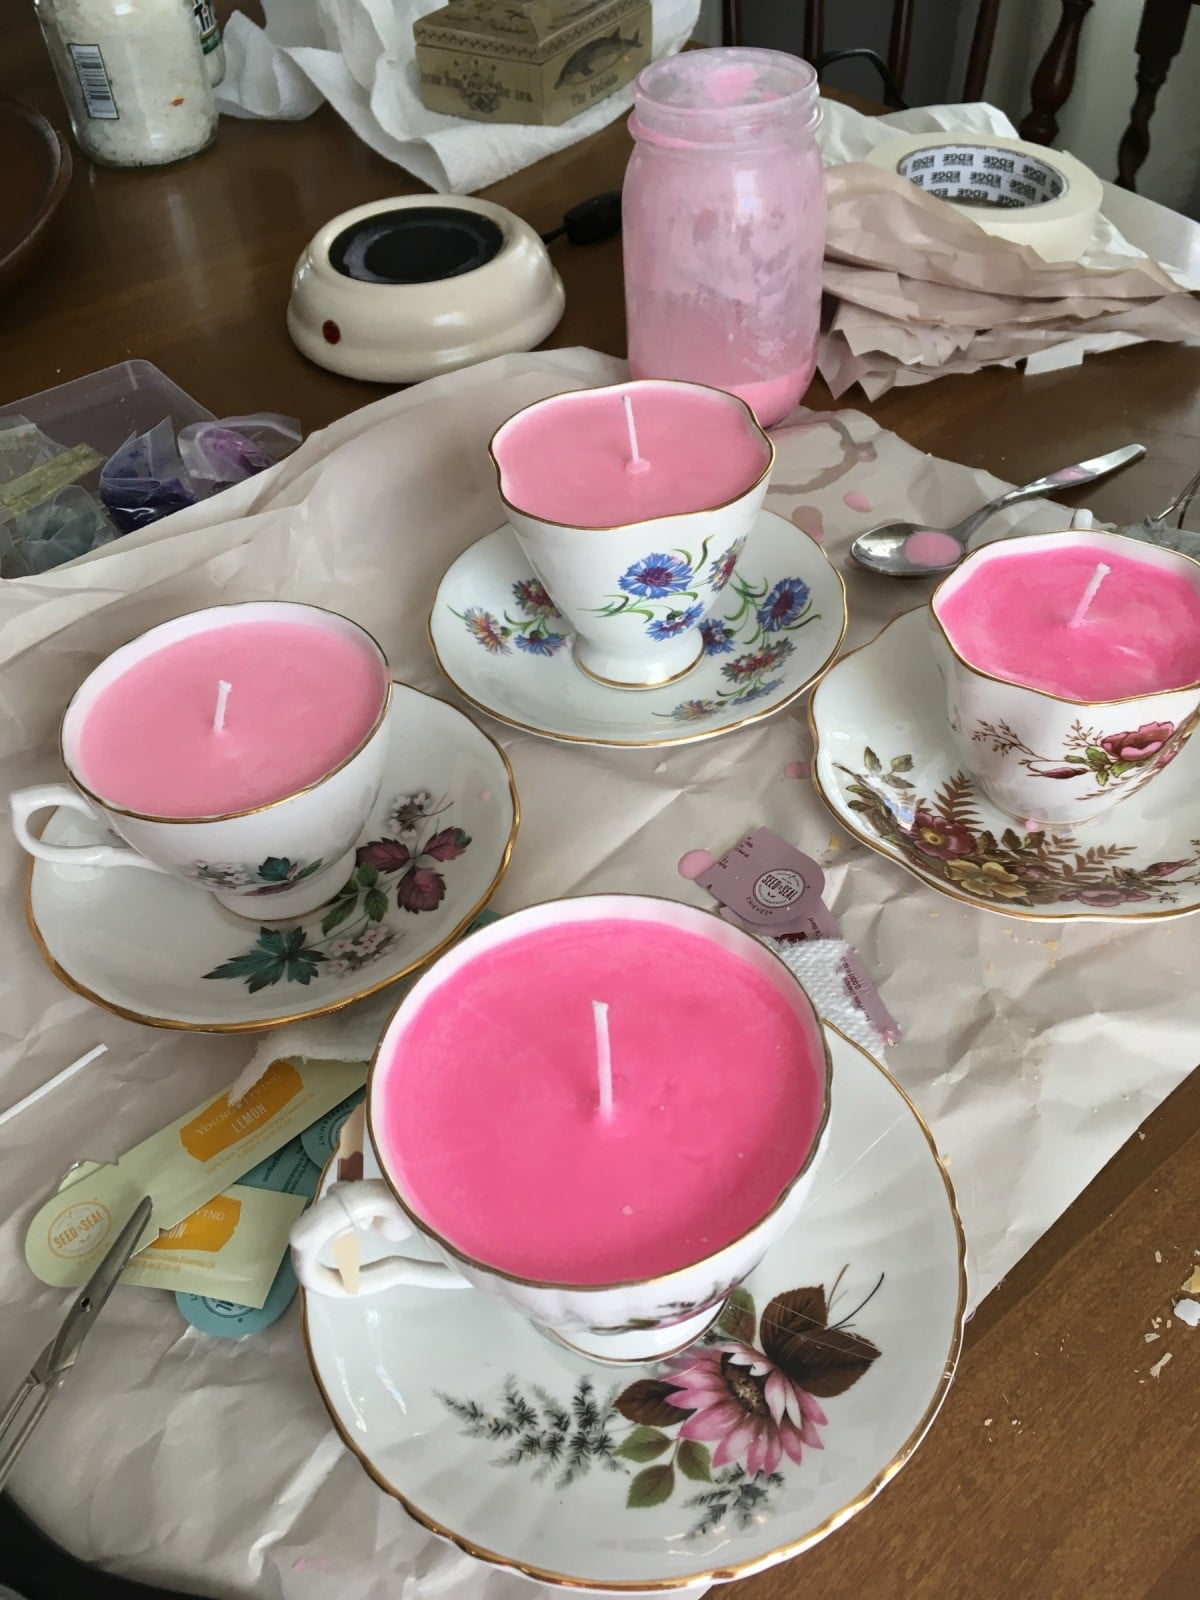
When it comes to making a candle out of coconut oil, you will need an appropriate container in which to pour the melted wax. A few options for containers include metal tins, glass jars, or ceramic cups. Before you can use any type of container for your candle-making project, however, it is important to take the time to properly clean and prepare them beforehand.
If you are using a metal tin: First, rinse the tin with warm water and a mild detergent to remove any dirt or debris from its surface. Once it is clean, allow it to dry completely before proceeding to the next step. Next, use steel wool or sandpaper to gently remove any paint or other decorations from the surface of the tin. After that has been done, place several layers of newspapers inside the tin and fill it with strong saltwater so that all surfaces can be covered (even if a few inches of it are above the rim.) Then let this sit overnight and drain out all water afterward ” removing all tracesof saltwater in process. When everything is ready and you have one final time checked that there isn’t any water left behind in your container ” go ahead and proceed with pouring in your melted coconut wax as per instruction received.
If you are using a glass jar: Wash the jar thoroughly with hot soapy water then rinse despitely to avoid any residue being left behind on your walls. For thorough cleaning check if possible between folds on lid’s grooves or corners where particles can stick easily ” dustbin those thieves before continuing on! Place two sheets of newspaper at bottom before pouring coconut wax for few hours duration; press down hard with spoonful assists so no air pockets form up base layer when pouring recently heated mixture into container (hence opening space for liquid seepage). When completed – et voila! You now have perfectly prepped receptacle complete filing with delicious scented possibility action!
If you are using a ceramic cup: The best way to clean out these types of containers is by boiling some water inside them along with baking soda; letting this sit overnight should be enough time for it work its magic! Afterward use sponge dipped vinegar solution wipe over whole area while taking extra precaution not splash around too much liquid outside edges vessel (since certain materials absorb more liquid than others). Be sure also check handle makes no bends during whole process otherwise may become fragile under great temperature treatments ahead; once complete simply let cool down naturally at room temperature away from heat sources! From there proceed top filling with desired combination chilly liquid waxes hopefully discovering innovative scents just waiting erupt beautiful tropical fruits summer ice creams — only limit imagination never stop trying new combinations until reach desired success perfecting art fragrance fashioning delightfully scented candles ever wanted make home!!!
Pouring the Coconut Oil
Making Candles Out of Coconut Oil
Pouring the Coconut Oil – Before pouring the coconut oil, start heating it in a double boiler over low heat. Once fully melted, you can add any essential oils or colorants that you like. Stir everything together well so as to infuse these additives into the liquid oil and ensure an even distribution once cooled. If your container is metal, wait until it is warmed before pouring in the oil. For glass containers, carefully fill each below the air pocket at the center. The air pocket will help prevent bubbles from appearing between layers of colored waxes when poured. For best results, use a ladle or slow-pour spout when transferring the melted oil into containers. This will allow for more control and reduce splashing or spilling as you complete this step. Finally, hold each candle still and check if there are bubbles or irregularities on the surface which can be quite easily removed with a soft brush when they are hot and liquid before they cool off and become hard and solidified.
Adding Scent and Coloring
Fragrance and dyes are a great way to customize your coconut oil candles. There are a variety of ways to scent or color your candles, depending on the type of fragrance or dye that appeals to you. The most common type of fragrance comes in the form of essential oils, which come in both natural and synthetic varieties. Natural essential oils are typically more expensive than synthetic, but they provide a stronger scent. Synthetic fragrances tend to be more affordable in comparison, and offer an array of different scents to choose from. It’s important to remember that some essential oils may be irritants when used in high concentrations, so make sure you follow the instructions carefully when using them.
When it comes to coloring your candles, food-grade dyes are the safest option since they don’t contain any hazardous agents like lead or cadmium. When using these types of dyes, it is best to add about 1 teaspoon for every pound of wax for medium colors; if you prefer darker colors you can use more. Remember that different colors have different reactions with wax, so research the effects beforehand if you plan on blending colors together. Safety should always be your first priority when working with flammable materials such as wax or flame!
Finishing Touches
Making candles with coconut oil is a rewarding and fun activity which can be done at home. You don’t need any special equipment or tools because the supplies you need are inexpensive, easy to source and can be reused several times. After you have melted the coconut oil in a pot over medium heat and poured it into your molds, there are many ways you can decorate the candles. Here are a few ideas:
1. Color and fragrance ” Candle colorants and essential oils can be used to enhance the look of your candles. Before pouring the wax into your molds, add some drops of food coloring for vibrant colors like pink or blue and drops of an essential oil for scents like rose, lavender or cedarwood.
2. Decorations ” Items such as glitter, leaves and dried flowers can also be added before pouring the wax in order to create decorative patterns inside the candle’s body. Small animal figurines such as shells, tiny wooden blocks or glass beads make gorgeous accents once the wax has solidified.
3. Wax swirls ” If you have some extra wax left over from another project, use it to carefully drip stripes of color over top of melted coconut oil before pouring it into your mold. This will produce delightful colorful swirls on small votive candles or larger tea lights.
To add even more special touches to your candles after they have hardened a bit, try constructing crowning elements out of ribbon or lace fabric by creating desirable shapes using simple stitching techniques around the base of each candle pillar. To make an item much more attractive use adhesive crystals or shiny stones placed on one side at strategic locations along its surface resulting in an added glimmery effect when seen against daylight or near any artificial light source coming from electric lamps in various colors ranging from warm power whites to blue LED lanterns. Finally don’t forget about metallic finishing sprays that work great for coating entire surfaces with ductility offering safe guards against water infiltration thus clearly protecting any applied decorations against elements found in nature outdoors taking full advantage of their longevity characteristics adding much value overall to these amazing homemade items!
Burning and Storing Your Candles
Burning Your Candles: It is best to burn coconut oil candles on a heat-resistant surface and away from any drafts or vents. Before use, trim the wick to approximately 1/4 inch each time before lighting. To prevent smoking, always keep the wick trimmed. When lighting for the first time allow the candle to burn for at least two hours in order for a strong wax pool across the top of your candle. If burning multiple candles in an area, position them at least four inches apart to ensure proper ventilation and prevent excessive flame height.
Storing Your Candles: To preserve the scent and prolong their life it’s important that you store your coconut oil candles properly when they’re not being used. Wrap your candles tightly with aluminum foil or store them in an airtight container to keep dust and debris out while preserving its aroma. You can store them in a cool, dark place away from direct sunlight, such as inside a cupboard or wardrobe where temperatures vary less throughout day and night. It should also be noted that you need to carefully clean up melted wax immediately after extinguishing the flame as wax residue can cause staining on surfaces which may not be easy to remove.
Conclusion
Making candles out of coconut oil is a great way to bring a warm and calming atmosphere into your home. There are several advantages to using coconut oil as the base for these homemade candles, such as improved air quality and aroma as well as less strain on the environment. In addition to making traditional pillar or taper-style candles, you can also make decorative votives or even tea-light cups with wicks. Not only will these handmade candles offer gentle illumination, but you can also personalize them with essential oils and organic dyes for added appeal.
Beyond the simple pleasure of making something for yourself, utilizing coconut oil for crafting can open up new possibilities for creating your own home décor items and special projects. You may discover that coconut oil is both versatile and enjoyable in other contexts”from body care products like homemade chapstick or lotions, to candle coating materials or molds which provide appealing shapes when cooled. The possibilities are endless; get creative and take advantage of this sustainable resource!

Welcome to my candle making blog! In this blog, I will be sharing my tips and tricks for making candles. I will also be sharing some of my favorite recipes.


