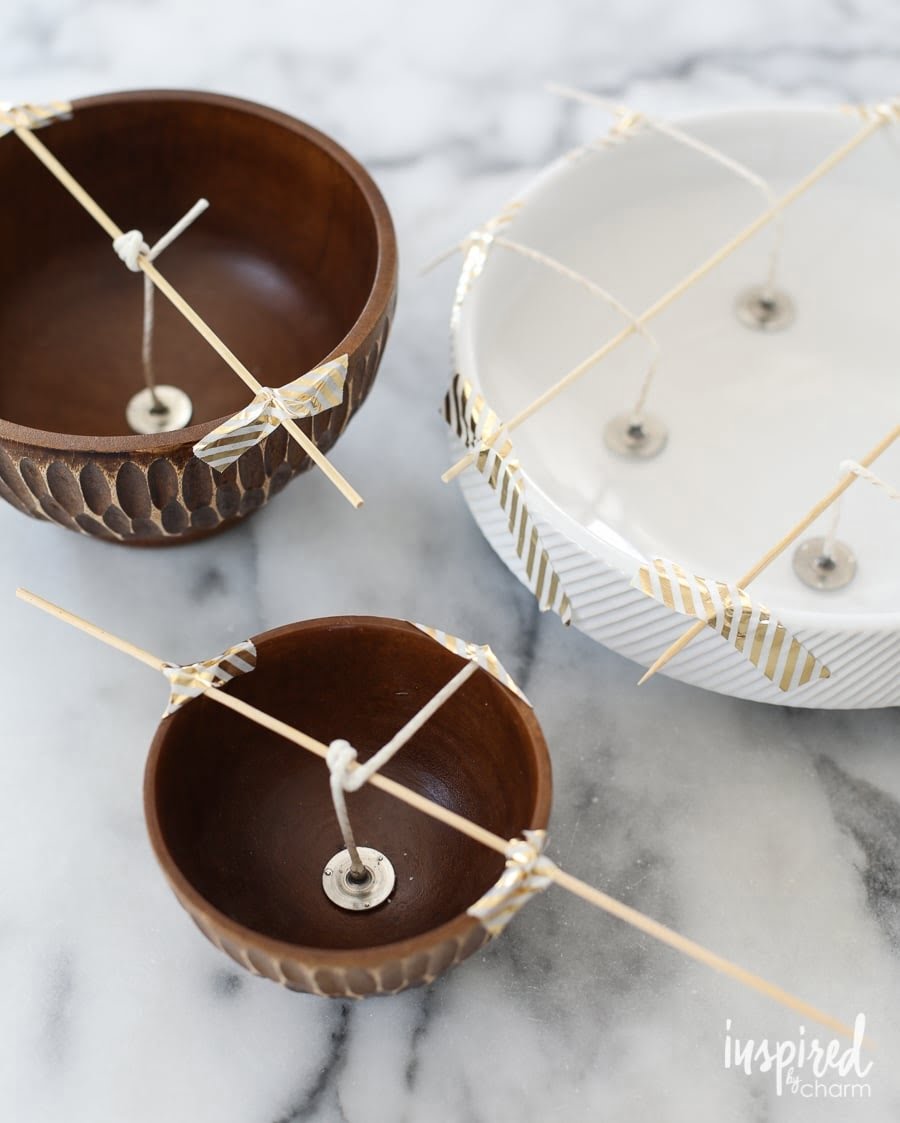
Introduction
Making tea cups into candles is a great way to upcycle and repurpose old or unused tea cups. However, there are plenty of other ways you can use tea cups too. Tea cups can double as intricate storage for everything from jewelry to spare change and small trinkets. You can also incorporate them into your decor – display them on shelves in the kitchen, stack them for an interesting centerpiece during dinner parties, or even hang them with string from the ceiling for a boho effect. Even without candles, tea cups can be used in a variety of creative ways that are sure to inject life into any room while taking up little space.
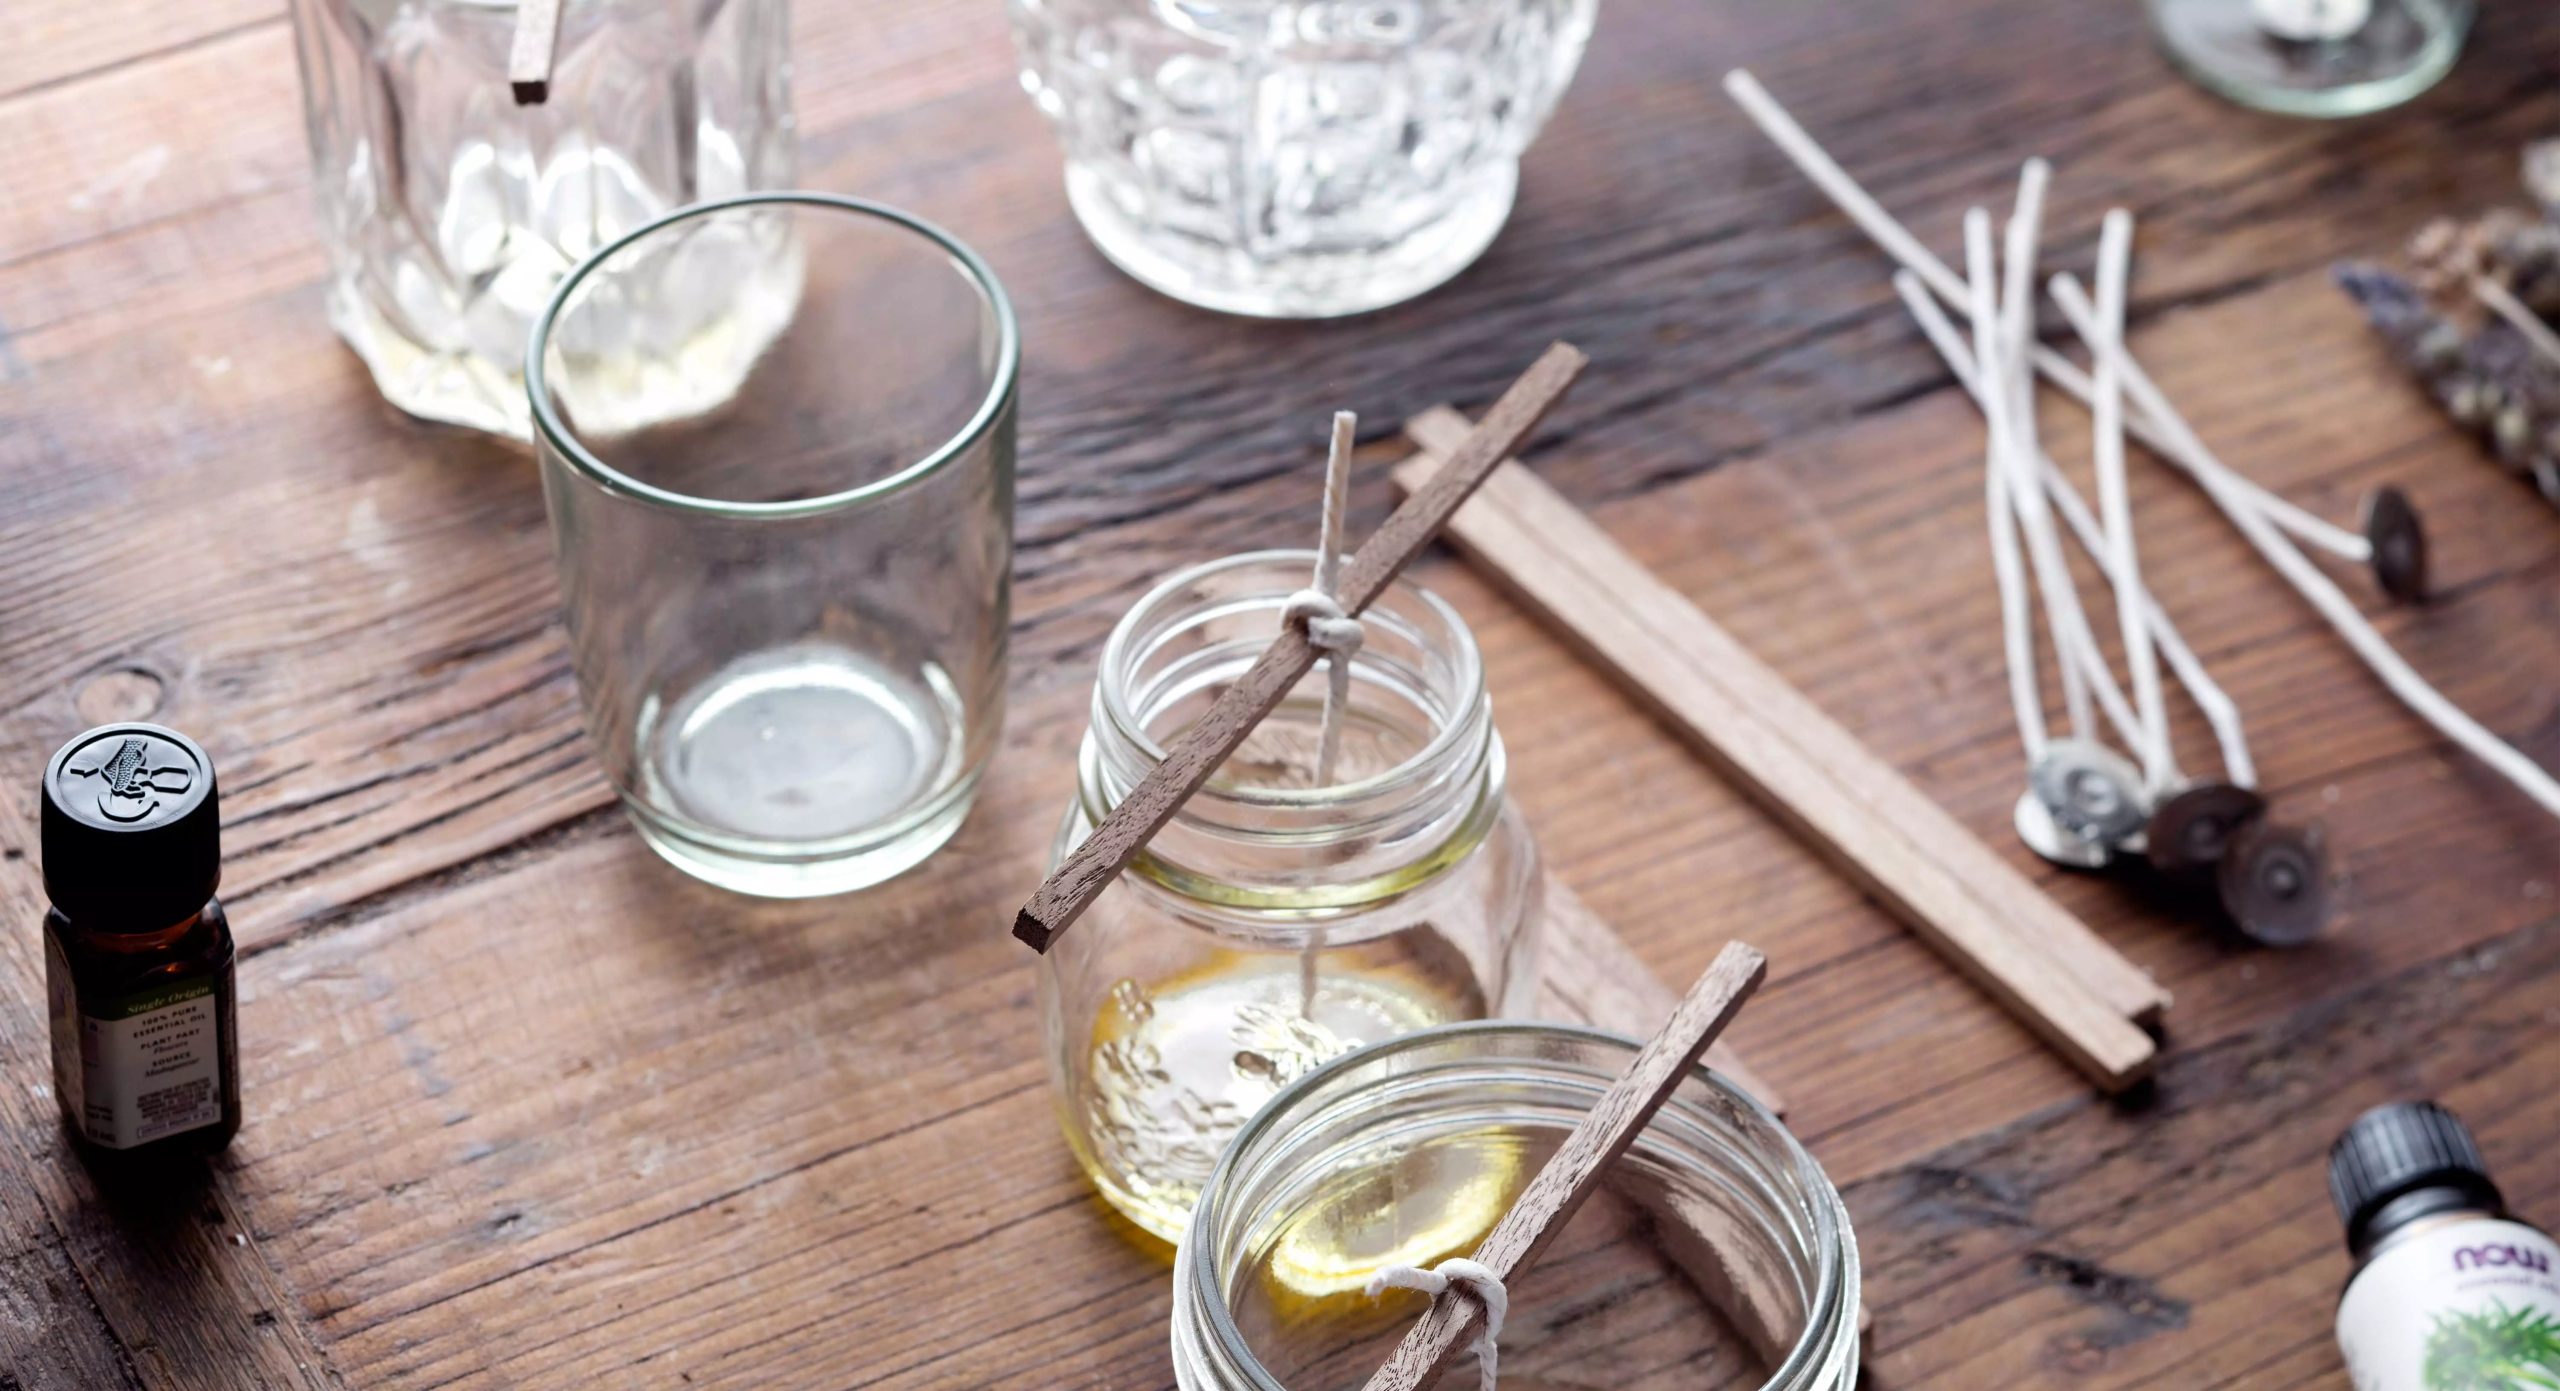
Materials and Supplies Needed
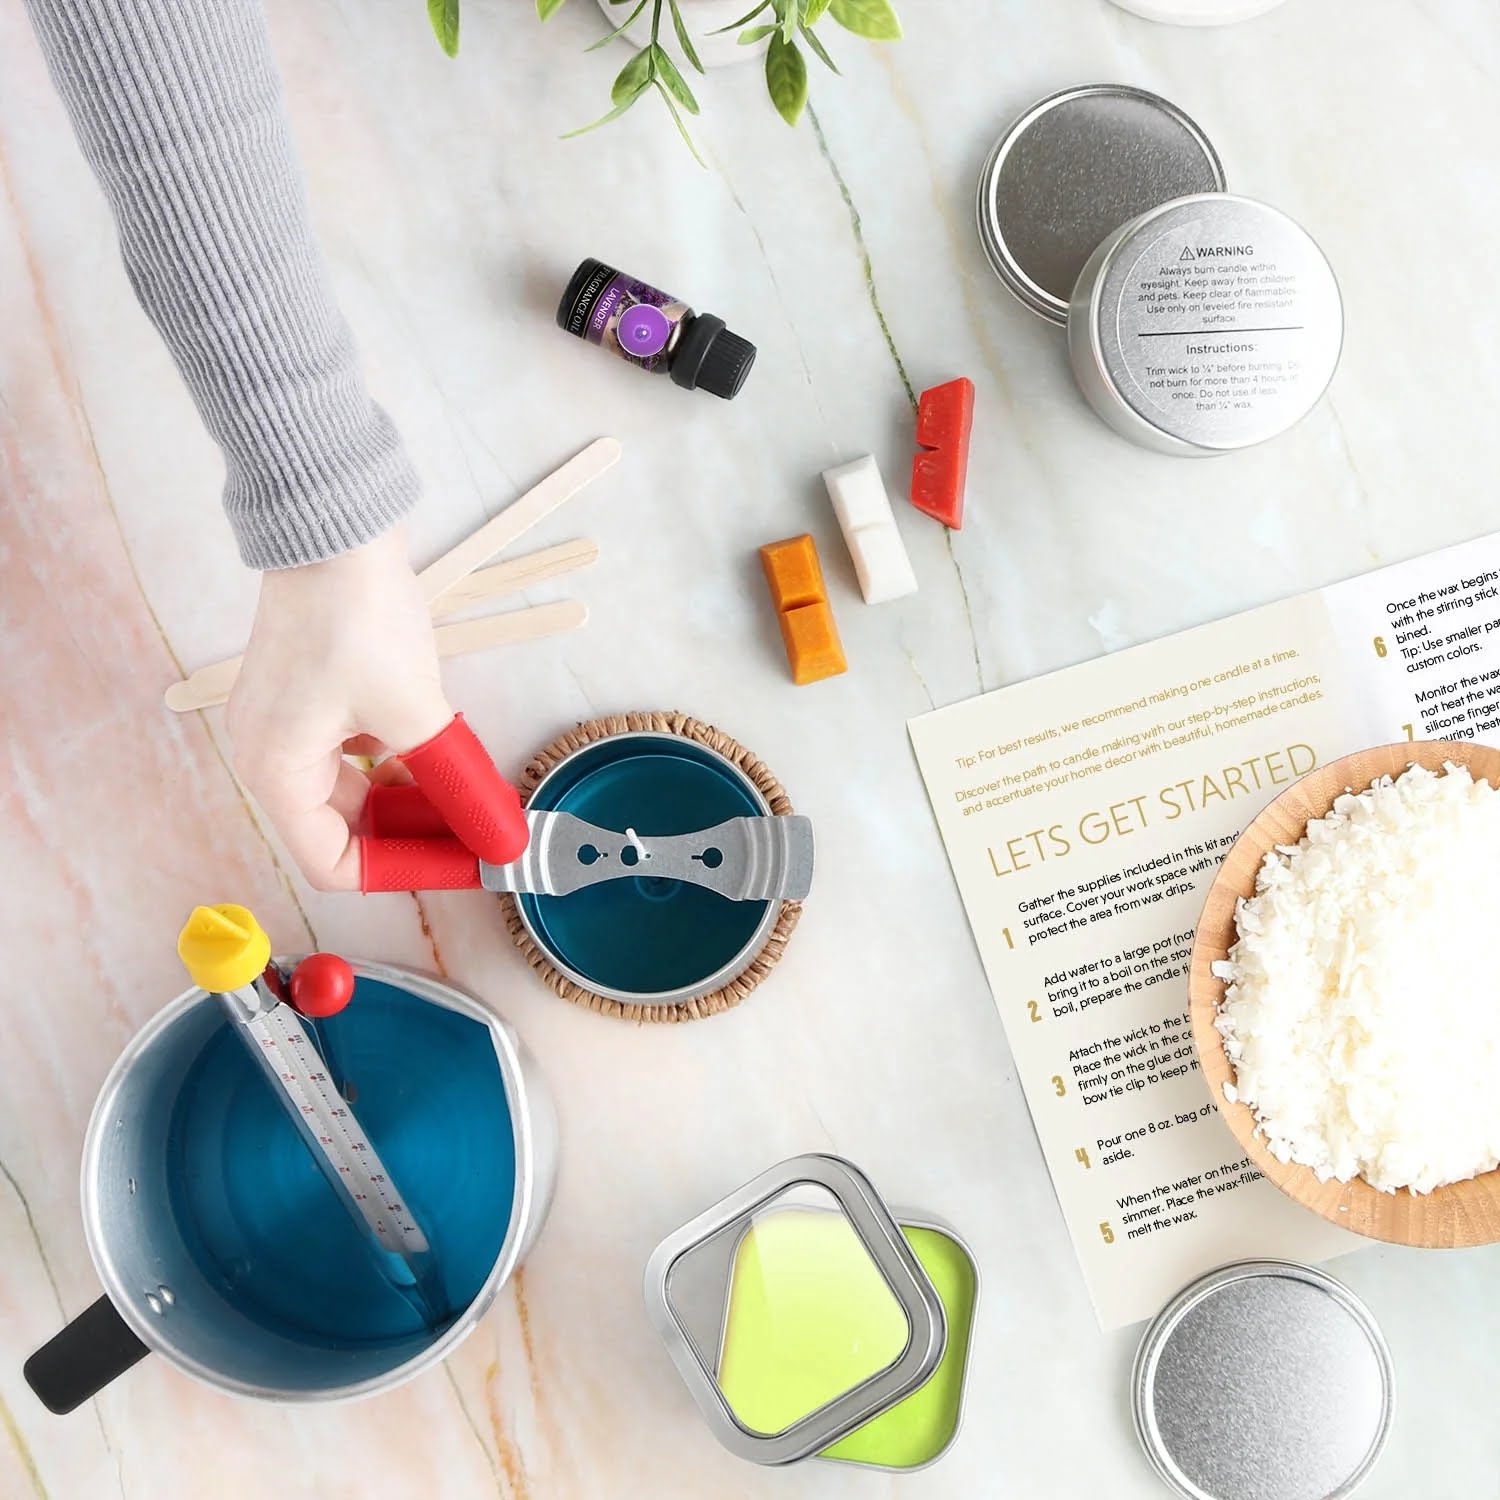
Materials and Supplies Needed:
• A tea cup or teacup set
• Wick(s)
• Craft Glue
• Candle wax (either solid irons, para-soy, paraffin wax flakes, or broken off chunks of a candle)
· Double boiler or microwavable bowl
· Pot holders, tongs or chopsticks
· Measuring cups/spoons
• Fragrance of your choice (can be optional)
• Essential oils (can be optional)
• Stirrer for melting wax such as a spoon, popsicle stick, or chopsticks
Step-by-Step Instructions
Step 1: Gather your supplies. You will need teacups, small candles, a lighter or matches, and wax chips.
Step 2: Place your teacup on a flat surface and take off any labels that are on it.
Step 3: Put a few wax chips inside the cup. This will act as a base for the candle.
Step 4: Place the candle inside the cup with the wax chips. Ensure that the wick is standing up in the center of the candle and not resting against any objects around it.
Step 5: Heat your wax chips gently with a lighter or match until they begin to melt. As they heat up, stir them periodically with something like a chopstick in order to create an even spread of melted wax throughout the tea cup’s surface area. Make sure to avoid burning yourself while you do this step!
Step 6: Once enough wax has been melted down so that it is above and around the edges of your candle in the tea cup, wait until it cools down before adjusting the wick to ensure that it is still centered in front of you when looking in from above the teacup’s opening.
Step 7: Now let your new candle dry! Make sure that you’ve adjusted the wick to be properly positioned once more before you allow your creation to fully set overnight..
Tips and Techniques
Making a beautiful and unique candle from a tea cup can be a fun and simple project for even the most novice of DIYers. Here are some tips to get you started:
1. Select your tea cup ” Choose a glass teacup or mug that is heat-resistant and microwave safe. Depending on its size make sure to have the appropriate wick, wax pellets, and a thermometer without mercury. Avoid using any vintage or antique cups if their age or value can interfere with craft success.
2. Prepare your surface ” Place old newspapers or paper towels on work area as melting wax may cause spillage. Ensure cup is clean before beginning as dirt, grime, oils, etc will appear beneath melted wax.
3. Melt Wax Granules ” Utilize double boiler method (i.e., place bowl in larger pot filled with 1” of water) to melt linseed pellets or beeswax blocks over low heat while stirring periodically; each type of wax has its own melting point so refer to product instructions & watch carefully to prevent any burning. Keep temperature between 70°C – 85°C for optimal results, using thermometer for accuracy if available. Make sure not to melt more than necessary & pour only one layer at a time; depending on the size/depth of cup, choose smaller/larger granules accordingly as this will determine how many layers can fit within container comfortably without spillage/overflow taking place when lit later on.
4. Add Wick ” Once desired temperature has been reached (ideally close to 80°C), insert premade wick into cup using chopsticks for extra help if required in order not disturb shape too much before set completely; let hang centred by pushing down edges gently so it remains level throughout entire process making sure wax does not cover top part overly much as this can impede on flame when later been used as candle (for double-wick candles make two small indentations into already cooled layer with either end pair scissors before adding other hole).
5. Allow Candle To Set – Allow everything cool completely before moving onto next step; approximately half hour should suffice however time varies n scale with particular setups made earlier in steps preceding this one; thickness partiality determines amount cooling needed so adjust accordingly until desired result achieved making sure all pieces nearby also cooled enough since heat generated causes transfer material properties from one source another quite quickly when certain circumstances exist such hot temperatures near contact surface discussed previously during introduction section prior listing aforementioned characteristics above respective consequences related nonadherence instructional advice given form text tutorial sequence provided readership public right now internet platform creation entity popularly known blogspot entry published date 3 July 2021 our knowledgeable content authorship team submission metrics form professionals who compiled list singular topics comprehensive comprehensive comprehensive information assembled compilation gathered data sourced third-party repositories literary pieces accurately formatted exclusive sole ownership owner holder reader developer publish creative writing editorial subject today
Safety Precautions
When making tea cup candles, it is important to take safety precautions. The wax you are using should be melted in a double boiler and never directly on the stove top. Make sure you are melting the wax in an area that is away from flammable materials as well as children and pets. Always wear long sleeves and gloves when pouring to avoid burns, particularly with hot wax. Wax also becomes hot very quickly and should not be handled until safe to do so.
Make sure all utensils used for pouring the wax are clean and free of debris, contaminants or sharp objects which can cause harm while pouring the wax. When burning your candle always ensure that it is in a heat-resistant container on a non-flammable surface and away from drafts so it doesn’t risk tipping over or catching other items on fire. Ensure there is sufficient headroom (1 to 4 inches) between your candle flame and the top of your need vessel/teacup so that the heat generated does not affect/damage/melt container walls. Never leave a burning candle unattended; ensure they are extinguished when leaving the room or retiring for bed each night. When extinguishing your tea cup candle dip use metal gear tongs; placing the lid over or soaking with water can cause potentially hazardous spattering of hot liquid wax throughout the room and onto nearby surfaces. Finally, remember to always discard old wicks, containers, tin plates or drip collectors responsibly by disposing them in an approved manner such as metal recycling for metal pieces and general garbage collection for all other disposable parts like wick holders or tea cups used as vessels
Possible Candle Embellishments
Making tea cups into candles is fun and creative way to repurpose old items. Once the candle melts away, you’ll be left with a beautiful cup! To make your candle look really unique consider adding some embellishments such as confetti, glitters, and colors. You can buy these from craft stores or if you’re feeling a bit more adventurous, make your own! For example, you could dye white confetti in vibrant colors using liquid food coloring to match any theme or aesthetic. You could also use colorful Glitter or sparkles to give your candle an extra sparkly effect. Add in some pressed dried flowers for an extra sentimental touch. Your tea cup candle is sure to add a nice decorative piece wherever it goes!
Conclusion
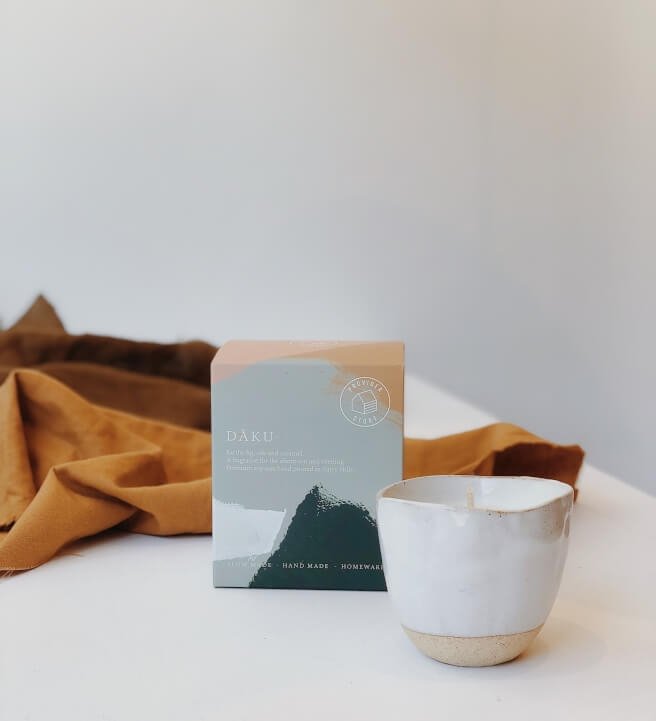
Making beautiful tea cup candles is an enjoyable and rewarding craft project. After you have successfully made your own tea cup candle, why not share the results with your friends and family? Ask them to try their hand at making tea cup candles and share their own tips and results. Or, could you think of another creative tea cup project? Share these ideas with other crafters ” you never know what interesting projects people could create!

Welcome to my candle making blog! In this blog, I will be sharing my tips and tricks for making candles. I will also be sharing some of my favorite recipes.

