Introduction
Candle Making is a wonderful creative hobby that has been around for centuries. It not only allows you to make unique and beautiful candles but can also be an economical way to make sure your home is always illuminated with soft candlelight. In addition to being a wonderfully enjoyable activity, candle making is also the perfect way to get connected with yourself – whether alone or in a group setting.
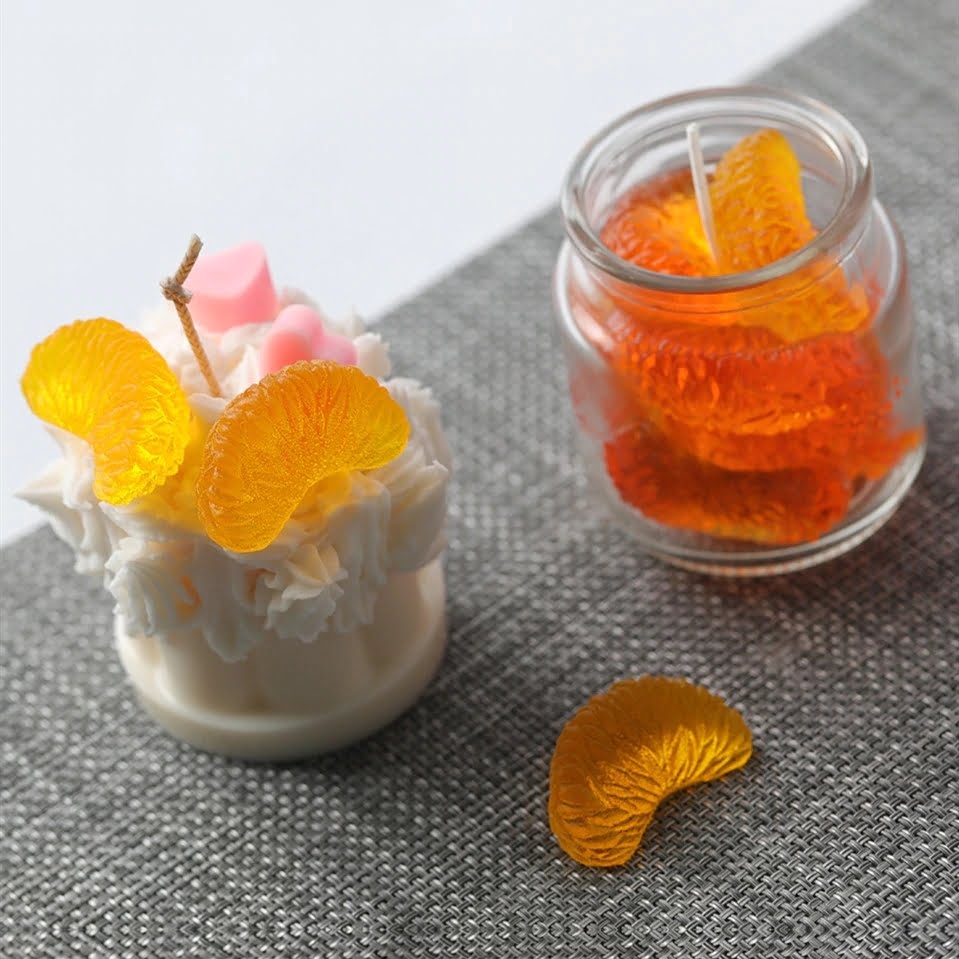
There are many different types of candles you can make! If you want to keep it simple, classic jar or taper candles are always in style. You can also make festive holiday candles or beautiful scented pillars/votives depending on the occasion. Furthermore, if you’d like to experiment with color and texture soy wax candles can offer you a great canvas for creativity!
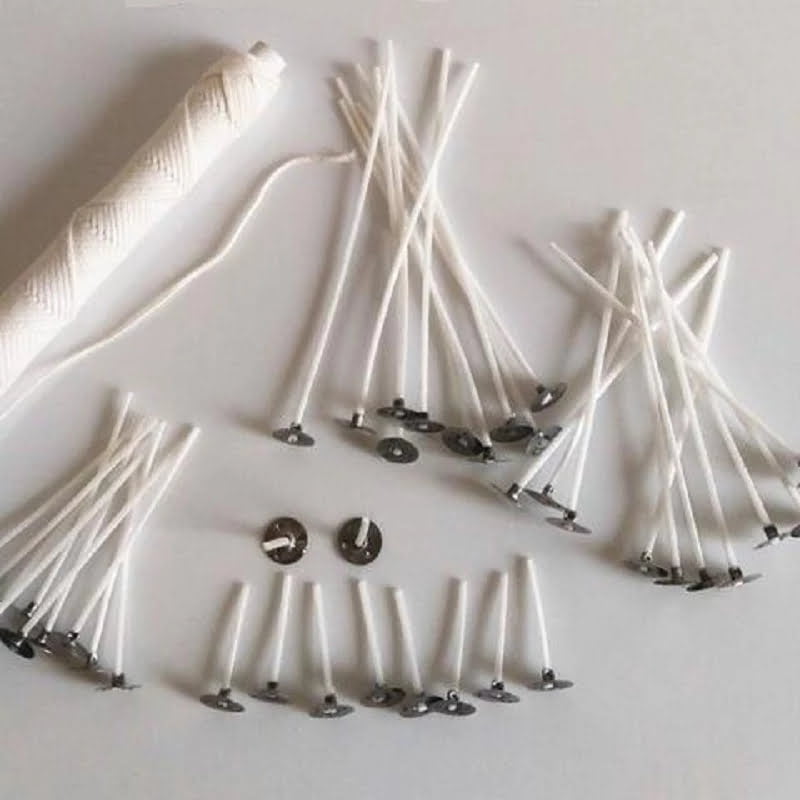
When making candles at home, the essential items needed are wax (paraffin, soy, beeswax), molds & forms (glass jars for classic candles or molds for individual candle shapes), wicks (made of cotton treated with wax), and dyes/scents (children’s safe-colored water soluble dyes, essential oils). With these basic ingredients, you will have all the tools you need to get started in creating your own personal candle creations!
Step-by-Step Guide on How to Make Candles
Making candles is a fun and exciting craft to take up. Here’s our comprehensive guide for beginners on how to make candles, from gathering materials to sealing the finished products.
1. Gather Materials: To make your own homemade candles, you’ll need wax, wicks with clips or holders, essential oils or other aromatherapy agents (optional), candle dyes (optional), and scissors. If using solid wax beads or pellets, you’ll also need a double boiler or melting pot.
2. Prep Container: If making your own container candles (not with pre-existing mugs/glasses/etc.), prep the container by applying a thin layer of adhesive wax around the perimeter of the base so that the wick stays centered as the wax expands while cooling.
3. Assemble The Wick: Tie one end of the cotton core to an object (like a pencil) balanced across the top of the container; this will ensure it remains straight throughout use and won’t sink within the hot wax mix. Secure with glue or tape if needed. Make sure bottom of wick does not touch edges or bottom of container before pouring in your melted wax!
4. Melt Wax: Place desired amount of wax into a double boiler/melting pot and heat on low-medium until fully melted, stirring occasionally to ensure all particles melt equally and nothing scalds on bottom heat element. If making your own colorants or aromatic mixtures for candles use this time to blend pigments and fragrances in separate containers prior to adding them into main hot melted wax mixture.
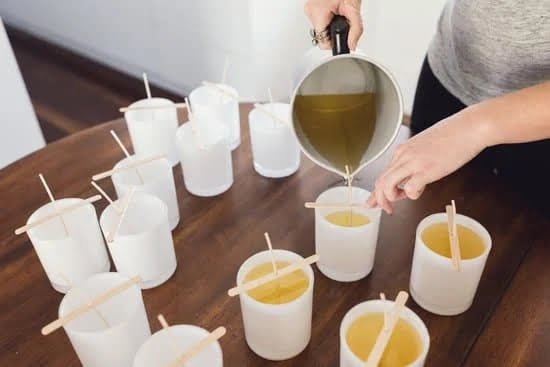
5. Pour The Wax: After ensuring all elements are thoroughly combined and uniform among texture; slowly pour melted mix into containers directly over attached trimmed wicks, filling up just below brim level so when cooled they appear slightly concave rather than bulging proudly outwards.*Allow each poured candle adequate space to cool without touching other adjacent previously filled candles as this may cause cracking once hardened.*
6. Cool And Seal Your Candles: Depending on size of individual batches being prepared always set aside 60 minutes minimum for each candle batch – whether poured in single vessel or multiple containers – after last pour has been executed for cooling process before attempting any formulating sealing operations.[utilize an oven-mitt wearing glove]While not yet sealed these molten parts can be readjusted one last time, if needed; broken off corner strips and burned ends of wires can be cleaned up/trimmed etc.; apply a quick spray aerosol from 3ft away across top surface area simultaneously breaking any air pockets risen near top edges slowly melded out surface inconsistencies etc.(always wear protective gear)[i know it may seem skimpy but various anti-static liquid cleaning solutions available at hardware stores are ideal…]Apply appropriate sealant latex glue around edge gaps above rim lip(making sure not overlap over wick); tightly wrap with extra remaining brown Kraft paper when not using glossy transparent wrapping material found at craft stores ready made & pre-sized…7 Continue until entire project is complete…and voila! Enjoy”
Recommended Tools and Materials
The amount of materials for candle making can vary depending on what type of candle you are trying to make. For more traditional types of candles, paraffin wax is a great choice for most beginner candle makers. Otherwise, soy wax, palm wax, beeswax and even gel wax can be used. You will also need wicks. These can be cotton or paper-based wicks but they come in various sizes depending on the size and type of candle being made. The wick size should correspond to the melting point of the wax, so always check the label before purchasing your wick.
In addition to wax and wicks, some people may choose to use dye to color their candles or add scent with essential oils or fragrances to create unique aromas. Candle fragrance oils are easy to find online or at craft stores like Michaels and Hobby Lobby.
Finally, make sure you have some additional equipment like a large pot for boiling water, a double-boiler set up (or two separate pots) for melting the wax, container candles molds in order to pour your molten wax into (or other creative ways for shaping your candles) heat-resistant shutters that form an enclosed space around each wick (for multi-wick candles) as well as molds specifically designed for certain types of containers.
Different Types of Candles
Making candles can be fun, creative and easy! There are many different types of candles out there to choose from and each type has its own unique qualities. Some of the most common types of wax used to make candles are beeswax, soy, paraffin and palm wax. Each offers a distinct color, scent and burning properties that must be taken into account when creating a candle.
You also need to decide on the shape or style of your candle. Some popular forms include pillars, votives, tea lights, tapers, containers and melts. Pillars have a wide base and will usually stand up by themselves. Votives come in small glass holders that contain extra wax for refills when the current candle is burned down. Tea lights can be used with special tea light holders, or they can hang inside a lantern or glass jar to create decorative lighting effects around the home. Tapers are tall and thin while container candles are made in reusable containers that come in all shapes like jars or mugs which look great as decorations even after they’ve been burned down completely. Finally, melts are scented cubes of wax that gradually release their scent into the air as they melt slowly over time.
No matter what kind of candle you decide to make, it’s important to remember that each type has specific requirements for wick size and container size so you may want to research these details before getting started as making sure everything is correct will ensure efficient burning and maximum enjoyment from your homemade creations!
Creative Ideas for Decorating Candles
The candles you make don’t have to be plain and boring! You can take your candles from plain and ordinary to extraordinary with just a few simple embellishments. You can choose from many possible decorations, such as labels or custom sayings, ribbons, glitter, feathers, rhinestones, beads, paint and wax markers. Consider even the scent of the candle itself when picking your decorations. For example, red velvet ribbon might pair nicely with a cinnamon-scented candle. To make sure all your decor ideas will work together nicely, test out combinations before actually adhering any materials to the candle surface. Glue guns are an easy and effective way to affix almost any material to most types of candles including votives or pillars. Whatever you decide to design for your candles should express your creative flair and help them stand out from the crowd.
Special Projects to Make with Candles
Making your own candle holders is a great way to boost your home decor. You will need a few basic materials like jars, glass beads, and glue. Start by pouring the glass beads into the jar to give it a fun look. Once you are finished doing that, you can use hot glue to create some unique shapes or designs around the base of the jar. You may also want to add ribbon or lace around the top of the jar for an extra decorative touch! Once your candle holder is complete, all you have to do is place your candles inside and enjoy the new look it brings to your home!
Different twisted candles are another creative project when it comes to making candles. You will need paraffin wax, twine, and old jars for this project. Start by cutting pieces of twine about two inches long. Next heat up the wax in an old pot until it’s melted down. Then dip each piece of twine in the melted wax and let them cool on parchment paper until they become hardened shells. Lastly, pour the wax into a jar and insert each twine shell gradually as you fill up the container with more melted wax until all shells form a twisted effect when finished!
Sand art jars are another great project for DIY candle making! All you will need for this is sand in various colors and sizes, mason jars and tea lights. Start by filling up each mason jar with different colored sands layer-by-layer until full. Make sure not to move it too much while filling so as not to disturb its artistic design that you’re creating! Once filled add a tea light at its centrebit will certainly make an impressive sight especially once lit up at night time!
Safety Tips When Making Candles
1. Always make sure you have proper ventilation and airflow when melting wax and preparing to make candles. Not only will this help reduce the smoke created, but it will also help prevent buildup of dangerous fumes.
2. Store wax in a safe place where it is away from any heat sources or direct sunlight and out of the reach of children or pets. Wax melts very easily and can cause serious injury if spilled on the skin.
3. Use caution when using open flame while working with waxes, as they can easily catch on fire if placed too close to a flame or heat source too quickly. Avoid wearing loose clothing which could accidentally come into contact with an open flame.
4. Always use an appropriate heat source like a double boiler or crock pot when melting wax, as pouring hot wax directly on an open flame can be very dangerous.
5. Wear protective eyewear while making candles – this is especially important if you are using fragrance oils which may release particles in the air during the candle-making process.
6. Make sure you wear gloves when dealing with wax, both cold and melted versions, as it can irritate your skin and should not be ingested or come into contact with your eyes or mouth
Wrapping Up
Making your own candle is an incredibly rewarding experience. You can customize the candles to suit any aesthetic and budget preference, as well as generate some beautiful pieces of art to showcase in your home or give away as gifts. The process of making the candles from start to finish can be calming and therapeutic, and it is a great way to express yourself creatively. Whether you choose soy wax, beeswax, paraffin wax, scented oils, or whatever else interests you, candle making is an amazing way to create something truly unique and make any room feel a little bit cozier. Whether you’re creating something special for someone else or giving yourself an artistic outlet during a time of uncertainty, creating beautiful handmade candles is an excellent option!

Welcome to my candle making blog! In this blog, I will be sharing my tips and tricks for making candles. I will also be sharing some of my favorite recipes.

