Introduction
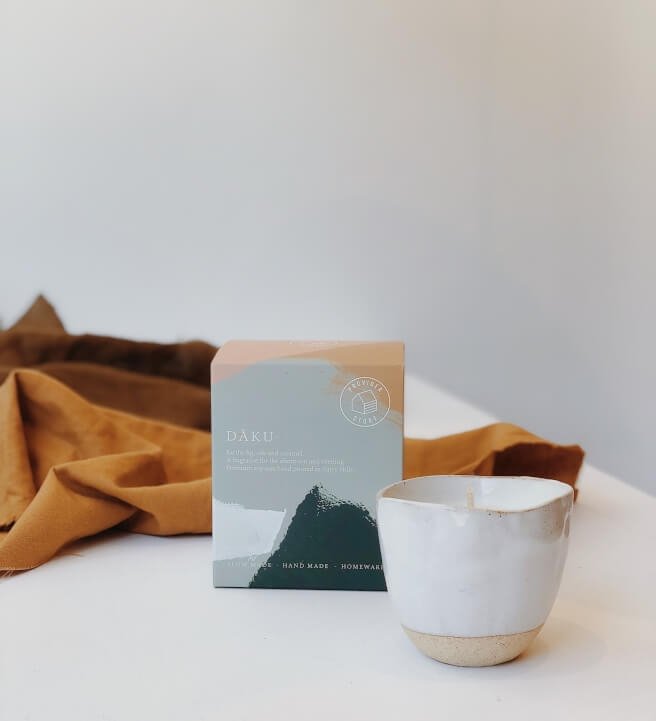
Making candles in tea cups adds a touch of rustic beauty to any space. They’re not only aesthetically pleasing, but also practical—candles are a great way to add a soft illumination and soothing ambience to your home or workspace. Not only do they look great, but you also get to utilize an old item for something new and exciting! With the right supplies and some guidance, anyone can make these unique candles at home.
One of the best things about making candles in tea cups is that it gives you an opportunity to use items you may already have on hand! Instead of going out and buying teacups, you can repurpose items from your kitchen or favourite thrift store. Plus, by using materials you already have instead of new ones, you’ll help reduce your environmental footprint. Making these kinds of craft projects is not only enjoyable, but also good for the planet!
Another benefit of using tea cups is that they come in all shapes and sizes—so there’s guaranteed to be something special for everyone. This means that no matter your style or taste, you can create a unique candle with just the right its corresponding cup. And once completed, your handmade tea cup candle will make a beautiful addition to any room’s décor.
In addition to looking extremely stylish when finished, making candles in tea cups offers many other advantages as well. By working with this medium you have complete control over each step of the creative process—from choosing which colour wax to use right down the type of scent oil included in your recipe. This makes it easier than ever to customize your project so it perfectly fits into whatever space it will eventually grace. Finally, thanks to their relatively low price point and easy-to-follow instructions, making tea cup candles can be fun even if you’re a crafting novice!
Different Types of Tea Cups and What to Look For
Making candles in old tea cups is a great way to add a unique, vintage touch to your home. You can find beautiful and unique tea cups of all shapes and sizes at thrift stores and flea markets. Before you decide on a cup, there are some factors to look for that will help ensure your candle comes out as you expect it.
When choosing the perfect cup for your project, consider the material it’s made out of. Porcelain, stoneware, and even glass are all suitable materials for making candles in tea cups. However, if you’re going to use an open flame around the cup, opt for thicker porcelain or stoneware that can stand up to higher temperatures. Also make sure there are no chips or cracks in the cup as these flaws might weaken it when heated up with the wax.
You should also pay attention to how high the lip of the cup is when searching for one that’s ideal for your candle-making needs. Not only does this affect how much wax the cup can hold, but it also affects how wide a space you’ll have for decorating its exterior with other elements like paints or glitter. The width of the opening matters too because this influences what kind of wick size you’ll need as well as which burning time you’ll be able to achieve from your candle.
Finally, inspect each tea cup carefully before purchasing it to make sure everything looks ok – no missing pieces or stains that would be hard to remove before adding a new wax coat over them. With these in mind, you can find an inexpensive and beautiful tea cup that will give your candle plenty of character!
Supplies Needed
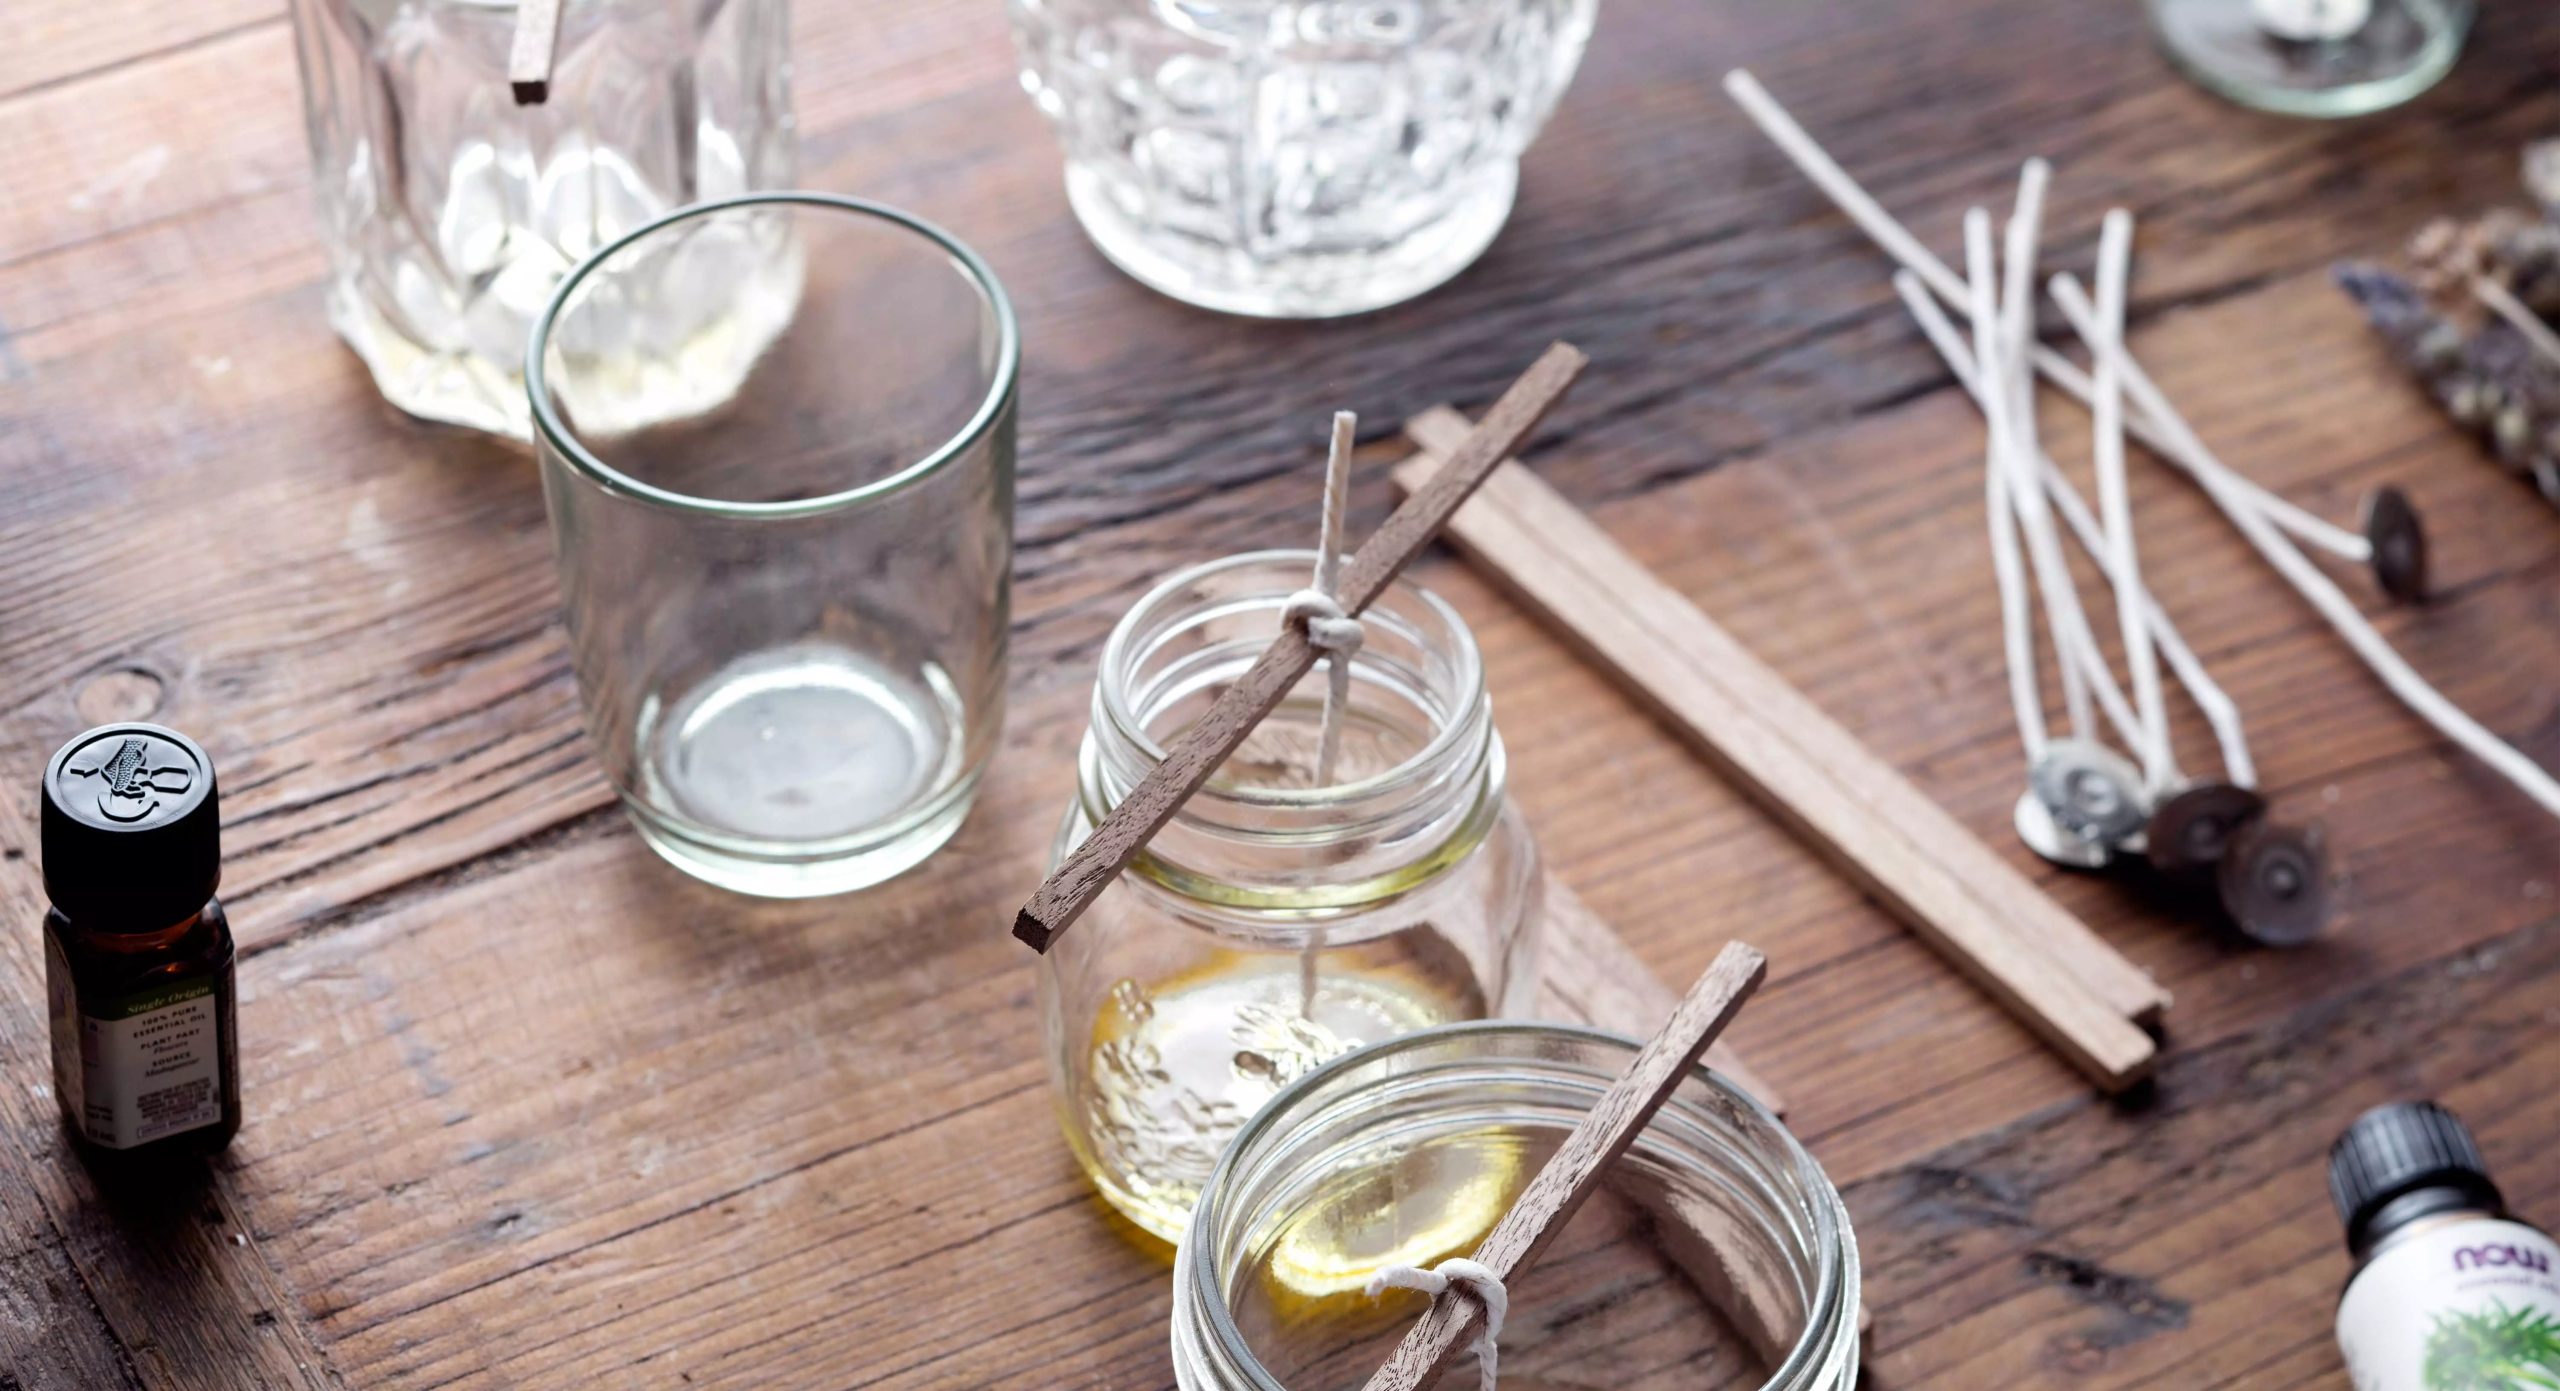
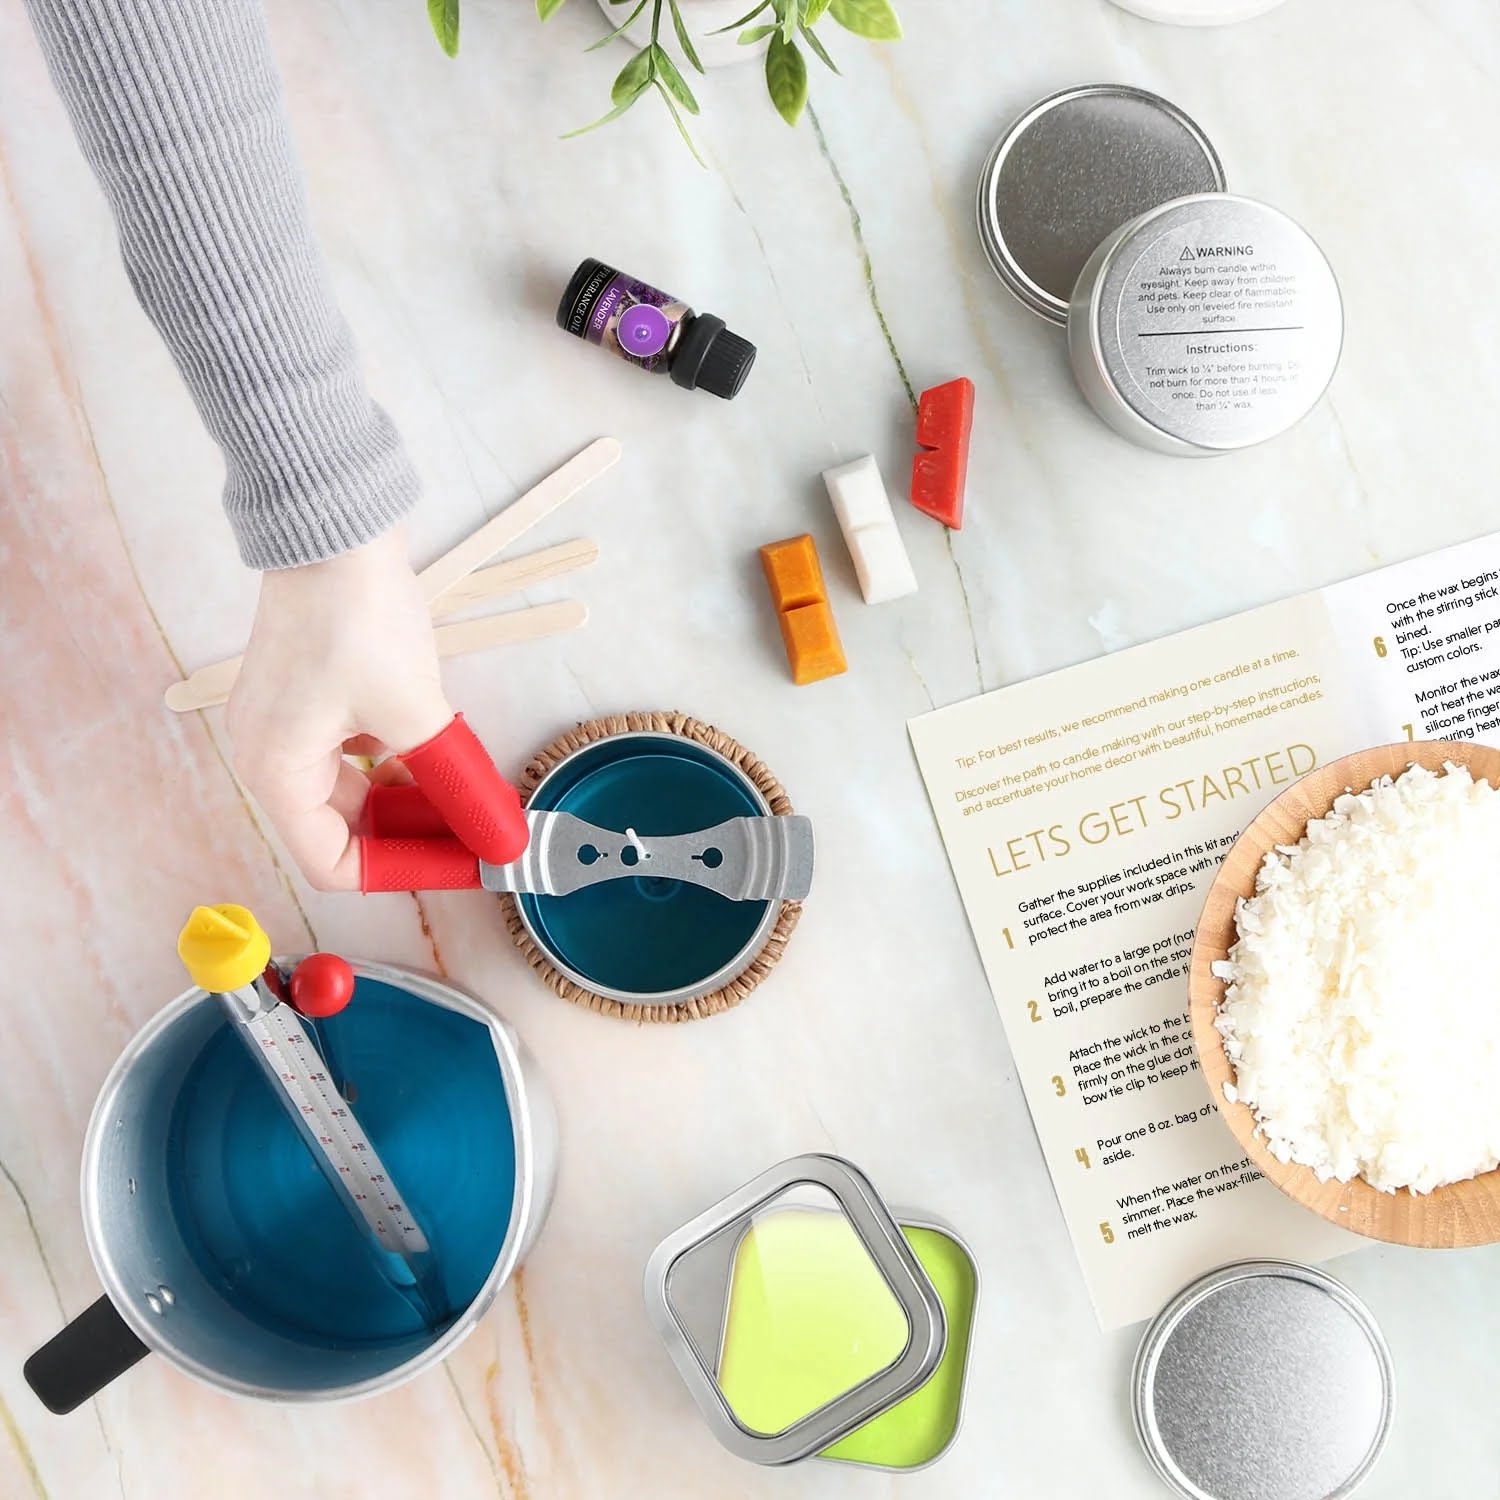
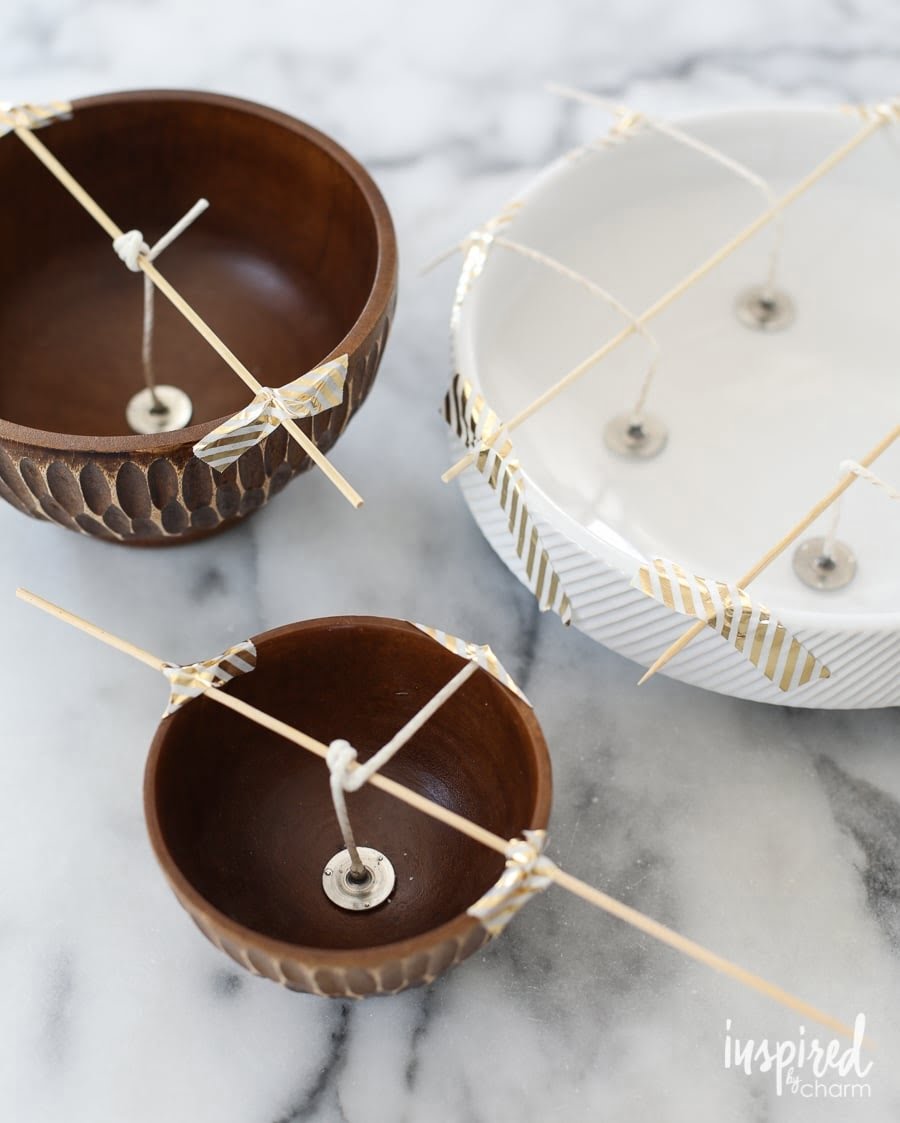
To make candles in old tea cups, you will need the following supplies: paraffin wax, wick, old teacups or mugs, an old pot and a jar. Begin by pouring some wax chips into the old pot. Place it on the stove and heat it up until the chips melt completely. While the wax is melting, tie your wick around a pencil and put it inside your teacup or mug. Make sure that there is enough room for wax to be poured into the container. Once the wax has melted, pour it slowly into each of your mugs or cups, leaving enough space at the top for trimming off the wick later on. Now place a large jar filled with cool water underneath your cup so that when you take off the wax from the stove, you can easily submerge the teacup or mug in cold water to help solidify the candle faster. Allow at least 20-30 minutes for cooling time before taking out of water and trimming off any excess wick sticking out of top of candle once fully cooled down. Enjoy your beautiful homemade candles!
Step-by-Step Guide to Preparing and Cleaning the Tea Cup
1. Start by washing the tea cup with a gentle cleanser or soap and water. Make sure to remove any labels or other residue that can clog up your wick later on.
2. Using a spoon, carefully scrape away any bits of sediment from the bottom of the cup or around the sides – this is just to make sure you get a perfect finish when pouring in the wax.
3. Using a brush and some warm water, scrub the inside of the cup clean of any remaining dirt or residues – this will help with getting an even burn when lighting your candle.
4. After everything has been cleaned, take a dry cloth and rub it all over to wipe away excess moisture – use an old piece of fabric that won’t leave lint behind on your cup!
5. Let your tea cup dry completely before starting your candle-making process – you don’t want to start with a damp surface in order to get successful results!
Melting the Wax and Adding Your Fragrance of Choice
Making candles in old tea cups is a fun and creative way to breathe new life into a much-loved kitchen classic. It is a great project for DIY enthusiasts of all ages and experience levels, and you can find supplies to make your own at your local craft store or online. The first step in making candles in old tea cups is to melt the wax. Wax can be melted using either a double boiler on the stove top or a wax melter specifically designed for candle making purposes. You must then add fragrance oil of your choice, keeping in mind that it should not exceed the manufacturer’s recommended ratio so that your candles do not become too heavily fragranced. Once the wax has completely melted, you can then carefully pour it into the prepped tea cups using a pitcher or kettle with a long spout. Finally, you will want to allow them to cool completely before adding wicks and handles if desired. Enjoy your stunning hand-crafted candles!
Pouring, Decorating and Allowing the Candles to Harden
Making candles in old tea cups is a fun, budget-friendly activity that anyone can do. To start, gather all of the supplies needed: tea cups, wax, wicks, and scented oils or fragrance if desired. Make sure to inspect the tea cups for any chips or cracks before beginning. Then, melt the wax over low heat in a double boiler on the stovetop until it is fully liquid. Once the wax is melted, add in the scented oils or fragrance to decide how strong you want your candle aroma to be. Once everything has been added into the wax mixture carefully pour it into the clean tea cups. After that take your wick and attach it to a pencil or spoon so that it hangs down in each cup. Move the wick around so that it stays centered and then wait for them to harden. As they are hardening you can embellish with decorations like ribbon, string or even succulents if desired! Allow them 24 hours before using and they will be ready to light up your space!
Finishing Touches
Customizing your tea cup candles can take them from an ordinary make-at-home project to a truly unique piece of art. Decorating the candles with glitter and ribbons is one way to add personality, but you can really get creative by adding extra elements to them. For example, try layering colored wax chips in the center of the candle that correspond with the ribboned top or embedding items such as flower petals or glass beads for added visual interest. You can also use scented oils or fragrance sticks to infuse your candle with a stimulating aroma. Whether it’s a subtle splash of decorative flare or something more intricate and elaborate, customizing your tea cup candles is sure to give your finished product that extra oomph it needs!
Troubleshooting & Tips
Making candles in old tea cups can instantly add to the atmosphere of any house and provide a pleasant scent. It’s important to make sure that the candle is being made safely. Here are a few troubleshooting tips and things to keep in mind when making candles in old tea cups:
1. Make sure that the tea cup is safe for use. Clay pots, mugs, and glass dishes often retain heat better than metal which can become too hot quickly and potentially shatter or cause burns if touched.
2. Use an appropriate wick size for the container being used. Too thin of a wick will result in underwhelming flame size, and too thick of a wick will have too big of a flame and burn through your melt pool quickly.
3. Check your wax temperature; it should be around 185°F (85°C) when you add the dye or fragrance oil so that it fully integrates with the wax blend. If you pour at too low of a temperature, your candles will not hold their shape properly as they cool down and you may incur problems like tunneling or improper scent throw later on when burning them.
4. Add appropriate coloring only after you have checked all remaining points in the candle making process, so you don’t end up with small inconsistencies showing up once you’ve added dye such as color bleeds on certain areas or wondering why some portions are darker than others while other sections remain light coloration!
5. Allow enough time for cooling after pouring — this allows air bubbles to escape from inside the melted wax that could form around the edges when adding fragrance oils or dyes without proper preparation beforehand through heating!
6. Finally, always trim your wick before each use — long wicks equal large flames which can easily cause smoke residue buildup on nearby surfaces!
Examples of Different Ways You Can Use Tea Cup Candles
Tea cup candles can have a multitude of uses. They can be used to add ambiance, practical lighting, and even provide delicious aromas to any room. If you’ve made your own tea cup candles, here are a few ideas for using them:
1. Decorating – By placing tea cup candles in strategic places throughout your home you can create a cozy atmosphere that adds light and ambiance. Place groupings on mantels or side tables, or float the tea cups in an outdoor pond to create an enchanting effect.
2. Gifts – Surprise friends and family with a custom-made tea cup candle with their favorite scent that they can enjoy as home décor or burn during special occasions.
3. Special Accents – Use tea cup candles around the house in particularly dark areas like hallways and stairwells to provide decorative and functional light all while adding to the décor style of the space.
4. Events – Spread out tea cup candles at weddings and parties for mood lighting, or do an interactive crafting session by allowing guests to make their own unique tea cup candle holders.
5. Spa-Like Aromatherapy – Set up some aromatic tea cup candles as part of a relaxing spa setup complete with calming music, cozy blankets, soothing facial masks – and don’t forget about the mocktails!
Conclusion
Making candles in old tea cups is a fun, creative and budget-friendly way to bring a unique touch to any space or special occasion. The procedure is relatively simple, uses easy-to-find materials, and the results can be exquisite. When done correctly, this activity could result in beautiful homemade candles for you or your guests to enjoy. With a little patience and creativity, anyone can make wonderful candles in their old tea cups and let the soothing scent of wax waft through their home!

Welcome to my candle making blog! In this blog, I will be sharing my tips and tricks for making candles. I will also be sharing some of my favorite recipes.

