Introduction
Making your own resin candle holders is a great way to create something beautiful and functional that is uniquely your own. Resin is easy to work with, and it sets quickly so you can see the finished product right away. Plus, resin projects are very rewarding because you can make pieces that are totally unique and that show off your creativity. Not only do they look great in any home or office setting, but they can be gifted as well! The process of making resin candle holders itself is also very satisfying – from gathering materials to the unveiling of the finished product – and will leave you feeling a great sense of accomplishment. When it comes to creating art with a three-dimensional element, there’s nothing quite like working with resin.
What You’ll Need
Materials:
– Resin (epoxy or polyester): This should be the same type of resin used to cast the candle holders; it is available in a variety of different sizes and formulations for both small and large scale applications.
– Candle wax: There are many different types of wax available, such as paraffin, beeswax, soy wax and palm wax. Choose a wax that is specifically designed and suitable for use with resin.
– Colorants (optional): A variety of options are available including powdered dyes, mica, liquid dyes and pigments.
Tools:
– Resin mixing containers: These should be sturdy enough to mix the resin without breaking. Clear containers will allow you to visually inspect your progress when mixing. Plastic food storage containers with tight sealable lids work well.
– Pouring utensils: Depending upon the size of the project you may need several pouring utensils, such as measuring cups or jugs with spouts for precise pouring into candle molds or small plastic cups for larger projects.
– Stirrers/Mixers: Wooden popsicle sticks can be used for stirring smaller batches, while a paint stirrer works better for larger batches. Make sure both are dedicated solely for working with resin to avoid cross contamination between finishes like oil paints/varnishes and resins.
– Molds/Casting Forms (optional): Silicone rubber molds are great because they can easily release air bubbles from trapped air pockets during pouring making them an ideal choice if you’re looking to make multiple identical pieces at once. You can also cast each piece into custom shapes using 3D printed forms which allow even more creative freedom when creating intricate designs like jewelry boxes or other sculptural artwork items that have an open bottom design so you can pour in the liquid on top without too much worry of spilling over onto other surfaces
Making the Resin
Making your own resin candle holders can be a fun and creative project. The most important part of the process is making the resin itself, so it is essential to have an exact recipe and mixing instructions.
Start by measuring out your hardener and liquid epoxy resin. Generally, it’s recommended to use 1:1 ratio for the two, but this will depend on the product brand you are using. Some may require other ratios, so make sure you read the instructions carefully. Next, combine them together in a clean container using a stick or stir-stick. The key here is to mix them thoroughly for at least three minutes to ensure that both components properly combine into one consistent solution.
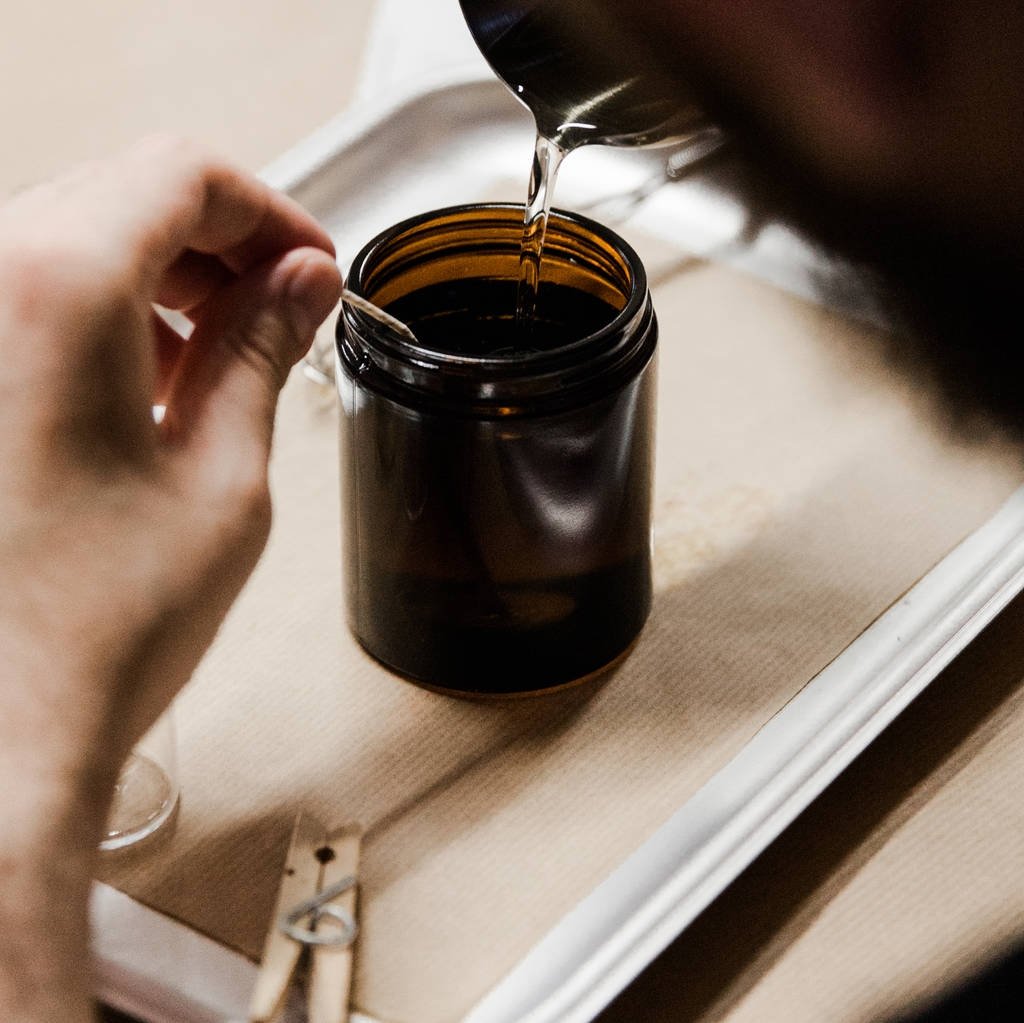
Once mixed, you will need to transfer the resin solution from its container into small cups or containers that have been designated for pouring each mold. This helps avoid cross-contamination. It’s advisable to pour it slowly, in separate small pours of 2 millimeters at a time over the area you want filled with resin before allowing the resin time to settle and self-level for an even finish. Be sure to wear gloves and eye protection throughout this process since accidentally coming in contact with resin can be dangerous or irritating to skin or eyes. If any air bubbles do appear during pouring, they can be removed using a heat gun or hair dryer set on low heat setting until they dissipate away gently.
Incorporating the Wicks
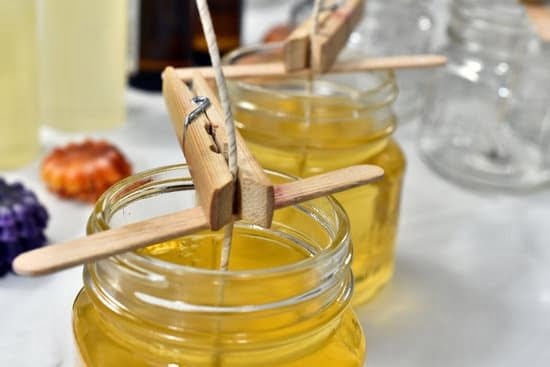
Making resin candle holders is a fun and rewarding artistic activity. One of the most important steps of the process is to properly incorporate the wick into the project, as this can determine height, scent and overall candle performance. To attach the wicks, you should purchase appropriate length with metal tabs at each end Ouring the resin mixture in the candle holder mold, take one end of the wick and insert it into a hole that has been made in one end of your mold. Securely attach it with a paper clip or other fastener; make sure that it is sturdy enough so that it remains in place through agitation of pouring and curing. Take the other end of the wick and bend slightly to increase tension when full, then insert it into an identical hole on opposing side. Using tape or some other form of adhesive, stick this portion down securely ensuring that it won’t move during pouring process. When you pour your resin mixture using this method, it will serve as a guide for your desired height and scent; adding more scented oil if desired will create more fragrance while having more sparse drops will create less intensity overall. Enjoy your handmade resin candle holder!
Benefits of Using Resin for Candle Holders
One of the great advantages of using resin to make candle holders is that it is incredibly long lasting. It stands up to high temperatures and won’t crack or break under the heat of a burning candle. Unlike other materials, it can last for many years without having to be replaced.
Another benefit of resin is that it can be easily customized. You can add color, glitter and other solids like stones or shells which will give your candle holder designs an interesting and personalized look. With heat resistant pigment powders you can even enjoy more creative color options while creating showstopping pieces in no time.
The cost effectiveness of using resin for making candle holders is also worth mentioning. It’s inexpensive yet offers superior value in terms of its durability and versatility as explained above. So if you want striking decorative pieces that still won’t empty your wallet, why not give this material a try?
Finishing Touches
Once you’ve completed the resin casting and pouring process and it’s time to finish your resin candle holder, there are many creative embellishments you can add to give them a personalized touch. Embellishing gives you the opportunity to customize each candle holder and add color, texture, or whatever else you desire. Materials like glitter, beads, sequins, and shells are all great items that can be added in order to create something truly unique. Try to keep decorations choosings limited – too many items will make the design look cluttered or busy.
For an extra special touch, consider adding a meaningful words or message using decals that have been customized for the resin candle holders. You could even use a laser printer to print out your own designs on heat transfer paper before adhering it onto the surface of each piece. For a more natural look and feel, incorporate natural items from nature into your design such as twigs or leaves. These types of materials will add an organic dimension while highlighting the beauty of the natural world around us!
Finishing Up
Once the candle holders are assembled it is important to clean off any excess resin that may have come into contact with the sides or edges of the holder. Doing this will improve the overall look of your creation and make it shiny and uniform. It is also important to note that we recommend leaving your resin candle holders to cure for 24 hours after they are fully assembled before using them. This allows the hardener and resin time to properly set so that when you place a candle inside no heat is transferred which can cause bubbling or discoloration. After 24 hours, you may enjoy your unique handmade creation without worry!
Creative Inspiration
Making resin candle holders can be an exciting and unique way to add a touch of beauty to your home. Whether you’re looking for something sleek, industrial, or natural and organic, there are lots of creative possibilities when it comes to designing these decorative pieces. It’s also an opportunity to stretch your artistic talents. But if you’re feeling stuck with design inspiration, you’re definitely not alone! Many other artisans have used their artistic talents to create some amazing resin candle holders that can inspire your own project.
For a modern twist on the process, turn to Etsy for inspiring ideas from other artisans. Amongst many others, one artist uses beads, shells, and colorful stones – layered and sealed with clear gloss epoxy – in her signature set of encased floral tealight holders. Another sets metal objects like washers and coins in a minimalist setting of black-tinted resin for a distinctively industrial look. Stunning natural images like forest scenes or foxes surrounded by copper foil accents also feature prominently in the body of work created by some of these crafts people. Most artisans will share photos of their work as well as detail their creative processes; taking a look at how they layer elements together could give you the ideal spark of inspiration needed!
Conclusion
Crafting your own resin candle holders has many advantages over other more traditional options, such as buying them ready-made. Creating your own gives you full control over the size, shape, and color of your candle holders. This not only allows you to make unique and beautiful pieces for yourself or even to sell, but also means that you can get candles to perfectly match any décor that you may want without needing to purchase a variety of different candleholders. Furthermore, crafting items with your own hands can be a very satisfying experience and allows you to truly express yourself in everything from materials used to the small details in design. In addition, handmade goods are usually much more sturdy than mass-produced options and this ensures the longevity of your candle holders when cared for properly. All in all, making these beautiful items can be a fulfilling way to bring together artistry and practicality with stunning results.

Welcome to my candle making blog! In this blog, I will be sharing my tips and tricks for making candles. I will also be sharing some of my favorite recipes.


