Introduction
Making your own candles with a mold is a great craft project, with different sizes and shapes available for you to create. Not only that but it can be an enjoyable activity – you can use bright colours and unique scents to customise your candles. There’s also the satisfaction of creating something yourself, whether you’re making small presents or just adding something special to your home decor.
In addition, candle-making is still an affordable craft to get into – once you have the essential materials like a wax melting pot, molds, wicks and various additives you need, you’re good to go! As there are several different types of waxes and other additives available on the market, there are a wide variety of textures and colours available for different results. By experimenting with these, you can design your own individual range of candles which can potentially make attractive gifts or set off any room in the home.
What You Need
Supplies:
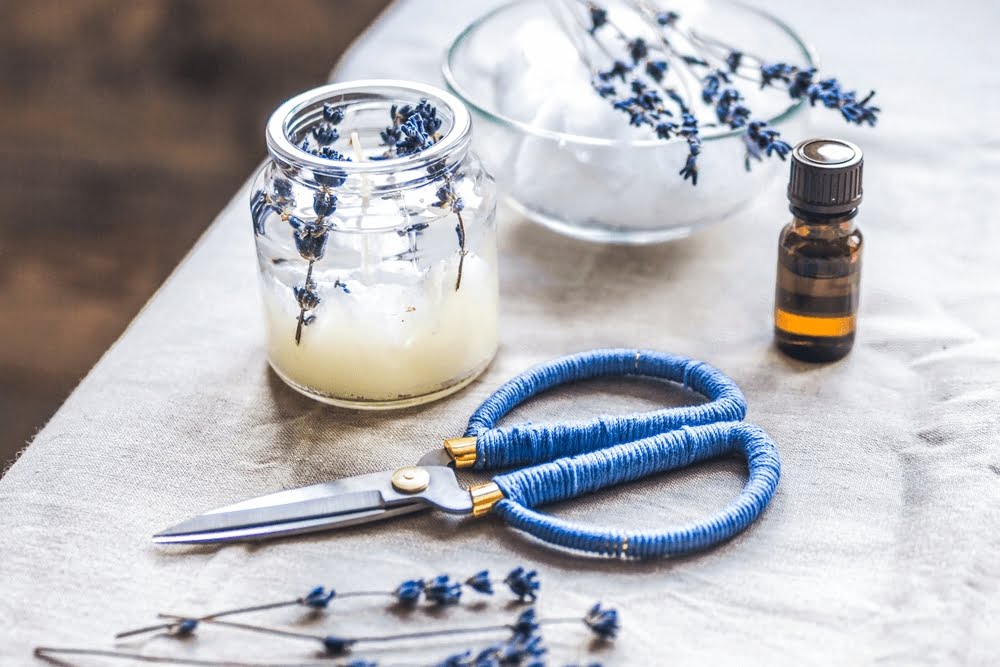
Candle wax (any type you prefer, such as soy, beeswax, or paraffin); Wick material for the wick of your candle (cotton or synthetic); Dye for coloring your wax; Fragrance oil to add a desired aroma; Candle molds in the shape you would like for your candles
Helpful Tools: Pouring pitcher with marker lines indicating how much wax is poured into the mold; Thermometer to check temperature of wax as its melting; Heat gun/embossing tool to help smooth out air bubbles and imperfections; Tweezers or clamp to secure the wick onto the base of the mold
Safety Tips: Always use safety precautions when working with melted wax (wear safety glasses and heatproof gloves); Working area should be well-ventilated to minimize risk of fires started from exposure to hot temperatures; Wax should be kept away from young children and pets at all times.
Setting Up the Mold
1. Begin by placing the mold on a flat, heat-resistant surface. Ensure any flammable items are removed from the area.
2. Cut a piece of wick that is twice as long as the height of the candle you intend to make.
3. If your mold comes with an anchor pin, attach the wick to it and insert the pin into the bottom of the mold. If your mold doesn’t come with an anchor pin, then secure the bottom end of the wick with a few drops of hot glue or use a paperclip and tape to tie it in place at the base of your mold
4. Run some melted wax down either side of the wick and allow it to harden for a few minutes
5. Center or place the wick by looping and pressing it into place against one side of your mold, this will ensure that when you pour in your wax, it remains centered in its position within resulting candle
6. Gently hold onto both ends of the wick so it won’t move during wax pouring
7. Place several layers of newspaper around your workspace area for easy cleanup later
Preparing the Wax
Before you can make a candle with a mold, you need to prepare the wax. You will need to melt the wax either in a double boiler or in an electric melting pot until it is liquid. If desired, you can add dyes and scents to the melted wax. When done properly, this will give the wax whatever color and smell you want. Before using the wax in a mold, you should test that it has cooled to the proper temperature by running some of it down a stick. If it cools properly on the stick but remains liquid, then your melted wax is ready for use in your mold.
Pouring the Wax
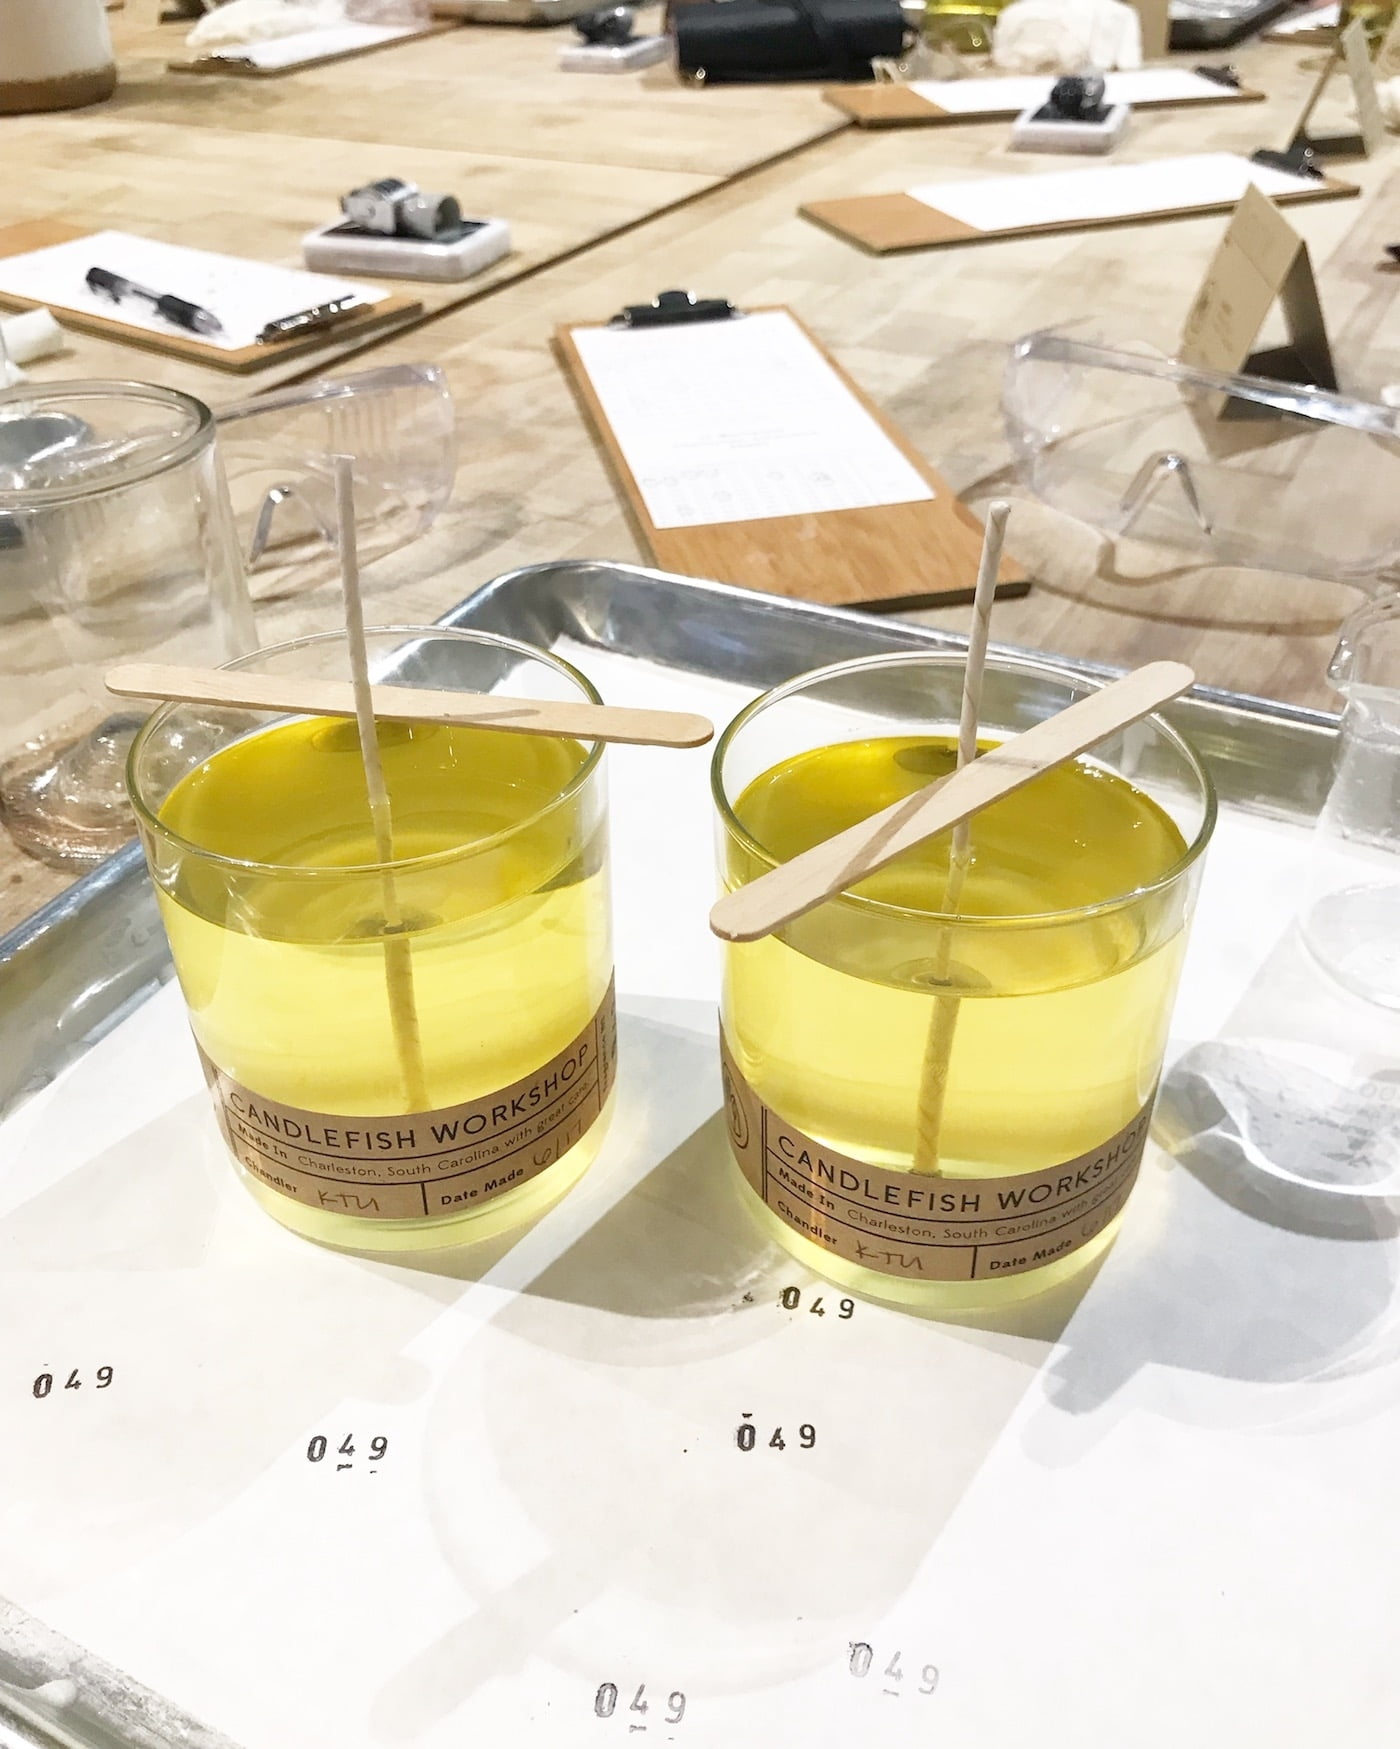
When pouring wax for candle-making, it is important to make sure the wax is at the optimal temperature. Generally, this is between 175 – 185 degrees Fahrenheit. Too cold and the wax may not extinguish properly, and too hot and it may set up in the mold prematurely. Additionally, as you pour the molten wax into the mold, take care that you do not introduce any air bubbles as they can interfere with the proper burning of your candle. Begin by filling just a small area of your mold first with a slow but steady stream at first, adding more if needed. Slanting the pour spout slightly will provide an easy even flow of wax. You can pause pouring periodically to allow larger air bubbles to rise up and break across the surface. To reduce some of these air bubbles you may also want to use a wax pick or clean stick while pouring, run around under and over each cavity before concluding that section of your pour. Allow time for cooled molten wax from different sections of pour to join as you progress throughout your pouring process.
Adding the Wick
Before solidifying the wax, it is important to secure the wick properly. Depending on the type of wick and mold used, you may be able to wrap the wick around a round object or attach it with a metal clamp. If not, you can use a pin or double-sided tape to secure it. Make sure that the bottom of the wick is submerged in a pool of liquid wax. This ensures that not only can the heat from the fire travel up through the core of your candle more evenly but also will help prevent any potential problems such as smoking when lighting your candle.
Letting the Candle Solidify
Once the candle wax has been poured into the mold, it needs to cool and solidify before it can be removed. This can take a bit of time depending on the temperature of the room and the size of the candle. Generally, you want to let the candle solidify in an area where temperatures between 70-80 degrees Fahrenheit are maintained, as this is an ideal range for allowing your wax to set properly.
If at any time during this process one senses that extreme heat or cold may be affecting their project, then some sort of insulation such as a blanket or towel should immediately be placed over it. The candle will begin to set within minutes of being poured and could take anywhere from two hours up to 12 hours for a larger piece, so patience is key. If you’re short on time however, feel free to use an ice pack or place your mold in the refrigerator for 15-20 minutes for a faster result.
Extracting the Candle
1. Start by pouring wax into the mold, making sure to fill it up to the edge of the container where the wick is sticking out.
2. Allow the wax to cool until solidified, then use a knife or pair of scissors to cut around the perimeter of the wax in your mold. Doing so will help you separate it from the sides and make it easier to grip when taking it out.
3. Carefully lift one end of the candle out of its container and slide your hand underneath its base for stability. Ensure your fingers are away from hot surfaces when doing so.
4. Keep your other hand near by for support as you gently guide and twist the candle out of its mold, starting with one end at a time until it’s completely freed from its cast
5. If any bits remain stuck together, try melting them away with a hairdryer before attempting extraction again with more force if needed. You can also reheat or add some oil or paraffin wax to help lubricate between both areas while they cool down.
6. If all else fails and your candle won’t come out, try using an ice cube tray or other form that has been pre-heated; this should help reduce suction hold between both surfaces when trying removal once again successfully!
Finishing Touches
Finishing Touches:
Once you have finished pouring the wax into the mold, there are several creative ways to embellish your candle. Have fun exploring different techniques and materials, such as ribbon, beads, glitter and paint. To maintain an authentic, professional look, opt for tools specially designed for making candles. These include carving tools for texturing the sides of the wax and special liquid dyes to produce unique shades. You can also use decoupage paper to apply designs to the outer layer of wax or add items like pressed flowers for a sentimental touch. Another great way to finish off your candle is with a personalized label or decal featuring your logo and/or name. Experimenting with different finishing touches can help take your homemade candles from simply nice looking to truly stunning!
Summary
Making a candle in a mold is an easy and enjoyable craft project. The procedure involves combining wax with candle fragrance oil, pouring the mixture into a wick-filled candle mold, then allowing it to cool and harden before taking out the finished product. Making candles in a mold can be done with soy wax, beeswax, or paraffin wax.
When making candles with a mold, there are some important points to keep in mind. It’s important that the container or mold used is heatproof and non-combustible. Heat will continue to escape after removing the melted wax from the source of heat, so never use plastic materials for making molds. It’s also important to make sure that your work area is free of any combustible material within eight feet of your working area. Additionally, be sure to wear gloves to protect your hands from any hot wax as well as safety goggles when you’re melting wax for the projects.
Finally, attention should be paid when adding fragrance oil or any other additives to hot wax; fragrances can degrade and turn unpleasant if heated too quickly or too high—adjustments need be made depending on the type of fragrance used. By following these safety guidelines and instructions, anyone can have success in making beautiful candles using molds!

Welcome to my candle making blog! In this blog, I will be sharing my tips and tricks for making candles. I will also be sharing some of my favorite recipes.


