Introduction
Making your own floating candle centerpieces provides many benefits and allows for greater customization. It can be a fun, creative experience that gives you the freedom to choose the colors, materials, and shapes for each design. Buying these items in bulk or choosing reusable elements will also help you save money in the long run. Additionally, themed centerpieces are an easy way to bring more style and personality to your event. When deciding on a theme, consider the décor of the space where it will be displayed as well as the budget and desired look. Finally, researching resources like how-to videos or tutorials can offer helpful tips during the crafting process.
Gather Your Supplies
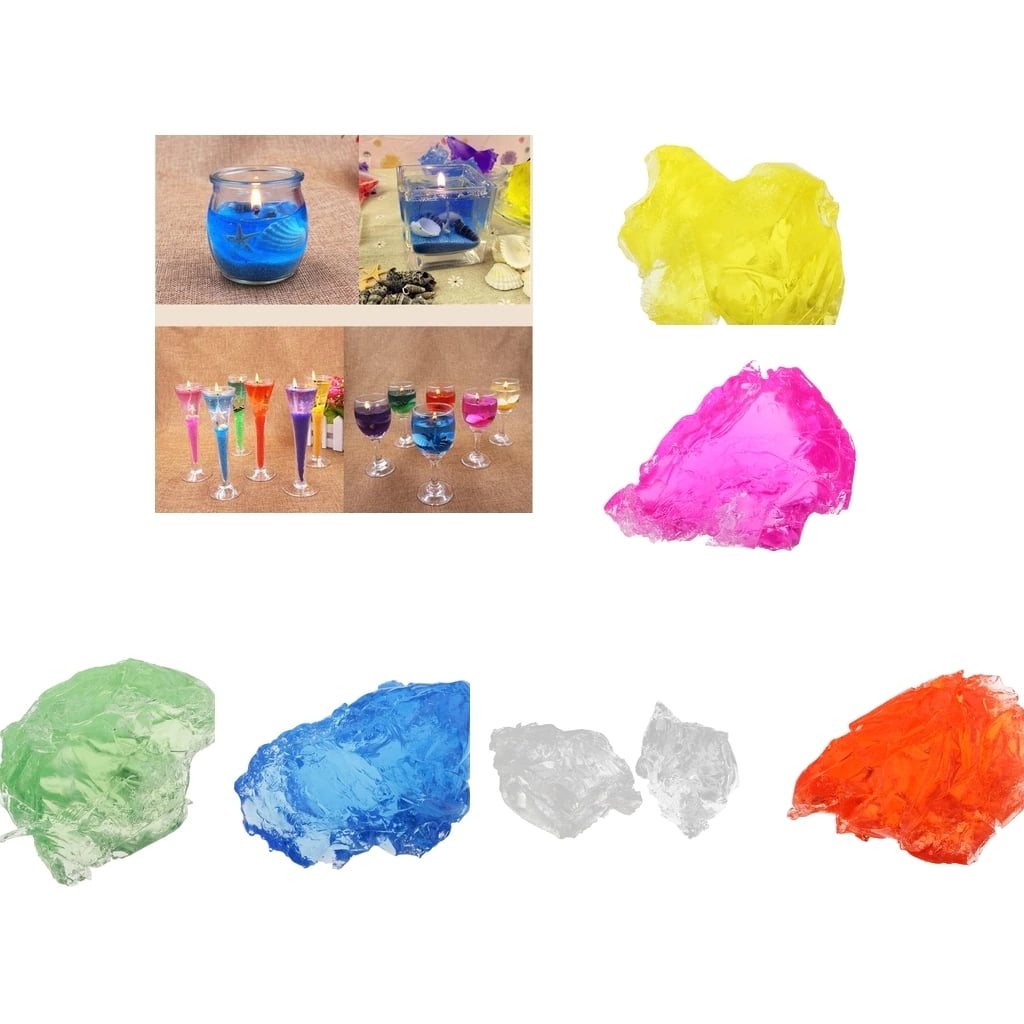
In order to make your own floating candle centerpieces, you will need to gather a few supplies. A list of necessary items includes a shallow bowl or container, floating candles, clear gel beads, and floral decorations such as flowers, greenery and rocks. You can find these items at most craft stores, home improvement stores or online retailers including Amazon. If you would like to create an even more stylish centerpiece, you may also want to consider adding some ribbon or lace around the vessel for an extra pop of texture and visual interest.
For those looking for affordable supplies for their centerpieces, there are many resources available. Sites such as Michaels and Hobby Lobby often have discounts and coupons that you can use to purchase the materials on your list. There are also budget-friendly solution providers such as dollar stores where you can pick up multiple packs of candles with no added expense. Additionally, Thrift Stores can be treasure troves for finding secondhand containers and decorations at discounted prices. Remember that when it comes to making the perfect centerpiece, the sky’s the limit! With a bit of creativity, thrifty shopping and careful assembly you’ll soon be enjoying one of a kind displays within your home!
Preparation & Assembly
Making your own floating candle centerpieces is a great way to add a unique touch to any event or occasion. Whether you are looking for something extravagant for a special occasion such as a wedding, or something more subdued for a less formal gathering like a dinner party, this tutorial can help you create the perfect centerpiece.
To begin, gather the supplies needed such as an appropriate container (glass cylinder vases work best), candles, flower petals and greenery. Clear containers will make it easier to monitor the water level so you don’t risk spilling your floating creation! Fill the container about ⅔ full with warm water – play around with different mixes of colored dyes if you wish to add some extra vibrancy and personality to your centerpiece. Next, carefully place the candles in their holders on top of the water and arrange petals and greenery around them – if using fresh flowers be sure not to overcrowd them so they don’t become soggy.
Adding seasonal or themed touches is also easy- include things like Themed Candles that correspond with the time of year (e.g pumpkins shaped candles for Thanksgiving) – Do NOT use already burning tealight candles unless you want to create a disaster! Use dried leaves, pinecones and other fall foliage for an autumnal touch, or incorporate metallic shades and confetti around Easter! Placing artificial jewels/stones/pebbles under the candles can make all the difference between an average creation and something extraordinary – Get creative!
Finally all thats left is to light up your masterpiece at night, and bask in its beauty – Enjoy!
Finishing Touches
Adding personalized decorative elements to your floating candle centerpieces can be fun and creative! When it comes to crafting unique design elements, consider incorporating an array of colors if you are going for a vibrant look or implementing various metallic tones to transform the décor into something more luxe. Consider using accent pieces such as shells, stones, pearls or shredded paper in coordinating colors that can be spread across the top of the water. Have fun experimenting with different types sources of light too; adding string lights or battery operated tea lights along the base of the centerpiece can really create a magical atmosphere. To further customize your boat centerpieces, use monograms and name tags made with wood or cardboard that can be identified with a unique lettering. Lastly, you can upcycle different vessel options to hold your candles like mason jars, teacups and mini buckets for a lively presentation.
Finishing the Look
Directions:
1. Gather your supplies: floating candles, container with water, flowers or other items to decorate the centerpiece, scissors and any other decorative items you wish to use. Note: Adding flowers or other decorations is optional.
2. Arrange the floating candles in the water. Make sure they are spaced evenly throughout the container and centered in the middle if desired.
3. If you have chosen to add flowers or other decorations, begin to arrange them around the candles so that they cover any gaps between the candles but will not obstruct any of them.
4. If using more than one type of decoration, create a pleasing contrast between them by alternating between different sizes/colors/types/styles/textures of decorations – this will help to create a visually interesting centerpiece that will draw attention from everyone at your table.
5. Light each candle and gently drop it into its spot in the arrangement (consider using an eye-catching colored flame).
6. Place your finished masterpiece onto your table for guests to enjoy!
Tips:
1. Keep safety in mind: make sure the candles are far away from anything flammable and out of children’s reach at all times; consider using battery operated tea lights instead for extra safety!
2. Experiment with different sized containers and types of arrangements – placing multiple centerpieces together on a bigger tray can be super eye-catching! This is also helpful if you have awkwardly shaped tables or wide spaces between chairs that need something special to spruce up their look!
Examples:
1. Create a monochromatic color palette by placing white candles on white plates surrounded by pastel-toned blossoms such as roses and daisies; add some clear glass stones for extra sparkle if desired!
2. Try creating an ombre effect by adding a single color flower as well as several shades increasing/decreasing in depth – this makes for quite an elegant yet simple tablescape ideal for special occasions such as anniversaries, birthdays and holidays! 3. For something low-key but still artistic, why not try using rustic natural materials like birch logs placed into mason jars filled with varying sizes of marbles and single floating candles?
Enjoy the Results
Creating your own floating candle centerpieces is a great way to show off your creative talents and share photos of your handiwork with friends and family. Social media can be a great tool to help you highlight your work and inspire others.
Start by taking photos of the centerpieces in different angles. Focus on different details like type of flower, the combination of colors, or the overall look you achieved by assembling everything together. If these look particularly stunning, consider writing down what flowers, candles, and other items you used to re-create the same centerpiece later on. Once done, upload those images onto social media platforms – Instagram or Pinterest being popular choices – forothers to see what you were able to create!
In addition to uplifting yourself through sharing pictures and inspiring others, when someone likes or comments positively about your unique creations it can boost your confidence even more. This can fuel your creativity as you think about new designs that showcase different materials and flowers underneath the candlelight! Enjoying the results of making such a nice piece can remind us all of how beautiful we can make something with our own two hands!
Conclusion
When considering how to reuse and store your centerpieces for future use, you have a few options. If you constructed your own floating candle centerpiece, you can disassemble it and place the individual pieces into an organized storage container. This will make it easier to pull out the candles and holders when you are all set to recreate the look at a later time. Additionally, the added benefit of using floating candles with holders is that they can easily transition amongst various themes or styles of décor. Furthermore, if you choose to incorporate other items like flowers or stones in your design, these too can be reused and/or incorporated into different styles of centerpieces in the future. With this flexibility and easy storage format, creating a custom look for each event has never been simpler!

Welcome to my candle making blog! In this blog, I will be sharing my tips and tricks for making candles. I will also be sharing some of my favorite recipes.

