Introduction
Candle making has been a popular hobby for centuries. It dates back to ancient times when candles were used for practical functions, such as providing light in the dark. Nowadays, candles are primarily used for their aesthetic beauty and to add ambience to any room or space. With the variety of materials now available, the craft has taken on a modern twist and can be used to create unique personalized pieces with beautiful fragrances. From beginner kits to more advanced projects, there is something for everyone when it comes to candle making.
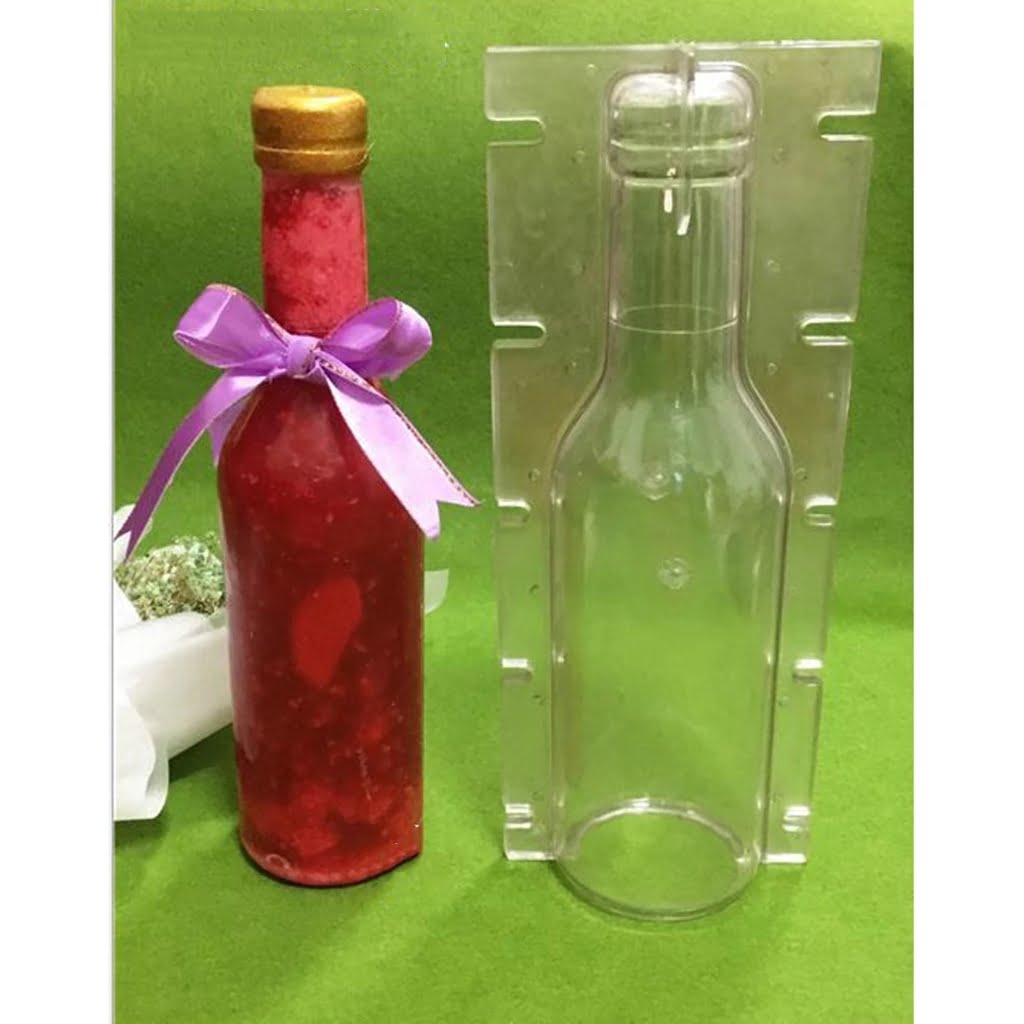
Before you get started on your own creations, it’s important to understand the basics of candle making. First, you will need a wax melting pot or double boiler to heat up your wax properly without burning it. Next, you will need molds in which you pour your melted wax into; keep in mind that different shapes take different amounts of time to harden. You will also need wicks and a metal holder that helps keep them in place while they cool and set in the molds (wick tabs and centering pins help with this process as well). Finally, decide what scents or entirely unscented candles you would like to make. This can be done by adding a variety of essential oils and fragrance oils directly into the wax once melted.
Once you have all of these components ready, start creating! There are numerous types of candles that can be made from tapers (long narrow sticks) to tealights (small cups) or even pillars—cylinders with various embellishments on them like twine or ribbon for texture! For an extra special touch, use different colors and decorations like glitter or fireflies for a unique touch. Once cooled, trim your wick for best results when burning your candles at home or giving as gifts! Enjoy experimenting with these new ideas and happy crafting!
Candle Making Supplies
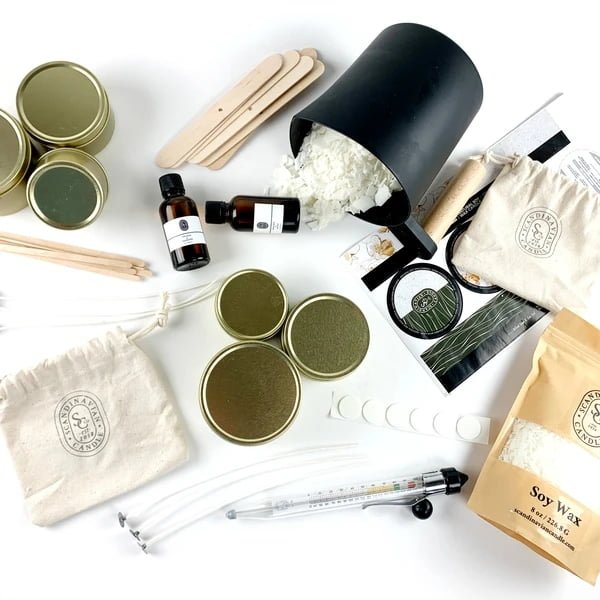
When it comes to easy candle making ideas, all you need are some basic supplies. These can include wax, wick, a melting pot or double boiler, containers or jars for your candles, color and/or scent, decorations like dried flowers or lace, and accessories like wick holders. Depending on how creative you want to get with your candles, you can buy pre-made kits that contain all the necessary items for getting started.
Once you have gathered all of the supplies needed for making candles, it’s time to start creating! Begin by gathering pieces of wax in the melting pot or double boiler and heating them until they are fully melted. Once melted, add any desired colors and scents before pouring into your desired container. Next, place your wick in the center of the container and secure it with a wick holder if needed. Lastly, garnish and decorate as you wish with dried flowers or lace; wait for your creation to cool completely before using or gifting! You now have beautiful homemade candles ready to bring peace and beauty into your home.
Preparing for Candle Making
Before you get started with candle making, you’ll need to make sure you have all of the materials and tools necessary. Gather your wax, wicks, containers (or molds if you’re interested in making shaped candles), dyes, and scents. You might also want to purchase a thermometer for measuring the temperature of the wax when melting it. Make sure to keep safety in mind when collecting items for candle making. Work surfaces should be covered with newspaper or butcher paper to avoid messes and accidents. Eye protection is also beneficial just in case of any splashes from hot wax. Additionally, it is important to ensure that your work area has enough ventilation to disperse any fumes from melting wax or fragrance oils. Once you have secured all materials, you can begin crafting your candles!
Creative Candle Making Ideas
One way to get creative with candle making is to use a variety of colorful waxes and molds. For example, you can combine different shades of wax together to create an interesting tie-dye effect in the finished product. You could also make multicolored candles using layers of different colored wax and molds. Or, if you have an extra bit of wax left over from a previous project, mix it into your current batch of melted candle wax for fun, textured candles. You can even spice up plain-colored pillars or votives by adding interesting shapes and decorations such as leaves, ribbons, glitter, dried flowers or jewelry pieces. Additionally, you can spritz tempered essential oil blends onto the top layer of your poured candle wax for an aromatherapy experience when lit. Choosing unique containers?like vintage jars or special bowls?can also make homemade candles stand out from store bought options while providing a dirt cheap option. Finally, if all else fails, buy pre-made wicks with decorative accents already attached that you only need to dip into the melted candle wax for quick and easy results!
1 Candy Scented Candles
Candle making can be a fun and creative way to decorate for any occasion. One of the most popular and easy-to-make candle ideas are candy scented candles. For this project, you will need wax, wick, wax dye (optional), and scent oil. To start, melt the wax over low heat in a double boiler or slow cooker and wait until it is liquid. Then add dye if desired to give your candles a splash of color. Once that’s finished, stir in your favorite candy scented oil like peppermint, caramel, lemon drops, etc. Finally dip the pre-wicked candle straight into the melted wax to fill it up. Allow it to cool until set before trimming off the excess wick at the top and adding custom decorations if desired. Now you have sweet smelling candles ready for gifting or even use them to enjoy yourself!
2 Color Swirl Candles
Making a two color swirl candle is a great way to add some visual interest to your candles. To get started, you’ll need two different colors of wax, fragrance oils (optional), wicks, and double boiler or a thermometer. Begin by heating up both colors of wax separately in the double boiler. Once the desired temperature has been reached, combine the melted waxes together and stir gently to let the colors mix. As you slowly pour the melted wax into each mold, add drops of fragrance oil if desired and twist a wick around a pen or pencil and then place it in the center of the candle. Allow the candle to cool completely before removing it from the mold. Once cooled and hardened, your beautiful two color swirl candles are ready to be lit and enjoyed!
3 Texture Swirl Candles
Making 3 Texture Swirl Candles is a great activity for candle makers of all skill levels. To get started, melt your base wax in a double boiler along with some tinting dye and scented oils. Once the wax is melted and blended, divide it into portions and spread each portion into separate molds or an appropriate surface. For one portion of your melted wax, add a different type of texture mixture such as metallic flakes or glitter, herbs or spices, shredded wax paper, etc., stirring gently until the texture is evenly distributed throughout the wax. Then carefully pour each type of swirled wax into each other to form a pretty design that will create interesting effects once lit. Add your wicks to each candle before the wax hardens and leave them to cool overnight. You now have three textured candles ready to light up any room!
4 Ombre Pattern Candles
Ombre candles are a great way to add color and texture to any room. To create this fun look, you will need to purchase four different colors of wax. Start by melting the white wax and pour it into your chosen mold. While the wax is still hot, slowly start adding drops of the other colors in order from lightest to darkest. Make sure each layer has cooled before adding the next one. When all layers have finally hardened,you can insert the wick and enjoy your unique, ombre patterned candles!
5 Reusable Candle Holders
Looking for a way to add a unique, special touch to your home décor? Consider reusing and repurposing items you have around your house as candle holders. Here are five easy DIY candle holder ideas for you to try:
1. Glass Jars – Grab any glass jar that’s sitting in the cupboard, then fill it with some sand or pebbles and nestle your candles in those. You can also cover the surface area surrounding your candles with colorful stones or shells for an extra special touch.
2. Metal Bowls – Find a metal bowl that you don’t use anymore, line it with foil, and place your candles inside. You can even place wax chips under the tall votive candles to tilt them towards the sides of the bowl!
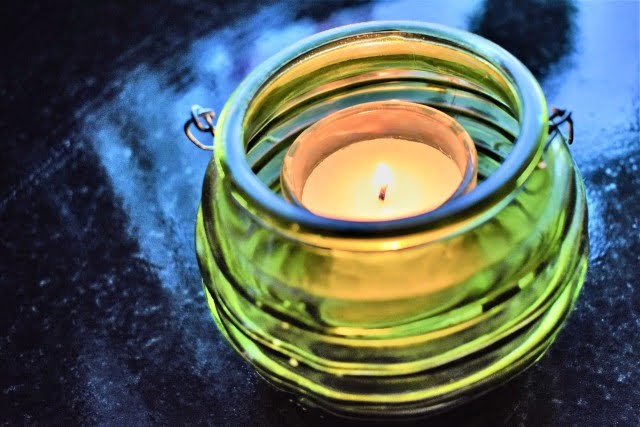
3. Teacup Saucers – Teacup saucers make lovely DIY candle holders! Put a small tea light in the middle of each saucer and surround it with marbles or tiny polished rocks.
4. Egg Cartons – An egg carton can be used as perfect nests for small tea lights. Line up several of these on a tray along with any embellishments you desire (glass gems, potpourri, etc.), and you’ve got a great-looking candle display!
5. Mason Jars – Mason jars are probably the most convenient items to repurpose as candle holders! Jazz them up by gluing shells, colorful ribbons, seashells or other beautiful decorations around their narrow neck opening before inserting some battery-operated LED votives or tealight candles into their innermost cavities.
6 Scrapbooking Candle Making
There are a variety of easy candle making ideas that you can use with scrapbooking to create unique and beautiful candles. First, you can use stickers, rub-ons, and other craft supplies to decorate the outside of a candle container before pouring the wax. You could also stamp several designs on colored paper, cut them out and glue them around the container in a collage design. Another idea would be to paint an existing jar or votive holder and then add gel wax, glitter, flower petals, beads or shells for decoration. For added effect you can also sprinkle small pieces of dried fruit or herbs onto the wax as it sets. If your preference is shaped candles, use cookie cutters to make molds from clay or plaster and fill with poured wax. When your candles are finished add ribbon or raffia for extra appeal. Get creative with scrapbooking materials; there are so many possibilities for candle making that express your personality!
7 Layered Candles
Layered candles are an excellent way to add unique and interesting style to any room. To make a 7-layered candle, you’ll need seven small containers such as mason jars, tea cups, wine glasses or even yogurt cups. Place one wick in the center of each container and pour in melted wax into the containers of your desired colors. Allow each layer to dry completely before pouring the next colored layer. Once all layers have hardened, carefully remove the candles from their vessels and trim the wicks to create your beautiful multi-colored layered candle. These candles are perfect for gifting or for decorating your own home. You can also personalize these layered candles with fragrance oils or glitter for added flair!
8 Personalized Candle Holders
Personalized candle holders make a great gift to give to family and friends. You can make them with a variety of materials such as wood, glass, metal or ceramic. First, decide the type of material you will use and purchase the appropriate supplies. Next, decide how you want to decorate the holders. Paint them with unique designs or patterns, decoupage fabric on them, add some rhinestones for sparkle, write names or messages with a sharpie marker — there are endless possibilities. Finally, add candles to the holders and you have an inexpensive personalized gift that will warm any heart!
Helpful Hints and Tips for Getting the Best Results
One of the best things about candle making is that it can be a creative and fun project for people of all ages, as well as a great way to add ambiance and style to any room. When getting started with your candle making journey, it’s important to know some helpful tips and tricks that will help you get the best results possible.
One great idea before beginning your candle-making project is to make sure that you have the right supplies. This includes wax, wicks, essential oils or fragrance oils, dyes, candles molds, containers or jars for liquid or container waxes (if applicable), thermometers and timers – just to name a few items. Additionally, having a dedicated workspace is key in providing yourself good working conditions during your project. If making candles outdoors or near open windows in order to provide proper ventilation while melting wax.
Once everything is set up and ready to go, always remember these guidelines: take safety precautions with an eye towards fire prevention; use heated wax/dyes responsibly; carefully read directions for both wick sizing and appropriate pouring temperatures for each type of wax used; become familiar with common problems such as tunnelsing (uneven burning) and ensure proper burning characteristics when completed. Finally – have fun! Creativity is the key ingredient when it comes to making great candles: play with different scent combinations; add beads/glitters/buttons/other decorative effects into melters; experiment with pouring layers of different coloured waxes into votive holders for interesting effects – simply let your imagination be your guide!
Conclusion
Candle making is a fun and satisfying craft. When you create your own candles, you can customize their scent, color, shape, and style to fit your own preferences. Crafting your own candles also allows you to enjoy the calming effects of working with wax and scenting materials or coloring agents without the strong smells of store-bought products. Whether you’re gifting a one-of-a-kind candle or simply looking for a unique way to brighten up your living space, DIY candles can be an enjoyable way to achieve the desired results. Best of all, by crafting your own creations at home, you can save money in the process and rest assured that the materials used are natural and eco-friendly. So put on some music, get out some supplies, try out new techniques — it’s time to make some beautiful candles!

Welcome to my candle making blog! In this blog, I will be sharing my tips and tricks for making candles. I will also be sharing some of my favorite recipes.


