Introduction to Colonial Candle Making
Colonial candle making is a traditional craft that dates back centuries. In the colonial era, candles were used for a variety of purposes including to provide light in houses and churches, to act as timekeepers in courtrooms and classrooms, and even protect food from insects!
Today, many people find candle making an enjoyable hobby with many benefits. It can be relaxing and meditative while also providing creative satisfaction. Working with fragrances and colors offers endless possibilities, enabling people to express their unique style through their own handmade creations. Plus, it’s cost-effective and great for gifts!
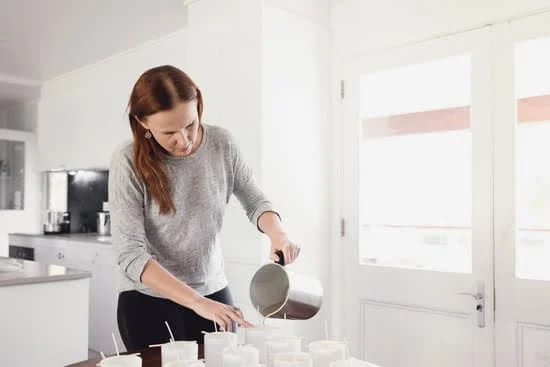
When you have all your materials ready to go, it’s time to get into the nitty-gritty of the process: pouring your wax into the molds and adding scents, dyes or other additives. The first step is to melt the wax into liquid form – this can be done using a double boiler or using an electric melting pot specifically designed for candle making. Once melted, you need to stir in any additives such as fragrances or colorants – powder pigments can be used but liquid dye works best for an even color throughout your candles. Afterwards, pour your melted wax into the pre-prepared molds – insert wicks if necessary – allow the candles to cool completely before removing from mold and trimming any excess wick from around the edges. And voila! You have made a beautiful colonial candle all on your own!
Essential Supplies & Tools for Candle Making
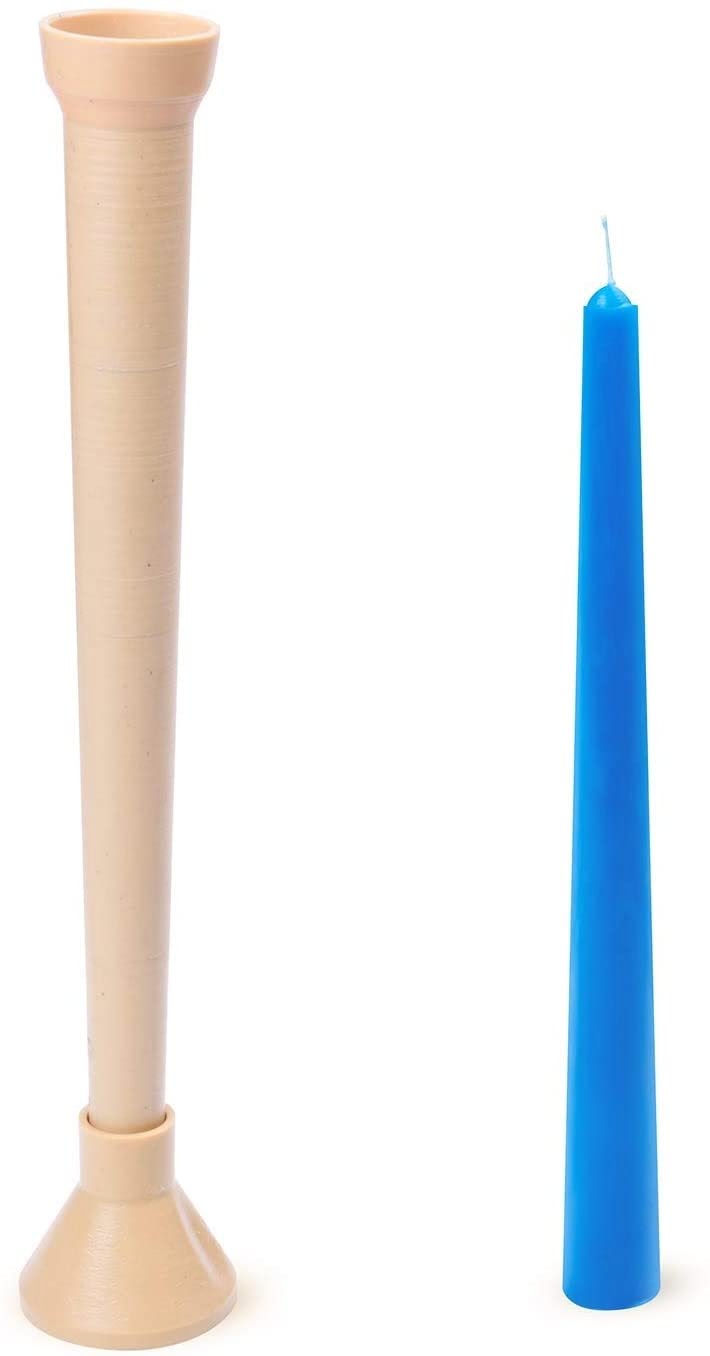
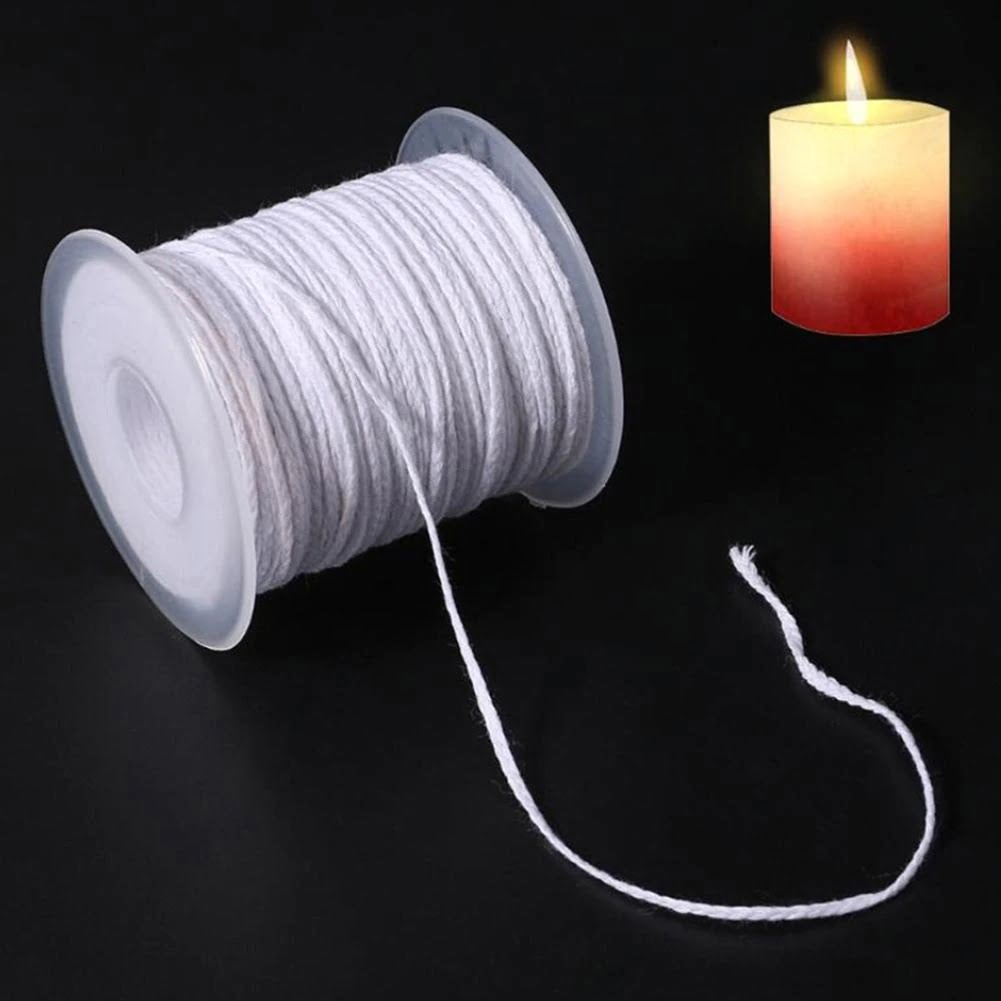
Before you embark on your colonial candle making journey, make sure you have collected all the necessary supplies and tools. Suitable waxes to use include beeswax, paraffin, soy wax, or bayberry wax, as well a variety of wicks. Essential tools include double boilers for melting down the wax, thermometers for precise temperature control, measuring cups and spoons for accurate measurements of ingredients and materials, molds or dipping canes to hold your candles in place while they cool and harden, an assortment of dyes to customize the look and scent of your candles; and last but not least small clippers or scissors to help you cut the wick when prepping your candles for burning. Once you’ve gathered all these materials, you will be ready to begin!
Step-by-Step Directions for Making a Traditional Colonial Candle
1. Gather your supplies: beeswax, a double boiler, candlewick and a metal form or mold.
2. Fill your double boiler with water and set it to medium heat on a stovetop burner. Place the beeswax in the upper part of the boiler, making sure that it’s not touching the bottom part of the boiler. As the wax begins to melt, use a spoon or spatula to stir it until all of the pieces have melted together into liquid form.
3. Once your wax has completely melted, turn off the heat and pour it into your metal form or mold in order to create your candle shape.
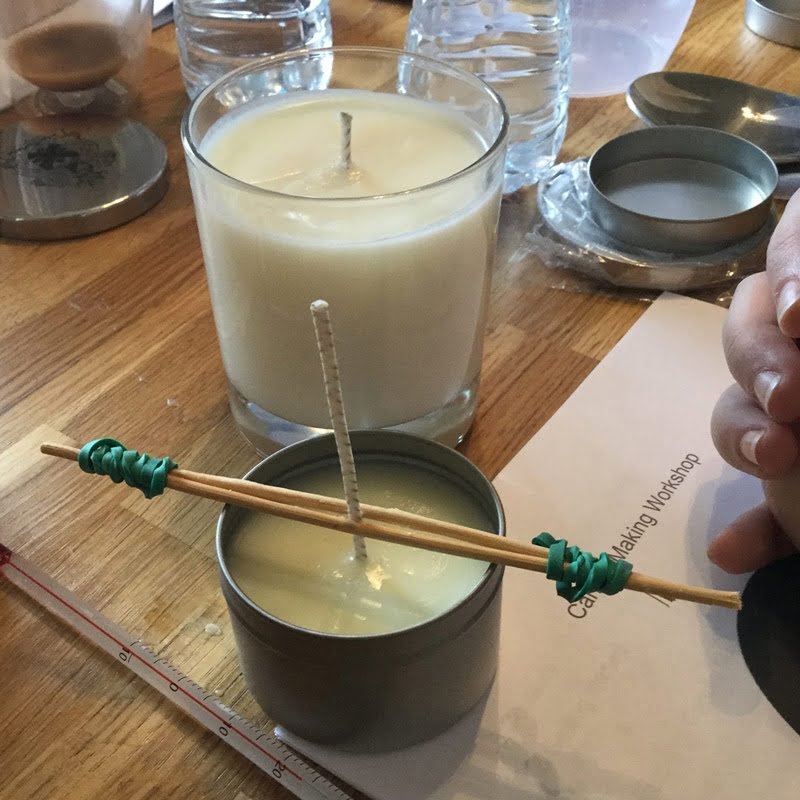
4. Take your candlewick and thread it through a small hole at the top of your metal form or mold, leaving about 1 inch of exposed wick at the top of your candle for later lighting purposes. Pull down on each end of your wick so that it dips into the wax inside of your form or mold and make sure it’s secure by tucking both ends underneath whatever ledges may be present inside of form or around its circumference outside surface near its bottom edge. This process helps ensure that your wick will remain upright throughout this process and follow its intended path as you add more wax to create a larger-shaped candle.
5 [Continuation]: Place another layer of melted wax onto of what’s already been poured within the mold until there is an even layer across all areas without any holes – this will contribute to how quickly (or slowly) you burn through this candle as you use it in future lighting applications! Make sure that as you’re adding each layer, you’re ensuring that everything is still submerged within liquid wax – about halfway up if possible – as this helps support and feed your central source flame during burning procedures later on!
6 [Continuation]: Repeat step 5 until there is no more excess wax remaining in either cooker or pouring device – then remove from heat source entirely and let cool off naturally (avoid chilling in fridge/freezer etc.) This should take about 30 minutes or so before being ready; time may vary depending on thickness desired for finished product etc! Trim away extra length from exposed wick after fully cooled and hardened; now ready for soonest use when lighting needs dictate such handy work
Customizing Your Candle
Colonial Candle Making is a fun and creative activity which allows you to express your style and preferences through the fragrances, colors, and designs in your candle. You can choose from an array of scents for your candle such as eucalyptus and peppermint, or your favorite floral scent like lavender or rose. To compliment the scent of your candle, you can select a dye that best suits it such as vibrant pink or soft blue – whatever matches the mood you are wanting to create. Even more exciting is that you can customize the design of the candle with some fun molds. Whether you prefer a modern striped design, hearts and stars, marble swirls, or something else entirely; there are endless possibilities! Make sure to follow all safety precautions when handling hot wax and wicks for an enjoyable and safe experience making beautiful candles for yourself or for special handcrafted gifts for someone else.
Tips and Tricks for Making Quality Candles
Making your own candles can be a great way to save money and express your creativity. While the process may seem complicated, with the right materials and instructions, it can be simple and fun! Here are some tips for making quality candles in colonial-era style.
First, you’ll need to get all your supplies together. This will include wax such as beeswax or tallow, wicking material such as hemp cord or cotton string, molds such as small boxes or stump-free wood blocks, and any fragrance or color that you’d like. You may also want to think about collecting tools such as melting pots, spouts, wick needles and knives.
Once you have all your supplies together, you’re ready to start building your candle. Begin by cutting the wick several inches longer than the height of your mold so that there is slack for securing at two ends of the mold once secure. Next, begin melting the wax (or combination of waxes) over low heat and then fill up your molds with the melted wax once it is liquid enough. Add any dyes or fragrances while pouring if desired. Once in the mold allow it to cool completely before removing it from the mold around 24 hours later. Take this time to trim off any excess wicking and then use a wick needle to create a depression in the formed candle where a flame will rest when lit. Congratulations on making a beautiful handcrafted candle!
Finishing a Finished Candle with the Perfect Wax Topper
To finish a finished candle and make it look its best, you’ll need to add a wax topper. Wax toppers come in many shapes, sizes and colors and provide the perfect finishing touch to your homemade creation. Start by melting some beeswax in a double boiler on medium-low heat. You can also use white paraffin wax or mix them together as desired. Then pour the melted wax into a paper cup or other suitable container and spread it over the candle with an old spoon. Once the wax has cooled, you can trim it around the candle’s edges with scissors or shave it off with a spoon or cheese grater. Finally, you can shape any decorations or designs onto the surface of the wax with your fingers before carefully wiping away any remaining residue from the finished product. And there you have it – a perfectly topped candle that looks just like it did when store-bought!
Troubleshooting
If something goes wrong while making candles, there are a few steps you can take to troubleshoot. By understanding and preparing for common mistakes, you can also help to prevent them from happening in the first place.
Common candling issues include weaker scents than expected, pooled wax at the bottom of a container candle, or wick holes that burn down and overflow. If you experience any of these problems, there are a few things you could try to correct it.
If the scent is weak, check that the essential oils or fragrance oils you used in your recipe were fresh before adding them to the wax mixture. Also check that their temperature was warm enough when added to ensure proper absorption into the wax. If your troubleshooting still hasn’t solved this issue, try doubling up on the amount of oil added per pound of wax used.
To prevent pooling wax at the bottom of a container candle, ensure you have your wick centered in the container before pouring melted wax into it. Additionally make sure that your wick has been properly sized for the container, as one too short will cause excess melted wax to remain at the bottom and not be absorbed by the wick properly.
If after trimming your wicks they tend to develop holes in them or burn down too quickly in creating an overflow of flame, consider testing out different kinds of wicks with particular compositions with your current conditions such as temperature or type of wax being used before lighting up your finished product.
Creative Variations for Candle Making & Ideas for Styling Candles
Colonial candle makers took great pride in handcrafting unique, creative candles with plentiful variations. Candles were made in a variety of shapes and sizes including cones, balls, oblongs and figures such as animals, fruits and vegetables. In addition to the standard roll or dip techniques to make candles, which allowed for interesting textures on their surface also known as corpuscles.
When creating candles with these techniques, the rate of dipping had to be perfect for the wax height and size. Further refinements were made with water-coloring or by using molds that created etched designs such as those used on bee’s wax. Adding scented oils not only gave the candles a wonderful aroma but was also reputed as an insect repellent. Furthermore beeswax or tallow (rendered animal fat) might be incorporated onto some dipped candles to provide additional body, texture and even structure from within the unformed mass of wax prior to pouring into molds.
For stylishly finishing off each candle there was an abundance of ornamental decorations and finishes often featuring braiding around the wick that allowed transfer of hot air upwards while producing an attractive aesthetic look; thereby making each statement piece unique. Additionally ribbons could be fashioned into bows or spirals along with crimped paper borders placed around both molded and dipped candles; some areas benefited from gold leaf being recklessly scattered over both beeswax columns and sheeted tapers whilst country cottages wanted square-knobbed advent lights all lined down their pathway doors. There are endless possibilities when it comes to styling your colonial-era candle – have fun experiment!
Conclusion
Once you have completed your handmade candle, set it aside to cool and settle for 24-48 hours before use. Before burning, trim the wick to 1/8 inch above the wax line to ensure a clean and even burn.
You can enjoy your handcrafted candles around the house or give them as gifts. If giving away as a gift, consider creating pretty packaging such as tins or boxes filled with decorative tissue paper or raffia. Handmade labels or tags can add a nice touch. You could group several of your candles in ribboned cellophane bags and place them in baskets along with other items like potpourri, incense sticks, matches or scented oils – this would make an attractive and thoughtful present that is sure to impress tea party guests!

Welcome to my candle making blog! In this blog, I will be sharing my tips and tricks for making candles. I will also be sharing some of my favorite recipes.


