Introduction
Making pillar candles with soy wax is an easy and economical way to add beautiful décor to your home. Soy candles are both attractive and long-lasting, adding a touch of elegant ambiance in any room. Not only do soy wax candles burn slowly and evenly, but also they produce little soot, meaning less mess on walls and furniture surfaces. Moreover, soy wax is non-toxic and biodegradable, making it the perfect all-natural choice for those who want to be mindful of their environmental impact.
For those interested in learning how to make pillar candles with soy wax, the steps are relatively simple. First, prepare your molds by greasing them lightly with vegetable shortening to help remove the finished product easier. Next, heat your soy wax in a double boiler or specialized melting device until it reaches its maximum appropriate temperature (about 200°F). Once melted and cooled slightly, pour the liquid wax into each mold cavity filling just below the lip while maintaining a constant temperature of 160°F. After allowing several hours for cooling (or overnight), you can un-mold using a blunt knife or spoon and have stunning pillars ready for enjoyment! Don’t forget to add additional décor or labels before lighting if desired – enhance the beauty of your special creations!
Gather Your Supplies and Tools
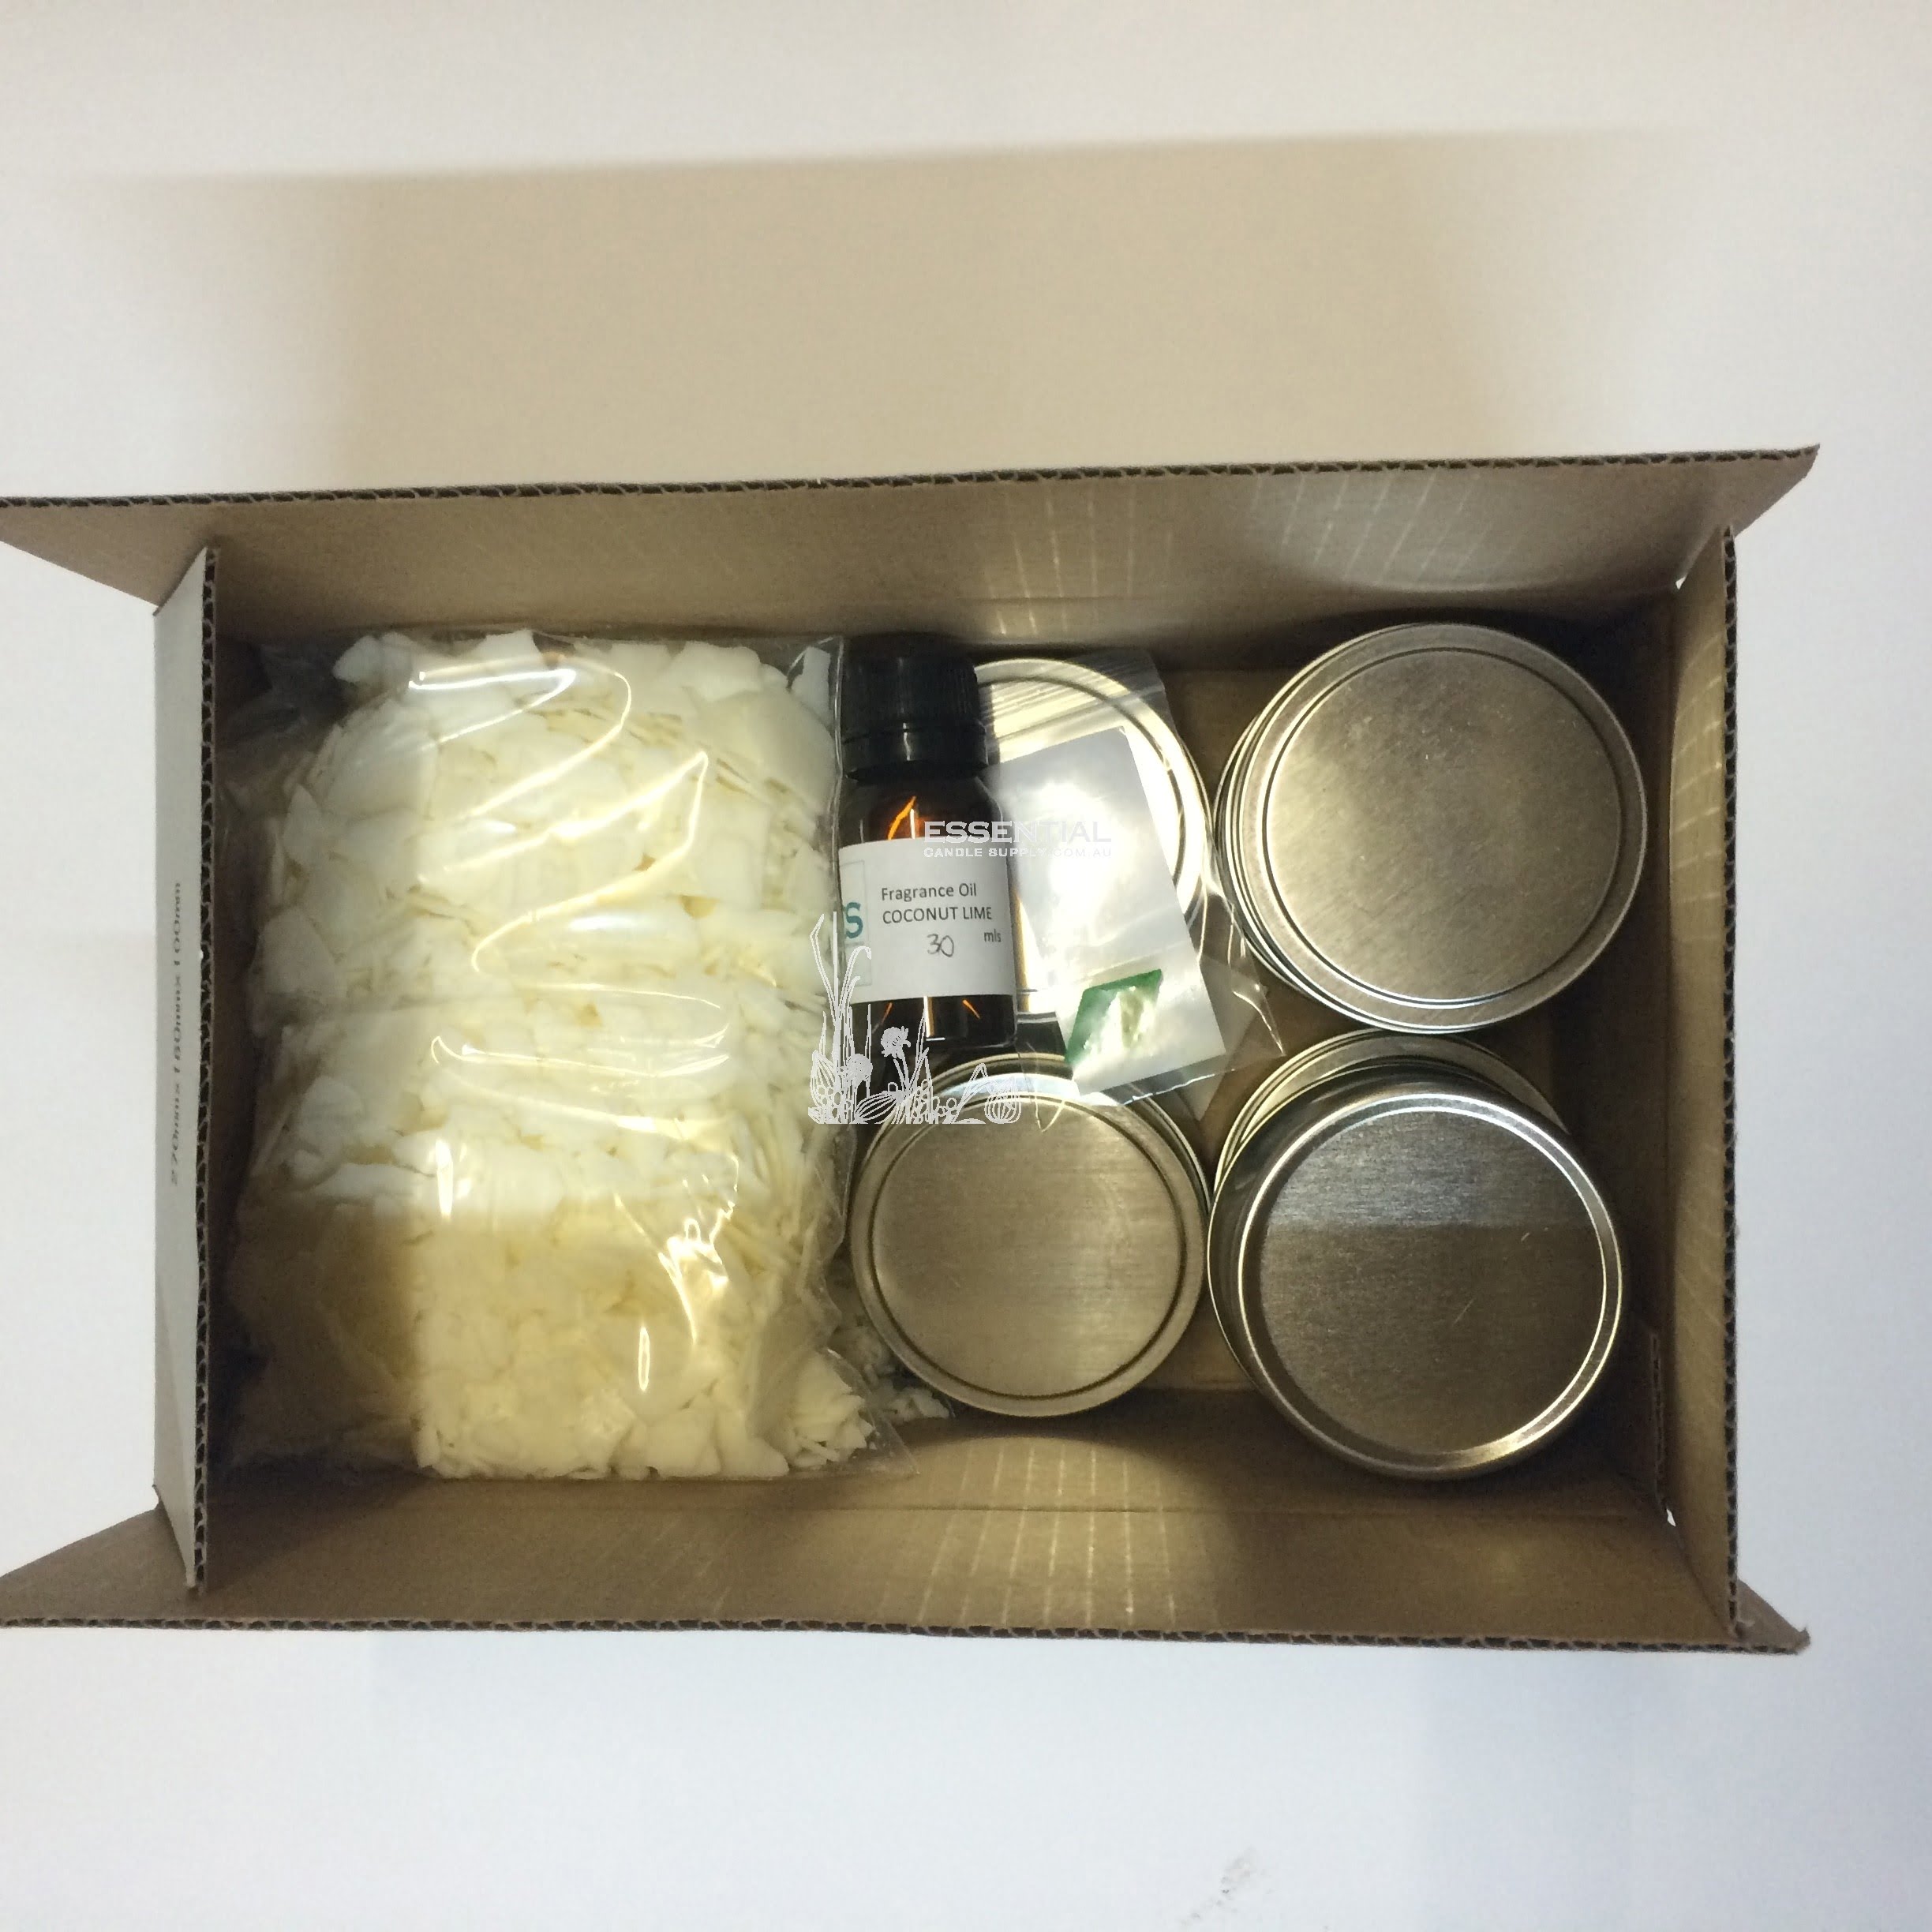
Making pillar candles with soy wax is a fairly simple, but rewarding, process. Before starting the process, it’s important to have all of the necessary supplies and tools. First and foremost, you’ll need a bag of fragranced soy wax flakes. It is important to buy certified soy flakes in order to make sure that the item you are creating is safe and won’t have any chemical reactions that could be damaging. You will then need wick sustainers or removable metal tabs to secure the wick in place at one end of the candle container as well as two metal rods for suspending the middle of the wick when pouring your wax.
Next, you will want to make sure you have an appropriate heat-safe container for your candle such as a glass jar or metal tin. Whatever type of container you choose should be clean with no grease or oils before use. Also, it should be able to handle direct heat without melting or distorting shape or size—it is best to avoid flammable containers such as plastics when making candles with soy wax! Additionally, make sure that your container includes measurements labeled on its side so that you can track final candle size accurately and fill containers evenly once cooled.
You will additionally need a thermometer specifically designed for measuring temperatures related to melted soy wax. Last but not least are essential items like scissors, rulers and pen/pencil used for trimming the wicks and labeling finished products once cool. All gathered materials should rest next to a stable table or counter where all steps can take place correctly and safely; this could also serve as a drying station once poured candles have reached room temperature again.
Step-by-Step Guide for Pouring Soy Wax into the Molds
1. Start by melting the soy wax in a double boiler. Heat the wax slowly until it reaches a temperature of 170-180°F (77-82°C). The melting process can take up to an hour and you should stir occasionally.
2. Once the wax has melted, add the fragrance oil if desired and mix it into the wax with a spoon or whisk until completely blended.
3. Then, prepare the mold for pouring. Make sure that it is clean, dry and free from any dust or debris, otherwise, this could affect your candle’s burn quality once it is finished. Place a wick in the center of the mold, securing it in place with wick tabs or wick stickers to ensure that it remains upright when you pour the wax in.
4. When everything is ready, pour the melted wax into the mold at an even speed, allowing enough time for air bubbles to escape before pouring more in so that there are no trapped air bubbles inside your candles. If you notice bubbles on top of the molten wax surface while pouring, use a drinking straw to burst them before they harden onto your candles.
5. Gently tap on the side of your molds to help release any remaining trapped air bubbles inside them before allowing them to cool down and solidify completely – this could take several hours depending on their size – then move them away from direct sunlight as this can cause discoloration on both container/pillar candles over time as well as give off unpleasant odors due to UV radiation exposure over prolonged periods of time.
6. Once cooled down, remove from molds carefully and trim any extra wick if needed at this point (especially if you plan on burning your candles quickly after pouring) so that only about ¼ inch (0.6 cm) of exposed wick remains visible when burning candle safely; this way flames won’t get out of control and become a hazard themselves!
7 Enjoy your freshly poured pillar candles! Make sure you let each one burn properly according to its size (at least 1 hour per each inch [2 cm] of diameter), otherwise they won’t last much longer than usual store bought versions usually do – making these sustainable options perfect for gifting or simply having around at home all year long!
Unique Ways to Add Color and Fragrance to Your Candles
When making pillar candles with soy wax, there are a few unique ways to add color and fragrance to them. One of the simplest ways is to add a couple of drops of essential oil in the melted wax along with some pigment powder or dye before pouring it into the mold. You can mix your own custom blend of fragrances for a truly one-of-a-kind candle. Another option is to use beeswax or paraffin wax as an overlay in powder form, either on its own or mixed in with your favorite fragrance oil. This overlay can be used over top the plain soy wax color or added after by brushing it on.
Another way to get creative is to embed botanicals and herbs such as lavender or rose petals into your candle when it’s still hot for a pretty decorative effect. After making sure that your chosen objects are free from particles and moisture, use tweezers to place them directly into molten wax before hardening. You could even combine these insertions with essential oils and dyes as well! Finally, you could use collage techniques where you take thin slices of finished pillars and layer them with different colors and scents throughout each tier – much like a marbled cake but with candles instead!
Creative Pillar Candle Ideas to Impress Your Guests
Pillar candles made with soy wax can make a great decorative statement in your home. They are easy to make and the materials needed are readily available at most craft stores. The best part is, you can personalize your pillar candles with a variety of creative ideas to impress your guests. Here are some great ideas to get you started:
1. Decoupage your pillars: Perfect for any season, decoupage pillar candles with tissue paper/magazine cutouts or fabric scraps. This will give your candle a unique design that guests won’t find anywhere else!
2. Embellish them with ribbon: To add flair and style to simple pillars, wrap them in coordinating ribbon for an elegant touch. Ribbons come in all colors and styles, so you can easily customize each candle to match your decor!
3. Paint them: You can use acrylic paints or specially formulated wax paints to create beautiful color combinations on your pillars. From stripes to swirled patterns, unleash your creativity for a one-of-a-kind look!
4. Add glitter: Adding small amounts of glitter on the surface of the candles can help create an eye-catching sparkle. Don’t forget small round items like beads and buttons that can be strategically placed on the candles for added visual appeal!
5. Enhance their scent: If you want to enhance the scent of your pillar candles, natural essential oils like lavender, vanilla, rose and citrus can be added directly into the soywax prior to pouring into the molds – this will also help provide aromatherapy benefits as well!
Proper Care and Maintenance of the Candles
Once made, pillar candles need proper care and maintenance to keep them looking their best for as long as possible. It’s important to remember that soy wax has a low melting point, so it’s especially vulnerable to high heat and sunlight. When storing your candles, make sure they are kept in an area that remains cool and out of direct sunlight. Before use, always let your pillar candles come to room temperature before lighting as they tend to burn more evenly when they’re not cold. To get the most even and consistent burn time, be sure to trim the wick of your candle before every use – this will ensure a smooth burning process without any blocked or excessive flame. Finally, never move or handle a lit candle – always wait until the wax has cooled and hardened before touching it. With these few tips on how to properly care for your candles and minimal upkeep effort, you should be able to enjoy beautiful handmade soy wax candles that fill your home with aromatic scents!
Troubleshooting Tips for Common Candle-Making Issues
Using soy wax for pillar candles can be an incredibly rewarding experience – not only is making a candle with soy wax relatively easy, but the end product is often of a higher quality than other candles. However, as with any activity involving wax, there are some common issues that should be addressed in order to ensure successful results. Here are some tips on troubleshooting common candle-making issues when using soy wax:
1. Not achieving desired scent strength – Soy wax may require more fragrance oil than regular paraffin candles because it burns cooler due to its lower melting point. It’s best to use 1 ounce of fragrance oil per pound of soy wax and adjust as needed.
2. Candle bleeding – Soy wax does not usually bleed or “sweat” if it is properly melted and poured into container or mold at the correct temperature. If you find that your pillar is sweating before it has been lit, try pouring the melted wax slightly cooler or select another blend of soy wax and experiment until you find a formulation that works better for you.
3. Uneven burn – To prevent uneven burning or “tunnelling”, pour the hot melted soy wax in layers instead of all at once until all of the liquid has been used up and let each layer cool down completely before adding the next one. This helps ensure an even internal temperature on each side of the candle so it will burn evenly when lit.
4. Soft tops – Make sure you allow plenty of time for yourcandles to cool after they have been poured and avoid moving them until they are hard and solidified completely (this can take up to 24 hours). Additionally, make sure to use wicks with no cores such as braided cotton wicks specially made for use with soy wax candles as these tend to work best with low melt points like those found in certain blends of soy waxes
Conclusion
By crafting Pillar Candles with Soy Wax, you can enjoy unlimited possibilities. There are varying shades and sizes of Soy wax that provide a unique look and feel to each candle. You can choose from a wide range of colorings or add unique embellishments such as dried flowers, herbs or even glitter to make your Pillar Candle truly special. Once finished, the candles will not only provide warmth and light but act as beautiful decorations for any room in your home. Crafting Pillar Candles with Soy Wax is an enjoyable activity for people of all ages – no matter what your design preference is, you can surely create something special! Enjoy the limitless possibilities offered by this rewarding craft!

Welcome to my candle making blog! In this blog, I will be sharing my tips and tricks for making candles. I will also be sharing some of my favorite recipes.


