Making candles with crayons and coconut oil is a fun and eco-friendly DIY project that allows you to unleash your creativity while contributing to a sustainable lifestyle. By repurposing old crayons and using natural coconut oil, you can create beautifully colored and scented candles without the need for harmful chemicals or synthetic materials.
This article will guide you through the process of making candles with crayons and coconut oil, from gathering the supplies to troubleshooting common issues. Get ready to embark on an exciting candle making adventure that not only produces unique creations but also helps reduce waste and protect the environment.
Candle making is an ancient art form that has been practiced for centuries. It provides a soothing and therapeutic experience, allowing you to immerse yourself in the creative process while enjoying warm ambient lighting.
Making candles with crayons adds an extra element of fun as it gives you the opportunity to experiment with vibrant colors and unleash your inner artist. By combining this technique with the use of natural coconut oil, you can create personalized candles that are both visually appealing and environmentally friendly.
In this article, we will explore the benefits of using crayons in candle making, including how they provide endless possibilities for mixing colors and creating unique designs. We will also guide you through the steps of melting crayons with coconut oil, providing a comprehensive step-by-step guide for a successful candle making session. Additionally, we will offer tips and tricks for experimenting with wax art and adding fragrance using essential oils.
Get ready to dive into the world of homemade candle making as we share safety measures, troubleshooting tips, ways to upcycle candle containers, as well as techniques for extending the life and enjoyment of your beautiful creations. Whether you’re a beginner or experienced crafter, this article has something for everyone interested in exploring the rewarding world of candle making with crayons and coconut oil.
Exploring the Benefits of Using Crayons in Candle Making
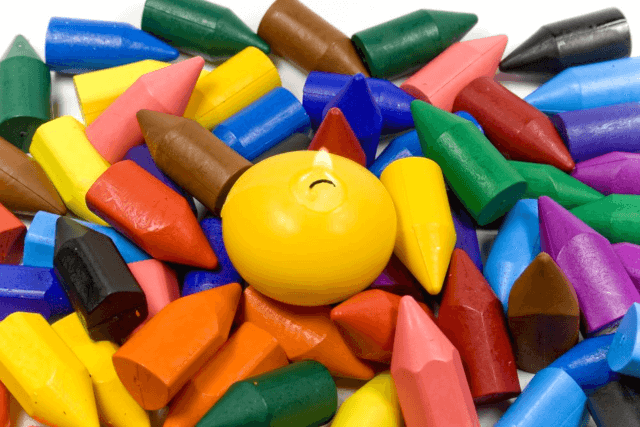
Using crayons in candle making not only adds color to your creations but also allows you to unleash your inner artist. Crayons come in a wide range of vibrant shades, making it easy to create unique and eye-catching designs for your homemade candles.
One of the main benefits of using crayons is the ability to mix and match colors to achieve your desired result. Whether you prefer bold and bright colors or more subtle and pastel shades, crayons give you the flexibility to experiment and create a candle that perfectly matches your style and preferences. By blending different crayon colors together, you can achieve a marbled effect or create intricate patterns on the surface of your candles.
Additionally, unlike traditional candle dyes which can be expensive, crayons are easily accessible and affordable. Plus, they offer a wide variety of colors that may not be readily available in traditional candle making supplies. This makes crayons an excellent option for those who want to try their hand at candle making without breaking the bank.
To use crayons in candle making, simply remove the paper wrapper from the crayon and chop it into small pieces for easier melting. Once melted with coconut oil or another base oil, the wax will take on the color of the crayon, allowing you to infuse your candles with vibrant hues that are sure to catch everyone’s attention.
Getting Started
To get started on your candle-making adventure, you will need to gather the necessary supplies. Here is a list of items you will need to create beautiful candles with crayons and coconut oil:
- Crayons: Choose crayons in your desired colors. Make sure they are not too old or brittle, as this may affect the final quality of your candles.
- Coconut oil: This natural and eco-friendly ingredient will serve as the base for your homemade candles. It has a low melting point, making it ideal for candle making.
- Candle wicks: You can purchase pre-tabbed wicks at craft stores or online. Alternatively, you can make your own wicks using cotton string dipped in wax.
- Heat-resistant containers: You will need containers to hold the melted wax mixture. Consider using mason jars, small glass jars, tin cans, or any other heat-resistant container that suits your style.
- Double boiler or microwave-safe container: To melt the crayons and coconut oil, you can use a double boiler setup on the stove or a microwave-safe container.
- Stirring utensil: Use a wooden or heat-resistant spoon to mix the melted wax thoroughly.
- Thermometer (optional): While not essential, a thermometer can help ensure that the melted wax and coconut oil do not overheat and maintain an optimal temperature for pouring into the containers.
- Essential oils (optional): If you wish to add fragrance to your candles, choose essential oils of your preferred scents like lavender, citrus, vanilla, or peppermint.
- Decorative elements (optional): Get creative by adding dried flowers, herbs, spices like cinnamon sticks or dried orange slices into your candle mixture for added aesthetic appeal.
Make sure to have all these supplies ready before you start with the candle-making process so that you can fully enjoy creating beautiful and eco-friendly candles right at home.
Step-by-Step Guide
To create your own homemade candles using crayons and coconut oil, follow this step-by-step guide:
Step 1: Gather Your Supplies
Before you begin melting crayons for candle making, ensure you have all the necessary supplies on hand. You will need:
– Crayons (any colors of your choice).
– Coconut oil.
– Candle wicks.
– Heat-resistant container or mold.
– Double boiler or a heat-safe bowl over a pot of simmering water.
– Stirring utensil (such as a wooden spoon).
– Thermometer (optional but recommended).
Step 2: Prepare the Crayons
Start by peeling off the paper wrappers from the crayons. This will help them melt more smoothly. Break each crayon into smaller pieces to speed up the melting process and make it easier to mix different colors.
Step 3: Melt the Crayons
Fill the bottom of your double boiler or pot with an inch or two of water and bring it to a simmer over medium heat. Place the heat-safe bowl on top of the pot, ensuring that the water doesn’t touch the bottom of the bowl. If you don’t have a double boiler, use a heat-safe bowl nestled in a pot instead.
Add about equal parts coconut oil and crayon pieces to the bowl, adjusting quantities based on how much wax you want to produce. Stir occasionally as they melt, using your thermometer to monitor the temperature if desired (aim for around 160°F or 71°C).
Step 4: Pour and Set
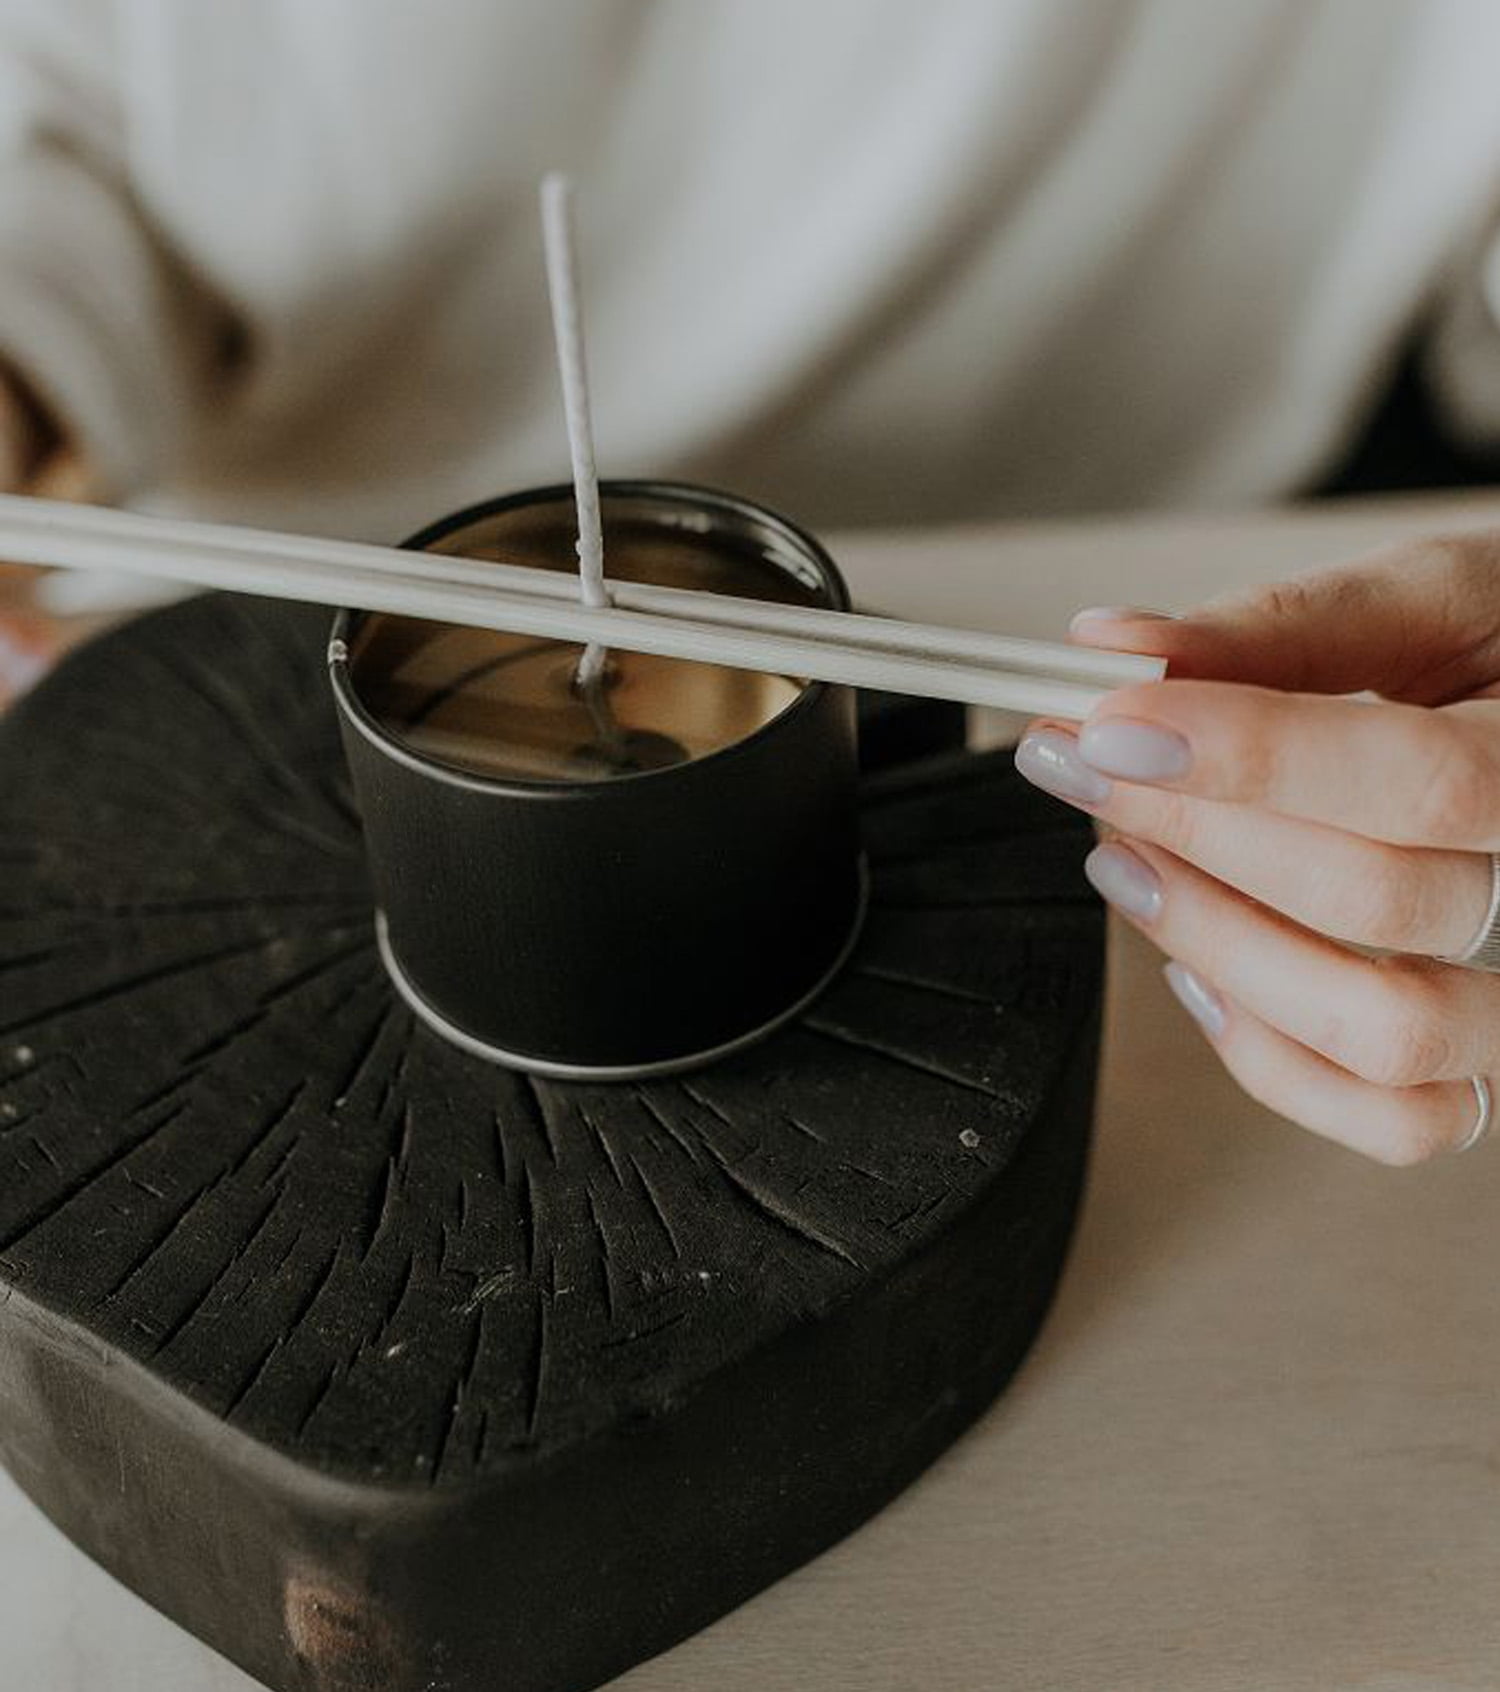
Once completely melted and mixed together, carefully pour your wax mixture into your chosen candle molds or containers. It’s essential to place pre-tabbed wicks in each container before pouring to ensure they stay centered.
Allow enough time for your candles to cool and harden completely, which usually takes a couple of hours. You can speed up the process by placing them in the refrigerator or freezer, but be cautious as rapid temperature changes may cause cracks in the wax.
With these simple steps, you can melt crayons for candle making with coconut oil and begin creating your very own colorful and unique candles. Experiment with different color combinations to achieve stunning results that will add charm and personal touch to your home décor or make delightful gifts for your loved ones.
Mixing Colors and Creating Unique Designs
Choosing Your Colors
When it comes to mixing colors in candle making, the possibilities are truly endless. Crayons come in a wide range of vibrant shades, allowing you to create candles that match any decor or personal preference. Before getting started, consider the color palette you want to achieve.
Are you looking for a monochromatic look, or do you want to experiment with complementary colors? Perhaps you’d like to create a gradient effect by blending multiple hues together. Whatever your vision, take some time to plan which crayon colors will work best for your design.
Creating Different Patterns and Designs
Once you’ve chosen your colors, it’s time to unleash your inner artist and have fun with wax art. One popular technique is creating layers of different colored wax within the candle. To achieve this effect, melt one color at a time and pour it into your container until it sets. Repeat the process with each subsequent color until you’ve achieved the desired layered look.
Another creative option is marbling, which involves swirling two or more colors together. Start by melting each crayon color separately and pouring them into separate cups or containers. Next, slowly combine the melted wax from each cup into one container while lightly stirring with a wooden skewer or toothpick. The colors will naturally swirl together as they begin to cool, creating beautiful patterns throughout the candle.
For a more intricate design, consider using stencils or cookie cutters placed on top of the hardened wax as you pour another layer of melted crayon over them. Once the wax has fully cooled and hardened again, remove the stencils or cookie cutters to reveal an eye-catching shape within your candle.
Experimenting with Techniques
While these are just a few basic techniques for mixing colors and creating unique designs in your homemade candles, don’t be afraid to explore new ideas. Candle making is a wonderful opportunity to tap into your creativity and discover different ways to express yourself.
Try experimenting with contrasting colors, experimenting with different pouring techniques, or using different tools to create textures on the surface of the wax. The beauty of wax art lies in its versatility-there are no strict rules, so feel free to let your imagination run wild.
Adding Fragrance
Candle enthusiasts know that adding fragrance to homemade candles can take the sensory experience to the next level. With the right choice of essential oils, you can create candles that not only provide a warm glow but also fill the room with delightful scents. In this section, we will explore the art of enhancing the aroma of your homemade candles with essential oils.
Essential oils are highly concentrated plant extracts that offer a wide range of fragrances and therapeutic benefits. From calming lavender to refreshing citrus, there is an essential oil for every mood and preference. When it comes to candle making, essential oils are an excellent option as they are natural and can easily blend with other candle-making ingredients like crayons and coconut oil.
To add fragrance to your homemade candles, simply choose your favorite essential oil or combination of oils and incorporate them into the melted wax mixture before pouring it into the containers. The general rule of thumb is to use about 1 ounce (30 mL) of essential oil per pound (450 grams) of wax. However, this ratio can be adjusted depending on personal preference – some may prefer a stronger scent while others may opt for a more subtle aroma.
It’s important to note that certain essential oils have lower flashpoints – the temperature at which they can ignite – than others. To ensure safety during the candle-making process, research each specific essential oil’s flashpoint and avoid overheating them during melting. Additionally, consider using a thermometer to keep track of the wax temperature while adding essential oils, as excessive heat can cause certain fragrances to evaporate or lose their potency.
| Essential Oil | Scent | Therapeutic Benefits |
|---|---|---|
| Lavender | Calming and floral | Relaxation and stress relief |
| Peppermint | Cool and invigorating | Improved focus and mental clarity |
| Orange | Citrusy and uplifting | Mood enhancement and energy boost |
| Eucalyptus | Fresh and invigorating | Respiratory health and congestion relief |
Experimenting with different essential oil combinations can result in unique fragrances that cater to your specific preferences. Consider mixing scents like lavender and vanilla for a soothing vibe or citrus oils like lemon and grapefruit for a refreshing aroma. The possibilities are endless, allowing you to create candles that not only look beautiful but also smell delightful.
With the addition of fragrance, your homemade candles will not only provide ambient lighting but also contribute to a cozy atmosphere with their enticing scents. So let your creativity flow as you explore the world of essential oils, blending different fragrances to achieve the perfect scent for your DIY candles.
Safety Measures and Precautions
Making candles with crayons and coconut oil can be a fun and creative DIY project, but it’s important to prioritize safety. Here are some important safety measures and precautions to follow for a safe candle making experience:
- Choose a Well-Ventilated Area: When melting crayons and coconut oil, it’s important to choose a well-ventilated area to prevent the accumulation of fumes. This could be near an open window or in a room with good air circulation.
- Use Heat-Resistant Containers: Ensure that you use heat-resistant containers to melt the crayons and coconut oil in. Glass or stainless steel containers are ideal for this purpose. Avoid using plastic containers as they may melt or release harmful chemicals when exposed to heat.
- Always Use a Double Boiler Method: It’s crucial to melt the crayons and coconut oil using a double boiler method, which involves placing the container with the wax mixture over another pot filled with boiling water. This indirect heat prevents accidental fires and helps regulate the temperature while melting the ingredients.
- Monitor the Temperature: It is essential to monitor the temperature of the wax mixture throughout the candle making process. Overheating can cause hot wax spills or even ignite a fire. Aim for temperatures between 150-170 degrees Fahrenheit (65-75 degrees Celsius) while melting, stirring, and pouring the mixture into your candle molds.
- Keep Flammable Objects Away: Ensure that you keep flammable objects such as paper, fabric, or curtains away from your candle-making area. Accidental contact between these materials and hot wax can result in a fire hazard.
- Handle Hot Wax With Caution: When working with hot wax, always exercise caution to avoid burns or spills. Handle containers with oven mitts or insulated gloves, pour slowly and steadily, and clean up any spills immediately using paper towels or rags.
By following these safety measures and precautions, you can enjoy a safe and enjoyable candle making experience. Remember to always prioritize safety and use proper equipment to prevent accidents and fires.
Candle Care and Maintenance
Taking proper care of your homemade candles will not only extend their life but also enhance the overall enjoyment of your beautiful creations. Here are some important candle care and maintenance tips to follow:
- Trim the Wick: Before lighting your candle, always trim the wick to about ¼ inch in length. A long wick can cause excessive flickering, uneven burning, and black soot on the container walls. Use a wick trimmer or scissors to achieve the desired length.
- Choose Proper Burning Time: It is essential to allow your candle to burn long enough for the entire surface to melt and create a pool of wax. This prevents tunneling, where a cave-like hole forms in the center of the candle. As a general rule, burn your candle for at least one hour for every inch in diameter.
- 3.Candle Placement: Always place your candles on a stable and heat-resistant surface away from flammable items, pets, and children. Avoid placing them near drafts or vents as these can affect the even burning of the candle.
To further enhance the lifespan and enjoyment of your handmade candles, consider following these additional guidelines:
– Extinguish with Care: Use a snuffer or gently blow out the flame rather than blowing it forcefully, as this can cause hot wax to splatter.
– Avoid Candle Tunneling: If you notice that your candle is tunneling (burning down leaving wax on the sides), try using an aluminum foil collar around the glass container to encourage an even burn.
– Store Candles Properly: When not in use, store your candles in a cool and dry place away from direct sunlight. This prevents color fading and melting due to heat exposure.
By following these simple tips for candle care and maintenance, you will be able to enjoy longer-lasting candles while ensuring their safety during each use. Remember to always exercise caution when handling lit candles and never leave them unattended.
Upcycling Candle Containers
Reusing old containers for candle making is a creative and eco-friendly way to give new life to everyday items. Not only does it minimize waste, but it also adds a unique touch to your homemade candles. Here are some creative ideas for repurposing various containers to house your DIY candles:
- Mason Jars: Mason jars are a popular choice for candle making due to their versatility and vintage charm. You can use both small and large mason jars depending on the size of the candle you want to create. Decorate the jars with ribbons, twine, or personalized labels to add a personal touch.
- Tea Cups and Saucers: Give your candles a whimsical look by using vintage tea cups and saucers as candle containers. Look for mismatched sets in thrift stores or flea markets for an eclectic feel. These elegant candle holders are perfect for creating a cozy atmosphere during tea time or as decorative pieces in any room.
- Tin Cans: Upcycling tin cans is not only cost-effective but also great for adding an industrial touch to your homemade candles. Clean empty food cans thoroughly before use and remove any sharp edges. Decorate them with paint, washi tape, or decorative paper to match your personal style.
- Glass Bottles: Empty glass bottles from wine or liquor can make stunning candle containers. Choose bottles with interesting shapes or unique labels to add visual appeal. Remove any leftover labels, clean the bottles thoroughly, and insert a wick with melted wax to transform them into beautiful candle holders.
- Seashells: If you’re looking for a beach-inspired theme, consider using seashells as mini candle containers. Select larger shells such as scallops or clam shells that can hold melted wax securely without leaking through cracks or holes.
- Vintage Tins: Hunt for vintage tins in thrift shops or antique stores to give your candles a nostalgic feel. Look for tins with interesting designs or vibrant colors that complement the fragrance or color of your candle. Make sure to clean and sanitize them properly before pouring in the wax.
By reusing and repurposing everyday items, you can create unique and sustainable candle containers while adding a personal touch to your candle making experience. Experiment with different materials, shapes, and sizes to create one-of-a-kind candles that reflect your style and creativity.
| Container Ideas | Description |
|---|---|
| Mason Jars | Versatile and vintage jars that add charm to your candles. |
| Tea Cups and Saucers | Elegant containers that create a whimsical look. |
| Tin Cans | Cost-effective and industrial-inspired candle holders. |
| Glass Bottles | Stunning containers made from wine or liquor bottles. |
| Seashells | Mini candle holders with a beach-inspired theme. |
Troubleshooting Tips
Candle making can be a rewarding and enjoyable DIY project, but like any craft, it may come with its own set of challenges. In this section, we will explore some common issues that you may encounter during your candle making session and provide solutions to help you overcome them.
1. Uneven Coloring: One common problem that candle makers face is uneven coloring in their candles. This can occur when the wax and crayon mixture does not blend well or when the dye in the crayons is not evenly distributed.
To prevent this issue, make sure to stir the mixture thoroughly while melting the crayons and coconut oil. Additionally, consider using high-quality crayons or color blocks specifically designed for candle making, as they tend to have more consistent pigmentation.
2. Sinking Wick: Another issue that you may come across is a sinking wick. This happens when the wick slips or sinks into the melted wax before it solidifies, which can result in an uneven burn and a hard-to-reach flame.
To avoid this problem, secure your wick in place by using a wick holder or tying it around a pencil placed across the top of your container. Allow the wax to cool slightly before inserting the wick so that it stays in position.
3. Tunneling: Tunneling refers to when a candle burns down unevenly and leaves excessive wax on the sides of the container while creating a hole down its center. This is often caused by not allowing the candle’s first burn to create an even melt pool that reaches all edges of the container. To prevent tunneling, ensure that you burn your candle long enough during its initial use for the entire surface to liquefy evenly.
| Issue | Solution |
|---|---|
| Uneven Coloring | Thoroughly stir the wax and crayon mixture and consider using high-quality crayons or color blocks designed for candle making. |
| Sinking Wick | Secure the wick in place using a wick holder or by tying it around a pencil across the container’s top. |
| Tunneling | Burn your candle long enough during its initial use for an even melt pool to form that reaches all edges of the container. |
By being aware of these common issues and following the suggested solutions, you can ensure a successful candle making session. Do not get discouraged if you encounter any challenges along the way – troubleshooting is a normal part of the crafting process. With practice and patience, your candle making skills will improve, and you’ll be able to create beautiful and flawless homemade candles.
Conclusion
In conclusion, making candles with crayons and coconut oil is not only a fun and creative DIY project, but it is also an eco-friendly and cost-effective alternative to store-bought candles. By utilizing simple materials such as crayons and coconut oil, you can unleash your inner artist and create unique designs that reflect your personal style.
Throughout this article, we have explored the benefits of using crayons in candle making, from the vibrant colors they offer to the opportunity for wax art experimentation. We have also provided a step-by-step guide on how to melt crayons with coconut oil, ensuring a smooth and successful candle making experience. Additionally, we discussed ways to enhance the aroma of your homemade candles with essential oils and reminded readers of important safety measures to follow.
Once you have completed your candle making adventure, it is important to care for and maintain your beautiful creations. Proper candle care will not only extend their life but also ensure a safe enjoyment of them. Additionally, we encouraged readers to think creatively when upcycling candle containers, offering ideas for repurposing everyday items.
In closing, by following the tips and tricks outlined in this article, you can enjoy the fruits of your labor and bask in the warm glow of homemade candles. Whether you keep them for yourself or give them as heartfelt gifts, these unique creations are sure to bring joy and relaxation into any space.
So gather your supplies, ignite your creativity, and indulge in the satisfaction that comes from making something truly special with your own two hands. Happy candle-making.

Welcome to my candle making blog! In this blog, I will be sharing my tips and tricks for making candles. I will also be sharing some of my favorite recipes.


