Candle making is a fascinating and rewarding hobby that allows you to create beautiful and fragrant candles tailored to your own tastes. Not only is it a creative outlet, but it also provides a sense of accomplishment when you see the finished product illuminating your space with its soft glow. However, before you can light that newly made candle, there are important considerations to keep in mind, particularly when it comes to curing time.
In this article, we will delve into the exciting world of candle making and explore how soon after creating a candle you can actually burn it. We will provide a step-by-step guide on making your own candles, highlighting key ingredients and materials needed for the process. Additionally, we will discuss the importance of safety in candle making and the necessary curing time for homemade candles.
Understanding the concept of curing time is crucial as it directly affects both the quality and performance of your handcrafted candles. How long should you wait before lighting that freshly made creation? What factors influence the curing time? And how do you determine if your candle is ready to be burned? We will answer these questions and more, providing valuable insights and tips along the way.
Join us on this journey as we explore not only the process of candle making but also the anticipation and joy of finally being able to burn those creations that have filled your home with delightful scents and warmth. From learning about key ingredients to testing readiness before lighting, we aim to equip you with all the knowledge needed for an optimal candle-making experience.
The Candle Making Process
The candle making process involves several steps that transform raw materials into a finished product ready to be burned. This section will provide a brief overview of the candle making process, highlighting the key stages involved.
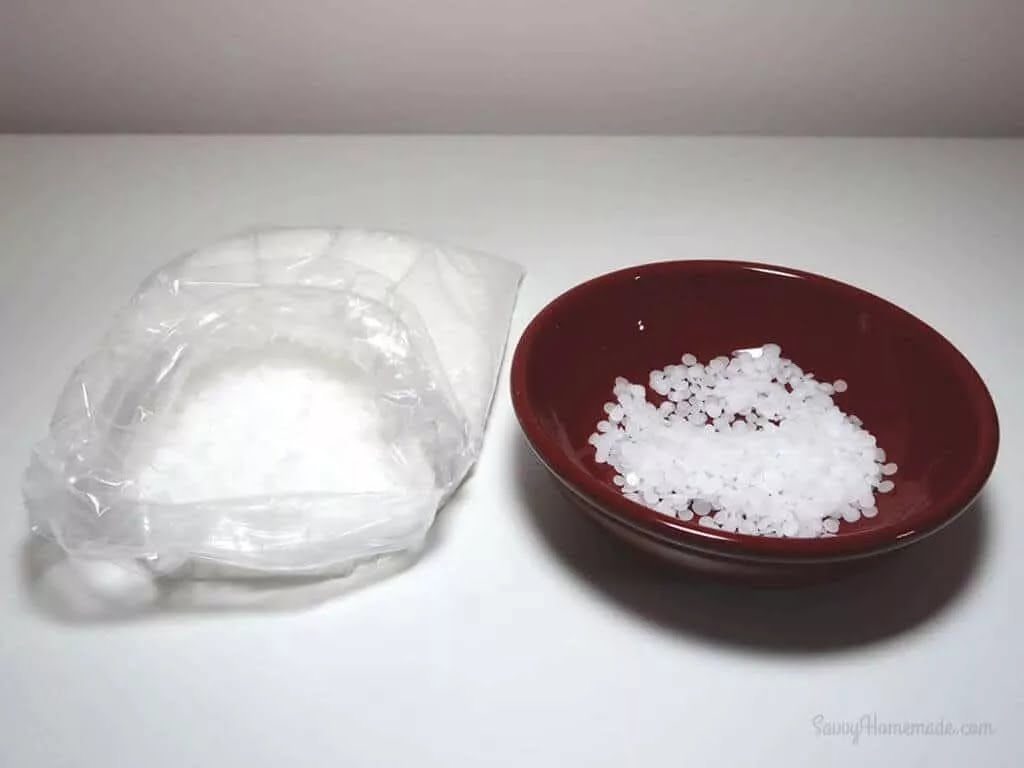
The first step in the candle making process is choosing the type of wax to use. There are several options available, including soy wax, beeswax, and paraffin wax. Each type of wax has its own unique qualities and characteristics that can affect the final outcome of the candle. Once the wax is chosen, it is melted down using heat until it becomes a liquid.
After the wax has melted, fragrance oils or essential oils can be added to give the candle its desired scent. The amount of fragrance oil used will vary depending on personal preference and the size of the candle being made. In addition to fragrance oils, dyes or colorants can also be added to give the candle its desired color.
Next, a wick is selected and placed at the center of the container or mold that will hold the melted wax. The wick serves as a pathway for the flame and provides stability to prevent it from falling over or extinguishing prematurely. It is important to choose a wick that is appropriate for both the size and composition of the candle being made.
Once all these elements are in place, it’s time to pour the melted wax into the container or mold. Care must be taken during this step to ensure that no air bubbles form and that the wick remains centered throughout the pouring process. After pouring, it’s important to allow sufficient time for the candle to cool and solidify before moving on to further steps such as trimming excess wick or adding decorative touches.
Overall, understanding how candles are made can enhance your appreciation for these everyday items. Whether you choose to make your own candles or simply enjoy burning them, knowing what goes into each one adds an extra layer of enjoyment and satisfaction.
| Key Ingredients | Key Materials |
|---|---|
| Wax (e.g. soy wax, beeswax, paraffin wax) | Heat source (e.g. stove, double boiler) |
| Fragrance oils or essential oils | Container or mold |
| Dyes or colorants | Wick |
Key Ingredients and Materials for Candle Making
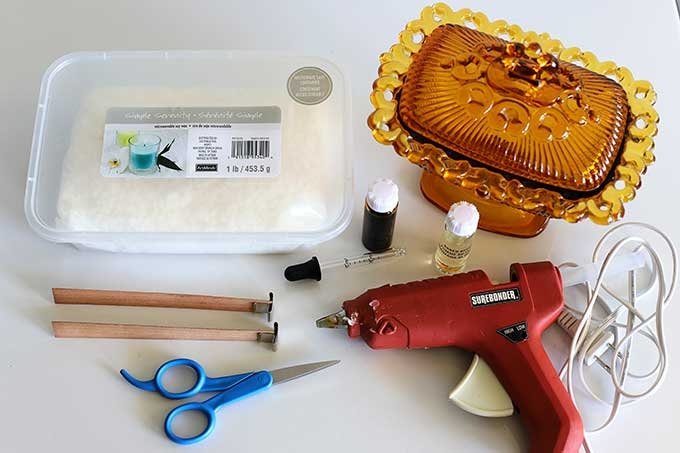
When it comes to candle making, it is important to gather the right ingredients and materials before getting started. The success of your homemade candles greatly depends on the quality of the components used. Here are some key ingredients and materials that you will need:
- Wax: Wax is the main ingredient for making candles. It can be either natural or synthetic. Common types of wax used in candle making include soy wax, beeswax, paraffin wax, and palm wax. Each type has its own unique qualities, so it’s important to choose one that suits your preferences and needs.
- Wicks: Wicks are essential for a candle to burn properly. They come in different sizes and materials, such as cotton or hemp. The size of the wick should match the diameter of your candle jar or mold. If the wick is too small, the flame will struggle to stay lit; if it’s too large, the flame may become too big and cause a safety hazard.
- Fragrance or Essential Oils: Adding fragrance to your candles can enhance their aromatherapy benefits or simply create an inviting ambiance in your space. You can use fragrance oils specifically formulated for candles or opt for natural essential oils for a more organic choice.
- Dyes or Colorants: If you want to add color to your candles, you will need dyes or colorants specifically designed for candle making. These come in various forms like liquid dye or mica powder and can be mixed together to create custom shades.
- Containers or Molds: Choose containers that are suitable for holding melted wax and able to withstand heat without cracking or breaking, such as glass jars, tins, or ceramic containers. If you prefer shaping your own candles, molds made from silicone, metal, or plastic are available in a range of shapes and sizes.
- Heat Source: A heat source like a double boiler or a melting pot is required to heat and melt the wax evenly. Using direct heat, such as an open flame or microwave, can be dangerous and cause the wax to catch fire.
By gathering these key ingredients and materials before you start candle making, you will have everything you need to create beautiful and aromatic candles that burn safely and provide long-lasting enjoyment. Remember to always follow safety guidelines when working with hot wax and open flames. With the right materials and a dose of creativity, you can embark on an exciting candle-making journey right in the comfort of your own home.
Step-by-Step Guide
Making your own candle can be a fun and rewarding experience. Not only do you get to unleash your creativity by choosing the colors, scents, and designs, but you also have the satisfaction of enjoying a candle that you made yourself. If you’re ready to dive into the world of candle making and create your own masterpiece, here is a step-by-step guide to help you get started.
- Gather Your Materials: Before you begin making your candle, gather all the necessary materials. This includes wax (such as soy wax or beeswax), wicks, containers for the candles, fragrance oils or essential oils for scent (if desired), dyes or colorants (if desired), a heat source for melting the wax (such as a double boiler or microwave), and any additional decorations like dried flowers or glitter.
- Prepare Your Workspace: Find a well-ventilated area to work in and protect your workspace with newspapers or a plastic tablecloth. Candle making can get messy, so it’s best to have everything covered and easily cleanable. Make sure you have all your tools within reach, including a thermometer if necessary.
- Melt The Wax: Start by melting the wax using your chosen method. Be sure to follow the instructions provided with the wax you’re using for optimal results. Keep an eye on the temperature as overheating can degrade the quality of the wax.
- Add Fragrance Oil and Colorant (Optional): Once your wax has melted, add fragrance oil or essential oil according to your preference. Be careful not to add too much as it may affect how well your candle burns. If desired, add colorants slowly until you achieve your desired shade.
- Prepare Your Container: While waiting for the wax to cool slightly, prepare your container by securing the wick at the bottom using adhesive dots or hot glue. Make sure the wick is centered in order for it to burn evenly.
- Pour the Wax: Slowly pour the melted wax into your container, taking care not to overflow it. Leave a little space at the top to allow for any shrinkage during cooling. Hold the wick upright and steady while pouring to keep it centered.
- Let it Cool and Set: Allow your candle to cool and set completely. This process usually takes several hours or overnight, depending on the size of the candle and the type of wax used. Avoid moving or disturbing the candle while it’s setting to prevent any imperfections from forming.
By following these step-by-step instructions, you can create your own beautiful homemade candles. Remember to always exercise caution and follow safety guidelines when working with hot wax and open flames. Once your candle has fully cured, you can move on to the next section to learn how long you should wait before burning it for optimal results.
Safety First
Curing time, also known as the setting or aging time, is a crucial step in the candle making process that should not be overlooked. It refers to the period of time that a newly made candle needs to sit and rest before it is ready to be burned. While it may be tempting to immediately light up your creation and enjoy its warm glow and delightful fragrance, it is important to understand the reasons behind the need for curing time.
One of the primary reasons why curing time is necessary is for safety purposes. During the curing process, the wax in the candle cools down and hardens, allowing it to stabilize and properly set.
If a candle is burned too soon after it has been made, it can potentially lead to dangerous situations such as wax pooling, excessive smoking, or even a potential fire hazard. By allowing your candle ample time to cure, you are ensuring that it reaches its optimal burning state and minimizing any risks associated with premature burning.
Additionally, curing time plays an important role in enhancing the performance of your homemade candles. It allows for a process called fragrance throw development, where the scent of the candle becomes stronger and more consistent over time.
Through this process, certain chemical reactions occur within the wax that help to release and distribute fragrance molecules more effectively when the candle is lit. Therefore, by patiently waiting for your candle to cure, you are ultimately maximizing its scent throw and overall performance when you finally decide to burn it.
How Soon After Making a Candle Can You Burn It?
As a candle making enthusiast, it’s natural to be excited to see the fruits of your labor and want to burn your newly made candle as soon as possible. However, it’s important to exercise patience and allow for an appropriate curing time before lighting your creation. The curing process is crucial for ensuring that your candle burns properly and safely. So, how soon after making a candle can you burn it?
The general recommendation is to wait at least 24-48 hours before burning a newly made candle. This allows the wax to fully harden and solidify, enhancing the quality of the burn. Rushing this step can result in poor performance, such as uneven burning, excessive smoke, or tunneling where a hole forms in the center of the candle.
However, it’s worth noting that different types of candles may have varying curing times. For instance, soy wax candles typically require a longer curing period compared to paraffin or beeswax candles. Soy wax tends to be softer and more delicate during its initial stages of cooling down, so it needs extra time to fully set and cure.
| Type of Candle | Recommended Curing Time |
|---|---|
| Paraffin Wax | 24-48 hours |
| Soy Wax | 2-3 days |
| Beeswax | 1-2 days |
Additionally, climate conditions can also play a role in the curing time of homemade candles. If you live in a humid environment or experience high temperatures, it’s advisable to give your candles some extra time to cure properly.
Remember, patience is key when it comes to candle making. Giving your candles ample time to cure will result in a higher quality burn and a more enjoyable experience overall. With proper curing, you can ensure that your candle burns evenly, releases its fragrance optimally, and lasts for a longer duration. So resist the temptation to rush the process and allow your candles to cure before delighting in their warm glow.
Factors Affecting the Curing Time of Homemade Candles
Wax Type and Additives
The type of wax used in the candle making process can greatly affect the curing time of homemade candles. Different waxes have different properties and characteristics that may impact how quickly the candle cures. For example, soy wax tends to have a shorter curing time compared to other waxes like paraffin or beeswax.
Additionally, if any additives or fragrance oils are used in the wax, they can also affect the curing time. Some additives may require a longer curing period for optimal performance.
Candle Size and Shape
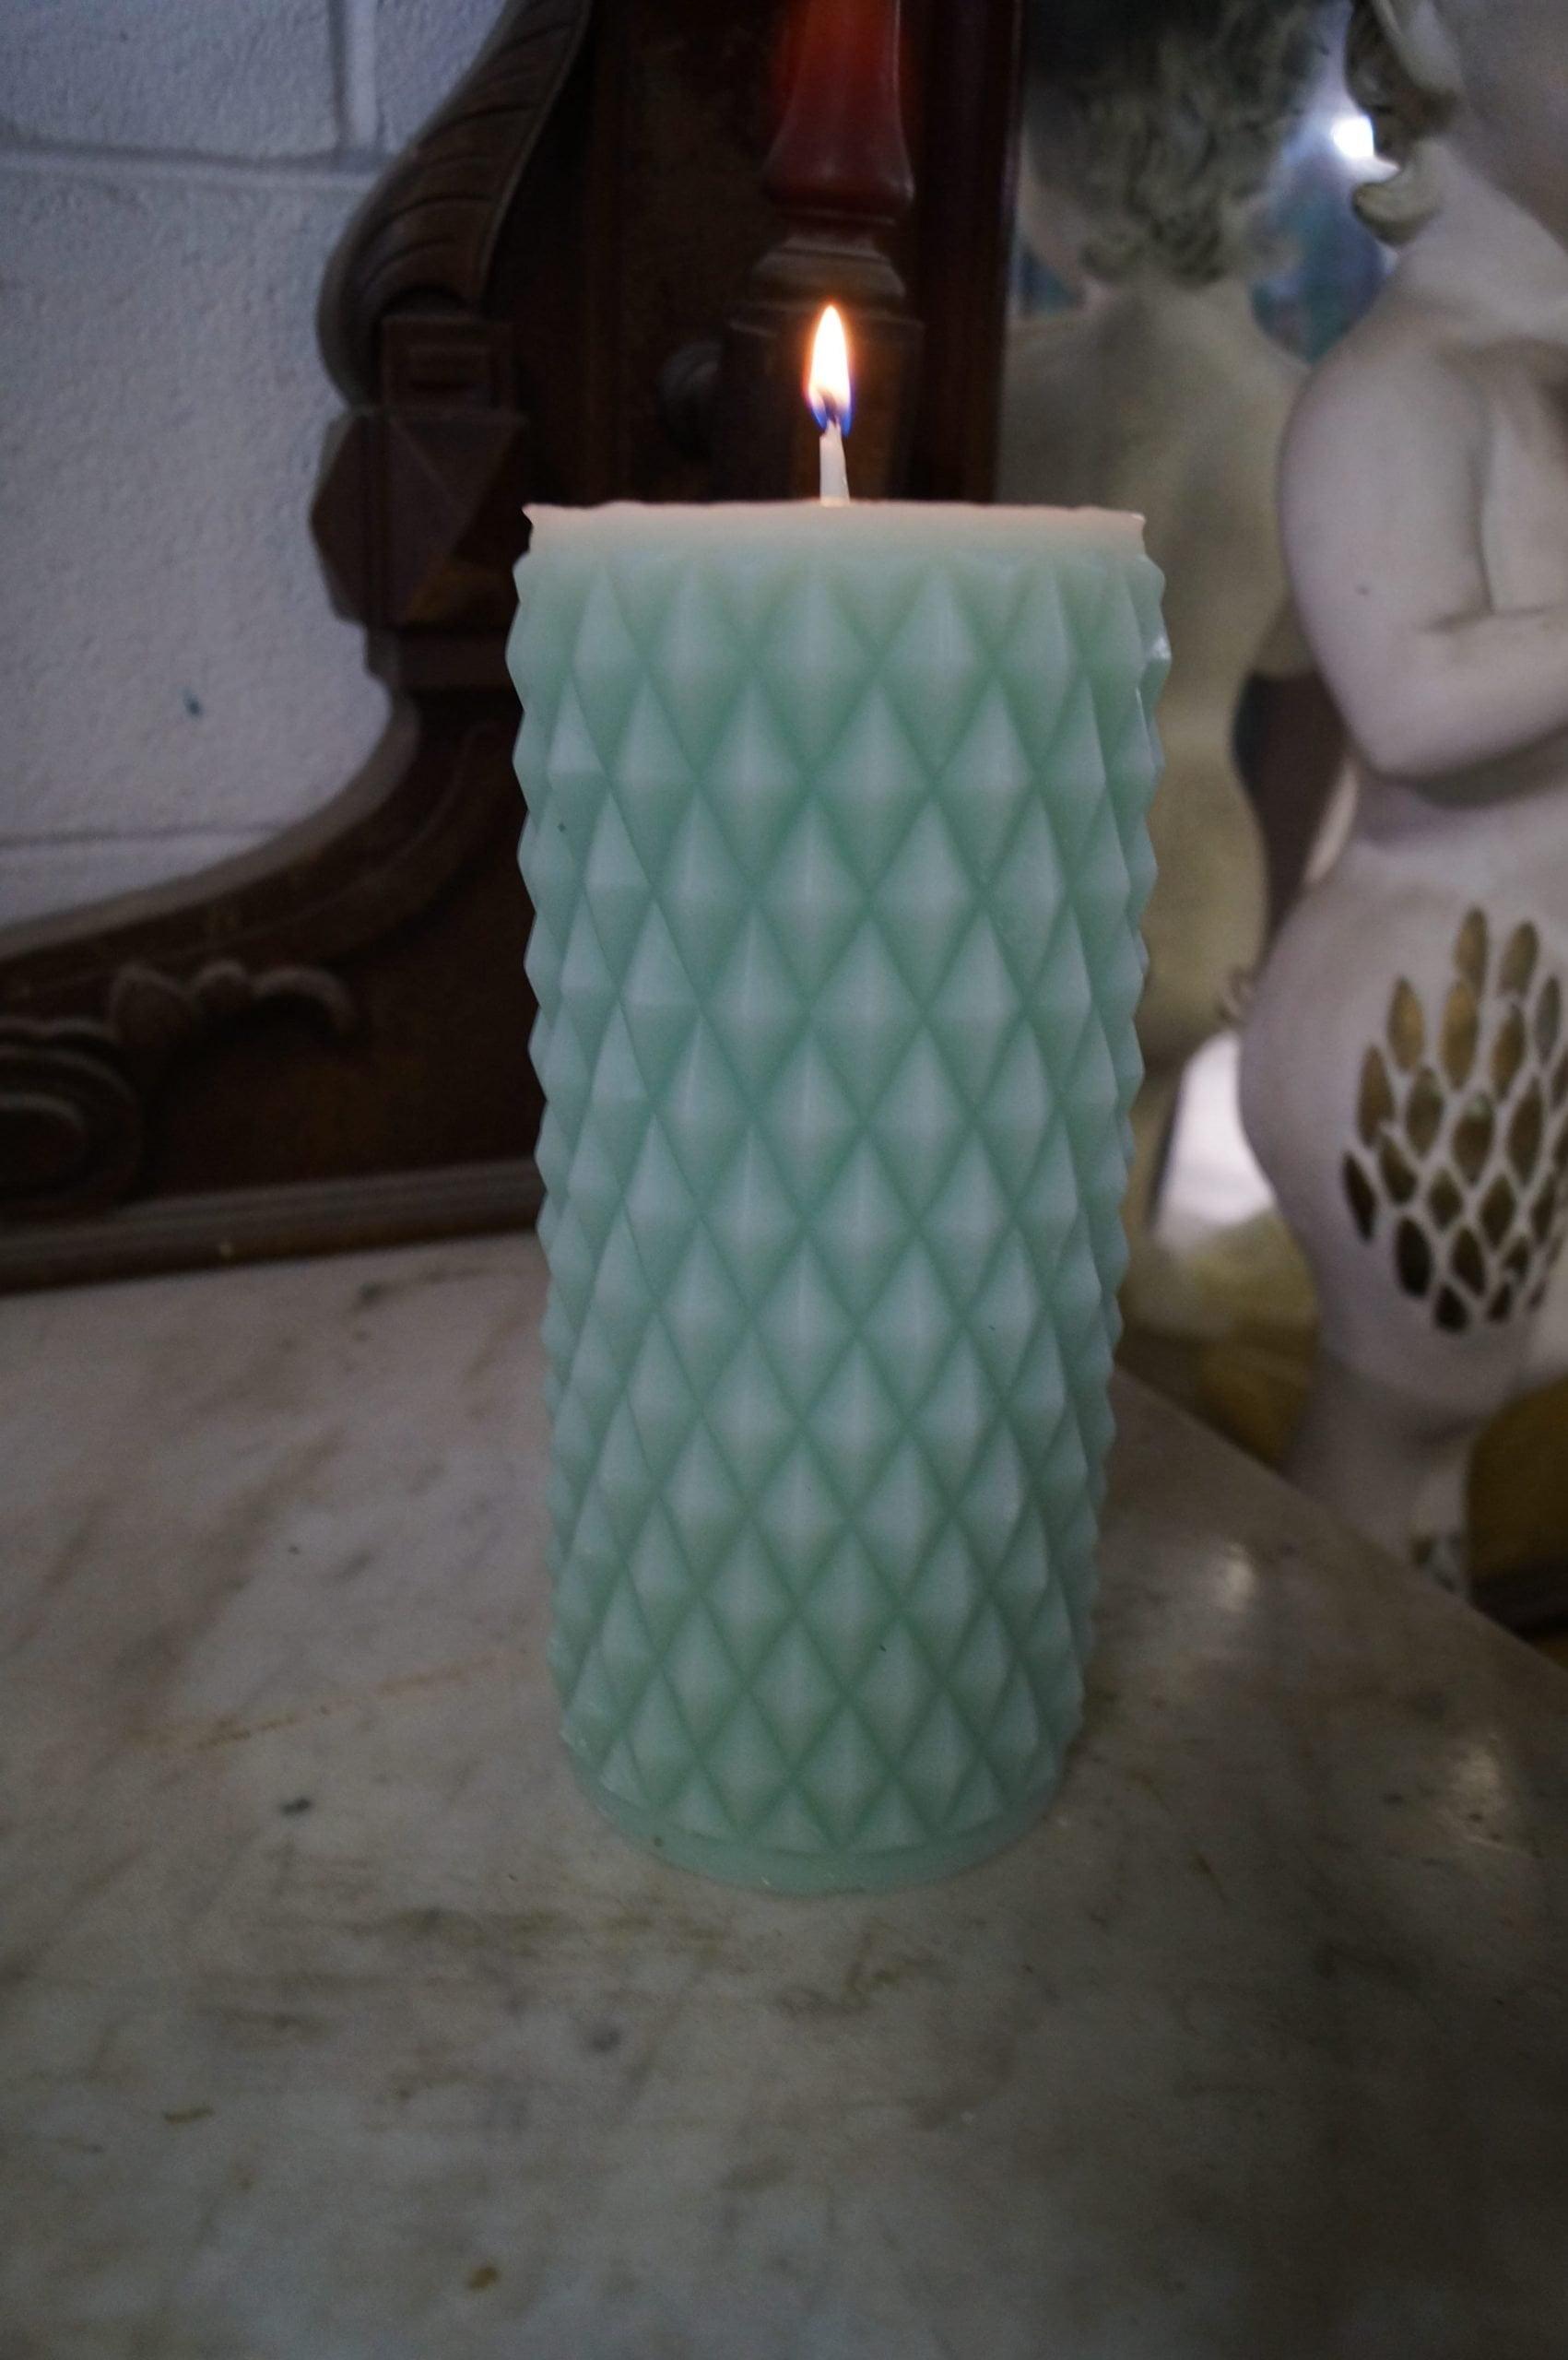
The size and shape of the candle can also influence its curing time. Candles with larger diameters or thicker layers of wax may take longer to cure compared to smaller or thinner candles. This is because there is more wax that needs to cool and solidify before the candle is ready for burning. Likewise, candles with complex shapes or unique designs may require additional curing time due to their intricate structure.
Ambient Temperature and Humidity
The surrounding environment plays a crucial role in the curing process of homemade candles. The ambient temperature and humidity levels can either speed up or slow down the curing time. Warmer temperatures generally promote faster curing, while cooler temperatures can prolong the process.
Similarly, high humidity levels can hinder proper drying and hardening of the wax, leading to an extended curing period. It is important to consider these factors when selecting a suitable location for your freshly made candles to cure.
Fragrance Load
If you choose to add fragrance oils or essential oils to your homemade candles, it’s important to note that they may impact the curing time as well. Some fragrances contain ingredients that can alter the chemical composition of the wax, affecting its overall performance during the curing process.
Certain fragrances may cause a longer cure time, while others may have no effect. It is advisable to check the recommendations provided by the fragrance manufacturer or supplier for specific guidelines on curing time when using fragrances.
External Factors
In addition to the factors mentioned above, there are various external factors that can influence the curing time of homemade candles. These may include air circulation, ventilation, and exposure to sunlight. Proper air circulation can help facilitate faster curing, while inadequate ventilation may slow down the process. Direct sunlight should be avoided during the curing period as it can cause uneven curing and may negatively impact the quality of the finished candle.
Understanding these factors can help candle makers determine an approximate curing time for their homemade candles. However, it’s important to note that each candle making project may differ depending on various variables such as wax type, additives used, and ambient conditions. It’s always recommended to monitor your candles closely and conduct tests to ensure they are fully cured before lighting them up for an optimal burning experience.
Testing the Readiness
To ensure a safe and enjoyable candle-burning experience, it is crucial to know when your homemade candle is ready to be lit. Testing the readiness of a candle involves looking for specific signs that indicate the curing process is complete. Here are some key indicators that your candle is ready to burn:
Visual Appearance
One of the easiest ways to determine if your candle is ready for burning is by checking its visual appearance. A properly cured candle should have a smooth, even surface without any wet or oily spots.
It should also have a uniform color throughout, indicating that the wax has fully solidified. If there are any visible imperfections or irregularities, such as air bubbles or cracks, it’s best to give the candle more time to cure before attempting to light it.
Scent Development
Another important aspect of testing the readiness of a homemade candle is evaluating its scent development. During the curing process, candles go through a period called “cold throw,” where their fragrance gradually develops and intensifies. To assess if your candle is adequately cured, give it a gentle sniff from about six inches away. If the scent is strong and noticeable, then your candle has reached its optimal fragrance level and can be safely burned.
Wick Stiffness
The flexibility and stiffness of the wick can also provide valuable insights into the curing status of a homemade candle. Once cured, the wax around the wick should harden enough to offer ample support and prevent it from bending or flopping over when touched. Gently tap or press on the top of the wick to assess its stability. If it feels firm and remains upright, you can rest assured that your candle’s curing time has completed successfully.
Remember that proper curing time varies depending on various factors such as the type of wax used and additional fragrance oils or additives incorporated into the candle-making process. It is essential to refer to the specific guidelines provided by your wax supplier or candle-making recipe for accurate curing times. By following these recommended guidelines and conducting these simple tests, you can ensure that your homemade candle is fully ready to burn, allowing for a safe and enjoyable experience.
Enjoying the Fruits of Your Labor
Once you have successfully made your own candle, it’s time to enjoy the fruits of your labor and experience the cozy and comforting ambiance that a burning candle can provide. However, to ensure that you have the best candle-burning experience possible, there are a few tips and tricks that you should keep in mind.
Firstly, it is important to trim the wick before each use. Trimming the wick to about 1/4 inch will help promote an even burn and prevent excessive smoke or soot from forming. This simple step can greatly prolong the life of your candle and ensure a clean and enjoyable burn every time.
In addition to trimming the wick, it is also crucial to let your candle burn for a sufficient amount of time during each use. The first burn of a candle is especially important as it sets the “memory” for all future burns.
To ensure an even melt pool and prevent tunneling, allow your candle to burn until the entire top layer of wax has melted completely before extinguishing it. This can take anywhere from one to four hours depending on the size of your candle.
Lastly, always remember to place your burning candle on a heat-resistant surface away from any flammable materials or drafts. Avoid moving a lit candle as this can be dangerous and increase the risk of accidents. It is also recommended to limit each burning session to no longer than four hours at a time, allowing both you and your candle some rest in between uses.
By following these simple tips for optimal candle burning, you will not only enhance your overall experience but also prolong the life of your carefully crafted homemade candles. So sit back, relax, and enjoy the warm glow and delightful scents that only a well-cared-for candle can provide.
Conclusion
In conclusion, the journey from candle making to burning is a fascinating one that requires time, patience, and attention to detail. Understanding the curing time of homemade candles is crucial for both safety and optimal performance. While there is no definitive answer to how soon after making a candle you can burn it, several factors come into play.
Factors such as the type of wax used, the fragrance or essential oils added, and the size and shape of the candle can all affect the curing time. It is important to follow specific guidelines provided by candle making experts or suppliers to ensure that your candles are fully cured before burning. Rushing this process can lead to issues such as poor scent throw, uneven burning, or even potential safety hazards.
To determine if your candles are ready for burning, keep an eye out for certain signs. Touching the surface of the candle should not leave any fingerprints or indentations. The color should also be consistent throughout with no visible streaks or discoloration. Additionally, taking note of any unusual scents or excessive smoking during the first few burns can indicate that further curing time is needed.
Once your candles are ready for burning, it’s important to practice proper candle care and maintenance to ensure a safe and enjoyable experience. Trim the wick before lighting each time to prevent soot buildup and ensure a clean burn. Always place your candle on a stable surface away from flammable objects and never leave it unattended while lit.
Frequently Asked Questions
Can you burn a candle right after making it?
No, it is generally not recommended to burn a candle right after making it. After pouring the wax and placing the wick, the candle needs some time to cool and set properly. Burning it immediately can result in uneven burning, excessive smoking, and poor fragrance throw. It is best to wait for the candle to fully cure before lighting it.
How long to wait before burning a homemade candle?
The time you should wait before burning a homemade candle can vary depending on the type of wax you used and the specific instructions provided by your candle-making recipe or supplier. In general, soy wax candles may require 24-48 hours, whereas paraffin or beeswax candles might need around 1-2 weeks to fully cure.
This waiting period allows the wax to harden properly and ensures that the fragrance oil is well blended with the wax for optimal scent performance when burned.
How long should you let a candle burn the first time?
When burning a candle for the first time, it is important to allow it to create a full melt pool across the entire diameter of the container or vessel it is in. This helps prevent tunneling, wherein only a small portion of wax melts while leaving an unburned ring around the sides of the container.
Depending on the size of your candle, this may take anywhere from 2-4 hours or even longer for larger candles. Allowing sufficient burn time during this initial use helps establish proper burning behavior for future uses and extends overall burn life.

Welcome to my candle making blog! In this blog, I will be sharing my tips and tricks for making candles. I will also be sharing some of my favorite recipes.


