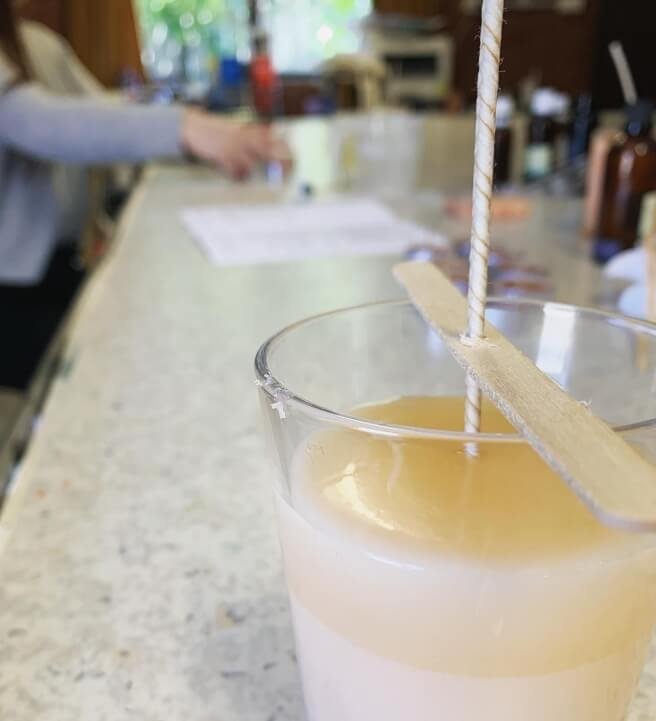
Beeswax candles have been used for centuries, appreciated for their natural beauty and subtle honey scent. In this article, we will delve into the art of candle making using beeswax and provide a step-by-step guide on how to melt beeswax for this purpose. Whether you are a newbie or seasoned candle maker, mastering the art of melting beeswax is crucial for achieving the perfect consistency and ensuring your candles burn smoothly and evenly.
Beeswax is a popular choice for candle making due to its natural properties and benefits. Not only does it provide a clean and long-lasting burn, but it also emits a subtle honey-like fragrance that adds an extra touch of warmth to any space. If you are interested in creating your own beeswax candles, understanding the process of melting beeswax is crucial.
In the following sections, we will explore the benefits of using beeswax for candle making, how to choose the right type of beeswax, essential tools and equipment needed for melting beeswax, as well as safety precautions to keep in mind throughout the process. By the end of this article, you will be equipped with all the knowledge necessary to confidently melt beeswax for candle making and create your own beautifully crafted candles at home.
The Benefits of Using Beeswax for Candle Making
Beeswax has been a popular choice for candle making for centuries, and for good reason. In this section, we will delve into the numerous benefits of using beeswax for candle making, including its natural properties and environmentally friendly characteristics.
Natural and Environmentally Friendly
One of the key benefits of using beeswax for candle making is its natural and environmentally friendly qualities. Beeswax is a renewable resource that is produced by honeybees, making it a sustainable option for candle making. Unlike paraffin candles, which are derived from petroleum, beeswax candles do not emit harmful toxins when burned. This makes them a healthier and safer choice for both the environment and your home.
Longer Burn Time and Clean Flame
Another advantage of using beeswax for candle making is its longer burn time and clean flame. Beeswax candles burn slower than other types of candles, which means they last longer. Additionally, they produce very little smoke or soot when burned, creating a cleaner and more pleasant atmosphere in your home. The natural honey scent released by beeswax candles adds to their appeal, creating a warm and inviting ambiance.
Air Purifying Properties
Beeswax candles also have air-purifying properties that make them stand out from other types of candles. When burned, beeswax candles release negative ions that can help to neutralize pollutants in the air, such as dust, mold, and allergens. This can improve the overall air quality in your home, benefitting those with allergies or respiratory issues.
Choosing the Right Beeswax for Your Candles
When it comes to choosing the right beeswax for your candle making endeavors, it’s important to consider the quality and purity of the wax. Beeswax comes in different grades, so it’s essential to select one that suits your specific needs.
One of the factors to consider when choosing beeswax is its color – natural beeswax can range from a pale yellow to a dark brown, depending on its age and filtration process. If you prefer a lighter color for your candles, then look for white or yellow beeswax.
Another consideration when choosing beeswax is its source. It’s ideal to opt for beeswax from reputable beekeepers who prioritize sustainable and ethical harvesting practices. This ensures that you are getting high-quality beeswax that is free from pollutants and chemicals, which can affect the overall quality of your candles.
Additionally, consider whether you want filtered or unfiltered beeswax. Filtered beeswax has undergone processing to remove impurities and debris, resulting in a cleaner and more refined wax. Unfiltered beeswax, on the other hand, retains more of its natural components and may have a slightly different texture and scent. Ultimately, the choice between filtered and unfiltered beeswax depends on your personal preferences and the desired outcome for your candles.
Overall, selecting the right beeswax for your candles is crucial for achieving excellent results in candle making. By considering factors such as color, source, and filtration process, you can ensure that your candles are made with high-quality wax that burns cleanly and beautifully.
By paying attention to these details when choosing your beeswax, you can set yourself up for success in creating stunning and long-lasting candles that showcase the natural beauty of this wonderful material.
Tools and Equipment Needed for Melting Beeswax
Beeswax candles are not just a beautiful addition to any home decor; they also come with a plethora of benefits. The process of melting beeswax for candle making can be a fulfilling and rewarding experience, especially when you understand the tools and equipment needed for this process.
To get started, you will need the following items:
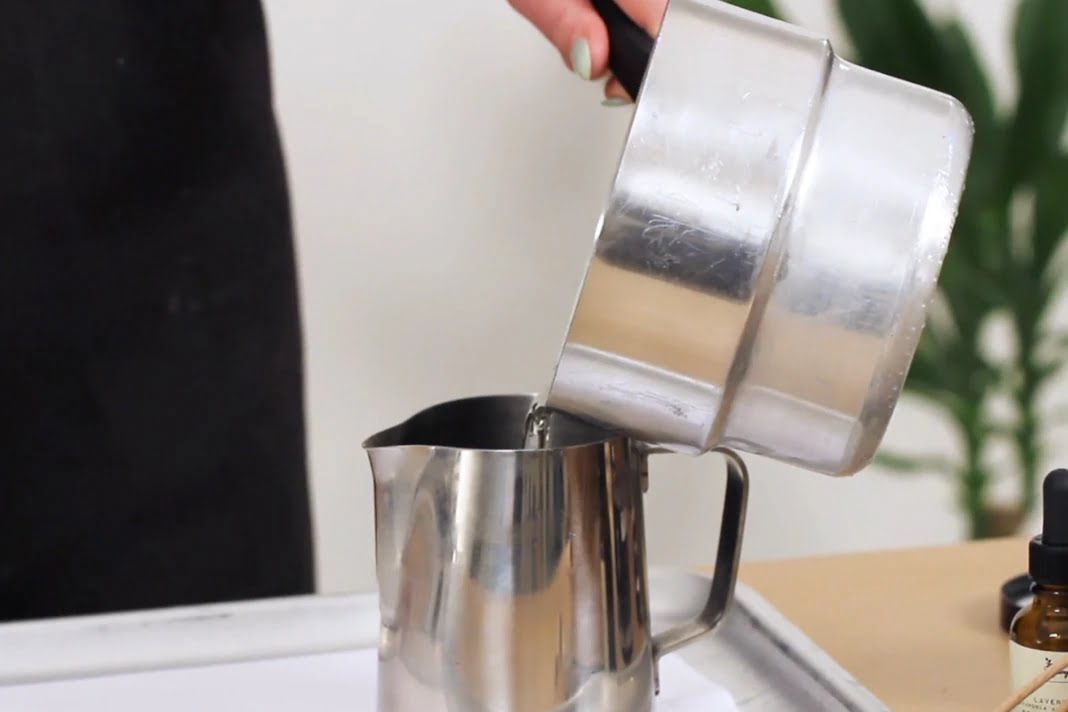
- Double boiler or melting pitcher: This is essential for gently heating the beeswax without direct contact with the heat source. It ensures that the beeswax melts evenly and prevents it from burning.
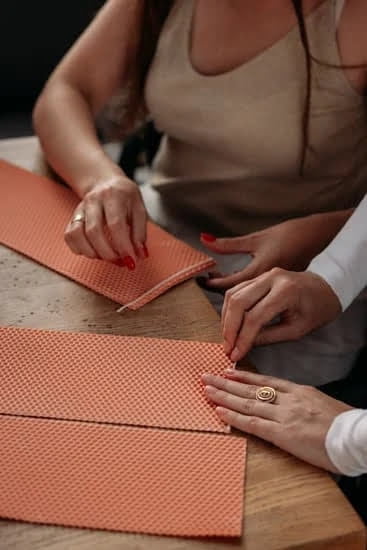
- Beeswax: Of course, you will need high-quality beeswax to begin your candle-making process. Beeswax comes in various forms such as blocks, beads, or sheets, so choose the one that works best for your project.
- Thermometer: A thermometer is necessary to monitor the temperature of the melting beeswax. This is crucial in order to achieve the right consistency and prevent overheating.
Having these tools and equipment readily available will make your beeswax candle-making process more seamless and enjoyable. Once you have gathered all the necessary items, you can proceed to follow the step-by-step guide on how to melt beeswax for candle making.
| Tools and Equipment | Description |
|---|---|
| Double boiler or melting pitcher | Gently heats beeswax without direct contact with heat source |
| Beeswax | High-quality wax available in blocks, beads, or sheets |
| Thermometer | Necessary for monitoring wax temperature during melting process |
Step-by-Step Guide on How to Melt Beeswax for Candle Making
Beeswax is a popular and natural choice for candle making due to its beautiful natural color, subtle honey scent, and clean-burning properties. If you’re interested in making your own beeswax candles, it’s essential to know the proper way to melt beeswax. By following the step-by-step guide below, you can ensure that your beeswax is melted safely and effectively for your candle-making project.
Preparation
Before you begin melting beeswax for candle making, it’s important to gather all the necessary tools and equipment. You will need a double boiler or a large saucepan with a smaller pot or heatproof bowl that fits snugly on top. Be sure to also have a kitchen scale to measure the amount of beeswax needed for your candles.
Melting the Beeswax
Start by chopping or grating your beeswax into small, uniform pieces. This will help the wax melt more evenly and quickly. Place the chopped beeswax into the top of your double boiler or heatproof bowl, then fill the bottom pot with water. Heat the water over medium heat until it reaches a gentle simmer, then place the top pot or bowl containing the beeswax on top of it.
Stir occasionally as the wax melts to ensure even heating and prevent scorching. Be careful not to overheat the wax, as overheating can cause discoloration and affect its quality for candle making.
Filtering
Once your beeswax is completely melted, consider filtering it through cheesecloth or a fine mesh strainer to remove any impurities or debris. This will result in cleaner, smoother candles with a more professional finish.
By following these steps on how to melt beeswax for candle making, you’ll be well on your way to creating beautiful handcrafted candles using this natural and versatile material.
Tips for Achieving the Perfect Consistency
The key to achieving the perfect consistency when melting beeswax for candle making lies in the temperature and the method of melting. Beeswax has a high melting point, so it’s important to melt it slowly and carefully to avoid scorching or burning.
One way to do this is by using a double boiler, which involves placing a heatproof bowl or container of beeswax over a pot of simmering water. This gentle heat will gradually melt the beeswax without damaging its natural properties.
Another tip for achieving the perfect consistency is to avoid overheating the beeswax. It’s best to keep the temperature between 145-150°F (62-65°C) to ensure that the beeswax melts evenly and maintains its beneficial qualities. Using a thermometer can help you monitor the temperature accurately throughout the melting process, allowing you to make any necessary adjustments along the way.
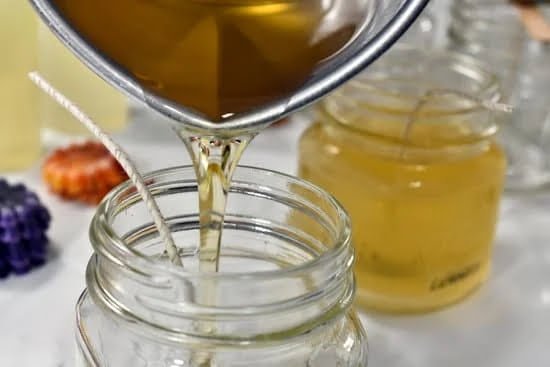
Once the beeswax has reached the desired consistency, it’s important to remove it from the heat source promptly and transfer it into your candle molds or containers. Allowing the beeswax to cool too much before pouring can result in uneven candles with rough textures. By following these tips and techniques for achieving the perfect consistency, you can create beautifully crafted candles that showcase the natural beauty of beeswax.
| Tip | Details |
|---|---|
| Melting Method | Slowly melt using a double boiler to avoid scorching. |
| Temperature Control | Keep temperature between 145-150°F (62-65°C) using a thermometer. |
| Pouring Promptly | Transfer melted wax promptly into molds or containers to avoid uneven textures in candles. |
Adding Fragrance and Color to Beeswax Candles
Beeswax candles are known for their natural beauty and long-lasting burn time. Adding fragrance and color to beeswax candles can enhance the ambiance they create when lit. Here are some tips on how to add fragrance and color to your homemade beeswax candles:
- Choose high-quality essential oils or fragrance oils that are suitable for candle making. Avoid using synthetic fragrances as they may produce toxic fumes when burned.
- Before adding the fragrance, make sure that the melted beeswax has cooled down slightly to avoid burning off the scent. The ideal temperature for adding fragrance is around 160-180°F.
- For coloring beeswax candles, use natural ingredients such as mica powders, dried flowers, or even crayons. Be mindful of the amount used, as too much colorant can affect the burn quality of the candle.
When it comes to adding fragrance and color to beeswax candles, experimentation is key. Start with small batches to test different scents and colors until you find the perfect combination for your desired aesthetic and aroma.
Remember that safety is paramount when working with hot wax and additives. Always follow proper guidelines and consult reliable sources for best practices on incorporating scents and colors into your beeswax candles.
By mastering the art of adding fragrance and color to your beeswax candles, you will be able to create unique pieces that not only illuminate a space but also fill it with delightful scents.
Safety Precautions While Melting Beeswax
When melting beeswax for candle making, it is important to prioritize safety to avoid any accidents or injuries. Here are some essential safety precautions to keep in mind when working with melted beeswax:
Safety Precautions:
- Wear protective gear: Beeswax can get extremely hot when melted, so it’s crucial to wear heat-resistant gloves and an apron to protect your skin from burns.
- Use a dedicated melting pot: It’s best to use a double boiler specifically designated for melting beeswax. Avoid using pots or utensils that will be used for cooking food, as beeswax can be difficult to remove completely.
- Work in a well-ventilated area: Melted beeswax can release fumes that may cause irritation, so always work in a well-ventilated space. Consider using a mask if you’re sensitive to strong odors.
- Keep an eye on the temperature: Beeswax should never be overheated, as it can pose a fire hazard. Use a thermometer to monitor the temperature and ensure it stays within the safe range.
By following these safety precautions, you can create beautiful beeswax candles without compromising your well-being. Always remember that safety comes first when working with hot wax and other potentially hazardous materials.
Remember also that being safe is essential in producing quality candles out of melted beeswax so keep these precautions in mind every time you decide melt down some of your stash for more candle-making projects.
Conclusion
In conclusion, the process of melting beeswax for candle making can be both enjoyable and rewarding. By understanding the benefits of using beeswax, choosing the right type for your candles, and following a step-by-step guide, you can create beautiful candles with a natural and pleasant aroma. The tools and equipment needed are simple and easy to find, allowing you to start your candle-making journey without much hassle.
One important aspect that should not be overlooked is safety precautions while melting beeswax. It is crucial to ensure that you are working in a well-ventilated area and using the appropriate equipment to avoid any accidents or injuries. Additionally, taking care when adding fragrance and color to your candles will help you achieve the perfect consistency and appearance for your finished product.
Ultimately, the art of candle making is a wonderful way to express creativity and create personalized gifts for loved ones. By following this guide on how to melt beeswax for candle making, you can enjoy the satisfaction of producing handmade candles that not only look beautiful but also provide a clean and natural source of light in your home. So go ahead, indulge in this delightful hobby and experience the joy of crafting unique beeswax candles for yourself.
Frequently Asked Questions
What Is the Fastest Way to Melt Beeswax?
The fastest way to melt beeswax is to use a double boiler or a dedicated wax melter. This helps to prevent the wax from scorching and ensures an even melt. It’s important to never leave melting wax unattended, as it is flammable.
How Many Candles Does 1 Lb of Beeswax Make?
The number of candles that 1 lb of beeswax can make depends on the size of the candles being produced. On average, 1 lb of beeswax can yield around two 8 oz candles or four 4 oz candles. Factors such as wick size and container size will also impact the number of candles produced.
Do You Need to Add Anything to Beeswax to Make Candles?
To make candles from beeswax, it’s generally not necessary to add anything else to the wax. Beeswax has a naturally sweet scent and a beautiful color, making it ideal for creating pure beeswax candles without any additional additives. However, some candle makers may choose to add fragrance oils or essential oils for scented candles or dyes for colored candles.

Welcome to my candle making blog! In this blog, I will be sharing my tips and tricks for making candles. I will also be sharing some of my favorite recipes.

