Candle making is a popular and rewarding hobby that combines art and science. Many people enjoy the process of creating their own candles, whether for personal use or as gifts for friends and family. The history of candle making dates back centuries, with different cultures and time periods contributing to its development and popularity. In this article, we will explore the steps involved in the fascinating craft of candle making, from choosing the right materials to troubleshooting common issues.
When it comes to candle making, there is an array of materials and techniques to consider. From selecting the right kind of wax to choosing the perfect fragrance additives, each step requires careful thought and consideration. Additionally, understanding the science behind melting points and pouring techniques is crucial for producing high-quality candles. With this comprehensive guide, beginners can learn the ins and outs of candle making while experienced crafters can refine their skills and knowledge.
Not only is candle making a delightful creative outlet, but it also offers a sense of accomplishment and satisfaction when seeing the finished product. Throughout this article, we will delve into various aspects of candle making, providing valuable tips and insights to help enthusiasts embark on this delightful journey of creating handmade candles.
Whether you’re a seasoned candle maker or someone just starting out on this wonderful adventure, there’s always something new to discover in the world of candle crafting.
Choosing the Right Materials
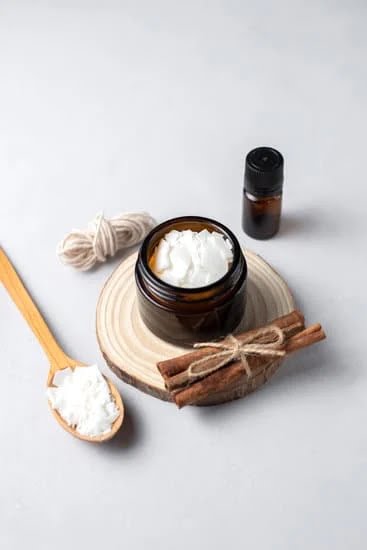
When it comes to candle making, choosing the right materials is crucial in creating high-quality, long-lasting candles. From selecting the perfect wax to finding the most suitable wick and fragrance additives, each ingredient plays a significant role in the candle-making process.
Types of Wax and Their Properties
One of the first steps of candle making is selecting the type of wax to use. Different waxes, such as paraffin, soy, beeswax, and palm wax, each have their own unique properties and characteristics.
For instance, paraffin wax is known for its excellent scent throw and ability to hold vibrant colors, while soy wax is popular for its eco-friendly nature and clean-burning qualities. It’s essential to consider factors such as burn time, scent retention, and appearance when choosing the appropriate wax for your candle making project.
Different Wicks and Their Purposes
Wicks are another important component in candle making. They come in various sizes and materials, such as cotton or wood, which can affect how a candle burns. Choosing the right wick size and type is crucial in ensuring an even burn with minimal soot and smoke. The diameter of the container or mold will also determine the appropriate wick size needed for your candles.
Essential Oils and Fragrance Additives
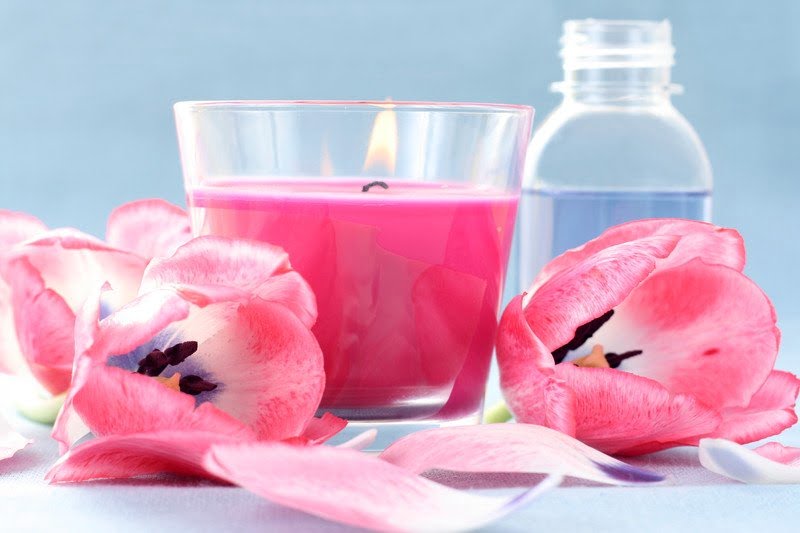
Incorporating fragrances into candles can elevate the sensory experience for anyone enjoying them. Essential oils are frequently used to add natural scents to candles while fragrance oils offer a wide range of options including complex blends and unique scents not found in nature.
It’s important to carefully measure fragrance additives for safety reasons; using too much can affect the burning performance of a candle. Whether you prefer floral notes or earthy aromas, understanding how different fragrances interact with wax will help you achieve desirable outcomes when making candles.
Ultimately, taking the time to select high-quality materials will significantly impact your success in creating beautiful handmade candles that look great, smell wonderful when lit up-and bring joy to both makers.
Equipment Needed for Candle Making
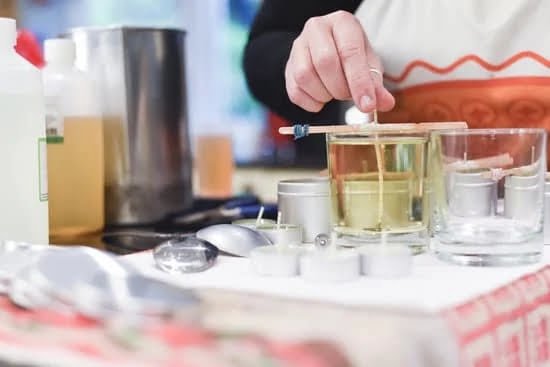
When it comes to making your own candles, having the right equipment is essential for a successful and enjoyable experience. Before you dive into the steps of candle making, you will need to gather a few key items to prepare yourself for the process. The first thing you will need is a double boiler or melting pot.
This will allow you to melt your wax gently and evenly without the risk of scorching. A thermometer is also essential for ensuring that you heat your wax to the correct temperature, as different types of wax require different melting points.
In addition to a double boiler and thermometer, you will also need molds and containers for shaping your candles. These can come in various shapes and sizes, depending on the type of candle you want to create. It’s crucial to have stirring utensils on hand as well, as thoroughly mixing your wax with fragrance oils and colorants is vital for achieving an even distribution throughout the candle.
Overall, having these essential tools at your disposal will set you up for success in creating beautiful and fragrant candles. By being prepared with the right equipment, you can confidently move on to the next steps of candle making and enjoy the creative process with ease.
Preparing the Wax
The process of preparing the wax is a crucial step in candle making and requires careful attention to detail. The first step is to choose the right type of wax for your specific candle-making project. Different waxes have unique properties that can affect the overall quality and performance of the finished candle. For example, soy wax is known for its clean burn and strong scent throw, while paraffin wax is popular for its ability to hold color well.
Once you have selected the appropriate wax, it must be melted to the correct temperature using a double boiler or melting pot. It is important to use a thermometer to monitor the temperature closely, as overheating the wax can affect its fragrance throw and color intensity. Adding color and fragrance oils at the right temperature is essential for achieving the desired results.
Stirring and mixing are also vital steps in preparing the wax. Thoroughly mixing in any added colors or fragrances ensures an even distribution throughout the candle, resulting in a consistent appearance and scent throw. Taking these necessary steps during this phase of candle making will lead to a high-quality finished product that meets your expectations.
| Materials for Preparing Wax | Steps of Preparing Wax |
|---|---|
| Types of wax (soy, paraffin, beeswax) | Melt wax using double boiler or melting pot |
| Thermometer | Monitor temperature closely |
| Essential oils and fragrance additives | Add color and fragrance at right temperature |
Setting Up the Molds
When it comes to candle making, setting up the molds or containers properly is crucial in ensuring the final product turns out just right. Whether you’re using traditional metal molds, glass containers, or silicone molds, the steps for preparing them remain similar.
Preparing Molds or Containers
Before pouring any wax into your chosen molds or containers, it’s essential to prepare them beforehand. This includes cleaning and drying them thoroughly to ensure there are no dust particles or moisture that could affect the quality of your candles. If you’re using metal molds, you may also need to use a release agent to help the finished candles slide out easily once they’ve set.
Securing Wicks in Place
One important step in setting up the molds is securing the wicks in place. This can be done using wick stickers or hot glue to attach the wick to the bottom center of the mold or container. It’s important to ensure that the wick remains straight and centered throughout the pouring process to avoid lopsided or uneven candles.
Ensuring a Level Surface for the Wax
Another key consideration when setting up molds is ensuring a level surface for the wax. If you’re using multiple wicks in a single container, make sure they are evenly spaced and at the same height to avoid one wick burning faster than others. For metal molds, ensure that they are placed on a level surface before pouring in wax to prevent any spillage or uneven distribution.
Properly setting up the molds is an essential step in creating beautifully crafted candles. Taking care during this stage will ensure a smooth and successful candle making process from start to finish, providing you with professional-looking results every time.
Pouring the Wax
When it comes to candle making, pouring the wax is a crucial step that requires precision and care. Different types of candles may require different pouring techniques, so it’s important to understand the specific requirements for the type of candle you are making.
Here are some key steps to consider when pouring the wax for your handmade candles:
- Choose the right pouring technique based on the type of candle you are making, whether it’s container candles, pillar candles, or specialty shaped candles.
- Ensure that you pour the wax at the correct temperature to achieve a smooth and even surface. This will also help in ensuring that any added color or fragrance is well blended with the wax.
- Take appropriate safety precautions when handling hot wax to prevent accidents and injuries. This includes using protective gloves and being mindful of flammable materials in the vicinity.
Following these steps of candle making while pouring the wax will help in creating beautiful and high-quality handmade candles. With practice and attention to detail, you can achieve professional-looking results that will bring joy and satisfaction to both yourself and those who receive your handmade creations as gifts.
Cooling and Finishing
After pouring the wax into the molds or containers, it is important to allow the candles to cool and set properly. This final step in the candle making process is crucial in ensuring that the candles turn out smooth and even. Here are the steps to follow for cooling and finishing your handmade candles:
- Allowing candles to cool and set: Once you have poured the wax into the molds, it is important to let the candles cool at room temperature. Avoid moving or disturbing the candles during this time to prevent any surface imperfections.
- Trimming wicks to the proper length: After the candles have completely cooled and set, trim the wicks to about a quarter of an inch in length. This helps to prevent soot formation and ensures that the candle burns evenly.
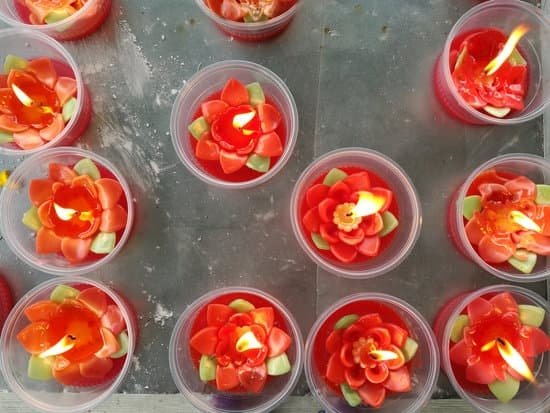
- Optional decorations and finishing touches: Once your candles are fully cooled and trimmed, you can add optional decorations such as ribbons, dried flowers, or glitter to enhance their appearance. Be creative and personalize your handmade candles.
Taking care during the cooling and finishing stage of candle making is essential for achieving professional-looking results. By following these steps, you can ensure that your homemade candles are not only beautiful but also safe and efficient to use.
Remember that each step in the candle making process contributes to the overall quality of your finished product. Taking time with cooling and finishing will lead to beautifully crafted handmade candles that you can enjoy or share with others. Embrace this final stage as an opportunity to put your personal touch on your creations.
Troubleshooting Common Issues
Candle making can be a relaxing and rewarding hobby, but it is not without its challenges. As with any craft, there are common issues that may arise during the candle making process. Knowing how to troubleshoot these problems can help ensure that your finished candles turn out beautifully.
One of the most common issues in candle making is the presence of air pockets and uneven surfaces in the finished product. This can occur if the wax is not poured at the correct temperature or if it is not stirred thoroughly enough before pouring. To avoid this, make sure to follow the proper steps for preparing the wax, including melting it to the right temperature and mixing in any color or fragrance thoroughly before pouring.
Another issue that many candle makers encounter is tunneling and wax pooling, which can result in an uneven burn when the candle is lit. This problem often occurs when the wick is too small for the diameter of the candle, or when it has been trimmed too short before lighting. To prevent tunneling and wax pooling, choose a wick size appropriate for your candle’s diameter and be sure to trim it to the proper length before each use.
Finally, cracks and imperfections in finished candles can also be a source of frustration for candle makers. These flaws can result from sudden changes in temperature while the candles are cooling or setting. To minimize this risk, try to cool your candles gradually at room temperature rather than exposing them to extreme temperature changes.
In summary, troubleshooting common issues in candle making requires attention to detail and careful adherence to each step of the process. By understanding potential problems and how to address them, you can create beautiful, high-quality candles with confidence.
| Common Issue | Troubleshooting Tip |
|---|---|
| Air Pockets & Uneven Surfaces | Ensure thorough stirring before pouring wax |
| Tunneling & Wax Pooling | Choose appropriate wick size for candle diameter |
| Cracks & Imperfections | Cool candles gradually at room temperature |
Conclusion
In conclusion, candle making is a fascinating blend of art and science that has been enjoyed for centuries. As demonstrated in the steps outlined above, this hobby involves careful selection of materials, precise preparation and pouring techniques, and attention to detail during the cooling and finishing process. The satisfaction that comes from creating unique, custom candles is one of the main reasons why candle making continues to be a popular craft today.
While there may be some trial and error involved in mastering the steps of candle making, the joy that comes from seeing a finished product that you have created with your own hands is unmatched. Whether you are drawn to the calming effect of burning candles or simply enjoy crafting and DIY projects, candle making offers an opportunity for creativity and self-expression.
If you have never tried your hand at candle making before, I encourage you to gather the necessary materials and give it a try. With some practice and patience, you can create your own beautiful candles that reflect your personal style and preferences.
The process may require some effort, but the end result is well worth it – a handmade creation that brings warmth and light into any space. So why not step into the world of candle making and experience the joy for yourself?
Frequently Asked Questions
What Is the Process of a Candle?
The process of making a candle begins with melting the wax, adding fragrance or color if desired, and then pouring the liquid wax into a mold with a wick in the center. As the wax cools and solidifies, the candle takes its shape.
How Do You Make Soy Wax Candles Step by Step?
To make soy wax candles, you’ll need to gather your materials including soy wax, fragrance oil, wicks, a double boiler, and containers for your candles. Step by step, you melt the soy wax, add fragrance oil, place the wick in the container, and then pour the wax to set.
How Do You Make a Candle in 8 Steps?
Making a candle involves several key steps: gather materials such as wax, wicks, fragrance oils; melt the wax using a double boiler; add fragrance if desired; secure the wick in a container; pour in the melted wax; let it cool and solidify; trim the wick; enjoy your handmade candle!

Welcome to my candle making blog! In this blog, I will be sharing my tips and tricks for making candles. I will also be sharing some of my favorite recipes.


