Introduction
Advanced candle making projects are a great way to transform an ordinary room in your home into a work of art. Not only can these projects be fun and enjoyable, but they also offer a number of different benefits. Among the primary advantages of creating handmade candles is that you can control the ingredients used, allowing for safer and longer-lasting creations. Furthermore, being able to design and craft beautiful and unique candles will not only help boost creativity levels but also add value to any space and make any evening special.
Advanced candle making projects include various crafts such as dipped candles, layered pour candles, rolled wax candles, floating flower candles, and scented pillar candles. Different types of waxes may be used including beeswax, paraffin wax, coconut wax, soy wax and blended wax. Depending on the type of project one wants to complete, essential oils or natural fragrances like lavender can be added when melting the wax in addition to several dyes in order to give each candle its own unique coloring or patterning. In addition to pouring the melted mixture into molds or other pre-made shapes, it is possible to create more intricate designs with wicks by using cookie cutters or other tools like threaders which allow for more creative designs than ever before imagined. Each project typically requires specific tools such as wick holders for dipping projects along with wicking pins for securing wicks during pouring processes; however outside of these items most materials needed are inexpensive and readily available from any local arts and crafts store or online supplier.
Finally advanced candle making projects do open up a whole new array of possibilities in regard to what can be created through this rewarding hobby but with patience comes beauty; as with anything that fails at first there should still be no fear – simply readjust slightly if something did not turn out as expected or wasn’t strong enough first time round! With practice you too can soon become a master crafter able to create stunning pieces which evoke emotion with anyone that sees them!
Essential Supplies and Materials for Candle Making Projects
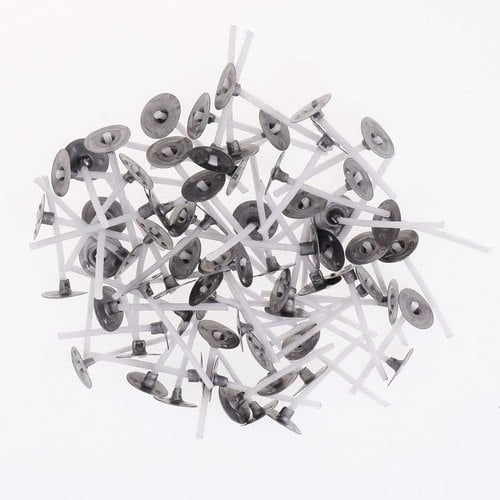
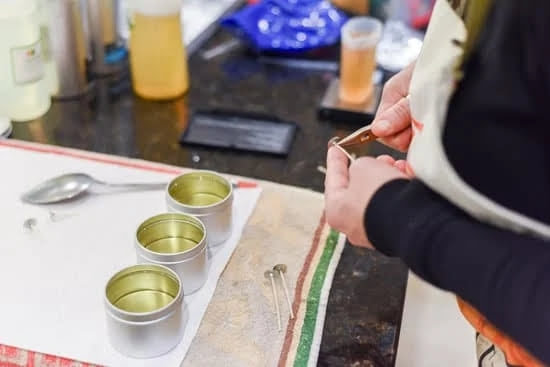
Advanced candle making projects require the use of many essential supplies and materials in order to be successful. While some of the basic items can be found in any local arts and crafts store, more advanced projects will require additional specialty materials and supplies. Scent or fragrance oils are used to add a pleasant smell to your project, while dyes come in various colors and can even be blended together to create new shades. Waxes such as beeswax, paraffin wax, soy wax, or vegetable wax can also be added for specific properties like scent retention or extra durability. Additionally, wicks come in various thicknesses and lengths, so it’s important to select one that is appropriate for your project. Wick tabs come in different shapes and sizes and anchor the wick at the bottom of the.
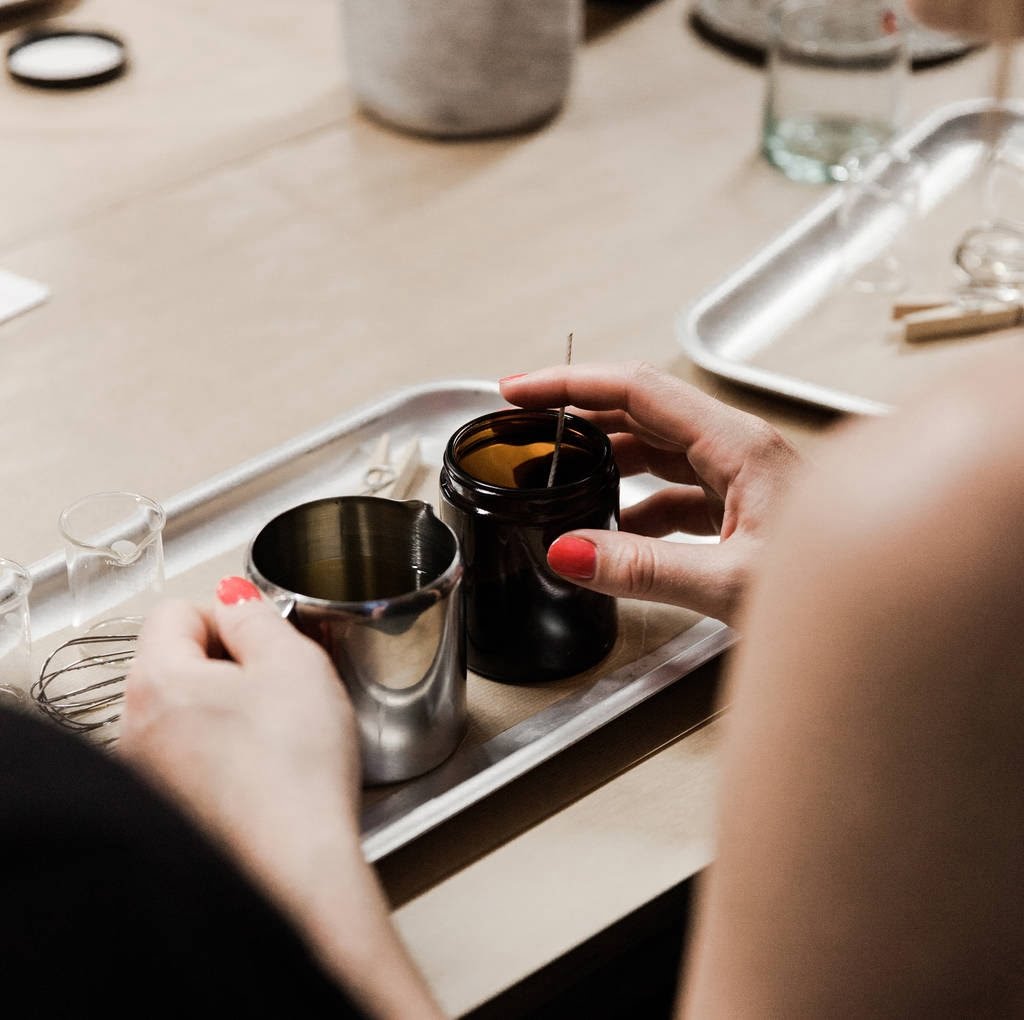
Finally, there are molds that you may need for shaping your candles typically made from metal or plastic with intricate designs or themes; float rings for filling with water before adding a floating candle on top; thermal pitchers for melting wax without direct heat; double boilers used for heating up wax without burning it; thermometers to help find the exact temperature of melted wax; stirring rods used along with thermal pitchers to mix oils with hot wax like liquid colorants; strainers needed when straining essential oil blends into melted wax; sustainers which attach to the inside of metal cans so that they make great container candles when filled with hot melted wax; safety gloves providing protection while handling hot melted wax; fragrances testers sniffing sticks so you can sample scents before deciding what’s best for your project; thermoplastic pellets creating stunning effects in pillars candles by gently filling cavities as molten material hardens all around them and lastly cooling trays where combinations of piping bags, tins aluminum foil dishes etc. are used to create unique designs like layering colors once these objects cool down upon contacting these trays.
Safety Tips for Candle Making
Safety should always be the number one concern when it comes to advanced candle making projects. Here are some important safety tips to keep in mind while crafting your candles:
1. Whenever handling hot wax, always use protective gear such as an oven mitt and/or goggles to protect your skin and eyes from burns.
2. Make sure you are working in a well-ventilated area since many waxes give off fumes that can be hazardous to inhale.
3. Never leave burning candles unattended ” especially if you have pets or small children around who may accidentally knock the candles over or touch their hot surfaces.
4. All of your supplies should be prepped and ready before attempting any complex candle making techniques such as sculpting or layering different colours of wax together ” anything that requires melting multiple types of wax at once can be extremely dangerous if it’s not done properly.
5. Finally, store all of your supplies separately and away from direct sunlight, heat sources, and other potential fire hazards to avoid any accidents while you’re working with molten wax and heating elements like double boiling pots or microwaves.
Step By Step Guide to Crafting Beautiful Candles
There are many different types of projects to make with candles. Whether it be creating beautiful scented votive holders for your home, or putting together a dazzling floating wick centerpiece for a special occasion, advanced candle making can be an enjoyable and rewarding experience that can leave you feeling proud about a handmade creation.
For those looking to take their candle-making skills to the next level, there are several tutorials and step-by-step instructions available that can explain how to craft larger, more complex projects. Large-scale votives are great decorations for events like weddings if they’re crafted beautifully. Instructions will typically tell you how large to make the containers, what type of wax is best suited for the project, which wicks will circulate heat more efficiently throughout the vessel, what scents mix well together and get stronger in warmer temperatures, and how many colors look best when combined in complex designs.
You might also want to try and assemble a festive 3D ornament style candle holder that looks perfect as Christmas centerpieces or stylish decorations during other holiday gatherings. For this project you’ll need molds typically made out of metal or silicone rubber; basic items like safety goggles and gloves; an immersion blender; dye chips; wax temperature gauge; fragrances like cinnamon oil or lavender oil and simple items like toilet paper rolls or cardboard boxes that could be used as makeshift molds depending on your desired design. Once these supplies have been acquired (with full detail instruction on using them properly) it’s time to start assembling the ornament candle from scratch! In no time at all you’ll have an intricate decoration piece which any dinner guest would envy.
The world of advanced candle making offers endless possibilities for creativity and skill building exercises. By taking steps up in complexity ” such gel candles which require different temperature handling techniques ” even veterans who have been crafting candlesticks for years could find something new and challenging to try while honing their craftsmanship along the way! Even soft scent wax blends prepared with modern plastic lids become unique sculptural pieces with glitter flakes adding some extra flair along with essential oils blended specifically according to personal preference. So no matter what level of expertise you may currently possess everyone is sure to find an inspiring advanced project right within their skill set!
Tips and Tricks for Creating Advanced Candle Making Projects
When it comes to creating more advanced candle making projects, there are several techniques and tips that you can use to help take your creative endeavors to the next level.
One important tip is to become familiar with different wax types. Different types of wax work better for various project needs. Keeping a variety of wax on hand will give you the flexibility to ensure that you find the best match for each project. Additionally, having multiple pots or double boiler systems can also be beneficial since it gives you the chance to try out different waxes in parallel without having any cross-contamination between them.
Another useful tip is to experiment with color and scent combinations. Experimenting with different colors and scents together will help you create a unique effect or look which no one else has done before. And if you’re feeling adventurous, why not also experiment with different natural inclusions such as glitter, herbs or spices? You might be surprised by the results!
Finally, don’t forget about texture! While one flat surface looks great, why not try experimenting with embossed patterns or even encasing objects within the candles? This allows you to create truly unique looking pieces which make great gifts!
Overall, when it comes down to creating more advanced candle making projects, being creative is key. Try experimenting with different wax types and combinations of colors and scents; as well as exploring new consumer sensory experiences through textures and inclusions for added effects ” who knows what kind of innovative creations these tips may lead to!
Creative Projects for Advanced Candles
Advanced candle making projects require a bit more mastery of the craft than basic projects. For ambitious individuals looking to take their candle-making skills to the next level, there are many creative and unique ideas! Here are some advanced candle making projects that you can try.
1. Hand Poured Candles: This project involves manually pouring molten wax into containers. You can use a double boiler setup or an electric stovetop for this task, depending on your preference and skill level. Once the wax is poured, you’ll need to wait several hours for it to cool and harden before adding wicks and decorations.
2. Hand Dipped Beeswax Candles: These candles involve dipping sections of cotton or linen threads into melted beeswax in order to create long tapers or pillar candles. You’ll need patience and practice in order to perfect the technique as each dip builds upon itself until all of the thread has been covered in wax. These make beautiful rustic candles that will certainly be appreciated by your recipients!
3. Carved Candles: Carved candles require lots of practice but can be very rewarding when done right! Through carving designs by hand with specialty tools, you can create stunning and unique pieces that add personality to any space they occupy! Try carving words, flowers, shapes – anything your imagination conjures up!
4. Rolled Beeswax Candle Sheets: If you’re looking for something interesting yet relatively straightforward, rolling up beeswax sheets is a great option! All you need is wax and an appropriately sized frame (could be made from wood). To construct these amazing beeswax creations all that’s left is rolling up the sheets around either small wicks or wooden dowels according to your desired shape and size of your finished product. Wax paper works great as a release agent between layers if needed!
5. Creative Embellishments: Add extra creativity to any of your projects by adding personal embellishments such as images pressed onto sheets of melted wax, intricate cutouts around existing shapes like stars or hearts, or often surface texture with scraping tools relevant molds like seashells, pinecones etc… The possibilities really are only limited by our own imaginations when it comes to designing special touches for our hand-crafted creations!
Troubleshooting Common Candle Making Problems
A common problem that many candle makers face is that their creations do not last as long as they had intended. To prevent this, there are a few troubleshooting steps to take. Firstly, look at the wick tab: it should be secured properly and the wick should be trimmed regularly to avoid any smoke and keep the wick short. Another issue may be related to an incorrect wax-to-fragrance ratio; make sure you follow package instructions on how much oil to use with each type of wax. You can also consider using a heat resistant container rather than glass if you are using strong fragrance oils or larger quantities of essential oils as these reduce cracking and fragrances evaporating quicker. Finally, additives like polymers or vybar increase the stability of candles by adding additional plasticizers and stabilizing ingredients which improve performance in terms of scent throw, burn times, and frosting. Candle makers need also need to mindful of safe burning practices by keeping their candles away from curtains, furniture or anything that could potentially catch on fire.
Different Types of Wax and Dyes for Crafting Candles
Candle making is a traditional pastime with many old and new approaches. Whether you prefer to keep it simple by sticking to basic shapes and scents, or create more advanced Artisan candles, there are plenty of ways to customize each one for a unique look. Advanced candle-making projects often involve using different types of wax and dyes to craft creative designs.
One type of wax often used in more complex candles is paraffin wax. This type of wax has excellent heat resistance properties and can also yield odorless candles with a smooth finish when poured properly. Beeswax is another popular option for candle-makers, as it burns more slowly than other options, creating beautiful aromas while lasting longer. To supplement those ingredients, many candle crafters incorporate soy wax into their diy projects. This type of wax is an eco-friendly choice that is easy to clean up and produces no smoke when burned.
Along with different types of wax, the use of dyes can be exciting for any experienced Candle Maker’s project! With candles being made from almost every color imaginable now, dyers allow you to unlock your own expression in crafting custom patterns or images on the surface with varying hues as desired. These mixtures help bring visual effects to life as they reflect light giving your work added dimension, providing eye-catching appeal in the process!
Decorating Ideas for Advanced Candle Making Projects
Advanced candle makers can expand their craft by trying some decorative techniques. Some of these techniques may require added supplies, such as wax sheets, stamping tools and molds. However, the extra effort definitely leads to creative and eye-catching results.
One incredible effect is creating marbled candles. This process involves adding colored pigments to warm wax in a shallow pan and then covering it with sheets of clear wax on top. Creating layers of colored wax inside the finished candle creates a unique finish that you can’t get anywhere else.
For a more subtle but elegant look, try using decoupage in place of stickers or wraps for decorating candles. You can use specialty paper napkins or tissue paper to create individual designs on the outside of your finished product. With this approach, you can create one-of-a kind designs tailored to any theme or season.
For experienced crafters looking for a challenge, consider layering stamps or wicks for 3D effects inside your candles. Texturizing tools are especially helpful when working with these effects, as they will give you cleaner lines and flatter surfaces than hand carving patterns with knives or other sharp tools would produce alone.
Overall, there are endless possibilities when it comes to decorating your advanced candle making projects! Have fun increasing your creative skillset and be sure to share photos of your beautiful creations on social media or craft sites so others may enjoy them too.
Conclusion
Creating your own candles is both exciting and rewarding and I would highly recommend anyone with a crafty streak to give it a go! Not only does it provide an enjoyable and creative outlet, but the resulting product can make perfect gifts for friends and family, or beautiful decorations for the home. Once you’ve gotten the hang of some basic candle designs, you can advance to more intricate projects such as multi-colored tapers or adding trinkets or specialty scents. If you need inspiration, there are many online forums dedicated to sharing ideas on candle making techniques and projects; take a look around, be inspired by others’ creations and soon you will be creating your own impressive works of art. So why not pick up some supplies today and see what amazing creations you could make tomorrow?

Welcome to my candle making blog! In this blog, I will be sharing my tips and tricks for making candles. I will also be sharing some of my favorite recipes.


