Basics Of Candle Making
Candles have been around for centuries, and their popularity has only grown in recent years. Many people enjoy making their own candles, as it is a fun and relatively easy process. If you are new to candle making, this guide will teach you the basics.
The first step in making a candle is to choose the right wax. There are many different types of wax available, but the most popular type is soy wax. Soy wax is made from soybeans, so it is environmentally friendly and biodegradable. It also burns cleanly and does not produce any harmful fumes.
Once you have chosen the wax, you need to decide on the type of candle you want to make. There are three main types of candles: votive candles, pillar candles, and taper candles. Votive candles are small and typically made from soy wax. They are designed to be burned in a votive holder. Pillar candles are large and cylindrical, and they are often made from beeswax or soy wax. Taper candles are thin and tapered, and they are typically made from beeswax.
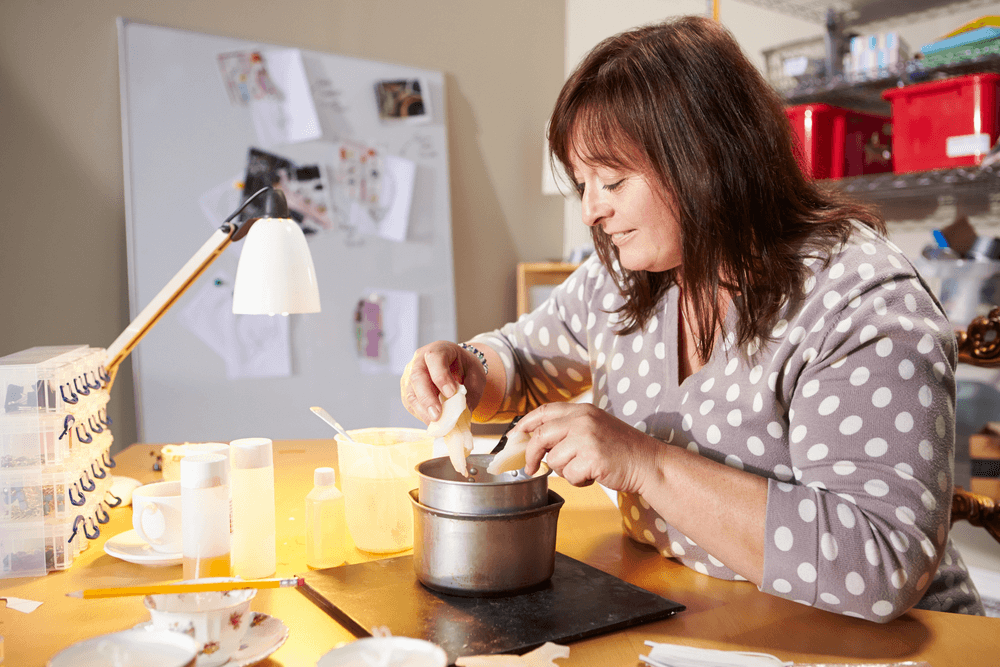
The next step is to prepare the wax. The wax needs to be melted and then poured into a mold. You can use a stovetop or a microwave to melt the wax. If you are using soy wax, be sure to use a soy wax compatible container, as other types of wax can damage soy wax.
Once the wax is melted, you can add any desired scents or colors. Be sure to stir the wax well to ensure that the scent and color are evenly distributed.
Finally, you need to pour the wax into the mold. Be careful not to splash wax on yourself or your surrounding area. Allow the wax to cool completely before removing the candle from the mold.
Now that you know the basics of candle making, you can try it yourself. Experiment with different types of wax, scents, and colors to create your own unique candles.
Candle Making Supplies
Candles are a great way to relax and unwind after a long day. They can also be used to make a room feel more cozy or to create a romantic atmosphere. If you want to start making your own candles, you will need some supplies.
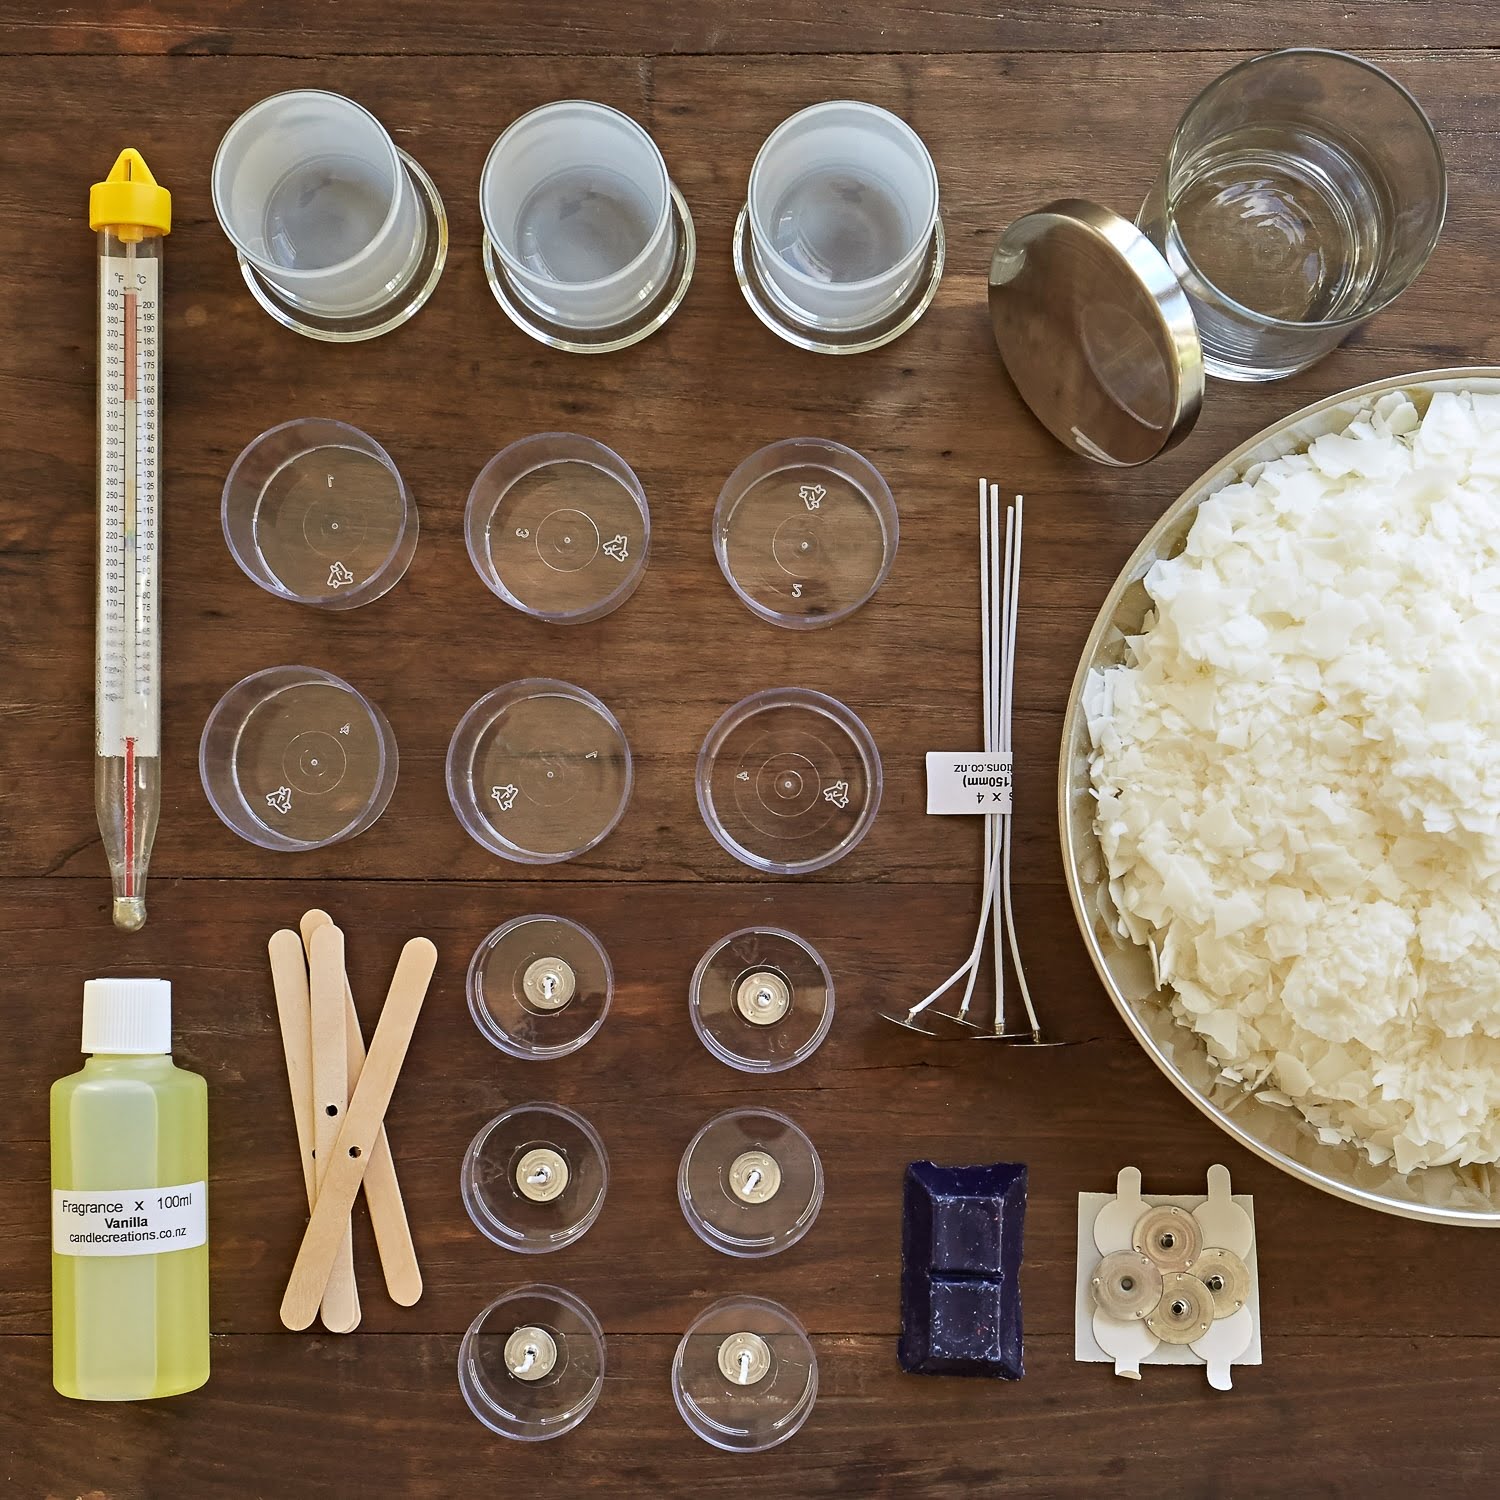
The first thing you will need is wax. There are a few different types of wax that you can use, but soy wax is a good option because it is environmentally friendly and burns cleanly. You will also need a heat source, such as a stove or a hot plate, and some type of container to melt the wax in.
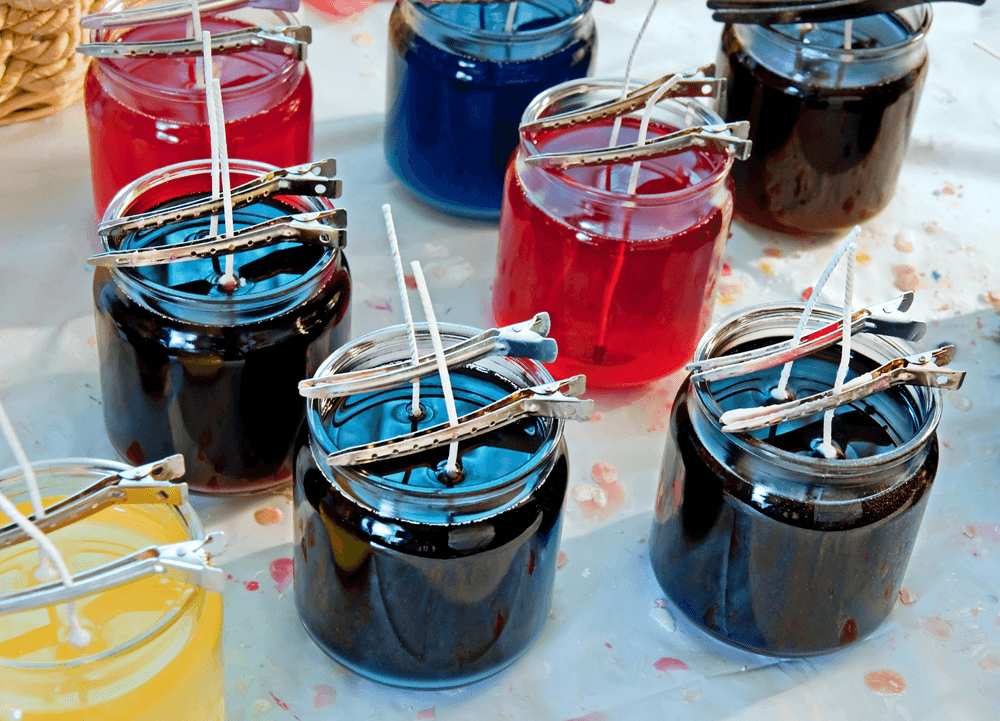
You will also need wicks and a way to attach them to the candles. There are a few different ways to do this, but the most common method is to use a wick holder. This is a small metal device that holds the wick in place and helps it to stay straight.
You will also need some type of scent or colorant. If you want to add scent, you can use essential oils or fragrance oils. If you want to add color, you can use food coloring or dye.
Once you have all of your supplies, you can start making candles. The easiest way to do this is to melt the wax in a container over a heat source. Once the wax is melted, you can add the scent and the color, if desired.
Then, you can add the wick. You can either tie it to the wick holder or use a clip to attach it. Once the wick is in place, you can pour the wax into a mold or another container.
It is important to let the candles cool completely before removing them from the mold. Once they are cool, you can light them and enjoy!
Presto Pot Candle Making
Are you looking to make a beautiful and fragrant candle? If so, you may be wondering how to make a presto pot candle. This type of candle is made by filling a pot with wax and then suspending a wick in the center. The wick is then lit and the candle is allowed to burn until the wax is gone.
The great thing about presto pot candles is that they are very easy to make. You just need a few supplies and you can get started right away. Here is a list of the supplies you will need:
-Pot
-Wax
-Wick
-Heat source
To make a presto pot candle, you will first need to melt the wax. You can do this by placing the wax in a pot and heating it over a stove. Once the wax is melted, you can then suspend the wick in the center of the pot.
Next, you will need to light the wick. You can do this by using a lighter or a match. Once the wick is lit, you will need to let the candle burn until the wax is gone.
Be sure to keep an eye on the candle while it is burning. If the flame gets too high, you can extinguish it by blowing on it. You may also want to place the candle in a safe place while it is burning, such as on a stable surface or in a pot holder.
Presto pot candles make a beautiful and fragrant addition to any home. They are also a great way to celebrate special occasions, such as weddings or birthdays. If you are looking for a fun and easy way to make candles, then presto pot candles are the way to go.
Paraffin Wax For Candle Making
What is Paraffin Wax?
Paraffin wax is a petroleum-based wax that is used in many industries, including the candle-making industry. It is a white, odorless, and tasteless wax that is solid at room temperature.
Why is Paraffin Wax Used in Candle Making?
Paraffin wax is used in candle making because it is a good fuel source. It burns cleanly and does not produce a lot of soot. It also has a high melting point, which means that it can be used to make candles that are both strong and durable.
How is Paraffin Wax Produced?
Paraffin wax is produced by refining crude oil. The crude oil is heated until the liquids boil off and the waxes solidify. The waxes are then separated from the oil and purified.
Candle Making Atlanta Ga
Candle making is an age-old art that is still enjoyed today. It is a great way to relax and spend some time with your family. It is also a great way to create something beautiful and unique.
Candle making is a simple process that can be enjoyed by anyone. The first step is to gather the necessary supplies. You will need a pot to melt the wax, a mold to shape the candle, wicks, and dye or scent if desired.
The next step is to melt the wax. You can use a stove top or a microwave. Be sure to use a pot that is specifically for candle making, as other pots may not be heat resistant.
Once the wax is melted, you can add the dye or scent. Be sure to stir the wax well to ensure that the dye or scent is evenly distributed.
Next, you will need to attach the wicks to the mold. You can use a hot glue gun or a small amount of wax to attach the wicks.
Finally, you will need to pour the melted wax into the mold. Be sure to pour it slowly and carefully to avoid spills.
Once the wax has hardened, you can remove the candle from the mold. You can then trim the wicks and enjoy your new candle!

Welcome to my candle making blog! In this blog, I will be sharing my tips and tricks for making candles. I will also be sharing some of my favorite recipes.

