Making Beeswax Candles
Candlemaking with beeswax is an excellent way to create unique and eco-friendly lighting in your home. It is totally natural, non-toxic, and a renewable energy source! While the process may seem daunting at first, it is actually quite simple. Here are step-by-step instructions with recipes for making beeswax candles.
Gathering Supplies
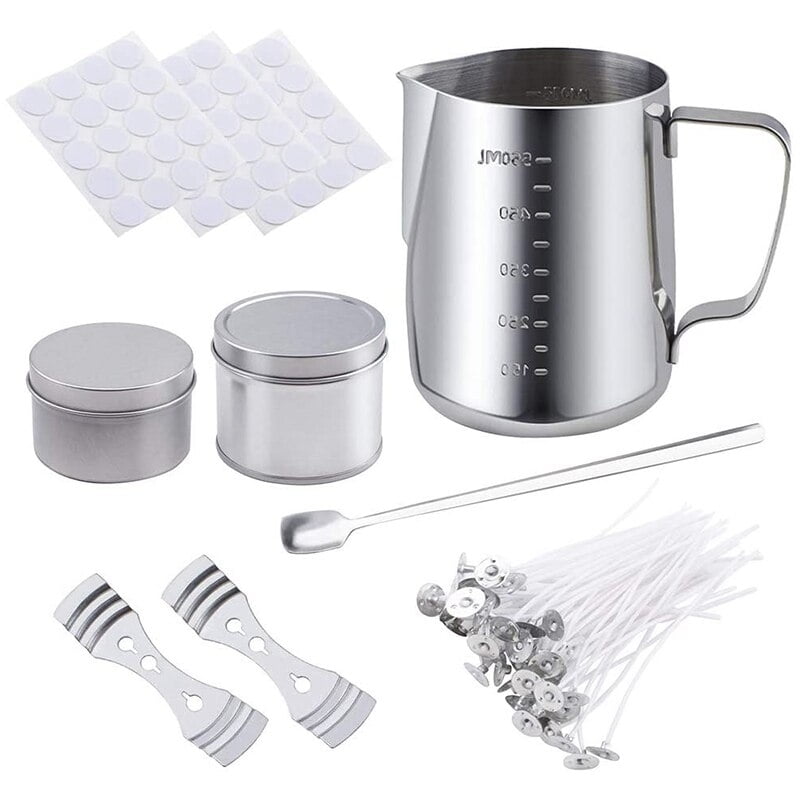
Before you can start making beeswax candles, you’ll need to gather a few supplies:
- Beeswax
- Wick
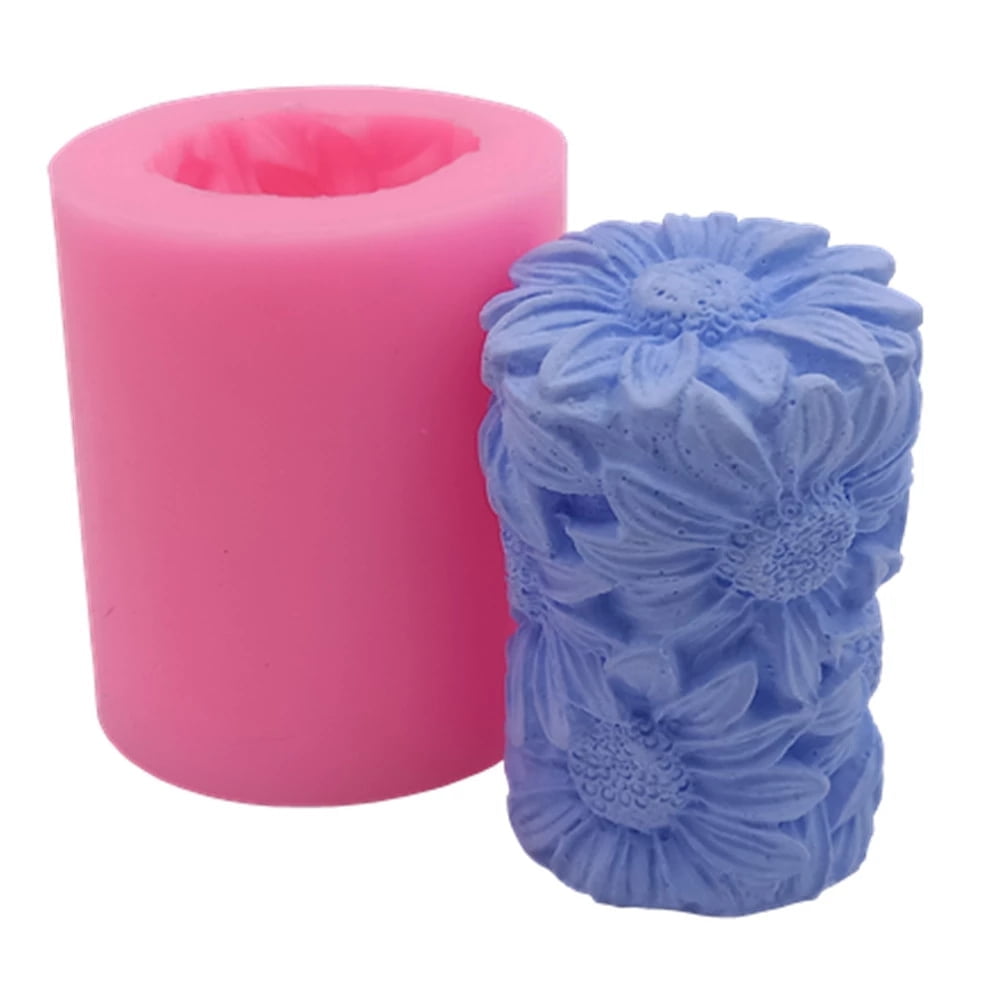
- Molding form or container
- Double boiler or melting pot
- Stove or heat source
- Thermometer (optional)
You’ll want to make sure you choose a good-quality beeswax. The higher the quality, the better your candle will turn out. Ideally, you want to find 100% pure beeswax (sometimes labeled “cosmetic grade”) with a light, honey-like scent.
You may need to purchase wicking specially made for beeswax candles. This is because beeswax has a much higher melting point than other types of wax, so you need a wick that can handle the heat.
Melt the Beeswax
After you’ve gathered all your supplies, it’s time to get started on the project itself. The first step is to melt the beeswax. You can use either a double boiler or a melting pot to do this.
Fill the bottom part of your double boiler with a couple inches of water and set it on the stove on low heat. Put the beeswax in the top part of the boiler and wait for it to melt. Alternatively, you can use a melting pot to melt the wax directly on the stove.
When the wax has melted, use a thermometer to take the temperature (optional). The ideal temperature for beeswax is between 160-180°F (71-82°C).
Prepare the Container and Wick
While the wax is melting, you can prepare the container and wick. First, make sure your mold or container is dry and free of debris. Cut the wick to the size of your container, making sure to leave a little extra at the top so you can tie it off when the candle is finished.
The wick should be wired through the bottom of the container, so it can stand upright. To do this, thread the wick through a wick-holder or a metal washer, then press it firmly against the bottom of the container.
Pour the Wax
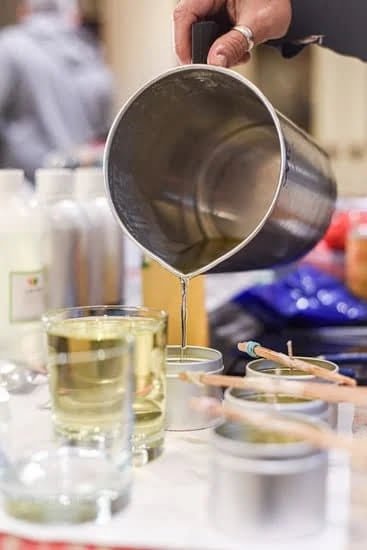
Once the wax has reached the correct temperature, you can carefully pour it into the container. Slowly pour the wax, taking care to not let it overflow. It’s important to pour at the right speed, as too slow or too fast can cause the wax to crack.
Let it Cool and Trim the Wick
Let the candle cool completely before moving it. This could take anywhere from a few hours to a full day depending on the size of your candle. Once it’s cooled, trim the wick to about ¼ inch (0.6 cm) above the surface of the candle.
Enjoy your Beeswax Candles!
Now your beeswax candles are finished and ready to light! You can enjoy the warm and cozy glow of your hand-crafted candles. With this easy step-by-step guide and a few simple ingredients, you can make eco-friendly and long-lasting beeswax candles for your home!

Welcome to my candle making blog! In this blog, I will be sharing my tips and tricks for making candles. I will also be sharing some of my favorite recipes.


