Introduction
Candle making is the craft or process of constructing or molding candles from wax, oil, and other materials to create a decorative or functional item. Candle making typically involves melting wax and pouring it into a container or holder, often made of metal, glass, wood, clay, plastic, or paper. Depending on the type of wax and method used, it may also involve adding scent, colorants, and/or wicks. Once set and cooled, these items can be used for illumination purposes (such as in food preparation) and/or decoration.
The process of making candles is relatively straightforward but does require an understanding of the types of waxes available as well as access to the necessary materials. Depending on the desired end product there are different methods for candle-making such as rolled candles where beeswax sheets are rolled around cotton wicking material before being placed into a ornamental holder; molded candles which use molds of various shapes & sizes filled with melted wax and containing a wick; dipped taper candles which are created by repeatedly dipping a single wick into molten wax; container candles where molten wax is poured into decorative containers that contain a pre-place wick; among others. Additionally, candle makers need to select appropriate wax for their project which range from softer soy waxes to more hardy beeswaxes depending on intended application. Finally many recipes exist that allow candle makers to customize not only their design but also their scent profile utilizing essential oils or fragrances designed specifically for this purpose.
Tools You’ll Need to Get Started
Essential Supplies:
-Wax – this will be the base of your candle and can come in a variety of materials such as paraffin, soy, beeswax, coconut, or palm.
-Wick – this is a string-like material that provides an oxygen supply for the flame to burn
-Mold – this can come in any shape or size you’d like and typically serves as the casing for your wax (though there are other ways to create candles without molds).
-Pot – you’ll need to heat and melt your wax, so make sure you have something large enough to burn it in and withstand the heat.
Optional Supplies:
-Fragrance/Essential Oils – if desired, these can be added to give your candles scent. Just make sure whatever type of fragrance you’re using doesn’t contain any dye that could discolor your candle.
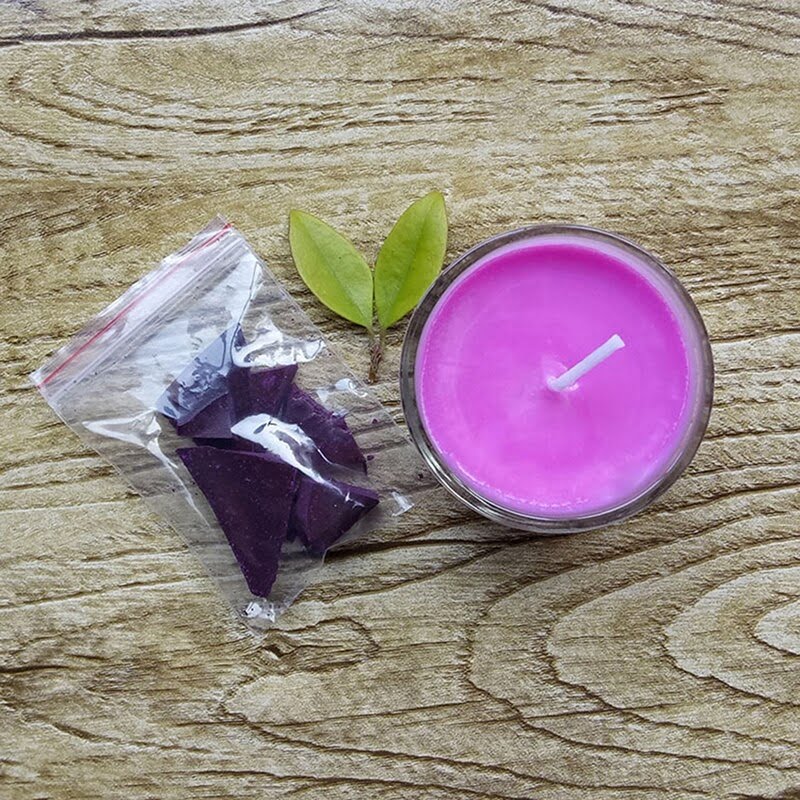
-Dye Chips/Pigment Powder – using either of these materials will allow you to add color or multiple colors to your candle. If using powder dye chips, make sure they are specially made for hot pouring wax.
-Thermometer – by having a thermometer handy you can monitor the temperature of your wax while melting and pouring which will help ensure that no scorching occurs.
Types of Wax
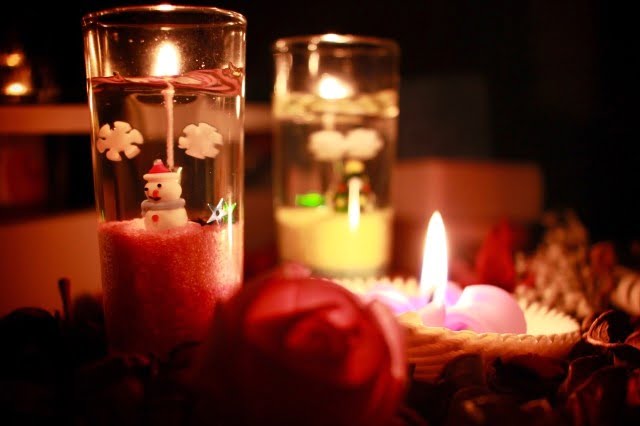
There are a variety of different waxes that can be used in candle-making and they come in varying forms. Soy wax is becoming increasingly popular as it is vegan-friendly, has an extended burn time, and emits a faint ember when burning. Paraffin and beeswax are also commonly used by candle makers as they are easy to work with and create smooth candles when combined with additives like stearic acid or cream color. Palm wax is made from pressed palm leaves and boasts extra aesthetic benefits – it crystallizes into lacy patterns offering beautiful detail. Gel wax is less commonly used, as it can be tricky to handle, but its high melting point produces interesting transparent effects for decorative candles. Vegetable wax or vegetable based wax are often blended with other traditional forms such as paraffin or soy without the strong scent that some find unpleasant. Finally, there are new advancement in candle making alternatives such as liquid bee’s wax which can offer an entirely new level of design possibilities for projects both large and small scale. Whichever type of wax you decide to use will ultimately depend on your desired outcome and the size of your project.
Choosing the Right Wick
Choosing the right wick for your candles is important as it will determine how the candle performs. There are different types of wicks which range from single-ply, consisting of one 2-ply twisted cotton fiber, to multi-ply wicks consisting of multiple 2-ply twisted fibers wound together or braided. A single-ply wick is best for smaller candles and candles with higher melting points such as beeswax or paraffin wax. Multi-ply wicks are best for larger and softer waxes such as soy wax. It is recommended to use a thicker, coreless cotton wick for large container or pillars in order to ensure an even burn with no sooting or smoking. Wicking sizes also vary depending on the size and type of candle you are creating; it’s important that you measure the diameter of your candle before selecting a wick size to ensure an even and complete burn.
How to Choose the Right Dyes and Fragrances
When creating candles, the right dyes and fragrances can have a dramatic impact on the overall look and feel of your creation. While there are no hard and fast rules on what colors or scents to choose, experienced candle makers recommend selecting hues that harmonize well with each other. When it comes to fragrances, consider combining two complementary scents for a unique twist – floral notes such as rose, jasmine and orange blossom contrast nicely with woodier aromas such as sandalwood or cedarwood. It’s also important to consider how the scent will interact with the environment in which your candle is intended to be used. For instance, being aware of air currents can help you identify potential areas where scents may become overpowering; similarly, if your candle is likely to be placed outdoors or in an open-plan area then using weaker aromas could have a positive effect on your environment.
Another factor worth considering when choosing dyes and fragrances is their availability — some colours can only be found in specific shades while popular scents may need to be imported from outside the US so make sure you take these practical factors into consideration when planning out your project. Additionally, if you plan on producing multiple batches of candles then it may be beneficial to stock up on essential supplies like dye chips and fragrance oils in order to avoid having to search for them again soon afterwards. With so much choice available its important not forget about safety: make sure all components comply with applicable product safety standards before purchasing them for use in any project.
Helpful Tips for Melting Wax Safely
When melting wax, safety is of the utmost importance. Follow these steps to avoid hazards while working with wax:
– Always wear protective clothing when handling the wax – this includes safety goggles, gloves, long sleeves and pants, and closed-toe shoes.
– Utilise a double boiler when melting wax. This will stop the wax from getting too hot and potentially catching fire. Too much heat can also cause molten wax to splatter.
– When heating containers, ensure that any combustible materials like towels or newspaper are kept away from hot areas. Oils in the paper can catch fire!
– If using a stove top for melting wax, never leave it unattended; instead, set a timer and keep an eye on your work until it’s complete.
– Pour your melted wax into molds or pouring vessels carefully – use an oven mitt and handle the pouring container with caution as it will be hot to touch! Make sure you pour in an area clear of clutter so you don’t accidentally spill your molten wax onto other objects.
– Keep kids far away from where you’re working with hot wax—it can cause severe burns if misused!
How to Prepare the Wick for Candle Pouring
When making candles it is important to prepare the wick before beginning the pouring process. To begin, you need to select a wick appropriate for the type of candle you are making. Different types of candles require different sized and shaped wicks. Choose a size that best fits the width and depth of your candle. Once you have selected the correct wick, cut it to length so that when placed in the candle it will reach from one side of the container to the other.
After cutting, secure the base of the wick with a metal disc or clip; this will prevent it from falling over during pouring and burning once lit. The bottom part of the wick should also be saturated in wax before attaching the disc or clip, as this will help create a stronger bond to the bottom of your candle container. Finally, give your wick some support by placing an object like a pencil or chopstick across your container for your prepared wick to sit on top of as you pour. This will ensure that your wick stays straight and centered throughout your candle-making process.
Step-By-Step Guide to Pouring the Wax
Pouring the wax correctly is key to producing a quality candle. For beginners, here are some tips and tricks that can help you ensure your wax is poured perfectly every time.
1. Choose the correct wax – Candle wax comes in many different types with different qualities, melting points and other characteristics to consider. Start with a wax that is easy and forgiving to work with as you become familiar with the process of candle making.
2.Set up a candle-making station – Gather all your necessary supplies such as wicks, thermometers, spoons, and any additives like fragrance or dye into one place so it’s quick and easy to access everything you need when pouring your candles.
3.Measure out the right amounts of wax and additives – When making custom scented or coloured candles be sure to measure out exact amounts of each additive before beginning to pour the wax so you know what will be going into each batch ahead of time.
4.Place wicks in containers before pouring – To prevent wicking problems while pouring place they inside the containers before adding any hot liquid wax. If using an anchor such as a washer then use double wick tabs or wire for extra security.
5. Use an accurate thermometer for heating and cooling the wax – Experts recommend using an accurate candy thermometer along with ‘cold throwing’ to set most candles without becoming overheated, this helps maintain clarity when colouring paraffin or stearin blends . Heat temperatures should not exceed 180°-190° for Soy Wax 200° for Palm oil based products and 145° for Beeswax respectively, unless specifically formulated otherwise per manufacturers instructions – cooler temps being better quality & cleaner burning unless turning products quickly which may require higher temperatures..
6.Pour slowly but steadily – Do not rush when pouring your wax as it needs enough time to flow evenly throughout the container ensuring an even temperature within each candle vessel; this also helps maximize blending while keeping hot spots at bay preventing them from becoming either too dark molted together/marbling effect or conversely incompletely blended patchy/stripey visual results in appearance overall., This will ensure good scent throw also which may otherwise become muddled by thick molten borders surrounding areas closest to vessels sides giving additional uneven smelling results at best!
7. Allow time for cooling – Overnight curing may be necessary for certain aromas concentrations; heavier oils must have time be given ample cool down periods allowing full Scent saturation without overloading individual scent molecules causing unbalancing results again corrupting final presentation caliber altogether . . .
Finishing Touches
Once you have made your candles you may decide to add a few finishing touches to get a unique look. Here are some ideas:
1. Coloring – To add color to your candles, use special dyes specifically designed for use with wax. You can choose from liquid or block dye, or even colored wax blocks that can be melted and blended in with the main wax batch.
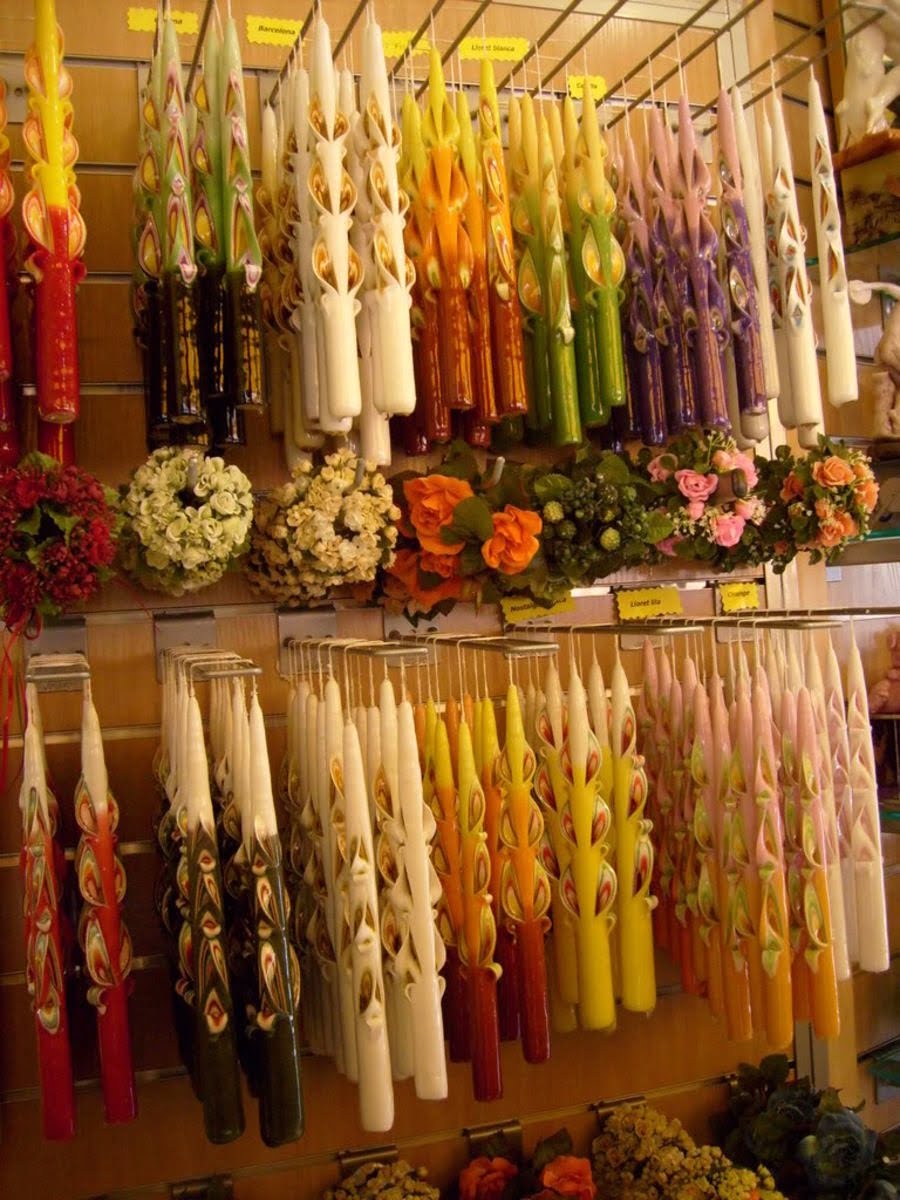
2. Embellishments – Candles can be enhanced further by adding beads, glitter, ribbons, jewels and other decorative pieces around the sides and tops of them. Check out craft stores for great ideas on how to adorn your candles and really make them stand out!
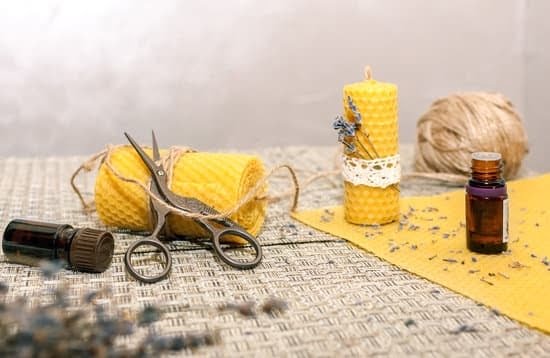
3. Scents – Another popular addition to candles is scent. Adding essential oils or fragrance oils to melted wax can give your candles a wonderful smell when lit, as well as form interesting patterns when the smoke spirals up through them. If you prefer more natural scents you can try adding herbs like lavender and mint right into the melted wax before pouring it into molds.
4. Wrapping – Finally, wrapping up finished products with cellophane or paper bags ties everything together nicely and makes your candle gifts look all the more impressive!
Troubleshooting Common Problems
Making candles can be a great hobby, but it’s important to keep in mind that it isn’t always smooth sailing. As fun and simple as making candles may seem, problems can come up. Here are some of the challenges you might face on your candle-making journey and how to go about resolving them.
1) Wax not melting properly – If your wax is not melting properly, make sure you add the right amount of water to the pan and set the temperature at the recommended level. From there, continue to monitor the wax until it is completely melted. If you are still having trouble, try using a double boiler. This will help regulate the heat better so that your wax continues to melt evenly without burning or hardening too quickly.
2) Wax seeping out of container – If wax is leaking from your container during burning, there is likely too much fragrance oil used when creating the candle. Adding more than two ounces of oil can weaken the structure of your vessels. To prevent leaking in future candles, use only one ounce per pound of wax in order to fill containers appropriately while keeping its integrity intact.
3) Wicks smoking excessively – Candles with overly long wicks can cause smoke and excessive sooting due to two some underlying causes such as improper scent loading or insufficiently stearized wick core material. To resolve this issue, heat-stearize any cotton wicks before pouring into vessels or use 100% cotton paper core organic hemp wicks instead both of which will reduce smoking while minimizing risk fo combustion from all angles however don’t forget that using wire core wick tabs when working with large diameter vessels are highly recommended for optimal safety and efficiency in larger bulk quantity runs
Conclusion
Making candles is fun, therapeutic, and can even be profitable. With just a few basic tools and supplies you can create unique handmade candles to give away as gifts or to keep for yourself! The basics of candle making involves four main elements – wax, wick, container, and scent. You’ll need to ensure that the wax is of good quality that melts evenly when heated. The wick needs to be properly sized for your container so that it burns correctly and the container needs to be able to withstand the heat created by burning the candle. Lastly, explore all sorts of scents by mixing essential oils or beeswax fragrances into your wax either before or after pouring it into containers. Once you have these core components set up, start experimenting with unique vessels like mason jars, wine glasses or teacups. Add decorations such as seashells or glitter for a personalized touch. Finally once everything set up allow the wax to cool and harden before trimming your wicks and lighting your beautiful creations! Have fun with creating various types of candles; some may turn out well while others may not but learning from mistakes will only help you improve on future projects.

Welcome to my candle making blog! In this blog, I will be sharing my tips and tricks for making candles. I will also be sharing some of my favorite recipes.

