Introduction
DIY candle making is an enjoyable and rewarding experience. There are many benefits to making candles yourself, such as cost savings; the ability to customize your candles according to your personal preferences;and the satisfaction of knowing you crafted something unique with your own hands. With DIY candle making, there is a wide variety of fragrances and colors available, giving you complete control over the finished product. Additionally, when you make your own candles, you can be sure that all ingredients used in the production process are safe and non-toxic for your family, friends and guests. You can also save money by purchasing supplies in bulk and experimenting until you find a method or recipe that works best for you. Whether you’re a beginner or experienced candle maker, DIY candle making offers a way to customize the perfect candle while learning a craft that will last a lifetime.
Overview of the Different Types of Candles
When embarking on a candle making journey, it is important to understand the different types of candles available. While all candles are made of wax, there are different styles and methods that can be used to make each type. Below are some of the most common types of handmade candles and their best DIY tutorials.
Tea Lights ” Tea lights are small, usually cup-shaped candles. These can be used as decorations or simply placed around your home to provide long-lasting light without dealing with a larger flame. Some popular tea light candle DIYs include marbled tea lights from Upcycled Treasures and scented tea lights from The Spruce Crafts.
Tapers ” Taper candles give off a tall, elegant look when placed in candlesticks or incorporated into centerpiece designs. Creating taper candles can also offer unique opportunities for decorative features such as clusters of different colored wicks. Popular taper candle tutorials include two tutorial videos from Red Ted Art and one from Penniless Parenting with detailed written instructions for making them at home.
Votives ” Votive candles are great for creating warm ambiance in any room and are especially popular during special occasions such as weddings or birthdays. Some fun DIY votive projects include confetti votives by Best Friends For Frosting and glitter votive candles by Country Living, both of which will add beautiful pops of color throughout your home!
DIY Candle Making Requirements and Tools Explained
Making your own candles at home can be a fun and rewarding way to be creative. However, making artful candles requires more than just putting wax in a container. To get the best results, it’s important to have the right supplies and techniques.
First and foremost, you will need quality candle wax. Paraffin wax is favored by many hobbyists because of its availability and low cost, but beeswax is another good choice for those preferring natural ingredients. Some candle makers also mix different types of wax for a unique combination of properties that suits their project. Wax melting temperature varies; before use, check with your wax manufacturer for specifics on best practices when heating or melting for your projects.
To ensure safety when making DIY candles, it is important to have appropriate containers and wick materials which are combined according to the specs from the manufacturer’s instructions. The type of wick you choose can impact how your finished product turns out; long-burning wicks with more stability usually require more coverage in both width and length within the wax melt pool while flame height may increase if they are used properly in smaller creations such as tealights or votives. If the correct amount of coverage isn’t achieved, potential risks like fast overheating or production of soot can occur which could make the candle unsuitable for use in enclosed spaces due to potential toxic fumes.
In terms of tools necessary for successful candle making projects, aside from melting containers and dipping tools (if you choose to create dipped candles), a kitchen scale is also something to consider investing in as it helps to measure out precise amounts of ingredients required from recipe to recipe such as coloring matter or essential oils. Thermometers with both Fahrenheit/Celsius readings should also be on hand when melting bigger batches over heat source pots! Double-boilers (or microwaves) are typically used for this purpose though you’ll want to make sure that whatever container you’ll be using has been washed before each use so any unwanted residues don’t wind up affecting either look or scent when completely set!
Step-by-Step Guide to Making a Custom Candle
Making custom candles can be a fun and rewarding process. With the right materials and tools, you can create beautiful, unique candles for your home or to give as gifts. Here is a step-by-step guide to making a custom candle:
1. Gather Your Materials – To get started you will need candle wax, wicking material, essential oils (optional), dye (optional), metal melting pot, glass jar or mold of some kind, pouring pitcher and heat source such as a stove top or hot plate.
2. Prepping The Wax – The first step is to melt the wax. Put your metal melting pot on the heat source and melt the wax slowly until it has completely melted before adding any additional ingredients like essential oils or dyes.
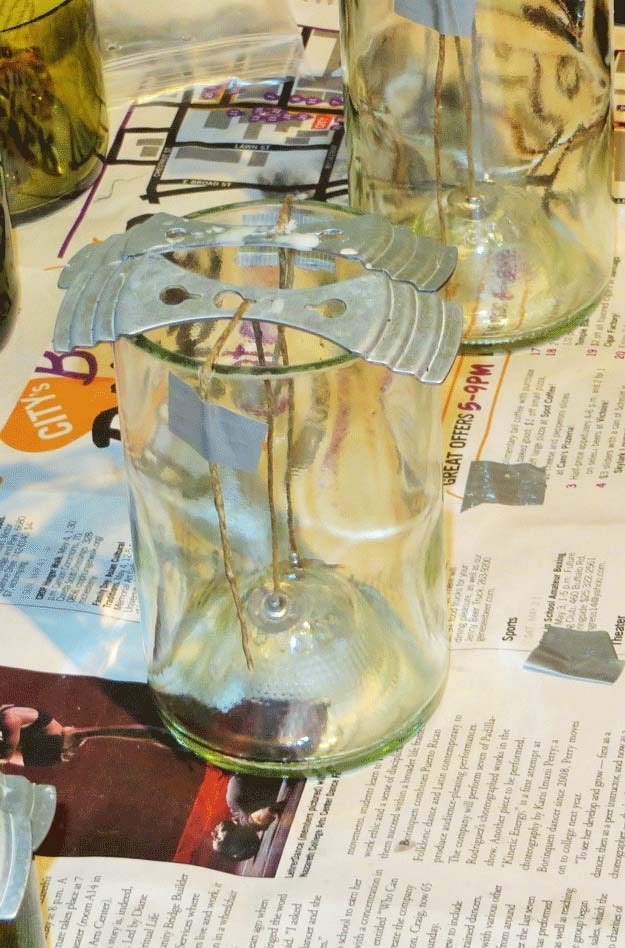
3. Add Wicking Material – Once your wax is melted, you’ll want to add the wicking material. This will ensure that your candle burns evenly when lit. Make sure that each strand is centered in the container and secure with glue dots if necessary.
4 . Pour Wax into Jar/Mold – Next, you’ll want to transfer the melted wax from your melting pot into a pitcher for easy pouring into your jar or mold of choice. When pouring, move it slowly from side to side which helps to prevent air bubbles from forming.
5 . Allow Candle to Cool & Dry ” Ensuring that your candle has cooled for at least 8 hours allows it to reach maximum scent throw once lit. Additionally allowing at least 24 hours of drying time will help enable successful removal from the jar or mold once cooled fully in addition to allowing wax particles settle before trimming existing wick(s) if necessary prior to use *never take shortcuts during this process*
6 . Admire Your Workmanship ” You did it! Now sit back and admire all of your hard work; you have created something beautiful out of just some basic materials! Congratulations!
Examples of Popular DIY Candle Making Projects & Techniques
Candle making is a great hobby that many people love doing. It is simple, inexpensive and the results can be amazing. With DIY candle making tutorials, anyone can learn how to make candles in just a few steps and produce something beautiful, aromatic or just plain useful. Popular DIY candle projects you can attempt include layering different waxes together for an attractive finish, using essential oils to give your candles an extra boost of scent or adding herbs or botanicals like rose petals for even more decoration. You can also use innovative waxing techniques such as dipping candles into wax for a unique look, or use wicks of different thicknesses to create interesting shapes and designs when the wax sets. Making your own scented candles is especially rewarding, as it allows you to customize the scent you prefer and tailor it to any space or event. With DIY candle making tutorials you’ll learn all the tips and tricks on how to do this properly so your scented candles turn out beautifully. Gel candles are another fun type of DIY project where the end product is usually more eye-catching than regular container ones because they can feature objects like flowers suspended inside. The materials needed to make gel candles are readily available and easy to come by too ” so don’t hesitate to jump right in!
Tips for Crafting Long-Lasting Candles
If you’re looking to make your own long-lasting candles, there are several tips to keep in mind. First off, choose high-quality candle wax. Soy wax is a popular option as it is non-toxic and burns slowly and evenly. Be sure to add the correct amount of scent or dye because too much will reduce the strength of the overall scent while too little could lead to an unpleasant burning odor. Avoid using plastic or metal containers when melting your wax since these materials can generate toxic fumes if heated at too high of a temperature. Additionally, preheat your wicks before dipping them into liquid wax so they more effectively absorbs the molten wax without splitting apart. When cutting wicks for tapers and pillars, be aware that longer lengths need thinner wick sizes to maintain a consistent burn time. Finally, allow candles plenty of time to cool completely before lighting them; this will ensure a better quality product that lasts longer when lit. Following these tips should help ensure great results with your DIY candle making endeavors!
Creative Ideas for DIY Candle Making Projects
If you’ve been looking for an enjoyable way to spend your free time, you should give DIY candle making projects a try. Making candles from scratch is an exciting and fun creative activity that can be easily done at home. Plus, you get to end up with beautiful and unique candles of all shapes and sizes to adorn your home or give away as gifts.
DIY candle making projects are easier than many people think. With the right materials, some basic instructions, and a little creativity, anyone can have a go at making their own handmade candles. There are lots of tutorials online that show step-by-step pictures and tips on creating stunning homemade candles. Whether you’re a beginner or more advanced in candle making techniques, there is something out there for everyone. Some of the most popular tutorials focus on special techniques like making floating wick candles; beeswax tapers; pour and melt scented candles; paraffin wax tealights; vegetable wax pillars; multi-layer votives; paper core and tapered candles ” just to name a few!
Other creative ideas might include decorating the outside of candles with fabric ribbons; adding dried flower petals inside glass containers to make floating candles; incorporating essential oils for a delightful aroma when lit; experimenting with colorful dyes and paints to customize the look of your handmade creation; or even blending different kinds of waxes for a unique candle base! The possibilities are endless! Whenever starting your own DIY candle making project, be sure to read through instructions carefully before attempting anything involved with heat like melting wax or boiling water.
Explore Floating Candles & Scented Candle Making
Making candles is a great way to unleash your creativity and relax your mind. With some basic ingredients and a few basic tools, you can easily make candles at home for yourself or as gifts for friends. Whether you want the classic style of floating candles with unscented wax or to work with different colors and scents, DIY candle making has something for everyone.
To get started with DIY candlemaking, you’ll need soy wax flakes, wicks, essential oils for scenting, dyes for color, jars or molds of various sizes to contain the finished product, thermometer and double boiler to melt the wax flakes, wooden spoon or popsicle stick to mix in the scent and dye, small scissors to trim the wick after pouring into molds/jars and glue dots to secure your wick before pouring the heated wax. Additionally, if you are making floating candles you will also require water-soluble glue such as Polyvinyl Alcohol (PVA) glue. Once you have all these supplies ready, it’s time to start crafting beautiful scented candles!
The process generally begins by melting the soy wax flakes over a double boiler and bringing it up to a temperature of 130-140°F while stirring in desired colors/scents with a wooden spoon. After that pour the melted wax into preheated containers/molds according to specific directions depending on whether or not the project involves creating floating candles or solid ones without fragrance. Before completely filling the container(s), add a small amount of PVA glue dissolved in water at 8:1 ratio for floating candles. Leave about 1 inch space from top of container once completely filled with melted soy wax before securing your wick at its base using two small glue dots placed on opposite sides (or use any other method). After an hour once hardened well enough remove excess wick using sharp scissors before let it cool down completely overnight until cooler than 80°F before removing from molds/containers – your handmade scented candles are now ready!
Conclusion
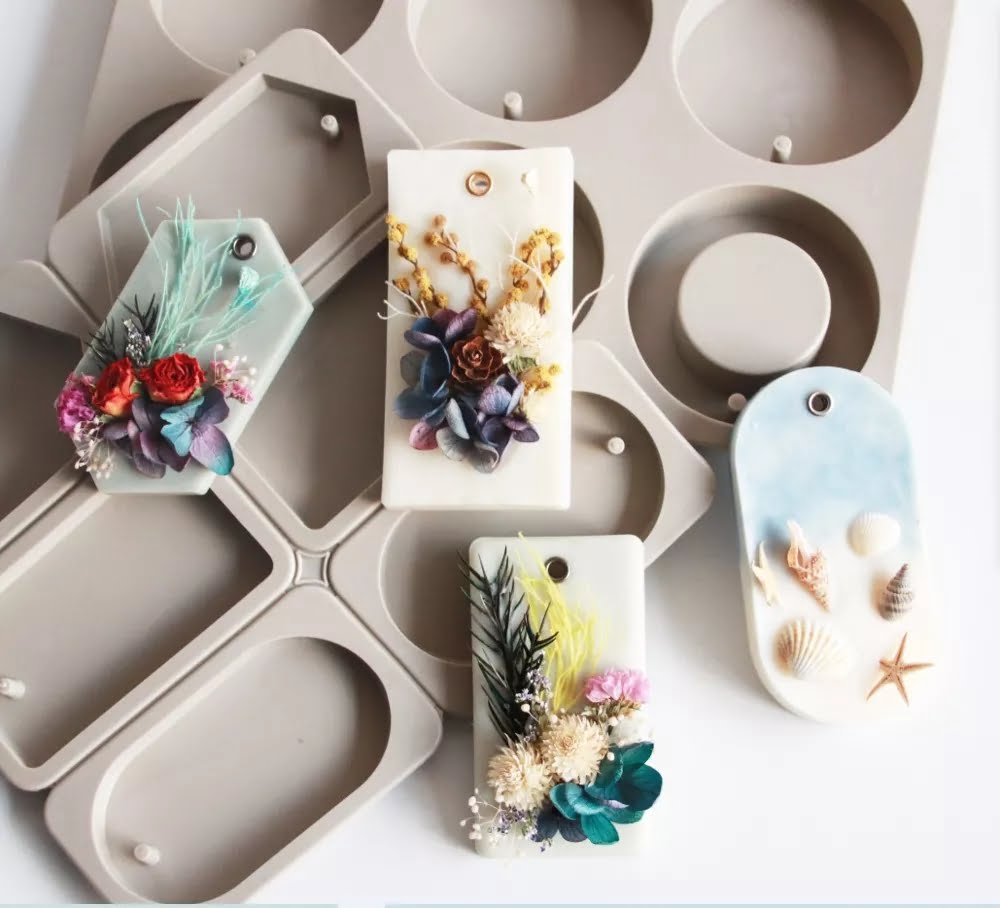
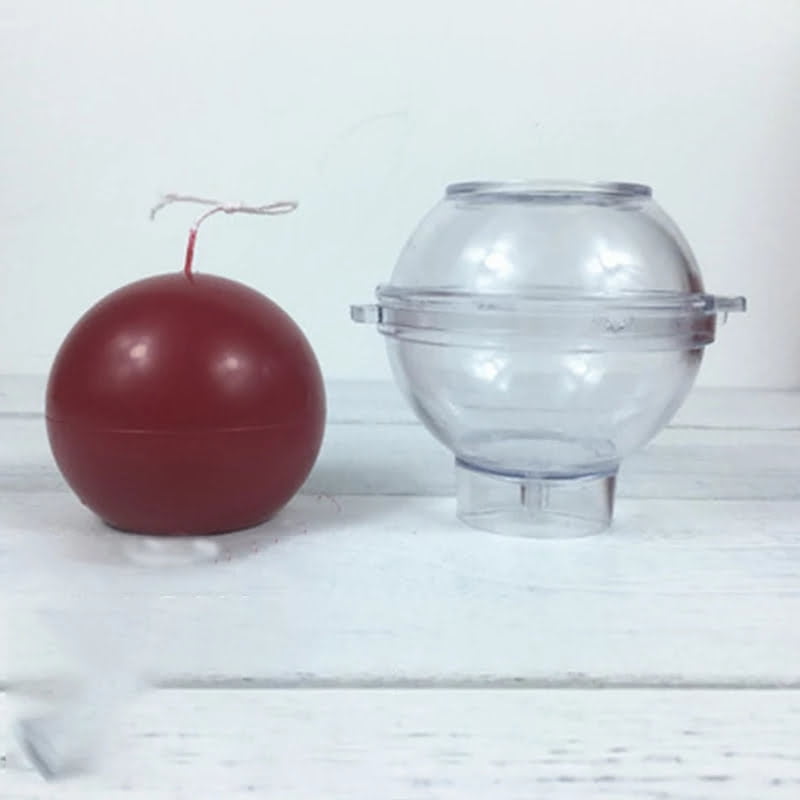
Making your own candles can be a great way to relax and be creative. Not only does it provide the satisfaction of creating something yourself, but you can also enjoy the end result for months to come. The possibilities for candle making are endless, allowing hobbyists to try their hand at creating amazing works of art in scented or unscented wax. Even if you’re new to candle making, there are plenty of tutorials available to help you get started. There are also a wide range of molds and tools available so you can make unique designs easily and conveniently. Whether you’re looking to craft unique decorative pieces or simple DIY gifts, candle making promises hours of fun. With straight forward instructions and supplies that are easily accessible online, it’s an accessible craft that almost anyone can enjoy. Plus with the wonderful scents that come with burning candles the experience is heightened even further. Candle making is undoubtedly a rewarding crafting hobby – one which promises hours of joy as well as gorgeous homemade creations at the end!

Welcome to my candle making blog! In this blog, I will be sharing my tips and tricks for making candles. I will also be sharing some of my favorite recipes.

