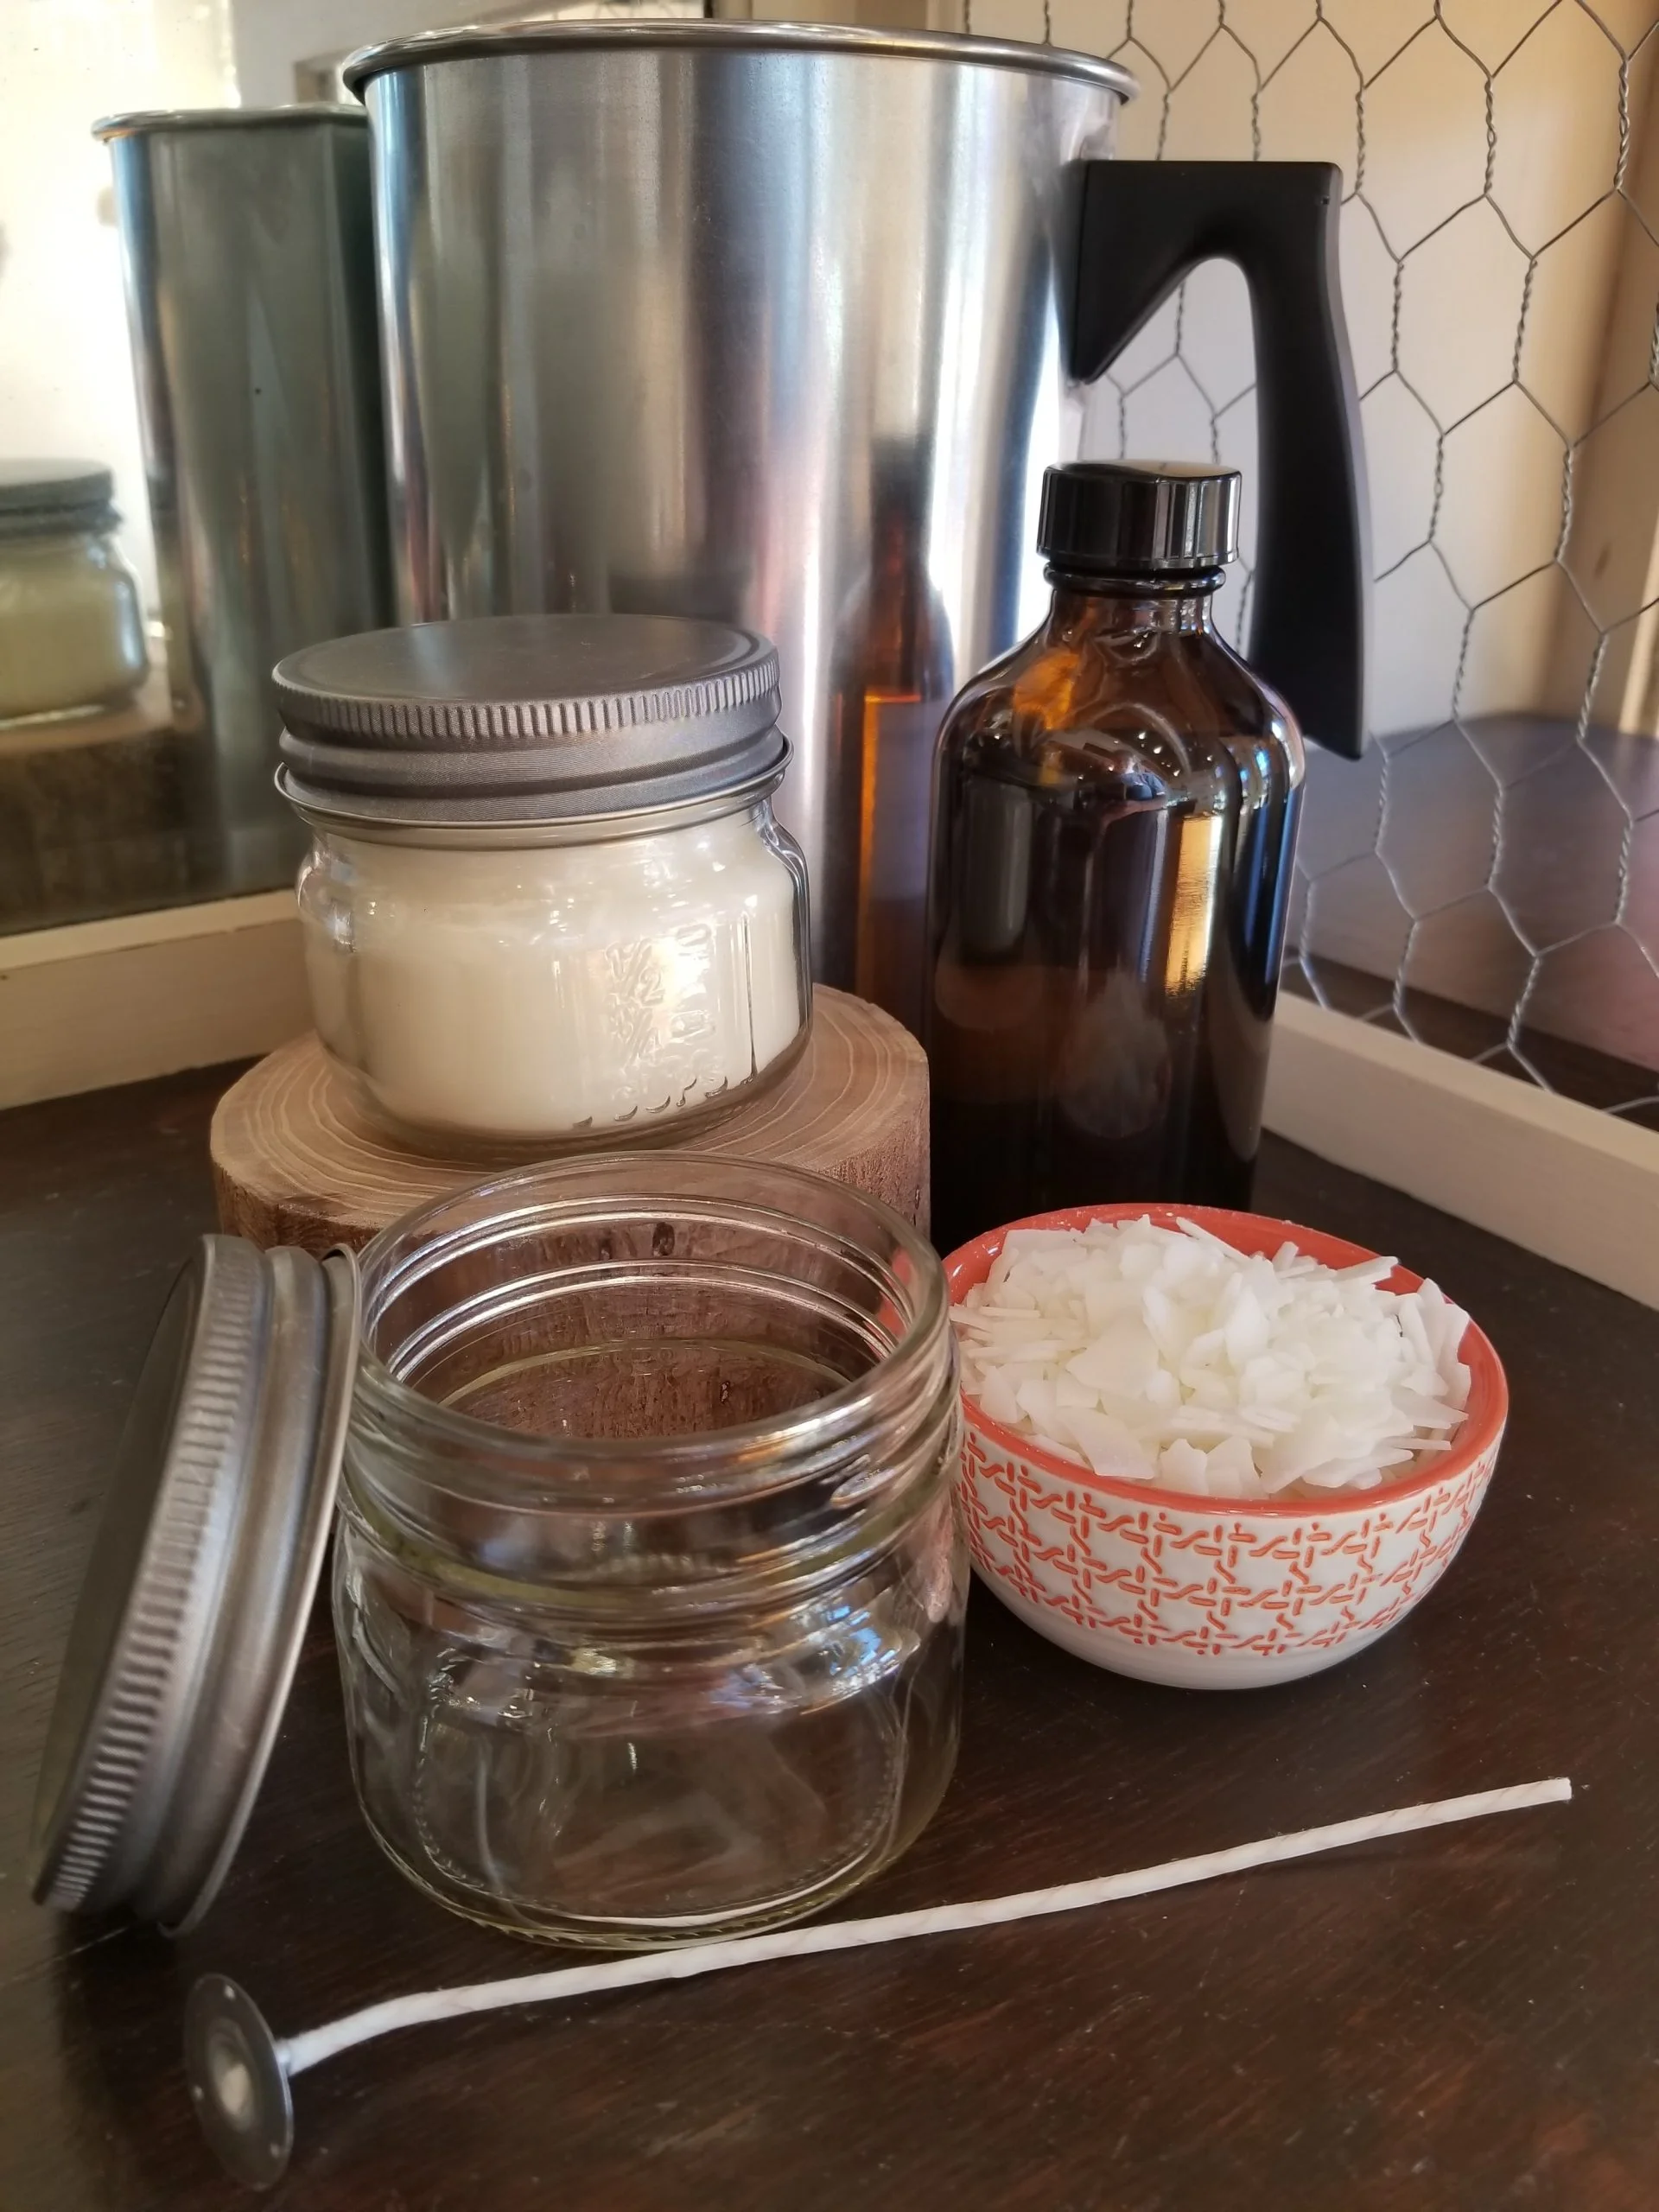
Introduction
Candle making is an enjoyable hobby that can be used to create beautiful and fragrant candles to be used in your home. There are a variety of supplies needed for candle making, including wax, wicks, scents, molds, and other accessories. One of the most important steps in the candle-making process is melting the wax. Knowing the best way to melt wax for candle making will ensure that you create an attractive candle with a long-lasting flame.
There are several benefits to making candles yourself rather than buying them from a store. Firstly, when you make your own candles at home you have complete control over what goes into it. You can choose high quality materials and use only natural scents when scenting your candles. You can also pick colors and shapes that will blend perfectly with your decor. Making candles yourself also allows you to customize your items by adding special touches such as added decorations or personal messages written on them – something which is not possible when buying store bought candles. Furthermore, by making your own candles at home, you save money because grocery store prices for ready made candles tend to be quite expensive. All these factors add up to make homemade candle making an incredibly rewarding activity!
Preparing the Supplies for Melting Wax
When it comes to candle making, the type of wax used is important as some types melt at different temperatures. Common types of wax include soy wax, beeswax, paraffin wax, and vegetable wax. Each type of wax has a recommended melting temperature that you should adhere to for best results.
The wick used in the candle is equally important since it can affect both the scent and burning performance. Wicks range from natural cotton core with paper twist to wooden wicks that crackle like a campfire when lit. Depending on the type of candle you are making, different sized wicks may be necessary so make sure to pay attention to size recommendations relevant to your specific project.
Finally, it’s important to make sure you use a container that’s appropriate for melting your wax and fit for its intended purpose once filled with melted wax. Pick out a heatproof vessel such as metal tins or glass jars designed specifically for candle-making purposes. For container candles poured in molds, make sure the molds are made from heat safe materials such as silicone rubber so the hot wax does not damage them when pouring.
Overview of Wax Melting Methods
When it comes to melting wax for candle making, there are three primary methods: wax melting pots, double boilers, and microwave ovens.
Wax Melting Pots: Wax melting pots are special device specifically designed for candle making that feature a focused heat source and a bucket-style container to hold the wax. The wax pot has an adjustable thermostat so you can set the exact temperature needed to melt the wax without scorching it or boiling off any of the additives. As well as being easy to use, the pots take up less space than many of the other methods, making them ideal for craft studios with limited counter space.
Double Boilers: A double boiler is simply two vessels placed one inside another to form a single vessel with two compartments and one exit spout for removal of melted product. To melt wax using this method, fill the lower pot with water, heat it until steam builds up and vaporize liquid in upper/outer pan containing your wax and other desired ingredients. This method is preferred over microwaving because exposure to direct heat can affect color or scent depending on what type of wax is used.
Microwave Ovens: One of the fastest ways to melt down wax is by using a microwave oven; however, caution should still be exercised as wax can get very hot very quickly in this method because it is directly exposed to such high temperatures. To melt your wax in a microwave oven, put some steel mixing bowl filled with pieces of your chosen wax into the microwave oven and set on a low setting that would avoid burning or even boiling off any added ingredients (usually 1/2 ” 2 minutes). Carefully remove melted mixture from microwave and pour into your desired containers with all necessary precautions taken due to extremely high temperatures reached during this process.
Step-by-step Guide to Melting Wax Reliefly and Safely
1. Begin by gathering up supplies, such as wax, wicks and dye; a double boiler increasing pot; thermometer; stirring utensil; and heat resistant container to hold the molten wax.
2. Set up your double boiler by filling the main pot with about an inch of water and placing the insert in the top. Heat over medium-high heat until small bubbles appear on the bottom of the insert.
3. Measure out the correct amount of wax for your project using either a scale or measuring cup, then cut into chunks about 1 inch in size if needed. Place chunks in insert and wait for them to melt completely before proceeding further (it is important to keep an eye on temperatures).
4. Once all your wax has melted, adjust temperature so it remains between 145°F ” 160°F at all times while stirring occasionally with a wooden or thermoplastic spoon – don’t let it get too hot!
5. If desired, add colorants like dye or crayons now, stirring until completely dispersed within melted wax mixture. Carefully refer to label instructions when attempting this step as some pigments may need higher amounts of heat than other ingredients used in candles typically require.
6. Now slowly drizzle your pre-measured wick length over the top of each container being filled so that it is centered inside without touching sides or bottom – do this in one continuous motion! Once finished, use skewers or chopsticks (etc) on opposite sides of each container to ensure correct placement before letting cool completely ” beware any hot spots caused by uneven distrubution when pouring liquid wax into containers!
7. When hardening process is complete- trim away excess wick length from tops & bottoms so only desired size remains exposed above surface level– this will prevent over heating during burning time later on down road! Lastly cover finished item with lid/ cover while not being used or put into storage immediately after completion if desired.
Common Wax Melting Mistakes to Avoid
When melting wax for candle making, it is essential to take precautions in order to achieve the best results. The most important thing is to avoid common mistakes that can cause harm or even ruin the entire process. Here are some mistakes to avoid when melting wax for candle making:
1. Overheating The Wax: When overheated, wax will become brittle and start to crack and discolor, ruining the intended effect of the candles. To prevent this from happening, use a double boiler method or stick melt pot specifically designed for melting wax. Avoid using direct heat sources such as a stove burner.
2. Not Using A Thermometer: One mistake many people make when melting wax is not using a thermometer to gauge the temperature of the melted wax. For certain types of candles, like pillar candles, it is necessary to know when the proper pouring temperature has been reached. It’s also possible that plunging right into pouring at full heat may cause air bubbles if not cooled sufficiently prior to pouring which can lower fidelity levels significantly once cooled.
3. Not Testing Fragrances In Melted Wax: Melted wax behaves very differently than wax that is dry and unmelted. This means two fragrances that smell great in their individual forms within the container they came in may behave differently when placed in melted wax, with one overpowering another in a way you did not predict or intend for your final product . Make sure every scent you plan on using is tested and approved before taking it beyond experimentation stages your container testing lab provides by properly placing test samples within melted wax and reading out notes on how integral components interact with each another within melted bases for a truer sense of its anticipated performance throughout entire cooling/curing/storage lifespan of your dye/fragrance system within expected production models running off respective ambient laboratory contexts such as mass scale production lines vs batch customization capabilities etc
Helpful Troubleshooting Techniques
When melting wax for candle making, there are a few troubleshooting techniques to keep in mind. One of the most important tips is to ensure that your wax has been pre-melted before you begin adding ingredients. This will make the entire process smoother and easier. You should also be sure to use an appropriate size container for the amount of wax you are about to melt; otherwise, it can take an incredibly long time for the wax to reach its ideal temperature. Furthermore, you should use a double boiler or water bath when heating your wax as these methods create a more even heat throughout the wax”ensuring no unexpected hot spots which can lead to uneven burning, poor scent throw and premature tunneling in finished candles. Lastly, never allow your wax to go beyond its recommended melting point as this too can lead to uneven burning, poor scent throw and possibly even scorching of your wicks.
Creative Ideas For Decorating Candles
The best way to melt wax for candle making is to use a double boiler. This way, the wax can be slowly and safely melted without it getting too hot or catching fire. When melting, take caution to avoid scorching or burning of the wax. Once melted, you should allow the melted wax to cool for about 10-15 minutes before pouring it into candle molds.
To decorate your candles creatively, consider packing various herbal and floral materials around the outside of pillar candles or embedding them in container candles. Rose petals add a lovely scent, dried eucalyptus brings a woodsy aroma, or for a subtle design element incorporate strands of cupped moss or dried Spanish lavender. An interesting visual display can also be achieved by wrapping thin raffia or twine around pillars and holding them in place with dots of melted beeswax applied along the edges. A beautiful addition to more traditional styles is adding glitter and gold leafing as enhancements prior to finishing your decorations.
Conclusion
When it comes to the best way to melt wax for candle making, double boiling is the go-to method. This tried and true method ensures that the wax reaches a proper temperature and does not come into contact with any direct heat, allowing for more control over the process. Additionally, this way prevents any flammable fumes from occurring as waxes require higher temperatures to melt than most stoves can provide. When tempering wax, make sure to always monitor it closely and keep a fire extinguisher nearby in case of an emergency. With the right safety precautions, double boiling is a safe and efficient way to melt wax for your candles!

Welcome to my candle making blog! In this blog, I will be sharing my tips and tricks for making candles. I will also be sharing some of my favorite recipes.


