Using Black Tins for Candle Making
Candle making is a great way to bring cozy nostalgia into the home and create beautiful, relaxing spaces. Not only is candle making a therapeutic activity, but it can also add a personal flair of scent, color, and glitter to any space. By creating candles in black tins, you can bring style and class to your candles and make them truly unique.
What You’ll Need
- Black tins
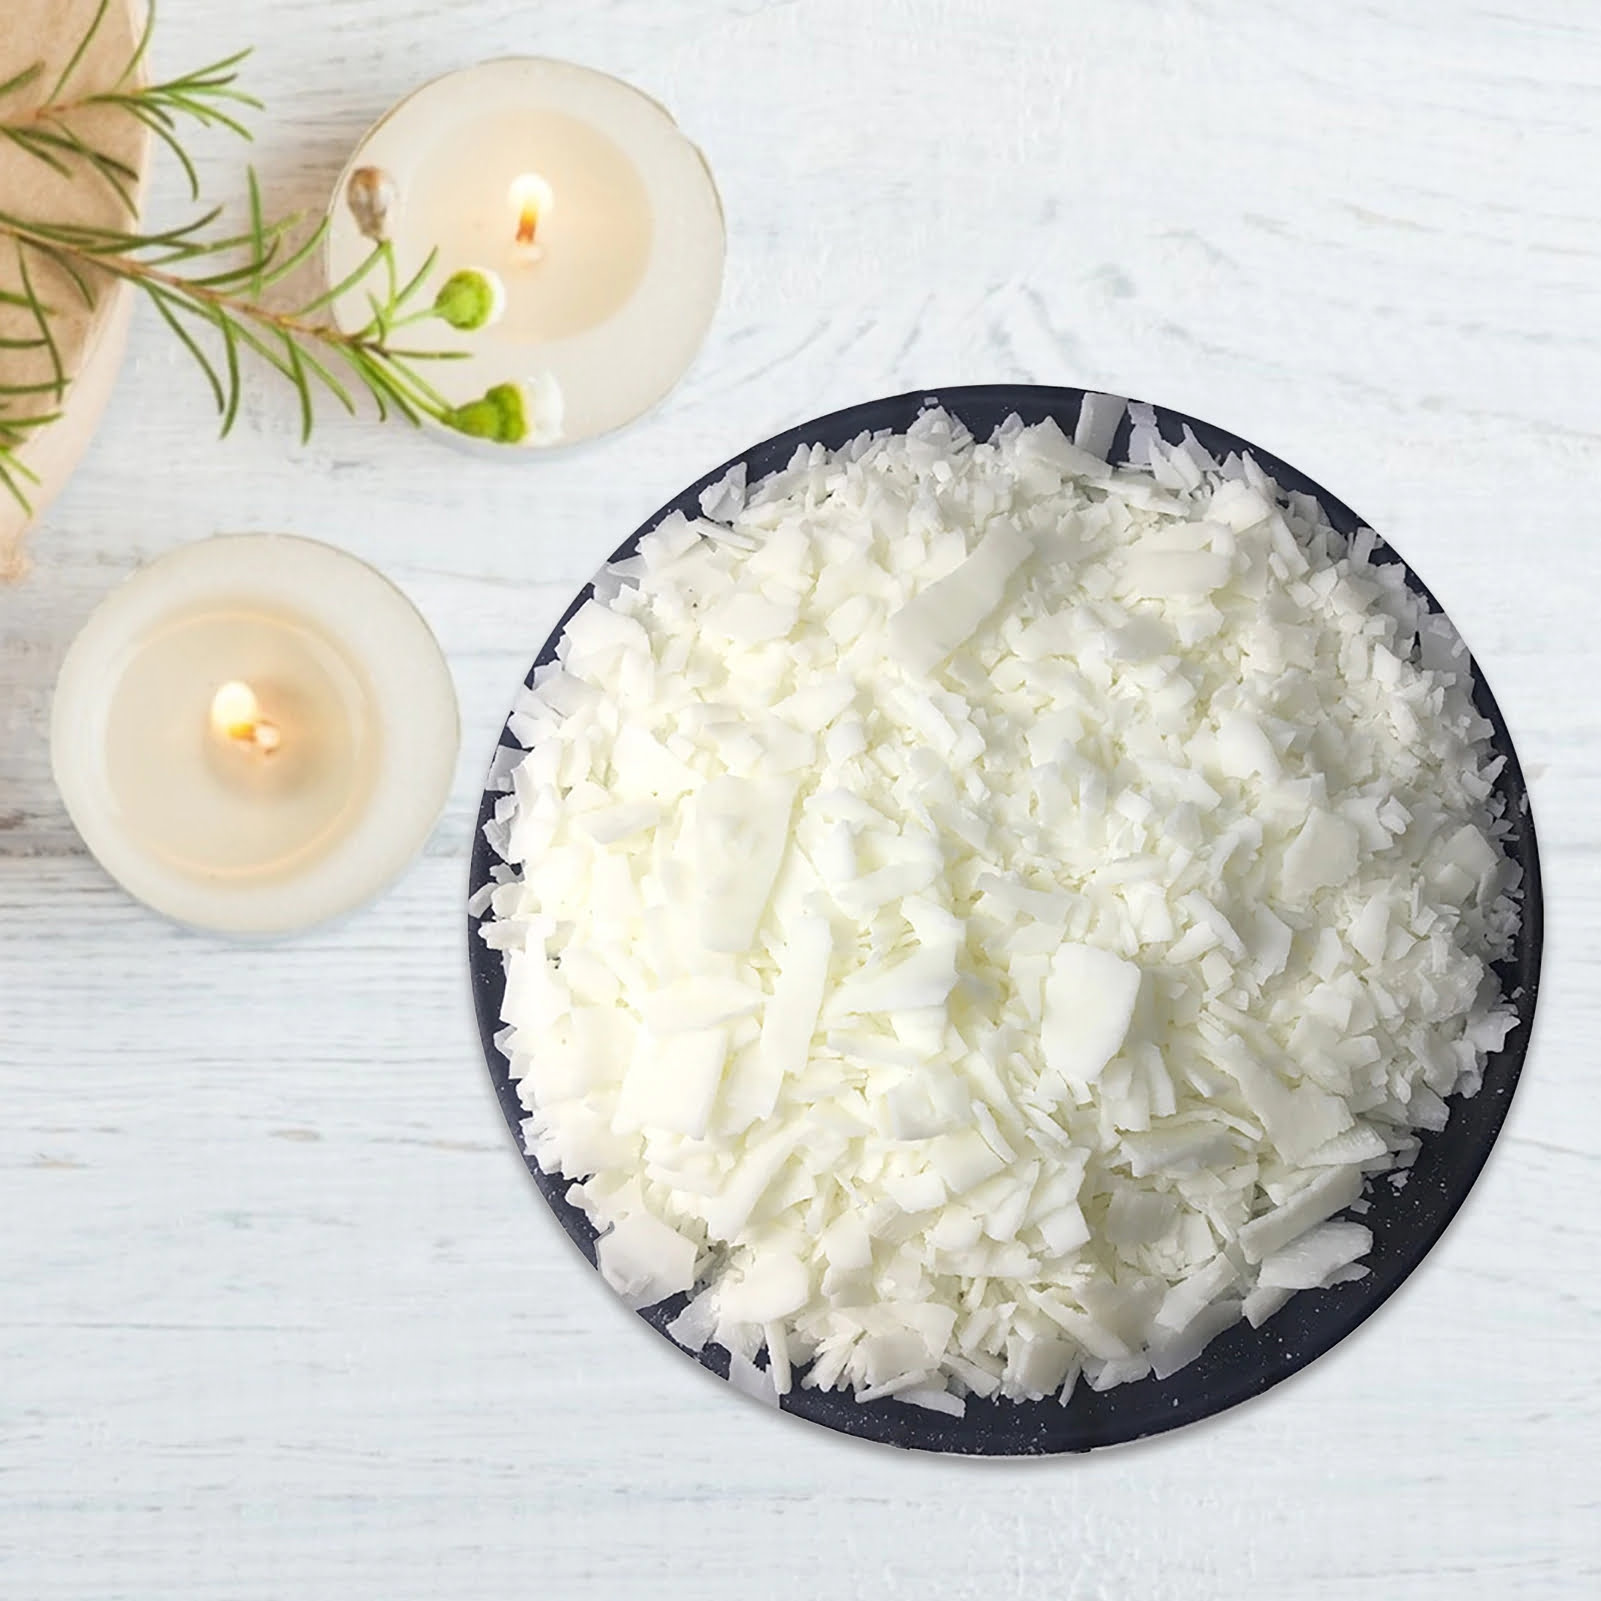
- Wax/soy wax flakes
- Candle-making thermometer
- Fragrance oil/essential oils
- Candle dye (optional)
- Candle wicks
- Oil scale (optional)
- Candle adhesive (optional)
- Glitter (optional)
Preparing the Candle Tins
To prepare the tins, you’ll need to consider the type of wax you’d like to use. If you’re using a beeswax or soy wax blend, you may want to increase the tin’s capacity since these blends melt at a lower temperature, releasing a larger surface area of scent into the room. As a result, the burn time will usually increase as well.
Measuring the Wax
Once you have decided on the type of wax and the capacity of the tins, measure out the amount of wax that is necessary to fill all of the tins. You will usually want to fill the black tins about 90% full in order to give the candle adequate room to melt and release the desired scent. To be sure you get the right amount of wax, you can use a kitchen scale to measure out the required amount.
Adding the Fragrance and Color
Add a desired amount of fragrance oil or essential oil to the wax and mix it in thoroughly. You can also add a small amount of candle dye to the wax to achieve a desired color, if you’d like. Candle dye comes in powder form, so be sure to mix it in really well so that there aren’t any pockets of color in the tins.
Filling and Finishing the Tins
- Once the wax is mixed, it is time to start pouring it into the tins. You’ll want to use a separate tin for each kind of wax, so that you can ensure an even wax distribution for all of the tins.
- Once all of the tins are filled with wax, you’ll need to attach the candle wicks. Most candle wicks come with metal clips attached to them, so you’ll simply need to press the metal clips into the wax and make sure they are secure.
- For a more professional look, you can also attach the candle wick to the bottom of the metal tin using a small dot of candle adhesive. This will ensure the wick remains in the center of the candle and achieves the best burn.
- Finally, you can add a small amount of glitter to the wax to make your black tins even more unique. Glitter looks best when added right before the wax has fully hardened, so you’ll want to sprinkle it on as soon as possible after the final pouring.
Finishing the Candles
Once the black tins have been filled with wax and finished with a wick and glitter, you must wait for the candles to cool and harden properly. You’ll want to let the candles cool for several hours before trimming the wick and using them. The final product will be a beautiful, unique candle that you can enjoy in your home!
Conclusion
Making candles in black tins is a great way to add style to your candle-making endeavors. Not only are the tins beautiful and classy, but they also help to evenly distribute the scent from the candles throughout the room. With a few simple steps, you can make your own beautiful candles and apply your own personal flair to any space.

Welcome to my candle making blog! In this blog, I will be sharing my tips and tricks for making candles. I will also be sharing some of my favorite recipes.


