Candle
There is something about a pillar candle that just feels luxurious. Maybe it’s the fact that they are usually quite tall and can create a really beautiful focal point in a room. Or maybe it’s the fact that they are a bit more difficult to make than your average candle, so there’s a bit of a sense of accomplishment when you finally light it up.
Whatever the reason, if you’re looking to add a touch of luxury to your home, making your own pillar candles is the way to go. And it’s actually not as difficult as you might think. Here’s a simple tutorial on how to make your own DIY pillar candles.
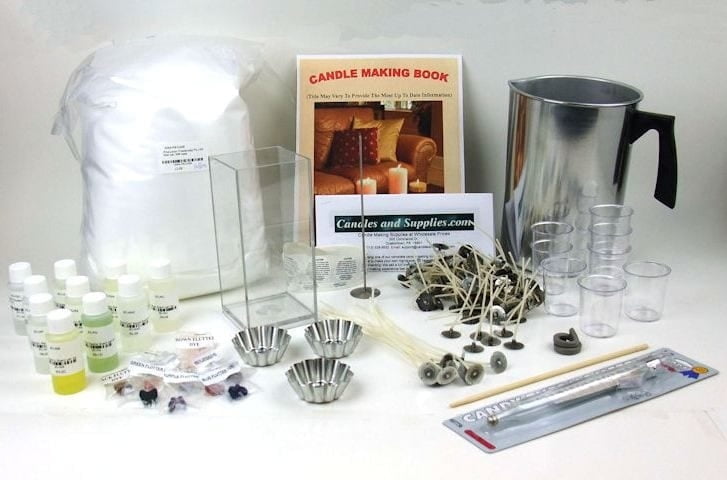
What you’ll need:
-Candle wax
-Wax dye (optional)
-Candle fragrance (optional)
-Candle mold
-Stovetop
-Pot
-Spoon
-Thermometer
-Scissors
– Wick
Step 1: Choose your wax
The first step is to choose your wax. You can use any type of wax you like for pillar candles, but I recommend using a harder wax like beeswax or soy wax.
Step 2: Add dye (optional)
If you want to add dye to your candles, now is the time to do it. I like to use a liquid dye, but you can also use powder dye. Just be sure to follow the instructions on the package.
Step 3: Add fragrance (optional)
If you want your candles to smell nice, now is the time to add fragrance. I like to use a fragrance oil, but you can also use essential oils. Just be sure to follow the instructions on the package.
Step 4: Melt the wax
Now it’s time to melt the wax. You can do this on the stovetop or in the microwave. I like to use a pot on the stovetop because it’s easier to control the temperature.
Step 5: Pour the wax into the mold
Once the wax is melted, carefully pour it into the candle mold. Be sure to pour it in the center of the mold so the candle is evenly thick.
Step 6: Insert the wick
Once the wax is poured, insert the wick into the center of the candle. Push it down until it’s fully submerged in the wax.
Step 7: Allow the candles to cool
Now it’s time to let the candles cool. This will take a few hours, so be patient.
Step 8: Remove the candles from the mold
Once the candles have cooled, carefully remove them from the mold. If they don’t come out easily, you can use a knife to help you.
Step 9: Trim the wick
Once the candles are out of the mold, trim the wick to about 1/4 inch in length.
Step 10: Enjoy your candles!
Now your candles are ready to enjoy. Light them up and enjoy the beautiful ambiance they create.
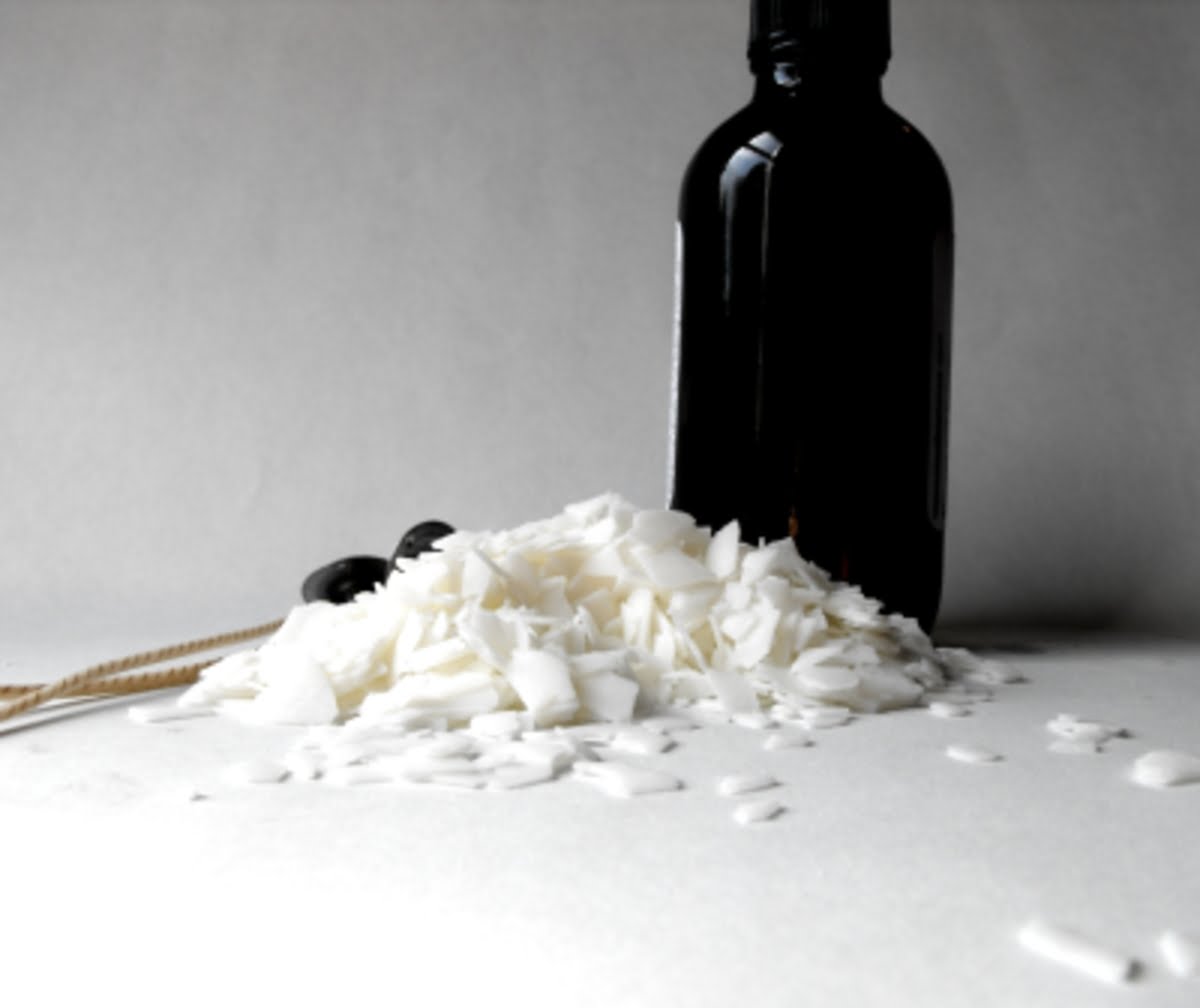
50 Lb Soy Wax For Candle Making
If you’re looking for a high-quality soy wax for candle making, you’ll love our 50 lb soy wax! This wax is made with a blend of soy and beeswax, which makes it perfect for creating beautiful, long-lasting candles.
Our 50 lb soy wax is easy to work with, and it melts at a relatively low temperature, making it a great choice for beginner candle makers. It also has a clean burning scent, which means your candles will smell great even when they’re burning.
We highly recommend this soy wax for anyone who wants to create beautiful, fragrant candles that will last for weeks or even months. Order yours today and see the difference it makes!
Candle Making La Encantada
Candle making is an art form that has been around for centuries. The first candles were made from animal fat, beeswax, and honey. Today, there are many different types of candles that can be made, including soy, beeswax, and paraffin.
At La Encantada, we specialize in making soy and beeswax candles. Soy candles are made from soy wax, which is a natural, renewable resource. Soy candles are also non-toxic and eco-friendly. Beeswax candles are made from beeswax, which is a natural, renewable resource. Beeswax candles are also non-toxic and eco-friendly.
At La Encantada, we use only the highest quality ingredients in our candles. We use soy wax, beeswax, and fragrance oils to create beautiful, fragrant candles that will last for years.
If you are interested in learning more about candle making, or if you are interested in purchasing soy or beeswax candles, please visit La Encantada. We would be happy to help you create the perfect candle for your needs.
Designer Fragrance Oils For Candle Making
When you’re looking to create a unique and custom candle, designer fragrance oils are a great option. These oils are specially formulated to provide a strong, consistent scent in candles. They’re also perfect for use in other DIY projects, like soap making and home fragrance.
There are a variety of different designer fragrance oils available, so it’s easy to find one that matches your desired scent. Whether you’re looking for a floral aroma or something more earthy and woodsy, there’s sure to be a fragrance oil that fits the bill.
When using designer fragrance oils in candles, it’s important to follow the specific instructions for that oil. In general, you’ll want to use a smaller amount of oil than you would normally use with wax. This is because these oils are more concentrated and can quickly overpower a candle’s scent.
Designer fragrance oils are a great way to create candles with a unique, personal scent. With such a wide variety of scents to choose from, you’re sure to find the perfect oil for your needs.
Making+Candle+Stick+Holders+On+Wood+Lathe
Candle stick holders are a popular item to make on a wood lathe. They are easy to make, look great, and can be used to hold either candles or other small objects. In this tutorial, we will show you how to make a simple candle stick holder on a wood lathe.
The first step is to select the wood that you want to use for your candle stick holder. You will want to select a piece of wood that is at least 1” thick, and that has a straight edge. The wood can be any type of wood, but we recommend using a hardwood such as oak, maple, or walnut.
Once you have selected the wood, you will need to rough turn it to the desired shape. You can use a chisel or a hand saw to cut the wood to the desired shape. Next, you will need to mount the wood on the lathe.
The next step is to turn the wood to the desired shape. You will want to use a gouge to turn the wood to the desired shape. You can either turn the wood to a cylindrical shape, or you can turn it into a more ornate shape.
Once the wood is turned to the desired shape, you will need to sand it down to the desired finish. You can use a variety of sandpaper grits to sand the wood down to the desired finish. Finally, you will need to apply a finish to the wood. We recommend using a sealer or a wood wax to protect the wood.
That’s all there is to it! By following these simple steps, you can create your own beautiful candle stick holders on a wood lathe.

Welcome to my candle making blog! In this blog, I will be sharing my tips and tricks for making candles. I will also be sharing some of my favorite recipes.

