Ring in the Scent
Once you have created your perfect candle, the only thing left to do is add a signature scent to make it truly special! Investing in high quality essential oils and fragrances will ensure an intense, long-lasting aroma in your homemade candles. It is important to use the correct amount of fragrances when adding them to your wax. If too much fragrance oil is added it can cause discoloration and weak spots in your finished product. Start off by adding small increments of fragrance and test the strength before continuing to add more. This is especially important if you are using fragrances that are known for being overpowering such as citrus or cinnamon scents. Additionally, essential oils tend to last longer than other types of fragrance oils, so using them for a stronger aroma may be beneficial. After adding your desired scent, allow some time for the wax and fragrance to set together; this allows for a better distribution of the scent into all the wax. When making several candles with different scents at a time, keep them divided and clearly labeled to avoid any accidental blending of aromas!
Assembling Multi-Layered Candles
If you’ve ever considered making layered candles but weren’t sure how to get started, then this is the article for you! Layered candle-making opens up a wide range of possibilities for creating beautiful and striking candle centerpieces. Here are some tips and tricks to help you get started:
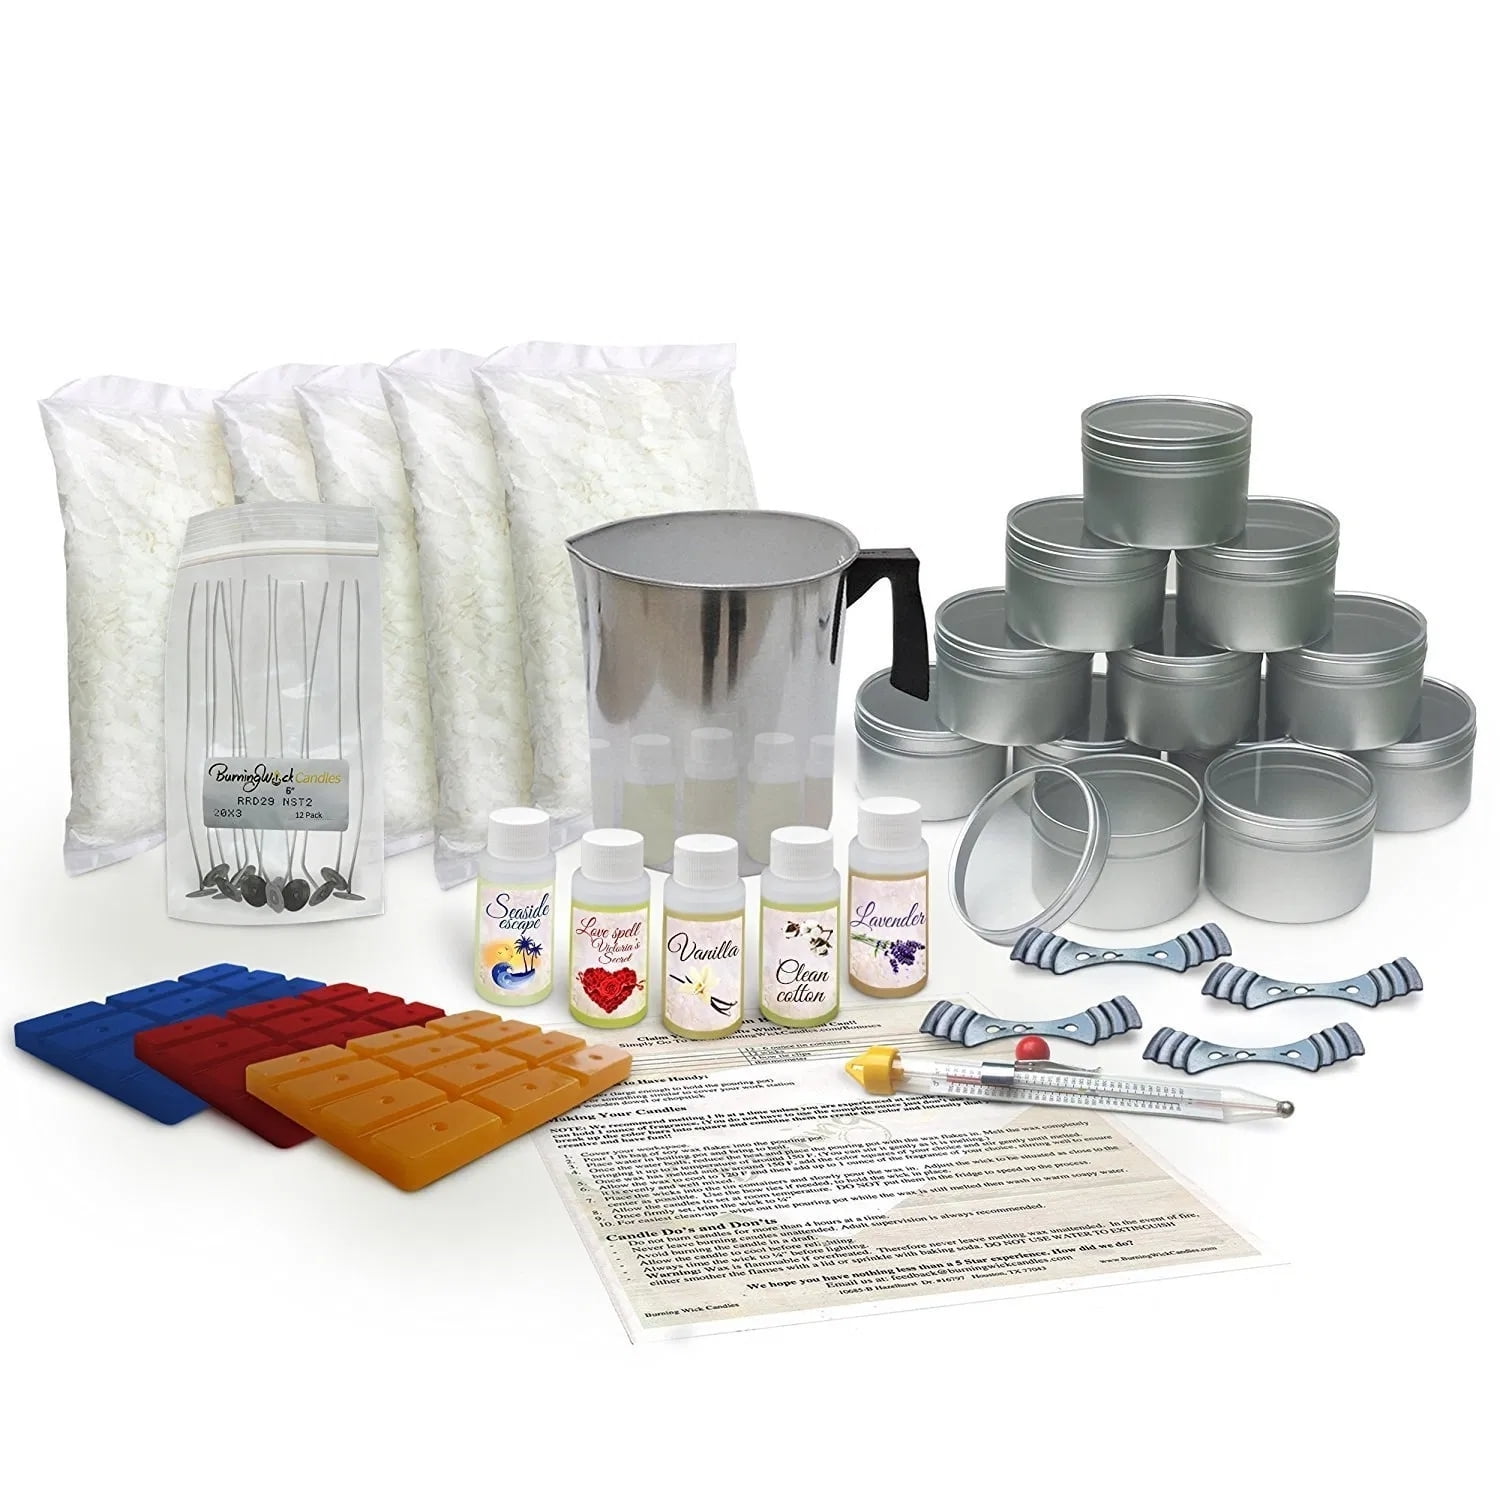
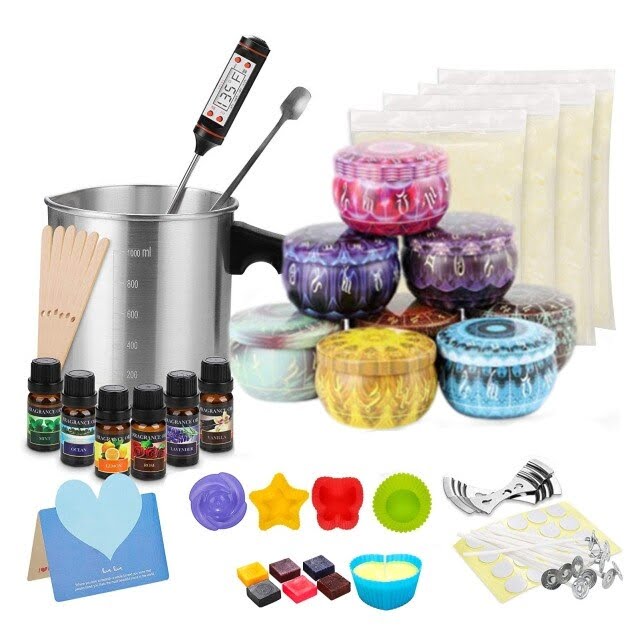
1. First, you’ll need the right supplies. You will want to gather multiple colors of wax, wick rods and holders, thermometers, dyes (optional), fragrance oils (optional), paper cups or other melting containers, molding tins or pouches, and extra patience (highly recommended).
2. The next step is preparation. You should plan out the colors of your multi-layered candle before you begin. Keep in mind that as each layer cools it will need to be supported by something stable so that overlapping colors don’t collapse onto each other or seep together in blobs. To ensure that each layer remains distinct standing alone on its own bottom, use tins with false bottoms lined with parchment paper cut to fit snugly around the sides of the tin. Your layering of colors will be much more pleasing if your colors remain distinct from each other at all times during the formation process .
3. Then it’s time to start melting your wax! Take caution when heating wax as it can become very hot and dangerous in handling if not heated properly. Allot enough wax for each layer of your candle plus some extra just in case of spillage during transfer; remember that melted wax is quite tricky to clean up – better safe than sorry! Melt adequate amounts at a time until all layers have been reached then proceed in forming form your candle structure using wick rods and holders as stabilizers between layers .
4. Once everything has cooled finish off your masterpiece with added touch such decals or special metallic ribbons glue-gunned around the outside . Enjoy many great evening taking part in what can become an incredibly relaxing activity as well as producing great end results!
Burning Basics
When burning your candles, always ensure that you observe basic safety precautions. Make sure to keep the flame away from any flammable materials, and avoid leaving candles unattended while they are lit. Burning times can vary depending on the size of candle and wick used, as well as the flame height. To ensure a safe burn span, aim for no more than four hours per sitting. After four hours it’s best to extinguish the candle and allow it to cool for a minimum of two hours before relighting. You should also be sure to trim your wick to one-quarter inch before using the candle―the shorter length prevents an overly large or smoky flame.
If you use containers made from glass or other heat sensitive materials when making your candles, make sure that you are aware of their specific thermal characteristics. Never leave your candles burning unattended in these container styles; both ceramic and glass types are at risk for exploding if overheated by an open flame! Additionally, switching out wicks (especially in mixed wax blocs) can be risky if attempted too soon after extinguishing. To ensure safety during this process wait until any remaining residue has cooled before attempting another exchange. Doing this provides a safe space when handling hot waxes resulting in a burn free experience!
Wrapping and Packaging
Wrapping and packaging candles can be an important part of the creative process of candle making. Presenting your work to others as a professional means considering how your candles should look before they are handed over to their recipient, whether this is a friend, family member, or wider customer base. Here are some hints and tips for making sure that your presentation of homemade candles stands out from the crowd:
Gift boxes and wraps: Consider investing in decorative gift boxes with lids for allergenic-free storage after the candle has been used. These make a great buy when bought in bulk, and can easily be customised with stickers and artwork. Alternatively, try wrapping your gift in colourful tissue paper with some ribbons to hold it all together. Display Boxes: For market stalls or store shelves, you may want to consider using display boxes as they add an extra level of professional finishing touch to your products. If you feel up to it, you could even create custom design packaging displays with signature fonts and eye-catching branding! Labelling: Label each individual item by hand with details on size, scent, type of wax etc., plus any safety warnings in case they’re given as a gift item – it’s always best not only include the expected information but also go one step further if possible! Also include any relevant contact details such as links to websites or social media accounts at the bottom. This way customers can always get back in touch if needed!
Homemade Candle Recipes
Candle making is a fun hobby that can give you the freedom to express your creativity and create unique pieces of functional art. Whether you’re looking to make a special gift, decorate your home or just take a nice break from your daily life, these homemade candle recipes are a great starting point. Here are some tips and tricks for making candles:
1. Choose your wax. Different types of waxes can vary in smoke output and burning time. For example, beeswax is often preferred for its clean burn and pleasant scent while soy wax is popular due to its eco-friendly properties and lower melt point.
2. Wait until the wax cools to add any fragrances or dyes. If you add fragrances or dyes when the wax is too hot, it will affect their performance. Properly melting the wax ensures that all of the ingredients mix well for optimal results.
3. Consider adding home-made wicks as an extra touch of personalization. These are usually made from cotton cored with beeswax and coated in paraffin wax for better performance.. This can be very fun but also messy since you need to dip the wicks into molten wax several times before use!
4. Use essential oils instead of chemical fragrances for a healthier candle! Essential oils offer a pleasant aroma without any harsh chemicals so they’re much better for allergies sufferers or anyone looking to avoid potentially harmful additives in their candles! You can easily find them at most health food stores as well as online retailers such as Amazon and Etsy
5. Make sure to have proper safety measures when working with hot wax – always be careful with who lights up the candle especially if there are children around! Make sure to extinguish them properly after use by either blowing them out or using a heat-resistant device like an old teaspoon – never let candles unattended!
Troubleshooting Troubles
If you’ve been candle making for some time, you may have run into certain problems that seem to reappear. If so, troubleshooting can help you identify and fix common issues. Here are some tips for troubleshooting your candle making issues:
1. Pay close attention to what ingredients you are using and how they may be affecting the outcome. Try different combinations of oils, wicks, and waxes to achieve the desired results.
2. Make sure you are measuring all your ingredients properly, as even a minor discrepancy in amounts or types of ingredients can produce an undesired end product.
3. Heat is important when melting wax – too much or too little heat can cause brittle or soft candles, respectively. Use a double boiler if possible and keep track of the temperature as you go; always follow any recommended guidelines provided by your product manufacturers regarding heat application times and temperatures.
4. Add sufficient dye to ensure that candles reach the desired color intensity; use more than one type of dye in combination if necessary. In addition to coloring, dyes also provide fragrances to scented candles – test out different combinations on scrap pieces first to get an idea of their final result when mixed together.
5. Pay attention to mold release factors in a variety of molds – not only does it affect fragrance/color but it also affects how easily the candle rises from its mold after cooling down fully. Many molds require additional coating such as wax sprays or silicone-based products before pouring hot wax which helps give great results with minimal sticking after removal attempts; use these coatings per instructions on their packages for best results each time!
Basic Creative Color Blending
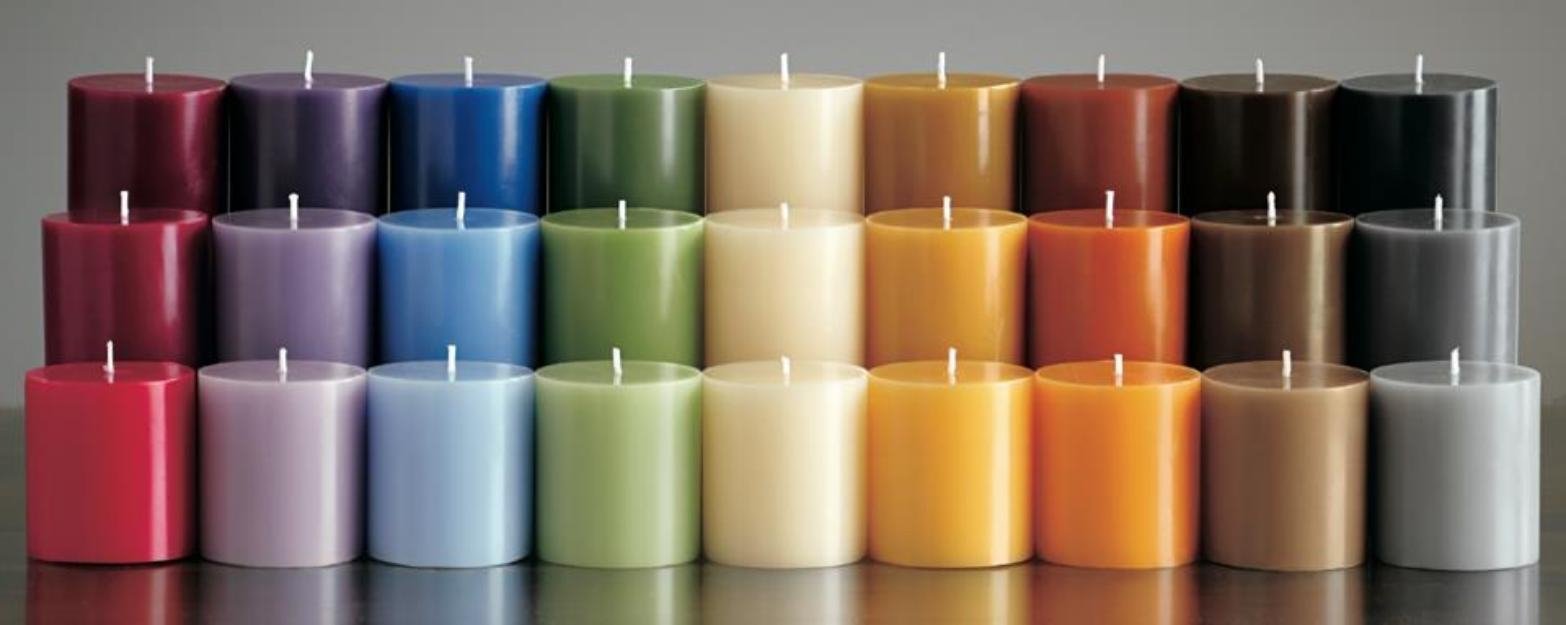
When making candles, color blending is an important aspect that impacts the overall look and feel of your project. Depending on the type of candle you’re making, you may want to blend different shades or hues to achieve a desired effect. Having a basic knowledge of color theory can help you when creating your own custom blends and color combinations. Before adding any dye or color-enhancing element to your project, pick out the colors that you want to use for blending purpose and test them out using small batches first.
Many people may overlook the importance of how various colors interact with each other when blended. It is essential to understand how one hue can potentially enhance or diminish another hue in order to create the desired look and feel in your candles. Basic creative color blending should consider how complementary colors, analogous colors, monochromatic tones and other combinations work together. When mixing two complementary colors, like blue and orange, they “energize” each other resulting in a brighter shade than either component individually. Analogous colors are made up of two adjacent primary hues with an accent color that fixes the two components together, effectively harmonizing those principal shades. This creates a balanced end result: usually muted versions of any one component alone but still visibly distinct among themselves still affirming character traits from their predecessors During this process also consider ‘shading’ – which refers predominantly to adding darker tints/undertones/nuances – and ‘highlighting’ – which involves increasing saturation points (vibrant draws) as part of the creative process when putting complementary / analogous blends together – depending on what mood effects you’re seeking to create whilst producing your uniquely crafted masterpieces!
Bath and Body Candles
At-home candlemaker need to be aware of the importance of crafting candles that will not irritate skin. Bath and body candles must always involve the use of skin-safe ingredients, such as fragrance oils specifically formulated for candle making, instead of cheaper perfume oils which may contain heavier concentrations of air polluting volatile organic compounds (VOCs). VOCs are a source of indoor air pollution, which is especially concerning in smaller, enclosed spaces like bathrooms. Thankfully, there are a wide range of candles created especially for the bathroom or lounge – wax melts and tealight holders to scent the air with light and pleasant fragrance.
For those looking to make their own bath and body candles from scratch, it is essential to use beeswax or soy wax as your main material, as these are both known for being rich in nutrients beneficial for skin health. Beeswax provides an all-natural protective layer that holds in moisture, helping to keep skin hydrated; while soy wax replenishes essential vitamins and nutrients into the skin when used in conjunction with essential oil candles. Furthermore, all types of scents should be carefully chosen: astringent aromas such as Eucalyptus or Mint will help clear sinuses after a long day at work; while sweet scents like Rose or Lavender bring necessary relaxation by calming any frazzled nerves. And finally, using longer wicking materials and ensuring no impurities come into contact with the wick can help reduce any possible smoke release during burning.

Welcome to my candle making blog! In this blog, I will be sharing my tips and tricks for making candles. I will also be sharing some of my favorite recipes.

