Introduction to Candle Making
Types of Wax: There are several different kinds of wax used in candle making, each with their own unique properties. The most common types of wax are paraffin, beeswax and soy wax. Paraffin wax is a petroleum-based wax that is inexpensive and easy to work with for beginner candle makers. Beeswax has a honey-like fragrance and produces longer lasting candles than paraffin. Soy wax is eco-friendly and biodegradable, making it an increasingly popular choice for candle makers.
Equipment: When getting started in candle making, there are many tools and supplies needed to make the process easier. The most important items include wax melting pots, double boilers, wick holders, wick tabbing or tinning tools, thermometers, funnel pots and wooden stirring sticks. Depending on the type of candles being made additional items may be needed such as molds or glass containers depending on the design desired.
Techniques:In addition to learning what types of equipment and materials are needed for candle making there is also a range of basic techniques that should be mastered by the beginner candle maker. This includes everything from properly measuring the right amounts of wax and additives to how to fill up containers with the melted mixture while avoiding overflow, studying how different types of dyes can be blended into homemade candles as well as mastering more complicated elements like embedding objects such as seashells into pillar candles or adding decorative sprinkles onto votive candles before they harden.
Choosing the Right Candle Wax
When it comes to candle making, the most important decision beginners should make is to choose the right wax for their candle projects. For best results, select a wax that is easy to work with and has a good scent retention. The main types of wax used for candles include vegetable-based waxes (such as soy, palm, jojoba), beeswax, paraffin, and blends of them. Each type will have different properties depending on the additives used. Vegetable based waxes tend to have a softer melt point which makes them easier to work with but they may not have strong scent retention or hold colorants well. Paraffin tends to be harder when compared to other types of wax so it tends to be great for making stronger candles that are also heavily scented or colored. Blends can create fun effects in your candle by combining different melting points into one product and allows you to use both hard and soft wax together within one candle. Additionally, many waxes will contain additives such as stearic acid which helps reduce frosting or slackening, or vybar which helps keep the fragrance dispersed evenly throughout the burn time. When choosing your wax always check what naturally occurring additives are present along with any additional ones added in. This knowledge can help you decide if the right choice is starch based or paraffin based, as well as what general properties it will result in on your completed end product.
Essential Supplies for Candle Making
If you’re a beginner to candle making and in need of supplies for your project, it can be difficult to know where to start. Fortunately, there are plenty of suppliers that offer quality materials for all candle-making needs. Paraffin wax is one of the most essential candle-making supplies and it can be found at specialty stores or online retailers. For those looking for natural waxes, beeswax and soy wax both work well for candles. The type of wax you choose will depend on the desired outcome of your project. Scented oils are another important addition to your candle-making routine, which can be purchased from craft stores or online retailers. Then there’s wicks, which come in an assortment of sizes so you can ensure your candles last a long time. Wicks should always be made with cotton since they don’t contain any metals such as zinc or lead that could potentially poison the burning smoke. Other key supplies needed include glass jars, melting pots, thermometers and stir sticks ” all which can usually be acquired at local general retail stores or amazon. Finally, if you want to make more complex designs with colored patterns or images, you should pick up some dyes along with molds.
Pouring Your Candle Wax
Pouring your own candle wax can be a daunting task for beginners, but with this step-by-step guide and some videos, you will be able to simplify the process and get great results. Before you start, however, it is important to note that safety should always be a top priority when making candles. While using high temperatures and open flames are necessary to work with candle wax, you should always make sure that your workspace is safe and clear of potential hazards.
Now let’s take a look at some of the supplies you will need to pour your own candles:
• Wax: You will most likely want to use paraffin or soy wax for your first few projects. Both are quite easy to work with.
• Wicks: It’s important that the wicks you choose match the type of wax you are working with (paraffin or soy). To attach them correctly, explore different kinds of cores like spooled cored wicks that come in various widths.
• Melting pots/containers: There are many ways to melt wax including coffee mugs in microwaves, double boiler pots on stoves, or electric wax melters dedicated entirely for pouring candles.
• Dye flakes and fragrances: These help enhance the aesthetics and aromas of the candles respectively; just remember never to mix dyes on pre-blended fragrances!
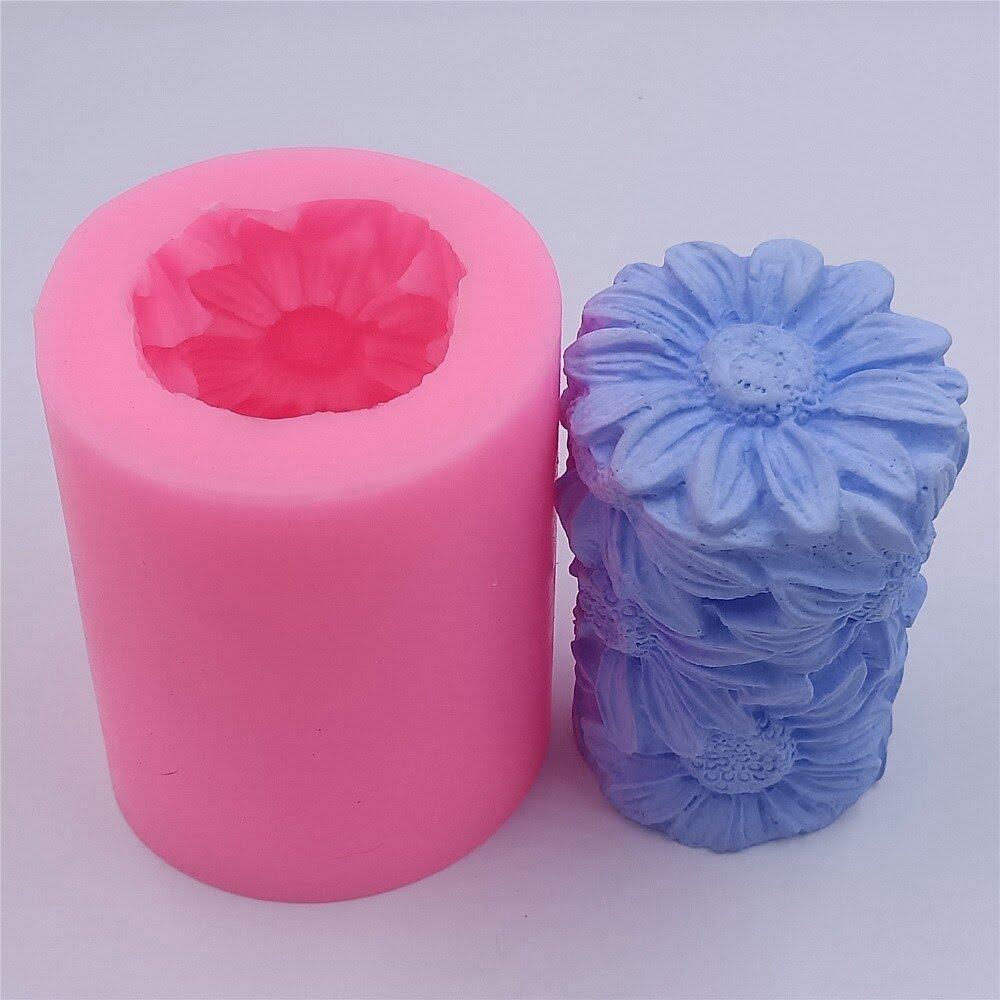
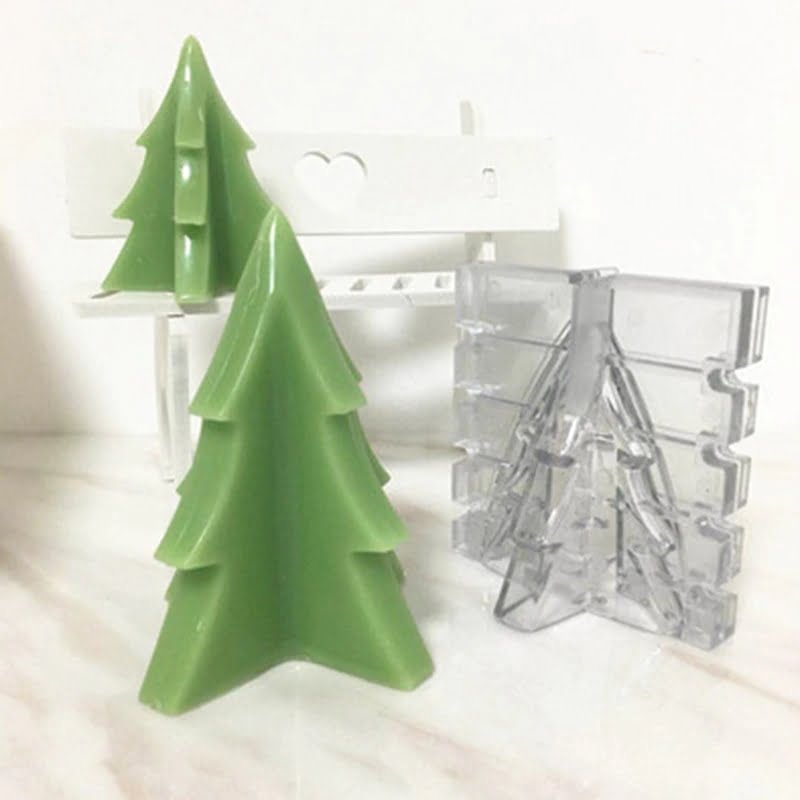
Finally, find some containers or molders that best fit how you would like your finished products to look. Glassware makes lovely containers while silicone moulds are ideal for custom shapes.
Once ready with all these materials, let’s move onto the process of pouring! Start by preparing your heated containers so they can hold molten wax without any dripping occurring; this may involve suspending an upside down spoon inside a pot over melted wax as an anchor point for the wick string, filling containters halfway up with hot water before adding melted wax so less heat needs during pouring (if dye powdering is involved) and securing containers on sturdy countertops prior to melting wax in order not have any spillage from uneven surfaces during ladling processes . From there – slowly incorporate all measurements into one united batch of homogenous liquid molted candle material -” adjusting temperature where needed – stirring midly but thoroughly as not allow consistent clumps form ” before transferring portions into designated finished product holders/moulders ; either immediately allowing gravity induced leads drizzle downwards unto desired sizes thereof or – ladling manually via spoons oriented alongside additional weights along strings within containers ” ensuring maximum malleability towards desired ends before hardening processing occurs (with estimated wait times usually lasting between 15 minutes – 4 hours depending on amount added at once & quality of preheating). After removal from castings and confirmation that requisite drying time is complete , sealing layers around final products along with optional decorations/décor installations if applicable can help ensure overall integrity through varying axial temperatures assumed during course of usage cycle expected thereof.
Scenting and Coloring Your Candle Wax
When it comes to candle making ideas, scenting and coloring your candles is a fun way to add personalized touches to your creations. You can use essential oils and dyes in liquid form to customize the colors, scents, and shapes of your candle wax. To start, melt your wax in an appropriate container over medium heat on the stovetop before adding a few drops of desired essential oil. Make sure that you are adding these drops one at a time as too much oil may ruin the overall fragrance of your finished product. Additionally, you can also add coloring dyes or mica powder to the melted wax depending on which colors and effects you want to achieve. Start experimenting with small batches at first until you get the hang of it. With this basic technique, you can easily make wonderfully scented candles from any shape or color imaginable!
Setting a Mood With Aroma
Candle making is a fun project that can be made as simple or complex as you choose. For beginners, it’s often best to start out with something simple. One great way to create a unique but straightforward candle is by setting a mood in your home with the perfect aroma. You can mix essential oils and fragrances to create wonderful scents for your candles. There are many different combinations you can try, each creating their own distinct atmosphere. To give you some ideas, here are several scent combinations that may fit your desired mood:
• Relaxation & Calm ” Lavender & Rosemary Oil combined with Chamomile & Ylang Ylang Fragrance
• Energising & Citrus ” Sweet Orange Essential Oil paired with Bergamot Fragrance
• Uplifting & Fresh ” Lemongrass & Spearmint Essential Oils accompanied by Jasmine & Cardamom Fragrance
• Homely Comfort – Cinnamon Essential Oil co-mingling with Vanilla Bean Fragrance
• Inspiration & Imagination ” Eucalyptus Essential Oil combined with Gardenia Fragrance
In addition to these suggested scent combinations, you can explore mixing different combinations of essential oils and fragrances. Some even like to add dried herbs and spices such as rosemary or lavender for an extra special touch. Whatever combination you decide on make sure that it reflects your individual style and captures the essence of the mood you want set in your home!
Embellishing Your Candle Masterpiece
The creative possibilities of candle making are endless! For beginner crafters, there are several simple ways to give your candle masterpiece a polished look. Embellishing your candles with stylish decorations can really bring that extra bit of flair and appeal to your finished project. Here some ideas for decorating candles in various styles:
-Wrapping: Use vibrant patterned materials such as ribbon, fabric strips or yarn to wrap the body of the candle. This technique makes an attractive addition to pillar candles and tapers. Additionally, you can use string or twine for a rustic look.
-Embroidery/Cross Stitching: Using embroidery hoops, you can create gorgeous cross stitch designs that are perfect for adorning votives and smaller tapers. You could select a seasonal motif”such as snowflakes in winter”or something unique like your initials or astrological sign.
-Painting: Decorate the surface of your candle with oil paints or acrylics after they’ve been allowed to harden slightly. The hand-painted candles make wonderful gifts!
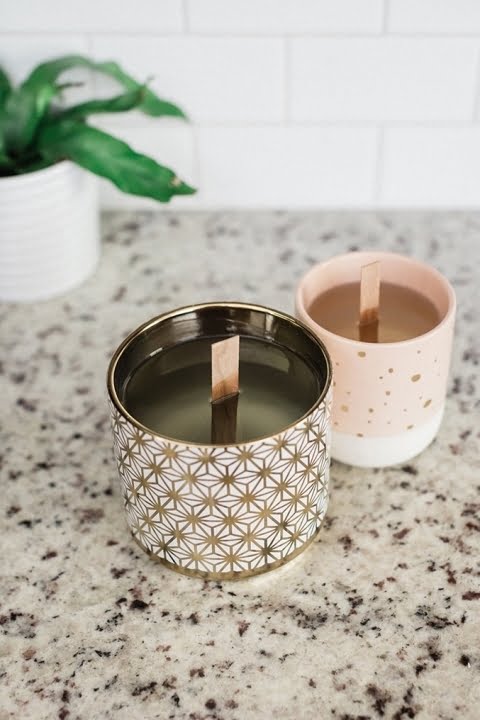
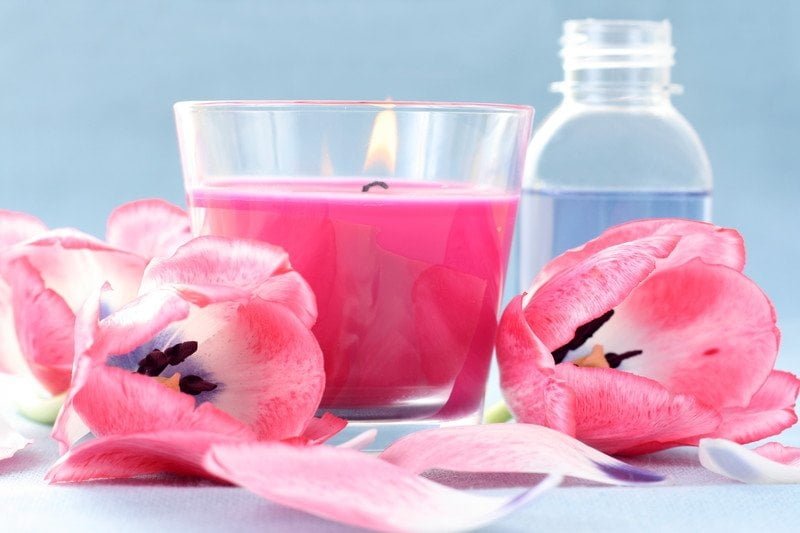
-Flower Arranging: Dress up single wick jar candles by placing small flowers around them for an elegant touch. Place marigolds, daisies, roses or other fragrant blooms”the type will depend on whether you want subtle splashes of color or more vibrant shades. Consider greenery from outside if you’re looking for an even more cost-effective option!
No matter what style you’re going for, embellishments help make your candle stand out from the rest! They add personality while showing off your craftsmanship. Enjoy trying out different decoration techniques so you can make each one unique and special!
Fun and Creative Candle Making Ideas for Beginners
Candle making is a rewarding and relaxing activity that anyone can enjoy. Whether you’re a complete beginner or an experienced candlemaker, there are many ideas that you can use as inspiration to make unique candles. From hand-pouring and rolled candles to colorful container candles, there are plenty of ideas and techniques to try. A few popular tutorials include making candles in molds, marbleizing with wax dyes, incorporating ink, making layered candles, creating mosaics with left over wax shavings and more! Some projects require just a few materials while other may need some special ingredients such as fragrance oil or dye chips. The possibilities are endless! For those who like to experiment, you can explore various designs using different shapes and sizes of candle molds or tins for your finished pieces. Other creative methods include embedding natural ingredients into the wax, as well as dyeing it with fruits/vegetables for interesting shades and organic looks. Photos of your finished products also come in handy when brainstorming ideas for new projects. Or if you prefer professional results you can purchase ready-made products from specialized stores but keep in mind that handmade items usually carry much more sentimental value than store-bought candles. With these tips in mind, happy crafting!
Conclusion
Congratulations! You have created beautiful, unique candles that are sure to wow your friends and family. It’s now time to share your creations with the world (or at least in your home). You can display them on mantles, as part of appetizing table decorations, or even give them as gifts. Show off your talents and feel proud of what you’ve accomplished! Finally, remember to celebrate the joys of candle making. Enjoy experimenting with new scents and colors and discovering the many benefits a single candle can bring.
Moreover, feel free to think outside the box when it comes to where you display candles. Add them to shelves or balconies; have fun pairing different colors together for a truly creative presentation. Whatever you decide, your amazing creations will surely make your home come alive with ambiance and elegance. Let the light from your lovingly crafted candles fill every room in the house with hope and happiness!

Welcome to my candle making blog! In this blog, I will be sharing my tips and tricks for making candles. I will also be sharing some of my favorite recipes.


