Introduction
Candle making is the process of transforming natural materials into wax candles. It requires wax, a heat source (such as a stove or double boiler), containers (of various shapes, sizes, and materials), wicks, essential oils or fragrances, and dyes. Getting started in candle making can be quite simple – all you need are some basic supplies and a little bit of imagination! First, you’ll want to decide what type of wax to use: beeswax, soy wax, paraffin wax and more. This will also affect the type of container you choose — glass jars work best with soy or beeswax due to their greater melting points. Once you’ve chosen your wax and container, it’s time for the fun part: creating your favorite scent combinations using essential oils or fragrance oil (the latter of which can be completely synthetic). Lastly, add dye if desired to achieve the perfect artistic look!
Essential Tools and Materials Needed to Make Candles
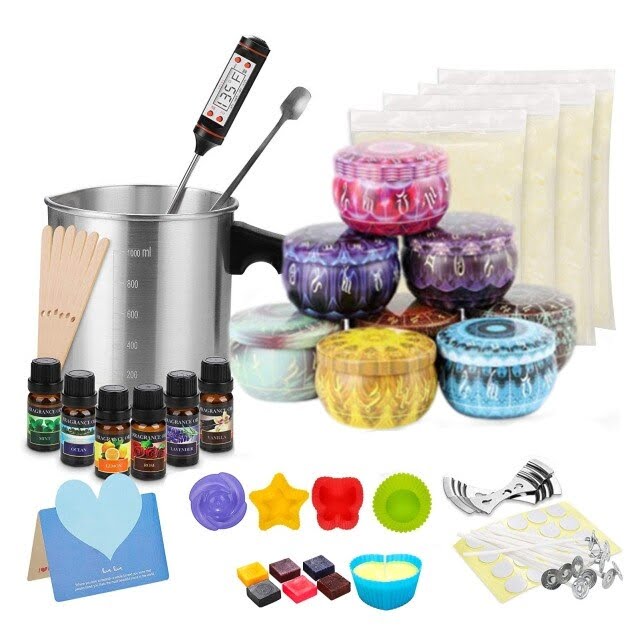
When it comes to candle making, the essential tools and materials that you need are wax, wicks, fragrance oils (optional), dye (optional), wax melting pot or double boiler setup, a spoon for stirring, and some type of mold.
For safety reasons it is important to use a wax melting pot or double boiler setup as opposed to an open flame for melting wax. A wax melting pot allows you to control the temperature of the melted wax so that you do not overheat it which can be hazardous.
A variety of wicks exist so it’s important to get familiar with the types and sizes of wicks based on the size of your candle. You can buy pre-tabbed wick or assemble tabs yourself which need to be attached to the bottom of your molded candles before pouring in the hot wax. Typically metal tabs will work best when attaching your wick to your molds because metal holds up well with heat whereas plastic ones may degrade under high temperatures.
Fragrance oils and dye (if desired) should be added after your wax has fully melted. You can carefully combine both into the melted wax using a spoon or other stirring utensil while feeling free to experiment with different scents or colors. If using dyes make sure they are specially made for candle making; otherwise the unexpected result could ruin your candle completely.
Once everything is ready, you can then pour your scented and colored hot wax into their designated molds that were previously plugged with their corresponding wicks at the bottom center position waiting for insertion when ready. Finally let cool for about 24 hours and enjoy your unique homemade creation!
Choosing the Right Wax and Fragrances for Your Projects
When you start candle making, it’s important to select the right wax and scented oils to create your desired effect. There are several different types of wax, including paraffin, soy, beeswax, and palm wax. Each offers their own advantages; for instance, paraffin is the most commonly used type of wax because it’s easy to work with and readily available. It also comes in a variety of colors which makes creating custom candles simple. On the other hand, soy wax can produce very clean burning candles with an excellent hot and cold scent throw. Palm wax has a unique look when cooled from its natural pour state which often looks like glass tiles or ribbons that have been mixed together. Meanwhile, Beeswax has a beautiful honey scent and is the longest lasting of all the waxes.
The next step after choosing your type of wax is selecting your fragrance or scented oil. Before committing to purchasing large quantities of one particular fragrance oil it is best to do some test burns first as some fragrances may not perform as you originally anticipated once they’ve been added to the melted wax. Additionally, make sure you are using fragrances that are formulated specifically for candle making as those designed for other applications like lotions or perfumes may not mix well with melted wax. Finally, if you want to experiment with flavor combinations try blending several different fragrances or add essential oils or natural aromatics like herbs, spices or flowers into your melting pot!
Safety Precautions When Making Candles
When making candles, safety must always be a priority. To help ensure the entire process is safe and free of accidents, here are a few safety tips to follow:
1. Always make sure to work in a well-ventilated area as the fumes from melting wax can be dangerous. If possible, open a window or door while working with wax.
2. Wear protective clothing when working with melted wax such as oven mitts and long sleeves to protect your skin, especially when pouring and handling the hot wax.
3. Be extra careful not to spill any hot wax on yourself or the floor as it can cause serious burns!
4. Avoid using open flames such as lighters or matches to melt your wax – instead, use an electric warmer or double boiler setup for maximum safety.
5. Ensure all containers used for candle-making are heat-safe, non-flammable materials like stainless steel or enameled steel pot before melting your wax inside them with an appropriately sized burner beneath it!
6. Make sure that all children and pets are kept away from the area where you’re making candles so they don’t get hurt by hot wax spills or messes that may occur while you’re crafting your masterpiece!
Follow These Steps to Make Your Candles From Start to Finish
1. First, select your supplies. You will need wax, a container for your candle, wicks, fragrance oil (or essential oils), a stirring spoon, a thermometer and some form of heat source.
2. Next, measure out the wax you will need to make your candles. Check the wax packaging for exact measurements as different brands use different amounts of wax per container.
3. Cut each wick to the desired measurement using scissors or wire cutters, making sure that it is long enough to reach the bottom of the container you are using.
4. Place the wick in the center of the candle container and then pour melted wax into it until it reaches 1/8 inch from the top (for best results).
5. If you are adding fragrance oil to your candle, check with the supplier instructions to determine what quantity is ideal for your particular wax type – this can vary from brand to brand and should be followed exactly as too much oil may affect how your candle burns or smells.
6. Insert one end of the wick into pre-drilled holes in metal holders and secure them in place along with a weight on top of them so they don’t move around in their containers when poured (this step is optional).
7. Wait for up to 2 hours for the wax to cool before handling (or skipping this step if you are using an electric warmer) and then trim any excess wick off if required, being careful not to disturb any decorations that have been placed on top of your wax containers’ surfaces during pouring process (such as dried leaves or other items). Lastly, enjoy your handcrafted candles!
Candle Making Tips and Ideas to Get Creative
Candle making can be a very creative and enjoyable hobby. Whether you’re interested in creating simple pillar candles, or being more elaborate with layered candle designs, there are several tips and ideas to keep in mind.
When beginning many use a pre-made wax as this is easy to work with and most of the hard work is done for them. Beginners will find that using an electric melting pot helps consistently melt paraffin wax, so it’s important not to overpower the heat. Additionally, it is essential to pick out appropriate wicks that are suitable for the size of the container used for pouring melted wax. For instance, longer wicks work better for pouring large candles as they produce a larger flame.
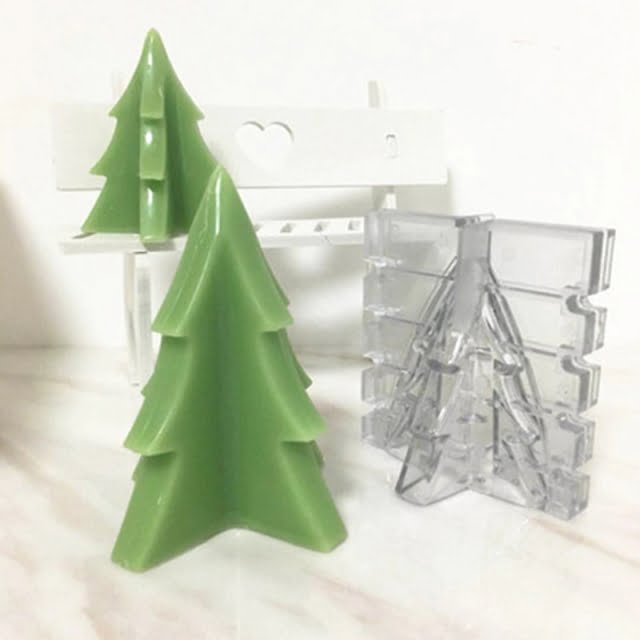
Moreover, when looking to get creative with your candles there are several techniques one can try such as heat resistors which create patterns such as snowflakes on the surface of finished candles or 3D molds where wax can be poured into specialized containers forming shapes such as hearts and stars. Layered wax can also be used to create unique rainbow-layer results when different dye colors are combined. Lastly, additional surface treatments like sponging and glazing help give finished candles a beautiful and professional finish.
To get even more creative with your candle making, experimenting with different types of scents is recommended. There are endless scent combinations available – from fruity essences to spa-like aromas – that all help add a unique touch to any candle creation!
Easy DIY Projects to Try For Beginners
Candle making is a fun and creative way to bring light and fragrance into your home. Whether you’re an experienced crafter or just getting started, there are lots of DIY projects that you can try out. Here are some tips to help you get started with candle making:
1. Choose the right wax for your project: Finding the right wax for your candle project is key as different waxes may require different additives like fragrances, colors, and wicking materials. Paraffin wax is great for beginners as it’s easy to work with and doesn’t require extra additives.
2. Prepare the container: Before pouring the melted wax, make sure to clean your glass or metal container by wiping it down with rubbing alcohol or creating a hot water bath in a larger pan filled partially with water and allowing the chosen mold to sit inside until all dirt or residue has been removed.
3. Melt the wax properly: Place the desired amount of wax in double boiler over medium heat and allow it to melt completely before pouring it into the container where you want to make your candle. Stir occasionally while melting as this ensures an even texture in your finished product.
4. Add colorant or scent: If you desire, add candle-safe colorants like dye chips or liquid dye drops and candle-safe fragrances at this stage per instructions on their package labels. Make sure not to use more than two ounces of fragrance oil per pound of wax – any excessive amounts can affect how the finished product will burn.
5. Secure wicking material: Cut a piece of flat cotton wick about two inches longer than the height of your container and pour some melted wax onto one end using a spoon before attaching it inside the center bottom of the jar or other vessel by pressing down on one side firmly until it’s secure then trimming away excess from both sides once cooled with scissors if necessary (this will give your finished candles a centered flame when lit). Once completed, let cool before lighting!
Tips For Avoiding Common Candle Making Errors
When it comes to making candles, there are some common errors that you should avoid. Here are some tips for avoiding common candle making errors:
1. Always take into account the melting point of the wax used, as different types of wax will have different melting points and will require different temperatures.
2. Keep track of the volume of wax in each container when pouring a multiple pour candle so that each subsequent layer is poured off at the right time. This can prevent your candles from having undesirable blemishes or an uneven surface finish.
3. Make sure to give your candle enough time to cool down before introducing any fragrance oils or color dyes to ensure they remain suspended in the wax instead of separating out and pooling on the bottom or sides.
4. Fully melt all wax ingredients before combining them together and then mix thoroughly – this helps you achieve a consistent texture throughout the entire candle.
5. Be sure to use appropriate wick sizes for larger diameter candles as this can affect how long your candle burns for and can impact safety around animal fur or fabrics too close to where it’s placed.
6. If you want to achieve straight edges on your pillars, make sure to straighten out any curves in them by gently re-melting them with a heat gun once they’ve cooled slightly after pouring in order to get them just right!
Advantages of Making Your Own Candles
The advantages of making your own candles are numerous. For starters, you can create a unique candle design and choose from a variety of scents that suit your preferences. There is no need to go from store to store searching for the perfect scent or design when you can make your own. Additionally, because you have complete control over what goes into your candles, you can make them as eco-friendly as possible by choosing reusable containers and organic ingredients like soy wax, cotton wicks, and natural fragrances. Making your own candles gives you the power to choose exactly the type of candle that suits your needs best; for instance, all natural candles for allergy sufferers or scented candles for home décor. Moreover, unlike traditional mass-produced candles, homemade options do not contain any harsh chemicals or synthetic elements creating a much safer environment in which to appreciate the beauty within a candle’s glow. Another advantage of making your own candles is that it can be an economical option compared to buying pricey designer brand items; furthermore creating beautiful customized gifts with little money while also avoiding plastic waste or packaging materials associated with mass produced products.
Wrap Up – Uncover the Pleasures of Candle Making
Candle making has become a popular hobby for both hobbyists and those looking to start their own business. Whether you are a beginner or an experienced artisan, good candle making tips can help you develop your skills and increase the quality of your products. Here are some candle making ideas and tips that will help you maximize the art of candle making:
1. Research – Research is key to creating successful candles. Find out what types of containers, wicks, waxes and colors will work best for the type of candle you want to create. Knowing these details ahead of time will help give your finished product a professional look.
2. Safety – Safety is essential when working with fire, melted wax and heat sources like hot glue guns. Be sure to read all instructions before starting any project, and wear protective gear such as goggles or gloves if handling molten wax or heated tools. Take extra precautions when working with young children who may be interested in helping create candles.
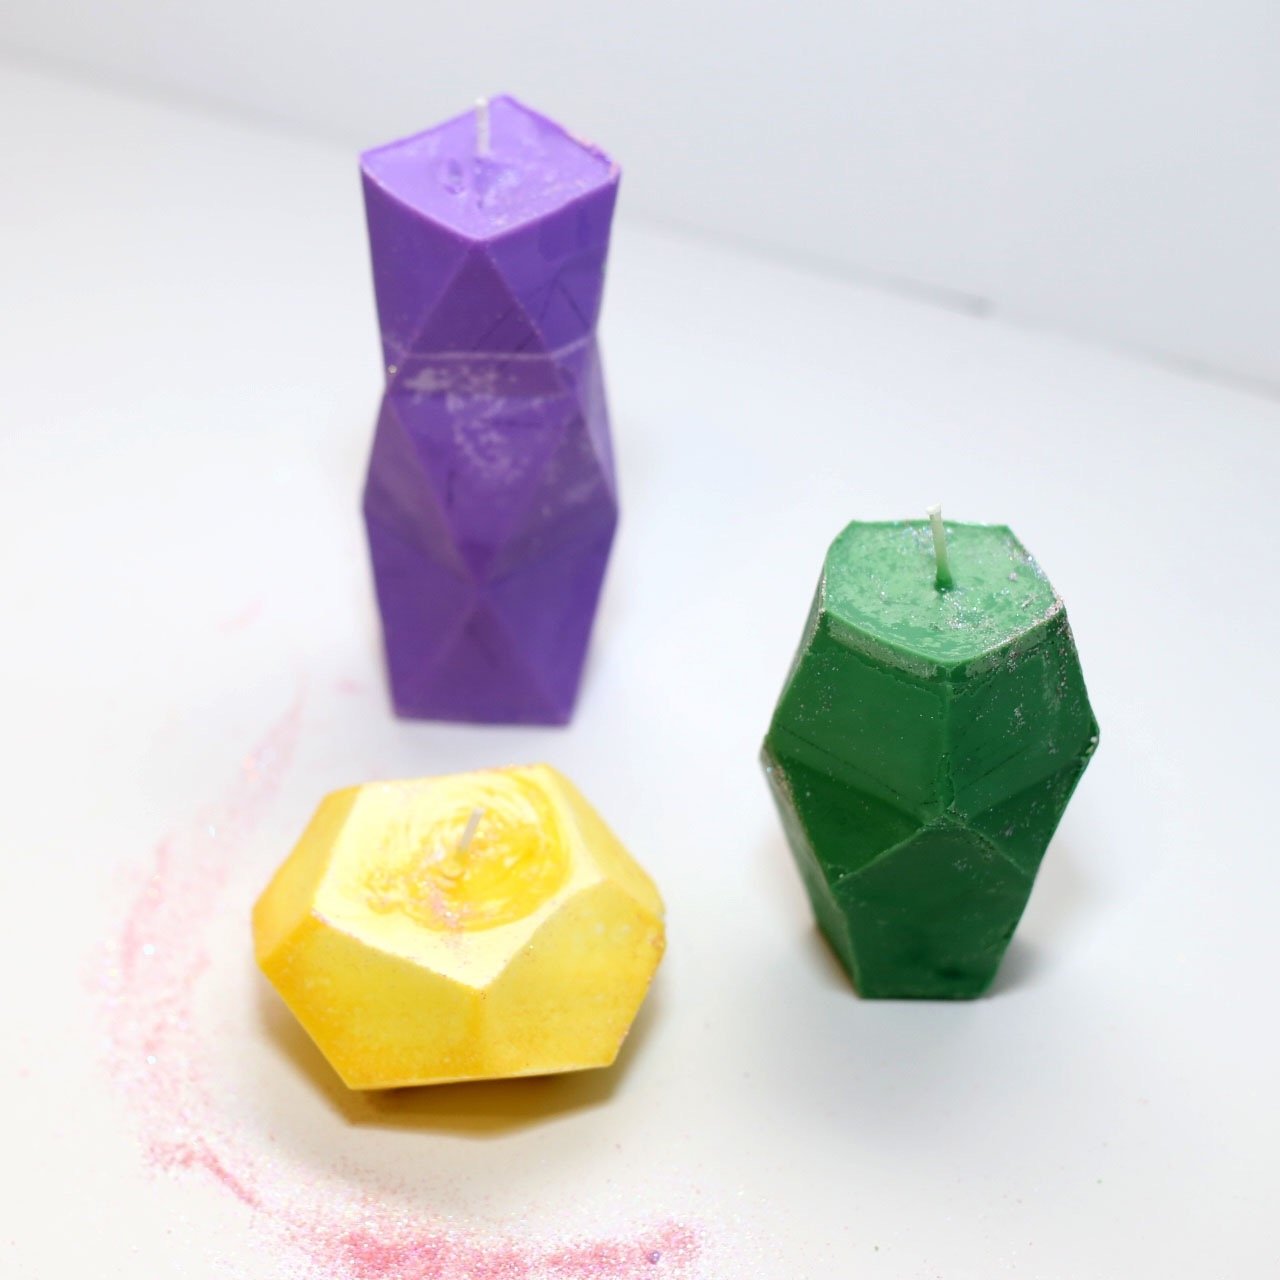
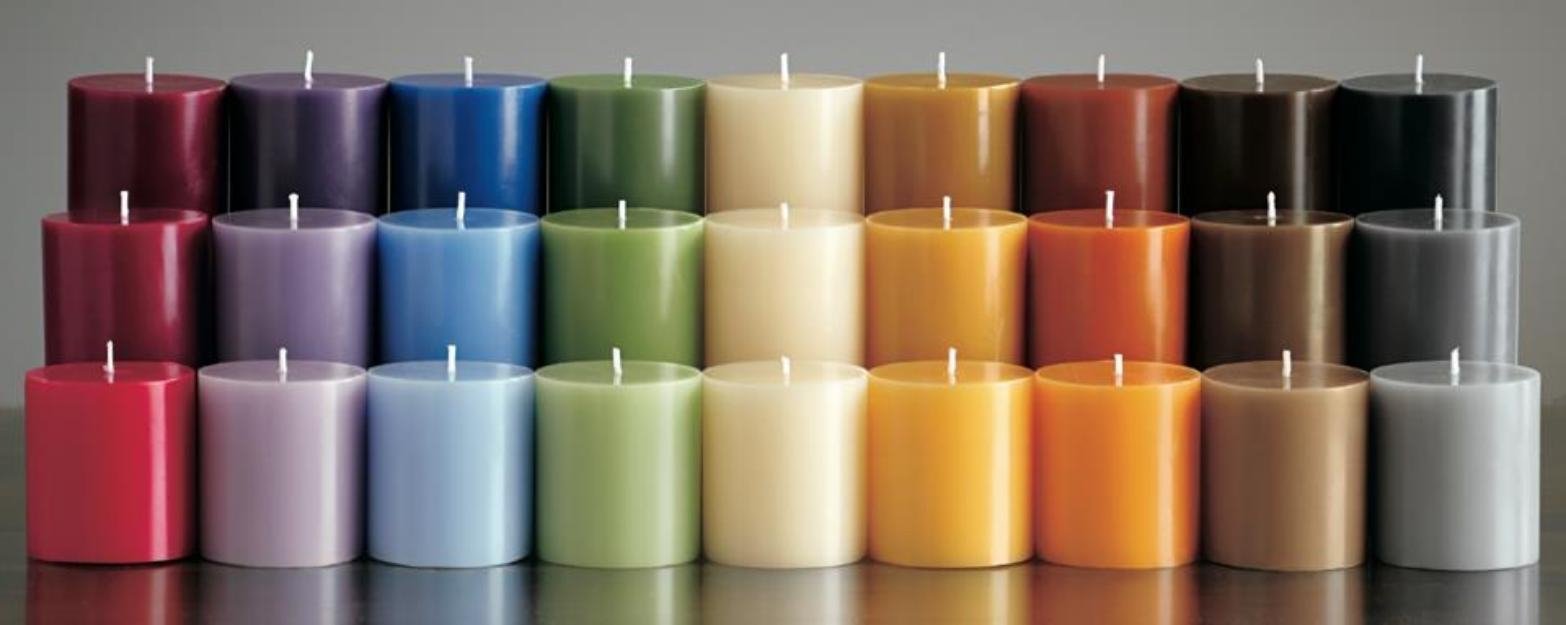
3. Experimentation – Have fun experimenting with different shapes and styles of candles! Playing around with containers, colors, dyes and scents allows you to express your creativity while also exploring different techniques in candle-making.
4. Documentation – Make notes about each step in the process so that you can replicate or improve upon results in future projects. Record details such as scents used, wick size number and type of wax used, etcetera so that when it comes time to make more candles you can use this information as a reference guide for better results next time around!
Candle making doesn’t have to be intimidating! With enough research, safety precautions taken and experimentation done on different techniques it’s easy for anyone to learn how to make beautiful pieces of art from pieces of wax! Start simple by using basic molds and try using new materials like oils or beeswax once familiarized with the craft; there are plenty of supplies available online or at local craft stores allowing for maximum flexibility in designing unique works! With practice be sure to get creative – there are no limits on what beautiful things we can make from melted wax!

Welcome to my candle making blog! In this blog, I will be sharing my tips and tricks for making candles. I will also be sharing some of my favorite recipes.

