Introduction
Candle making is an activity that has been practiced for centuries, dating all the way back to Ancient Egypt and Roman times. Initially, candles were made of wax derived from honey, fat and plants. A cotton or linen wick was used to light the candle and goat’s tallow would then be used as a fuel source. As technology advanced, so too did the materials used in candle making. In the 18th century, spermaceti and paraffin wax replaced animal fats as fuel sources while modern inventions such as safety matches replaced natural ignition sources like flint stones. Today, synthetic fragrances are often added to candles to give them pleasant smells. Candles have become a staple in many homes due to their ability not only to provide light but also mood setting scents and gentle ambiance within a home or space. Candle making remains one of the most popular DIY crafts enjoyed by both beginners and experienced makers alike.
The Essentials of Candle Making
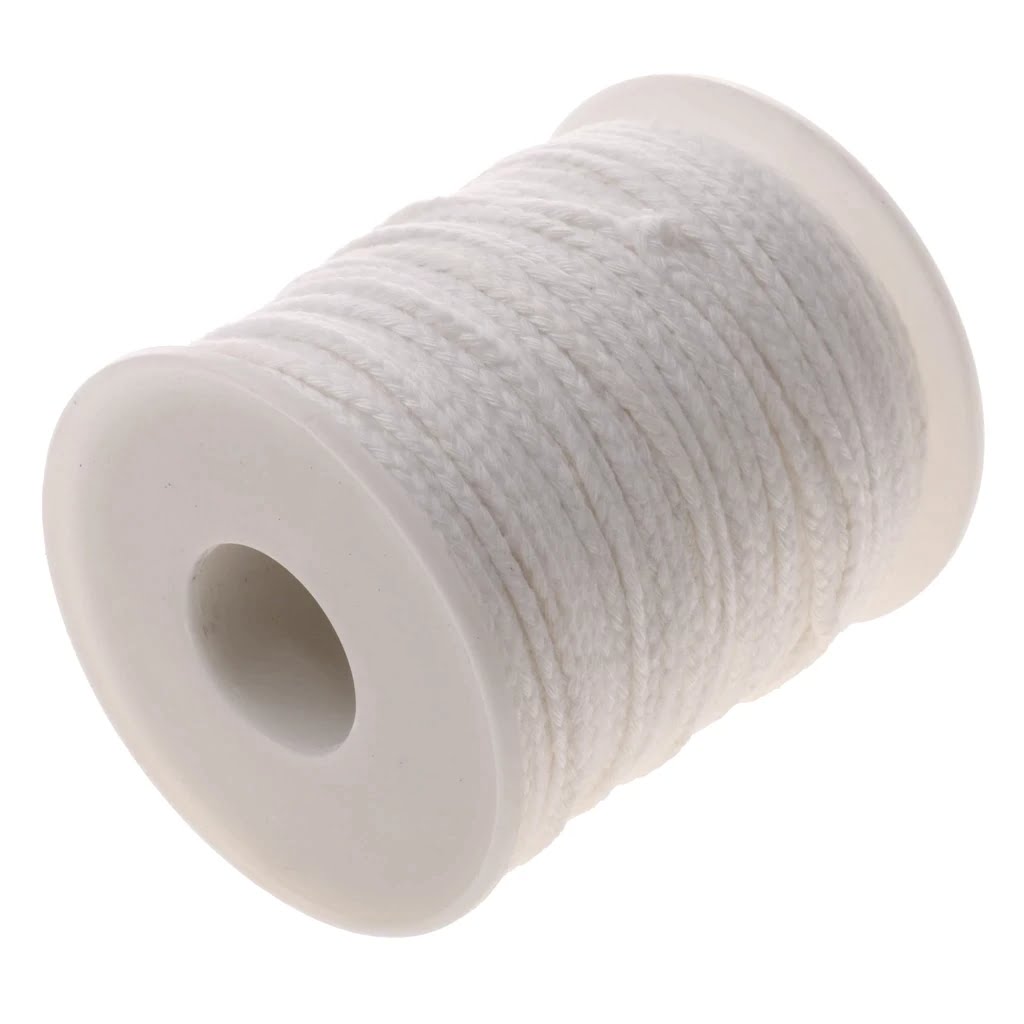
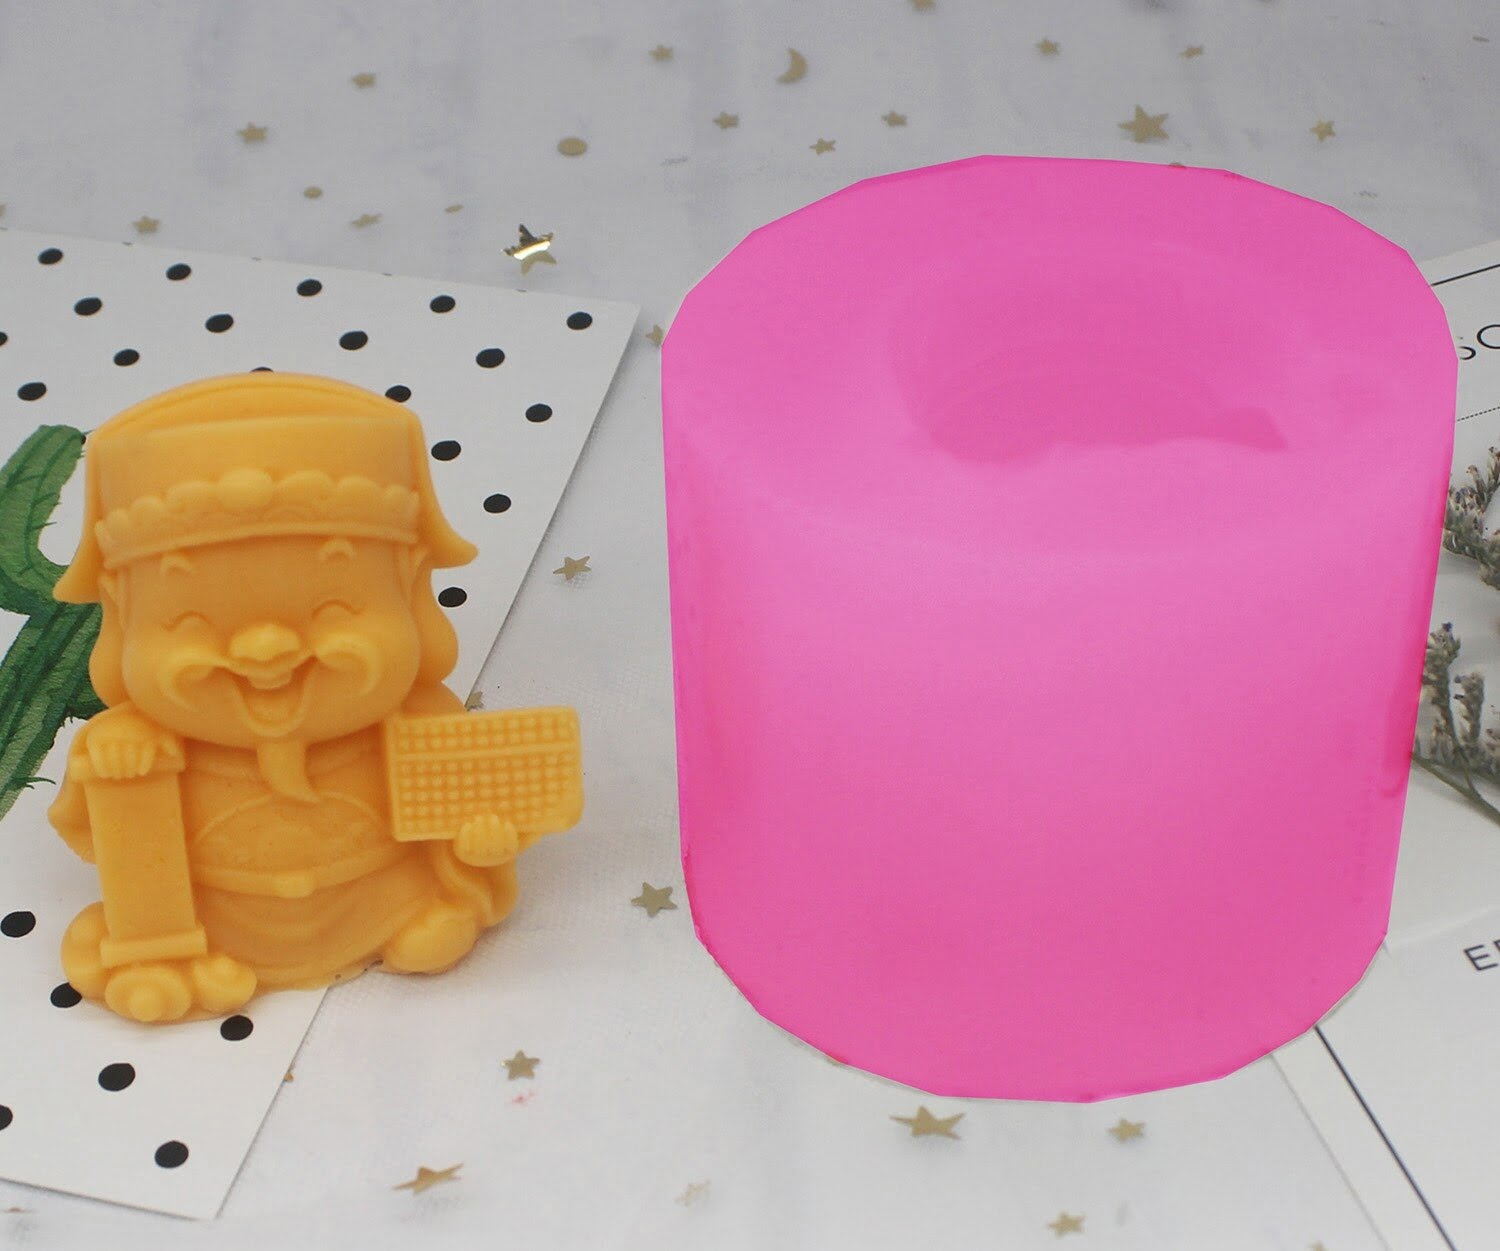
Candle making can be an exciting and fulfilling hobby, but it is important to select the right tools and materials. The first step in candle making is to find a good wax for your project. There are several types of wax available, such as beeswax, paraffin, and soy-based waxes. Besides wax, you will also need wicks and fragrance oils or essences if you want to scent your candles. You will also need molds for shaping your candles. These come in various shapes and sizes as well as materials such as aluminum or plastic.
You will also need a few other items which are necessary for successful candle making – thermometers to monitor the temperature of melted wax; stirring spoons or chopsticks; double-boilers or a slow cooker for holding molten wax; jugs for holding melted wax after fir filtering; pincers that can be used for cutting wicks at the correct length; craft glue with which to attach the wicks into the molds; scissors; wick tabs to hold the wicks in place while pouring wax into molds; dye chips to color candles (optional); mold release spray which makes removing cured candles from their molds easier.
In addition to these essential items, you may also wish to have additional accessories on hand depending on how advanced you are with candle making, such as containers and jars in which you can pour containers once they’ve been created, candle dyes with which you can customize colors according to preference, glitter or confetti mix-ins that can add sparkle and allure to finished results, accessory pieces like decorative ribbons or labels that may enhance presentation of final products, additionals scents such aroma oils where available (though not all blends may work with every wax type.)
Getting Started
Candle making is an enjoyable and rewarding activity. Not only is it a great way to relax and unwind, it also allows you to create personalized decorations for your home or gifts for family and friends. Making your first candle may seem intimidating, but with this step-by-step guide, you can easily get started in the craft.
Step 1: Choose the Right Candle Wax. The type of wax used when making candles will determine how successful your creation will turn out. Paraffin wax is the most popular option as it holds scent well and has a longer burn times than other types of waxes such as soy or beeswax.
Step 2: Select Your Wicks & Containers. Once you have chosen the type of wax to use, find some suitable containers that fit the desired look you are going for. You can then select which type of wick that best suits your project; there are many different sizes and styles available to experiment with. Be sure not to go too big as this could lead to a shorter burn time or even a wick that needs trimming every hour!
Step 3: Prepare Your Candle Molds/Containers. Make sure your molds or containers are free from debris before pouring your hot wax into them; avoid having dust particles land in the mixture – this could ultimately shorten its life expectancy due to soot buildup on top of the candle surface. To make sure glass containers don’t break when heated, preheat them in boiling water for several minutes prior to pouring in the melted wax.
Step 4: Melt Wax & Add Fragrance & Colorant (optional). For melting paraffin wax, it’s best done using double boiler approach over medium heat – never boil directly on a stovetop since temperatures can become too hot and cause evaporative losses in aroma components or leave behind dark residue on your finished product once cooled down again! Add fragrance oil drops after all ingredients are fully melted together; most suppliers recommend one ounce per pound of wax used but make sure not to exceed two ounces per pound for safe burning properties afterwards! Finally colorants can be added at this point by simply stirring them until blended with rest of mixture before being poured into molds/containers ” please take note that most dye blocks need pre-melting before adding if using those instead now we just wait until fully cooled sideways before removing excess from outside edges that might have overflowed..
Specialty Candles
If you’re an experienced candle maker, you might have an idea of the special techniques and tips associated with crafting specialty candles. From beeswax candles that mimic a honeycomb structure to intricately shaped poured candles that are exceptionally smooth, learning more about these advanced advancement tools help to enhance your skills as a candle specialist.
One of the most interesting advanced techniques for making specialty candles is working with beeswax. Beeswax has many unique properties that allow it to lend itself well to certain designs”such as those made to resemble a honeycomb structure. Working with the wax requires special molds and equipment; often, intricate detailing and shapes will require the use of a double boiler or slow cooker. It’s also important to choose wicks that are designed specifically for beeswax, as traditional cotton wicks may not burn as evenly due to the wax’s melt temperature being higher than regular paraffin-based molds.
Another popular technique involves creating pillars and other types of carved designs on solid body candles. This type of craftsmanship requires both skill in using various tools such as knives and saws, as well as patience when it comes to sculpting the wax into desired shape. When carving a candle, it’s important not to cut too deeply in one area so that you don’t risk compromising structural integrity; drilling smaller holes instead allows you to slowly build up embellishments while keeping the base secure. For particularly difficult pieces, several layers of melted wax may need to be applied before reaching the desired shape.
Finally, mastery of pour technique can be used in combination with these other methods–particularly when crafting more complex figures such as face jugs or bust sculptures. When attempting this style of detailed pouring it is essential to find coordinating molds so each piece fits well together yet still maintains its distinct patterning upon completion. Achieving a satisfactory pour also depends upon finding suitable wick size; using too large or too small will result in either uneven burning or poor flame height respectively . Sticking with low pouring temperatures and having quality materials on hand is vital for success when working on projects such as this
Troubleshooting Common Problems in Candle Making
Candle making can be a fun and creative experience, but sometimes things don’t go quite as planned. If you’ve had difficulties with your candle making projects, it’s important to know how to troubleshoot common problems. Here are some of the most common issues that may arise when making candles:
1. Fragrance Oils Not Scenting: If your wax does not smell strongly enough after adding fragrance oil, make sure you are using a scent concentration specifically for candles. Also, check if the scent strength is appropriate for the size/type of candle being created (e.g beeswax has more surface area than paraffin). Furthermore, different brands of essential or fragrance oils vary in strength and will require different amounts to reach the desired scents level.
2. Wax Shrinking After Pouring: This can happen if you pour your wax too quickly, which causes air bubbles and cooling before validation has been completed. Try heating your wax slowly by using a double boiler and then wait until the entire surface is even before pouring. Additionally, use a thermometer to measure temperature accuracy and never let the wax exceed 170°F (77°C).
3. Wax Burning Too Fast: Your wick may be too small for the size of container or there could be excess moisture in the wax, resulting in overheating which causes it to burn through quickly. Choose an appropriate wick for your specific application (each brand has its own sizing guide) and use dry wax with no additives such as dye or fragrances that may add moisture content.
4. Poor Candle Structure: This usually occurs when melted wax is left to cool over time and separate from the sides of its container leaving gaps between layers or walls weakening its structure when moved or handled improperly while still liquid hot. To avoid this issue, craft a simple heatproof lip around the pouring area and fill it with water before every pour so that surface tension helps keep all layers together preventing them from separating during future handling/ movement as they solidify slowly over time inside their containers
Online Business Guidance
Candle making is a craft that is both therapeutic and rewarding. Starting a candle making business can be challenging but can offer a great potential for increased revenues, visibility and satisfaction.
In order to make your candle-making business successful, there are several strategies you should consider. First, research the best materials to use for the candles you plan to create. Properly sourced ingredients signify quality and will attract customers who are looking for quality products. Additionally, choose dyes that produce vibrant oranges and blues, as these colors represent relaxation and tranquility. This will also help set your brand apart from competing companies.
Second, it’s crucial to develop a clear branding strategy and business identity in order to draw attention from customers and set yourself apart from competitors in the market. If your business model includes selling online, develop an eye-catching website or page on existing sites such as Etsy or eBay that shows off the unique aspects of your products. Developing social media accounts on Facebook or Instagram are important aspects of increasing visibility among customers as well. You can even take advantage of influencer marketing platforms in order to get more radio coverage and further increase visibility amongst target consumers.
Furthermore, consider ways in which you can offer a unique experience to customers; perhaps collaborating with local shops or businesses within similar industries in order to provide bundle packages or other discounts would be beneficial when it comes to creating customer loyalty during holiday seasons or other special occasions. Additionally, providing excellent customer service through numerous communication channels such as phone calls, texts (SMS) emails etcetera can help establish trust between you and customers which ultimately leads to repeated purchases and referrals from their network.. Lastly, researching digital marketing tactics such as SEO optimization and search engine placement is important for ranking higher on Google searches so more people will find out about your company when looking for related keywords in search engines.
Further Learning Resources
Classes: Candle making classes are available in many locations, offering one-on-one or small group instruction. Many craft stores and local businesses offer classes, often at low cost. These classes are led by experienced and knowledgeable candle makers who can provide hands-on guidance in all aspects of candle making, including selecting the right wick size and wax type, safety and technique tips and tricks, scent selection, coloring options, pouring and finishing procedures.
Books: There are a wide variety of books available that specialize in the art of candle making. These books contain detailed instructions for crafting a variety of candles such as pillars, votives, tapers and more. Additionally there are books dedicated to specialty candle making methods such as cutouts, melts or embedding decorative items into the wax among other techniques.
Reference Materials: Additional reference materials such as websites and blogs can be excellent resources for depth of information on products (e.g., wicks, waxes, fragrances) sample recipes for various types of candles, troubleshooting problems that arise while working with wax or when a finished project isn’t coming out as desired. YouTube channels also have growing library of tutorials on various facets of professional candle making that can be a great source of insight into advanced topics methods or specialty projects.
Conclusion
Candle making is a wonderful and rewarding skill to learn. With a little practice and patience, anyone can become an experienced crafter of beautiful candles. If you’re just getting started, don’t get discouraged if your first few attempts aren’t perfect ” it takes time to master the art of candle-making. Learning the basics of how to make candles has equipped you with all the tools and techniques needed to create stunning table decorations and unique handmade gifts. Once you get the hang of it, let your imagination run wild with creativity and experiment with new shapes, materials, and fragrances for hours of DIY fun. Finally, take pride in your accomplishments; candle making is an enjoyable craft that can bring beauty into any home.

Welcome to my candle making blog! In this blog, I will be sharing my tips and tricks for making candles. I will also be sharing some of my favorite recipes.

