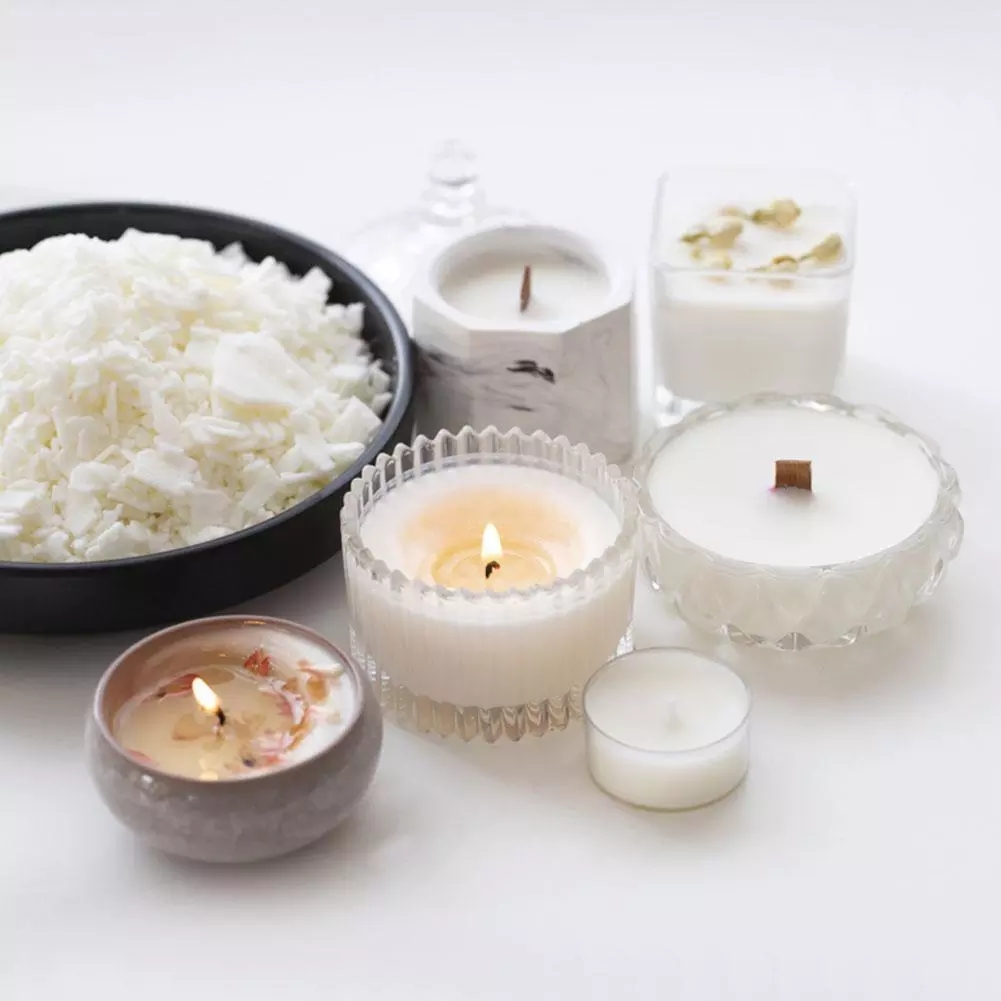
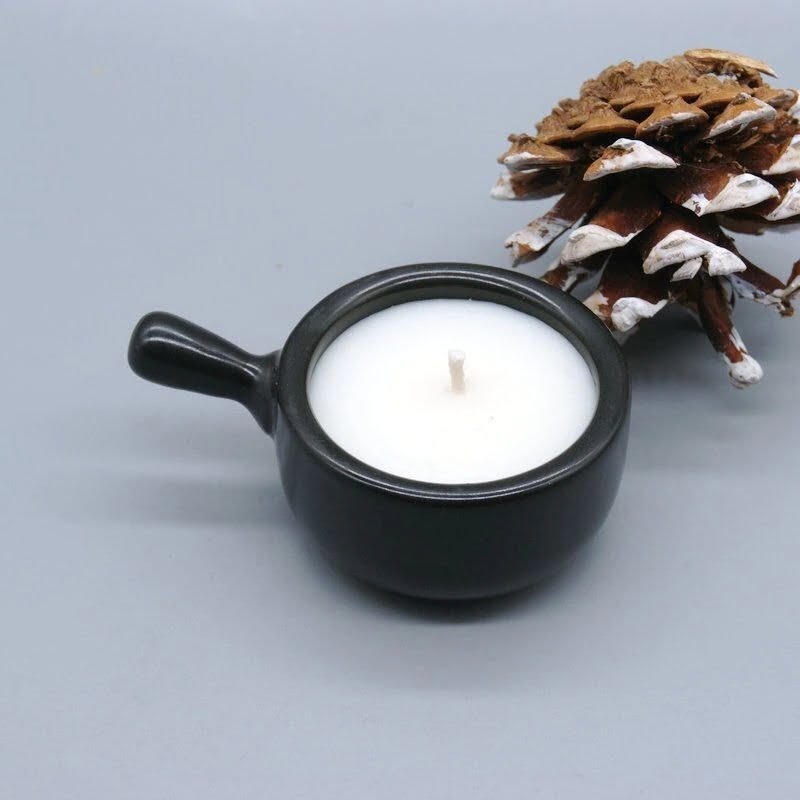
Candle making has been a popular and creative craft for centuries, allowing individuals to create personalized and unique candles for various occasions. With the convenience of modern technology, such as the use of microwaves to melt wax, the process has become even easier and more accessible. In this article, we will explore the art of candle making using the method of melting wax in a microwave.
Making candles at home comes with a myriad of benefits beyond just the satisfaction of creating something by hand. It allows for complete customization, from choosing the fragrance and color to selecting the perfect container or mold. Additionally, homemade candles can be a cost-effective alternative to store-bought options, especially when made in bulk. Whether for personal use, gifts, or even starting a small business, candle making can be a fulfilling and enjoyable hobby.
However, it is essential to prioritize safety when utilizing a microwave to melt wax for candle making. Proper precautions must be taken to avoid accidents and injuries. From selecting microwave-safe containers to closely monitoring the melting process, being mindful of safety guidelines ensures a smooth and successful experience in creating your own hand-poured candles.
Benefits of Making Candles at Home
Cost-Effective
Making candles at home can be a cost-effective way to enjoy the ambiance and warmth of candles without breaking the bank. By purchasing wax, wicks, and fragrance oils in bulk, you can save money compared to buying pre-made candles from stores. Additionally, by reusing containers or molds that you already have at home, you can further reduce the overall cost of candle making.
Customization
One of the biggest benefits of making candles at home is the ability to customize them to suit your preferences. You can choose from a wide variety of scents and colors to create candles that are perfectly tailored to your tastes. Whether you prefer floral scents, fruity fragrances, or warm vanilla undertones, the options for customization are endless when making your own candles.
A Creative Outlet
Candle making can serve as a creative outlet for many people looking to explore a new hobby. The process of mixing different scents, colors, and designs allows for endless creativity and experimentation.
Whether you prefer simple monochromatic candles or intricate layered designs, candle making provides a creative space for self-expression and relaxation. Plus, once you master the art of candle making melt wax in a microwave, you can create beautiful handmade gifts for friends and family members on special occasions.
Safety Precautions for Using a Microwave to Melt Wax
Importance of Safety Precautions
When it comes to making candles at home, safety should always be the top priority. While using a microwave to melt wax can be a convenient method, it is essential to take necessary precautions to prevent any accidents or injuries. The process of melting wax in the microwave involves high temperatures that can pose risks if not handled properly.
Proper Containers and Equipment
One of the most crucial safety precautions when using a microwave to melt wax is to use appropriate containers and equipment. Always ensure that the container you are using is microwave-safe and designed for candle making. Avoid using plastic or flammable materials that can melt or catch fire when exposed to heat. Additionally, have dedicated equipment such as thermometers and stirring tools specifically for candle making to avoid contamination.
Ventilation and Monitoring
Another important safety measure is to provide proper ventilation while melting wax in the microwave. The fumes released during the melting process can be harmful if inhaled in a confined space. It is recommended to use the microwave in a well-ventilated area or near a window that can be opened for fresh air flow.
Additionally, never leave the microwave unattended while melting wax. Monitor the process closely and follow the recommended time intervals for heating to prevent overheating and potential accidents. By following these safety precautions, you can enjoy making candles at home safely and efficiently using your microwave.
Choosing the Right Wax for Candle Making
When it comes to choosing the right wax for candle making, there are several options available to crafters. The type of wax you select will influence the appearance, scent, and burn time of your candles. Among the most popular choices are soy wax, paraffin wax, beeswax, and palm wax. Each type of wax has its own unique characteristics and benefits.
One important factor to consider when choosing a wax is the melting point. Soy wax, for example, has a lower melting point than paraffin wax, which can affect how evenly and smoothly the candle burns. Beeswax is known for its natural honey scent and clean burn but may be more expensive than other options. Palm wax is valued for its beautiful crystalline finish on candles but may require additional additives for optimal performance.
In addition to considering the melting point and cost of the wax, you should also think about any specific characteristics you want in your finished candles. If you prefer environmentally friendly options, soy or beeswax may be the way to go. For those looking for vibrant colors or strong scents in their candles, paraffin wax might be a better choice. Ultimately, experimenting with different waxes can help you find the perfect match for your candle-making needs.
| Type of Wax | Characteristics |
|---|---|
| Soy Wax | Environmentally friendly, lower melting point than paraffin |
| Paraffin Wax | Offers vibrant colors and scents, higher melting point |
| Beeswax | Natural honey scent, clean burning but higher cost |
| Palm Wax | Beautiful crystalline finish on candles but may need additives |
Step-by-Step Guide to Melting Wax in the Microwave
When it comes to making candles at home, melting wax is a crucial step in the process. Using a microwave to melt wax can be an efficient and quick method, perfect for beginners or those looking for a hassle-free way to create their own candles. Here is a step-by-step guide on how to successfully melt wax in the microwave for your candle-making endeavors:
1. Gather Your Supplies: Before you begin, make sure you have all the necessary supplies ready. This includes your choice of wax, a microwave-safe container, a thermometer to monitor the temperature, and any fragrance or color additives you plan to use in your candles.
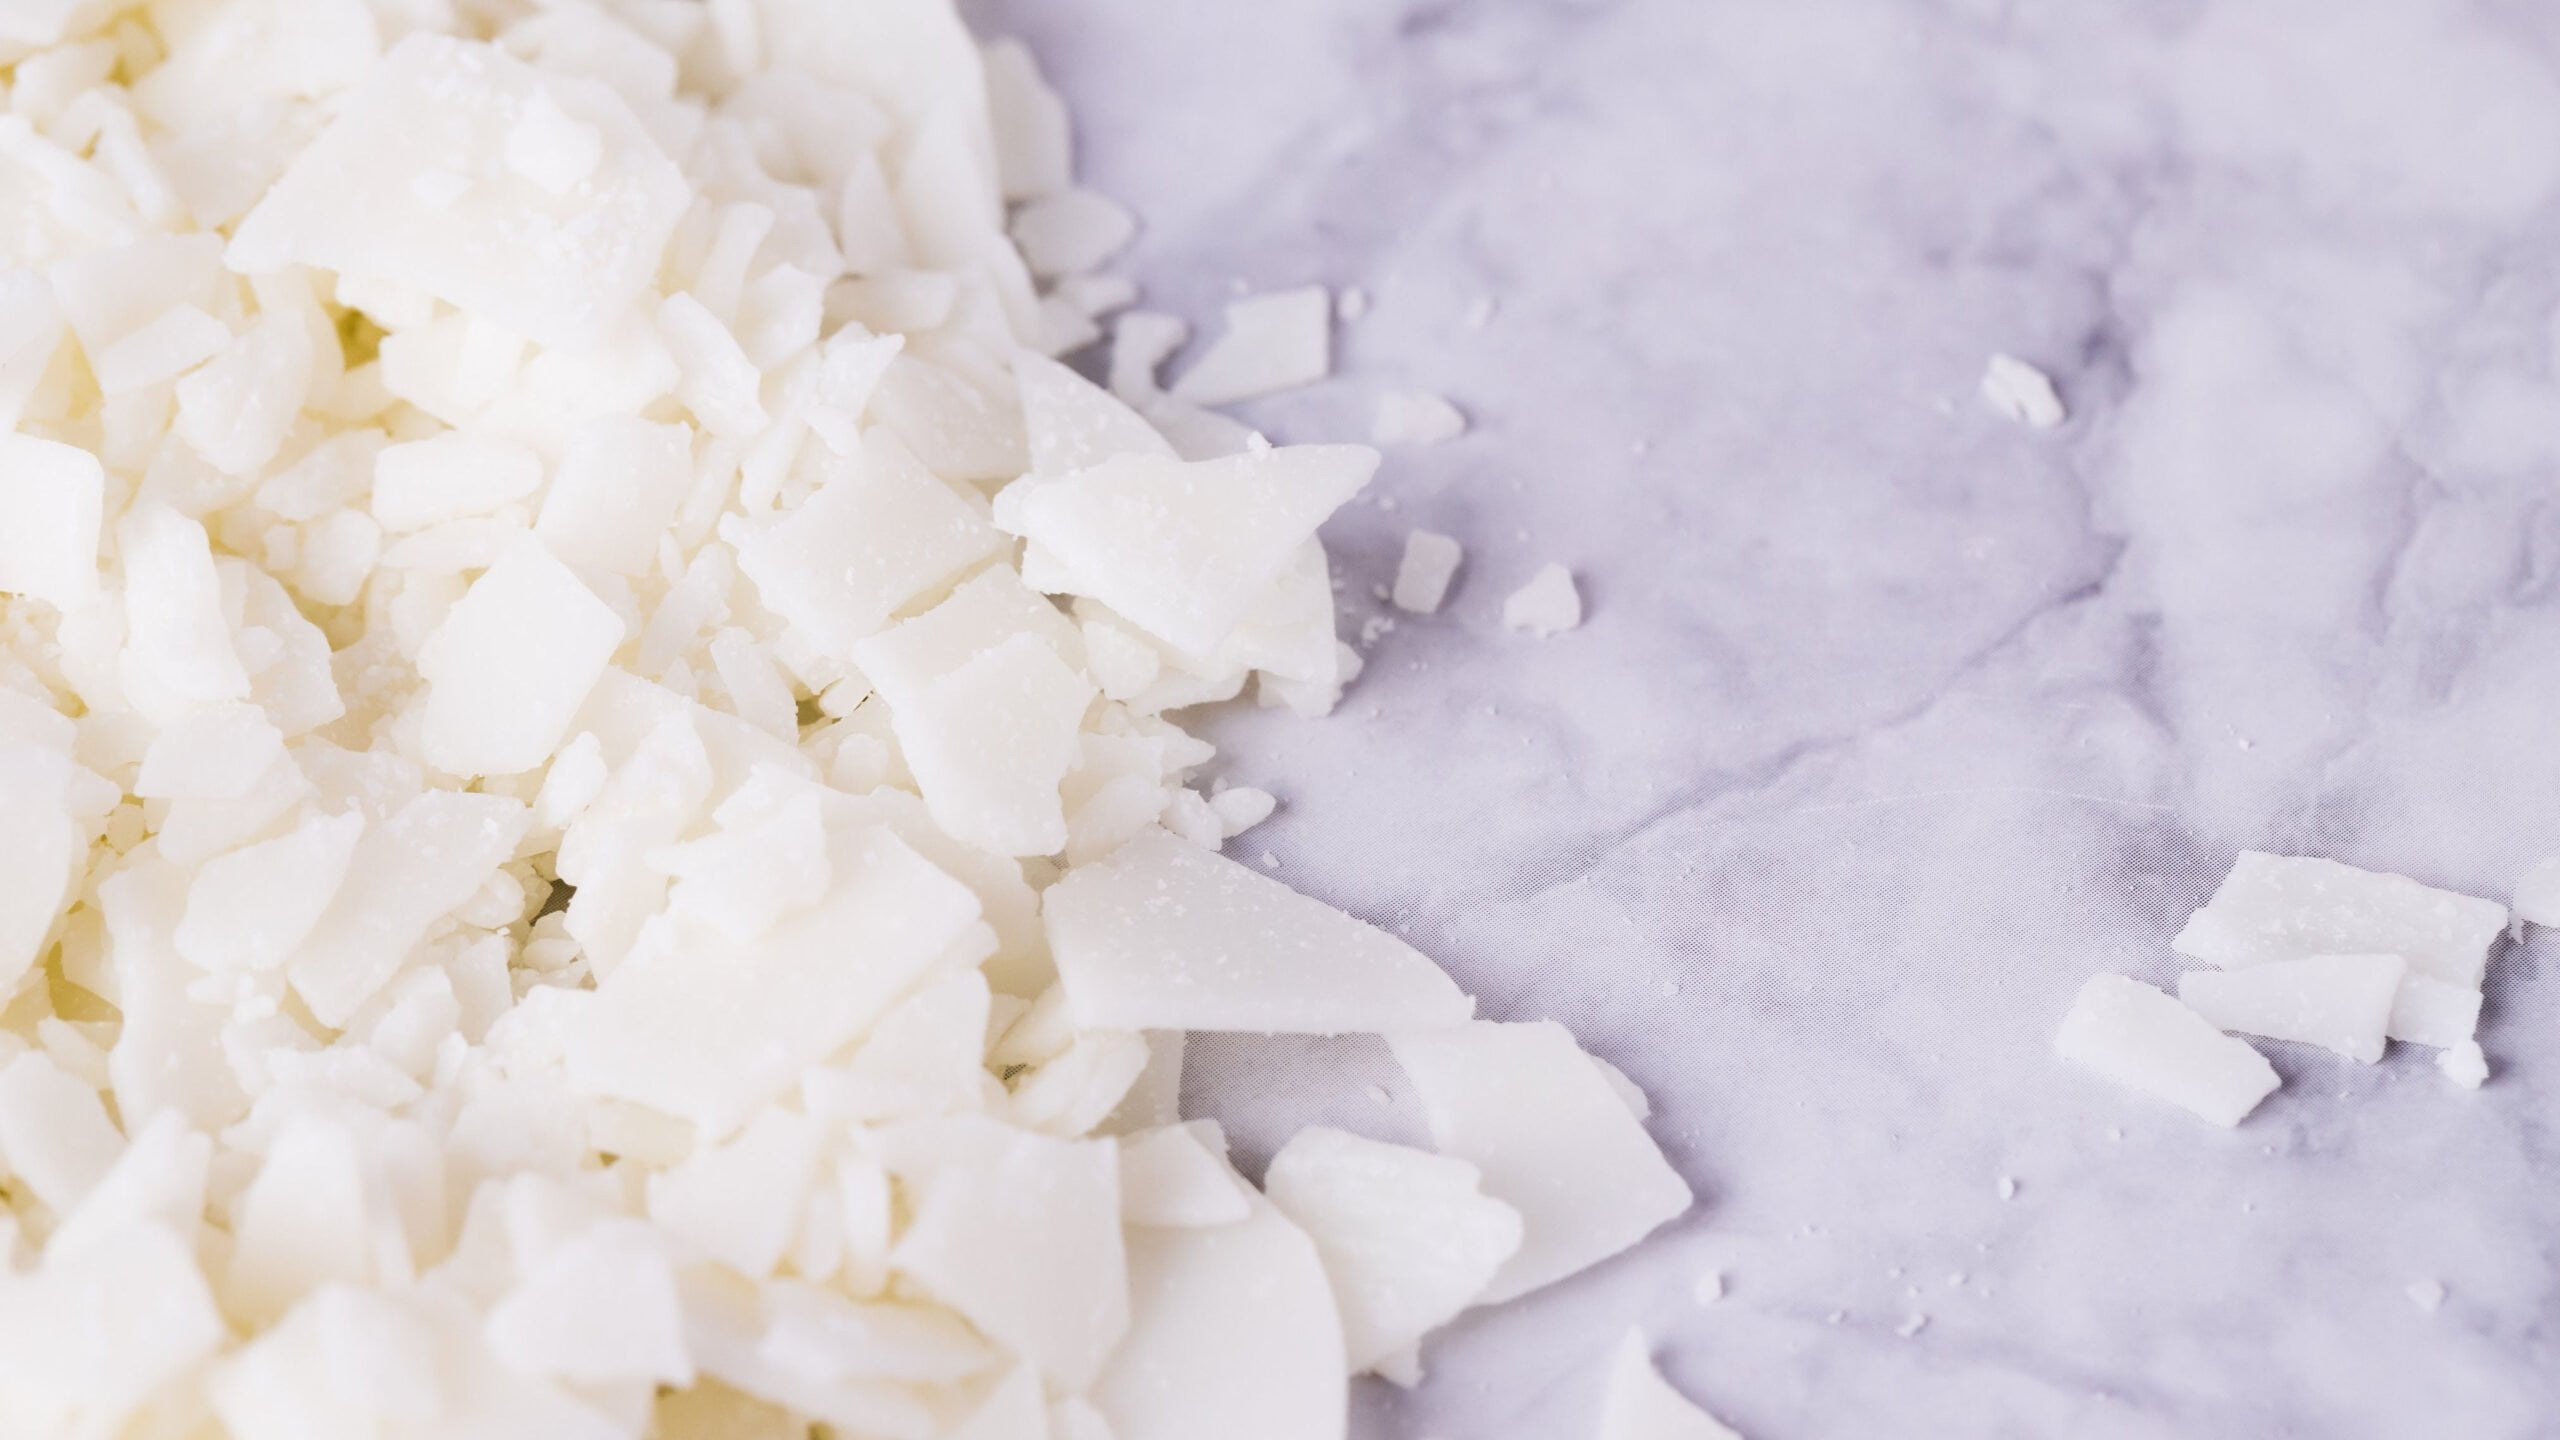
2. Prepare Your Wax: Cut or break up your wax into smaller chunks or shavings. This will help the wax melt more smoothly and evenly in the microwave. Place the wax into your microwave-safe container, ensuring it is clean and dry before adding the wax.
3. Melting Process: Place the container with the wax into the microwave and set it on high for 1-2 minutes intervals. Be sure to check and stir the wax between intervals to prevent overheating or burning. Continue this process until the wax is completely melted and reaches your desired temperature for adding fragrance oils or colors.
4. Safety Precautions: Remember to handle melted wax with care as it can be hot and potentially cause burns if not handled properly. Use oven mitts or heat-resistant gloves when removing the container from the microwave and avoid direct contact with skin until the wax has cooled down sufficiently.
By following these simple steps, you can easily melt wax in the microwave for your candle-making projects with ease and efficiency. Whether you are making candles for personal use or as gifts for loved ones, mastering this technique will help you achieve professional-looking results every time.
Tips and Tricks for Perfectly Melted Wax
When it comes to making candles at home, melting the wax properly is a crucial step in achieving a successful outcome. One convenient method for melting wax is by using a microwave. By following some tips and tricks, you can ensure that your wax is perfectly melted and ready to be poured into your candle molds.
First and foremost, it’s important to use a microwave-safe container when melting wax in the microwave. Choose a container that is specifically designated for candle making and avoid using any plastic or non-microwave-safe materials. Additionally, make sure to cut the wax into smaller chunks or pellets before placing it in the container to facilitate even melting.
Another helpful tip for melting wax in the microwave is to use short intervals of heating and stirring in between. This will help prevent the wax from overheating or burning. Start with 1-2 minute intervals on medium heat, stirring the wax each time until it reaches a smooth and liquid consistency. Be cautious not to overheat the wax as this can affect the quality of your candles.
To avoid any accidents or spills while handling hot melted wax, remember to use oven mitts or heat-resistant gloves when removing the container from the microwave. Allow the melted wax to cool slightly before adding any colors or scents, as adding them too soon may cause them to degrade or lose their potency. By following these tips and tricks, you can achieve perfectly melted wax for your homemade candles using the microwave method.
Adding Scent and Color to Your Candles
Adding fragrance and color to your homemade candles can significantly enhance the overall aesthetic appeal and ambiance they provide. Scented candles are popular for creating a cozy atmosphere or masking unwanted odors in a space, while colored candles allow for personalization and customization. When it comes to adding scent and color to your candles, there are several options to consider.
One common method for adding fragrance to candles is by using essential oils or candle fragrance oils. Essential oils are derived from natural plant sources and offer a variety of therapeutic benefits depending on the type used.
Candle fragrance oils, on the other hand, are specifically designed for candle making with a wide range of scents available. It’s important to note that not all fragrances are suitable for use in candles, so be sure to choose ones that are safe for this purpose.
When it comes to adding color to your candles, you can use candle dye chips, liquid dyes, or even natural ingredients like spices or dried flowers. Candle dye chips provide vibrant colors and are specifically formulated for use in wax-based products. Liquid dyes offer ease of use and consistency in color mixing. Natural ingredients can create unique hues and textures in your candles but may require experimentation to achieve the desired result.
| Method | Description |
|---|---|
| Essential Oils | Natural plant-derived oils with therapeutic benefits |
| Candle Fragrance Oils | Specially formulated scents for candle making |
| Candle Dye Chips | Vibrant colors designed for wax-based products |
Experimenting with different combinations of scents and colors can help you create unique and personalized candles that suit your preferences. Whether you prefer calming lavender-scented candles or bright, colorful creations, adding scent and color is a fun way to elevate your candle making experience. Remember to follow recommended guidelines and measurements when incorporating fragrances and dyes into your wax mixture for best results.
Cooling and Pouring the Melted Wax Into Candle Molds
When it comes to candle making, the final step of cooling and pouring the melted wax into candle molds is crucial to creating the perfect candles. This step allows the wax to solidify and take on the shape of the mold, ultimately forming the final product. Here are some tips and tricks to ensure that this part of the candle-making process goes smoothly:
- Once your wax is fully melted in the microwave, carefully remove it and place it on a heat-resistant surface.
- Allow the melted wax to cool slightly before pouring it into your chosen candle molds. This will help prevent any damage to the molds or accidental spills.
- Before pouring the wax, you can add fragrance oils or colorants to customize your candles. Stir these additions into the melted wax gently but thoroughly for an evenly scented and colored result.
It’s important to note that different types of waxes have varying cooling times, so be sure to follow specific instructions for the type of wax you are using. Paying attention to these details will ensure that your candles turn out just as you envisioned them.
- Once you have poured the melted wax into the molds, allow them ample time to cool and harden completely. Avoid moving or disturbing the molds during this process to prevent any imperfections in your candles.
- If there are any air bubbles present in your candles after pouring, you can gently tap or lightly swirl the molds to release them. This will help create a smooth finish on your finished candles.
- After your candles have hardened, carefully remove them from their molds. Trim any excess wick and clean up any rough edges for a polished final product ready for burning.
By following these steps and taking care in cooling and pouring your melted wax into candle molds, you can create beautiful handmade candles that burn brightly and fill your space with delightful scents. Enjoy the satisfaction of using candles made by hand with love and attention to detail.
Conclusion
In conclusion, making your own candles at home can be a rewarding and enjoyable experience. Not only does it allow you to unleash your creativity by choosing the perfect scents and colors for your candles, but it also offers a sense of satisfaction in creating something handmade. By following the step-by-step guide to melting wax in the microwave, you can easily craft beautiful candles right in the comfort of your own home.
Safety precautions are crucial when using a microwave to melt wax for candle making. It is important to remember to never leave the microwave unattended while melting wax and to use a microwave-safe container. Choosing the right wax is also essential for achieving the desired results in your candles. Whether you prefer soy wax for a clean burn or beeswax for its natural properties, selecting the appropriate wax will contribute to the quality of your final product.
Once you have mastered the art of candle making and have poured and cooled your melted wax into candle molds, all that’s left to do is enjoy your handmade creations. Lighting up one of your own homemade candles can bring a sense of warmth and coziness to any space.
So why not give candle making a try? With some practice, patience, and a bit of creativity, you can fill your home with beautifully scented and colored candles made with love.
Frequently Asked Questions
Can I Melt Wax in the Microwave to Make Candles?
Melting wax in the microwave to make candles is not recommended due to safety concerns. Wax can catch fire if overheated, and the container holding the wax can also become dangerously hot.
Why Won’t Wax Melt in Microwave?
Wax may not melt evenly in the microwave because it does not heat uniformly or may splatter, causing a mess. The microwave’s high temperature can also cause the wax to ignite unexpectedly.
What’s the Best Way to Melt Candle Wax?
The best way to melt candle wax is using a double boiler method on your stovetop. This involves placing a pot of water on low heat with another heat-safe container holding the wax inside it. This gentle indirect heat ensures even melting and reduces the risk of accidents.

Welcome to my candle making blog! In this blog, I will be sharing my tips and tricks for making candles. I will also be sharing some of my favorite recipes.


