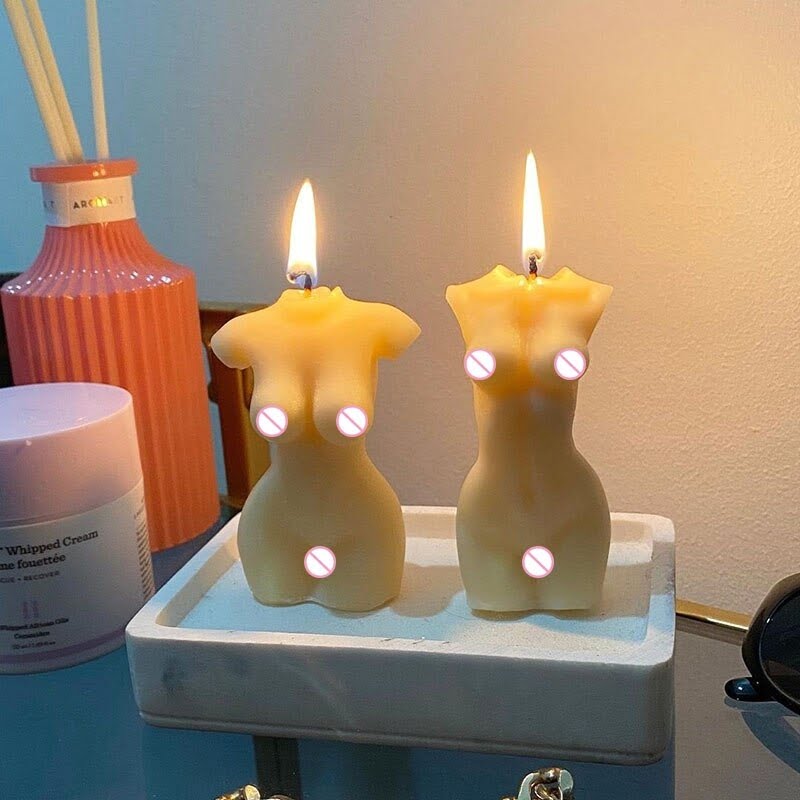
Are you an aspiring candle maker or a seasoned pro looking to elevate your craft? Look no further than the essential tool of candle making pouring pots. These specialized containers play a crucial role in the process of creating beautiful, handcrafted candles. From beginners to experienced artisans, pouring pots make the entire candle making process easier and more efficient.
When it comes to choosing the right pouring pot for your candle making endeavors, there are several factors to consider. From size and material to handle design and pour spout, the options can seem overwhelming.
In this comprehensive guide, we will explore the various types of pouring pots available in the market and their unique features so that you can make an informed decision. Whether you are just starting out or seeking an upgrade, we will also provide recommendations for the best pouring pots suited for all skill levels.
In addition to exploring pouring pots in-depth, we will also delve into all the essential tools and materials needed for successful candle making. Understanding how the pouring pot fits into the overall process is crucial for achieving optimal results.
We will provide a detailed step-by-step guide on how to properly use a pouring pot, along with troubleshooting common issues that may arise during the candle making process. So whether you are encountering uneven pouring or struggling with temperature control, we’ve got you covered.
Choosing the Right Pouring Pot
When it comes to choosing the right pouring pot for candle making, there are several important factors to consider. The first thing to think about is the size of the pouring pot.
It should be large enough to hold the amount of wax you typically work with, but not so large that it becomes difficult to handle or pour from. A good rule of thumb is to choose a pouring pot that holds at least double the volume of wax you will be using.
Another crucial factor in selecting a pouring pot is the material it is made from. Stainless steel pouring pots are popular among candle makers due to their durability and ability to withstand high temperatures. Aluminum pouring pots are also an option, but they may not be as long-lasting as stainless steel. Additionally, some pouring pots come with a non-stick coating, which can make cleanup easier.
In addition to size and material, consider the design features of the pouring pot. Look for a pouring spout that allows for precise pouring without drips or spills. Many modern pouring pots also come with heat-resistant handles and lids that help control and maintain the temperature of the wax during the melting and pouring process. Ultimately, choosing the right pouring pot for your candle making endeavors will depend on your personal preferences and specific needs.
Essential Tools and Materials for Candle Making
Candle making is a craft that requires the right tools and materials to ensure a successful and enjoyable experience. One of the essential items for candle making is a pouring pot, which plays a crucial role in the process. In this section, we will explore the importance of the pouring pot in candle making and how it fits into the overall candle making process.
Importance of Pouring Pots
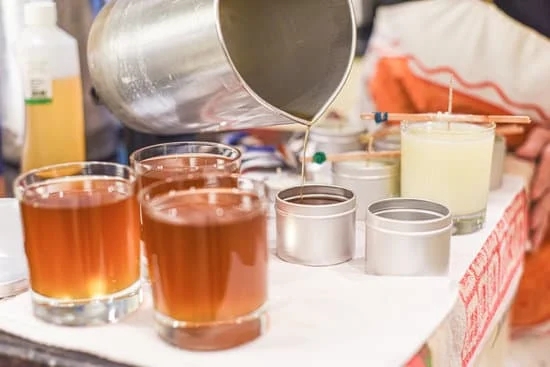
The pouring pot is an indispensable tool in candle making, as it allows for easy and precise pouring of melted wax into candle containers. Its long handle and spout design make it convenient to control the flow of wax, reducing mess and waste. Without a pouring pot, candle makers would have to resort to using alternative methods such as ladles or pitchers, which can be inefficient and lead to inconsistent results.
How the Pouring Pot Fits In
In the candle making process, the pouring pot is used to heat and melt the wax, mix in fragrance oils or dyes, and pour the liquid wax into molds or containers. It acts as both a melting device and a pouring vessel, streamlining the entire production process. Additionally, pouring pots are designed to withstand high temperatures, ensuring safety during use. The versatility and practicality of pouring pots make them an indispensable tool for both beginner and experienced candle makers.
Overall, having a quality pouring pot is essential for anyone interested in pursuing candle making as a hobby or business venture. By understanding its importance in the candle making process, along with learning how to choose the right one for your needs, you can set yourself up for success in creating beautiful and fragrant candles.
Now that we’ve established why pouring pots are essential tools for candle making, let’s delve into what other tools and materials are necessary for this craft. Understanding all components needed will help ensure seamless execution of your candle making projects.
Step-by-Step Guide to Using a Pouring Pot for Candle Making
When it comes to candle making, using the right tools can make all the difference in achieving a successful and satisfying result. One essential tool for candle making is the pouring pot. These specialized pots are designed to make the process of melting and pouring wax much easier and more efficient. Whether you’re a beginner or an experienced candle maker, mastering the use of a pouring pot is key to creating beautiful candles.
To properly use a pouring pot for candle making, follow these step-by-step instructions:
1. Prepare your work area: Before you begin, make sure you have a clean and spacious work area. Lay down newspaper or a plastic tablecloth to protect your surfaces from any potential wax spills.
2. Measure the wax: Using a scale, measure out the amount of wax needed for your candle project. Place the wax into the pouring pot, ensuring that it is clean and free from any contaminants.
3. Heat the wax: Place the pouring pot with the measured wax onto a heat source, such as a stove or double boiler. Heat the wax gradually, stirring occasionally to ensure even melting.
4. Add fragrance and color: Once the wax is fully melted, carefully add any desired fragrance oils or color dyes to achieve your desired scent and hue.
5. Pouring the wax: When your wax is ready, carefully pour it into your chosen candle mold or container. The spout on the pouring pot allows for easy and controlled pouring, minimizing spills and mess.
6. Clean up: Once you have poured your candles, be sure to clean your pouring pot thoroughly with hot water and soap to remove any remaining residue and ensure it’s ready for future use.
Using a pouring pot for candle making may seem straightforward but following these steps will help you achieve professional results every time. Whether you’re making candles for personal use or as gifts for others, mastering the use of a pouring pot will elevate your candle-making experience.
Troubleshooting Common Issues With Pouring Pots
Using pouring pots for candle making can be a game-changer, but like any craft, it comes with its own set of challenges. One common issue that candle makers may encounter when using pouring pots is uneven pouring. Uneven pouring can result in candles with an uneven surface or inconsistent texture, which can be unsightly and affect the overall quality of the finished product.
To troubleshoot this issue, it’s important to ensure that the pouring pot is positioned at the right angle when pouring the wax. Holding the handle of the pouring pot steady and maintaining a consistent flow of wax can help achieve an even pour.
Another common problem that may arise when using pouring pots for candle making is wax spillage. Spillage can happen if the pour spout is not properly controlled or if the pouring pot is overfilled with wax. To prevent wax spillage, it’s essential to practice good pouring technique and to fill the pouring pot only to its recommended capacity. Additionally, using a pouring pot with a dripless spout can help minimize the risk of spillage during the candle making process.
Temperature control is also crucial when using pouring pots for candle making. If the wax in the pouring pot becomes too hot or too cold, it can affect the consistency and quality of the poured candles. To troubleshoot temperature-related issues, it’s important to use a reliable thermometer to monitor the wax temperature and make adjustments as needed to maintain optimal conditions for pouring.
| Common Candle Making Issue | Troubleshooting Tips |
|---|---|
| Uneven Pouring | Ensure proper positioning and angle of the pouring pot; hold handle steady; maintain consistent flow |
| Wax Spillage | Control pour spout; avoid overfilling; use a pouring pot with a dripless spout |
| Temperature Control | Use a reliable thermometer; monitor wax temperature; make adjustments as needed |
Creative Techniques for Using Pouring Pots
Using pouring pots for candle making offers a world of creative possibilities beyond the basic technique of simply melting and pouring wax. One innovative way to utilize pouring pots is by experimenting with different wax colors, scents, and pouring techniques to create unique and custom candles.
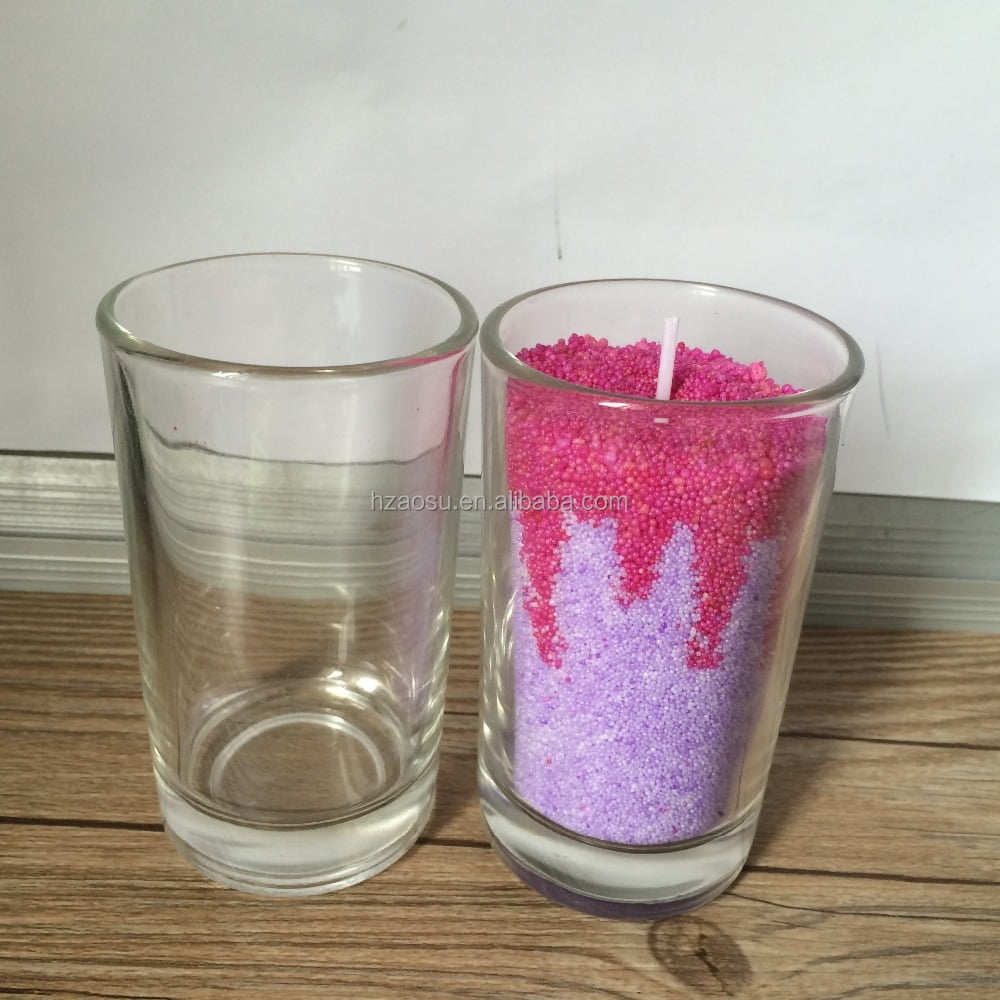
One creative technique involves layering different colored waxes to create eye-catching and artistic designs within the candle. By carefully pouring each layer of colored wax into the candle mold using a pouring pot, crafters can achieve striking visual effects that set their candles apart from store-bought options. Additionally, adding complementary scents to each layer can create a sensory experience that enhances the overall appeal of the candle.
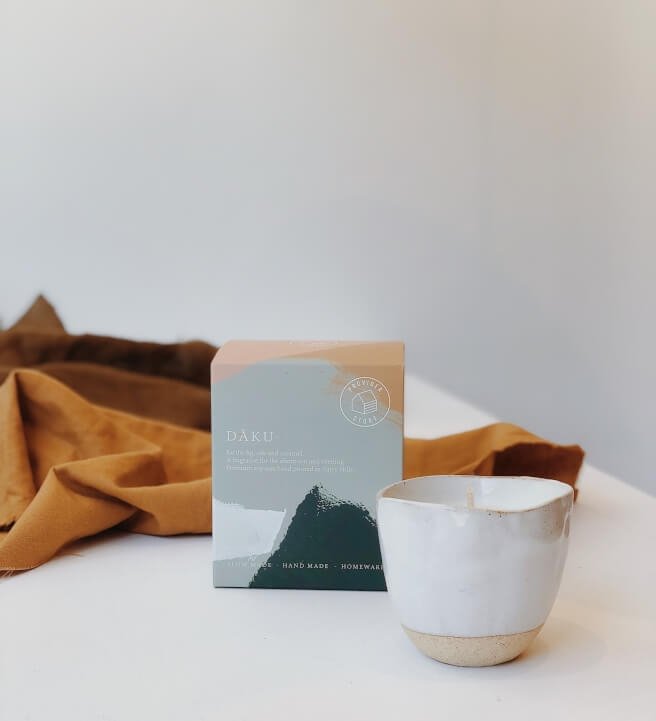
Another creative approach using pouring pots is the use of molds or containers with interesting shapes or textures. For example, crafters can pour melted wax into vintage teacups, mason jars, or silicone molds to produce one-of-a-kind candles with a personalized touch. The precise control offered by pouring pots allows for clean and accurate pours, ensuring that the final product looks polished and professional.
Finally, experimenting with various pouring techniques such as swirls, patterns, or marble effects can add an artistic flair to candle making. With a steady hand and some practice, crafters can use pouring pots to manipulate the flow of melted wax and create stunning visual effects within their candles. These creative techniques not only showcase individual artistry but also provide consumers with distinctive products that cannot be replicated by mass-produced candles.
| Technique | Description |
|---|---|
| Layered Coloring | Create multi-colored candles by layering different colored waxes in the same mold |
| Unique Molds | Pour melted wax into special containers or molds for personalized candle shapes |
| Creative Pouring Techniques | Experiment with swirls, patterns, or marble effects using precise pouring pot control |
Maintenance and Care of Pouring Pots
Proper maintenance and care of pouring pots are essential for ensuring the longevity and effectiveness of these crucial candle making tools. By following best practices for cleaning and storing your pouring pot, you can continue to enjoy smooth and efficient candle making experiences.
To maintain and care for your pouring pot, consider the following tips:
- Clean your pouring pot after each use: Once you have finished using your pouring pot to make candles, it is important to clean it thoroughly to remove any leftover wax or residue. Use hot soapy water and a non-abrasive sponge to gently scrub the interior and exterior of the pot. Rinse it thoroughly to ensure all soap and wax residue is removed.
- Store your pouring pot properly: When not in use, store your pouring pot in a clean, dry area away from direct sunlight and extreme temperatures. Be sure to keep it in a place where it won’t get damaged or knocked over. Consider covering it with a lid or placing it in a protective bag or box to prevent dust and debris from accumulating on its surface.
- Avoid exposure to high heat: To prolong the lifespan of your pouring pot, avoid exposing it to high heat sources such as open flames or hot stovetops when not in use. Excessive heat can cause warping or damage to the material of the pouring pot, affecting its ability to effectively melt wax for candle making.
By following these maintenance and care tips for your pouring pots, you can ensure that they remain in optimal condition for years to come, continuing to aid you in creating beautiful handmade candles. Remember that proper care not only extends the life of your tools but also contributes to the quality of your candle-making process.
Conclusion
In conclusion, pouring pots are an essential tool in the art of candle making. They streamline the process, making it easier and more efficient for both beginners and experienced candle makers. By carefully choosing the right pouring pot and following a step-by-step guide, anyone can create beautiful, customized candles with ease. The pouring pot is a valuable investment for anyone passionate about creating their own candles.
It’s important to consider factors such as size, material, and spout design when choosing a pouring pot. Whether you’re just starting out or looking to expand your candle making skills, there are various types of pouring pots available on the market to suit your needs. As you gain experience, don’t be afraid to experiment with different creative techniques and innovative ways to use pouring pots in order to take your candle making to the next level.
As you embark on your candle making journey using pouring pots, it’s essential to remember that maintenance and care are crucial in prolonging the lifespan of these tools. By following best practices for cleaning and storing your pouring pots, you can ensure their continued effectiveness for many future candle making projects.
We encourage our readers to share their own experiences and tips with using pouring pots in the candle making community as we all continue learning and growing in this craft together.

Welcome to my candle making blog! In this blog, I will be sharing my tips and tricks for making candles. I will also be sharing some of my favorite recipes.

