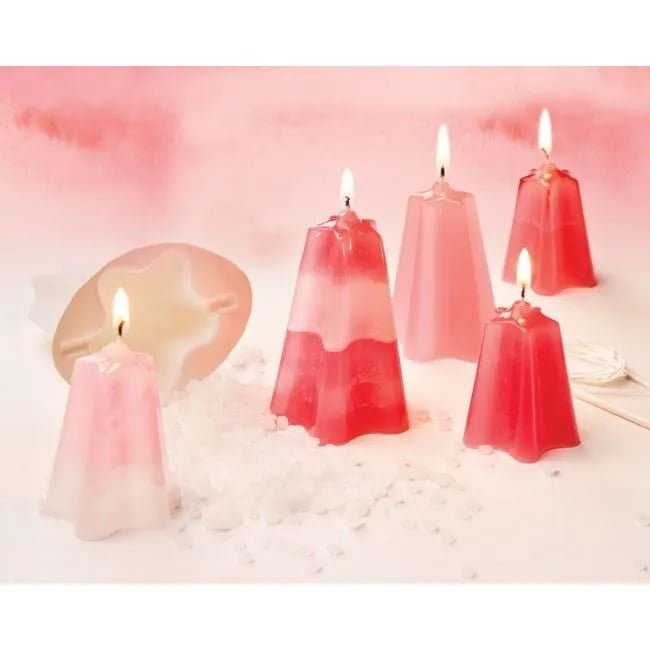
Candle making has become a popular hobby and business venture for many, with individuals embracing the art of creating their own unique candles. One essential aspect of candle making that enthusiasts should not overlook is the second pour. In this process, a second layer of wax is added to the initial pour to achieve desired aesthetics and functionality.
Understanding the importance of the second pour in candle making is crucial for achieving professional-looking results. This step allows for proper adhesion between layers, ensuring a sturdy and long-lasting candle. Additionally, the second pour provides an opportunity to customize candles with different colors, scents, and textures, adding a creative touch to your creations.
When it comes to choosing the right wax for your second pour, it’s essential to consider factors such as melt point, hardness, and adhesion properties. Different waxes offer varying characteristics that can affect the overall quality and appearance of your candles. By selecting the appropriate wax for your second pour, you can ensure a successful outcome and create candles that meet your unique preferences.
Understanding the Importance of the Second Pour in Candle Making
When it comes to candle making, the second pour is a crucial step that can make a significant difference in the quality and appearance of your candles. Understanding the importance of the second pour is essential for creating beautiful and long-lasting candles.
This process involves pouring additional melted wax into the candle mold after the initial pour has cooled and solidified. By doing so, you can achieve a smoother finish, fill any sinkholes or shrinkage gaps, and ensure that your candles have an even burn.
Enhancing Candle Quality
The second pour in candle making plays a vital role in enhancing the overall quality of your candles. This additional step helps to eliminate any imperfections that may have occurred during the initial pour, such as air pockets, sinkholes, or uneven surfaces.
By carefully performing a second pour, you can create candles that are visually appealing and have a more professional finish. It also allows you to fine-tune the size and shape of your candles, ensuring that they meet your desired specifications.
Improving Burn Time
Another key reason why the second pour is important in candle making is its impact on the burn time of your candles. When you fill any gaps or imperfections with melted wax during the second pour, you are essentially creating a more solid and consistent candle structure.
This results in better heat distribution during burning, which can help prevent tunneling or uneven melting. By taking the time to perform a second pour correctly, you can extend the burn time of your candles and maximize their fragrance throw.
Choosing the Right Wax for Your Second Pour
When it comes to choosing the right wax for your second pour in candle making, there are a few key factors to consider. The type of wax you choose will ultimately determine the quality and characteristics of your final product. One popular option for second pour candles is soy wax, known for its clean burning and long-lasting properties. Soy wax also has a lower melting point, making it easier to work with during the second pour process.
Another great option for second pour candles is coconut wax, which offers a unique creamy texture and excellent scent throw. Coconut wax is also environmentally friendly and sustainable, making it a popular choice among eco-conscious candle makers.
Beeswax is another natural option that gives off a lovely honey-like aroma when burned. Keep in mind that beeswax can be trickier to work with due to its higher melting point, so it may require some additional care during the second pour.
If you’re looking for a more budget-friendly option, paraffin wax is widely available and often used in candle making. While paraffin wax may not have the same eco-friendly or natural qualities as soy or coconut wax, it can still produce beautiful and fragrant candles. Ultimately, the choice of wax for your second pour will depend on your personal preferences, budget, and desired outcome.
| Type of Wax | Key Characteristics |
|---|---|
| Soy Wax | Clean burning, long-lasting, lower melting point |
| Coconut Wax | Creamy texture, excellent scent throw, environmentally friendly |
| Beeswax | Sweet honey-like aroma, natural but higher melting point |
| Paraffin Wax | Widely available, budget-friendly but not as eco-friendly as others. |
Essential Equipment Needed for Candle Making Second Pour
When it comes to candle making, having the right equipment is essential for a successful second pour. Whether you’re a beginner or an experienced candle maker, investing in quality tools will make the process smoother and more efficient. Here are some essential equipment needed for candle making second pour:
- Double Boiler: A double boiler is crucial for melting wax gently and evenly without direct heat. This will help prevent the wax from scorching and ensure a smooth consistency for your candles.
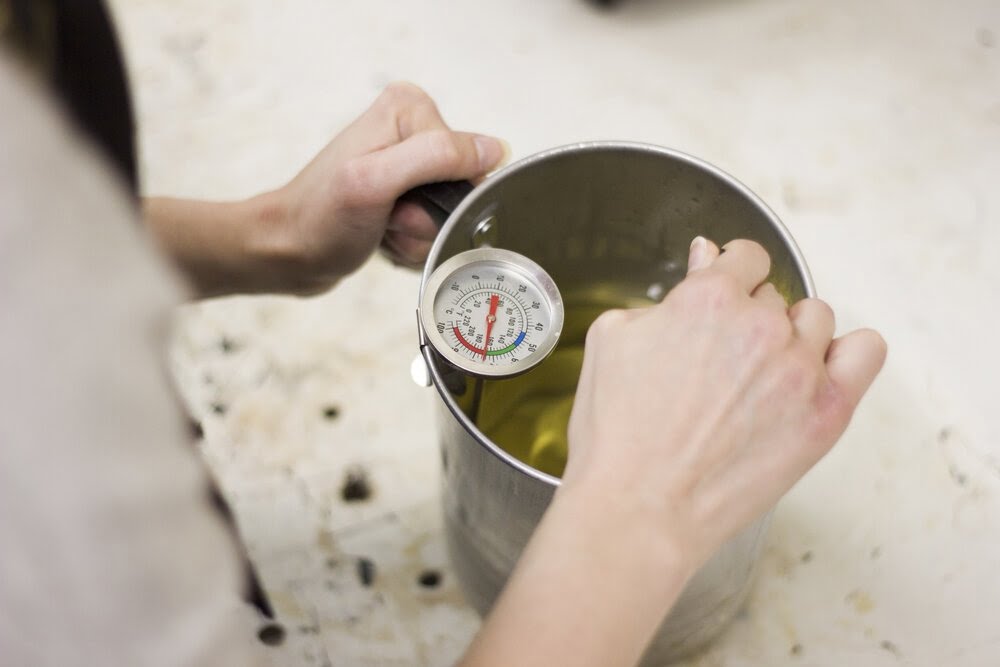
- Thermometer: Accurate temperature control is key in candle making. A thermometer will help you monitor the wax temperature during the melting and pouring process, ensuring that it’s at the right temperature for your second pour.
- Stirring Utensil: To mix any colorants, fragrance oils, or additives into the melted wax, you’ll need a dedicated stirring utensil. A metal spoon or silicone spatula works well for this purpose.
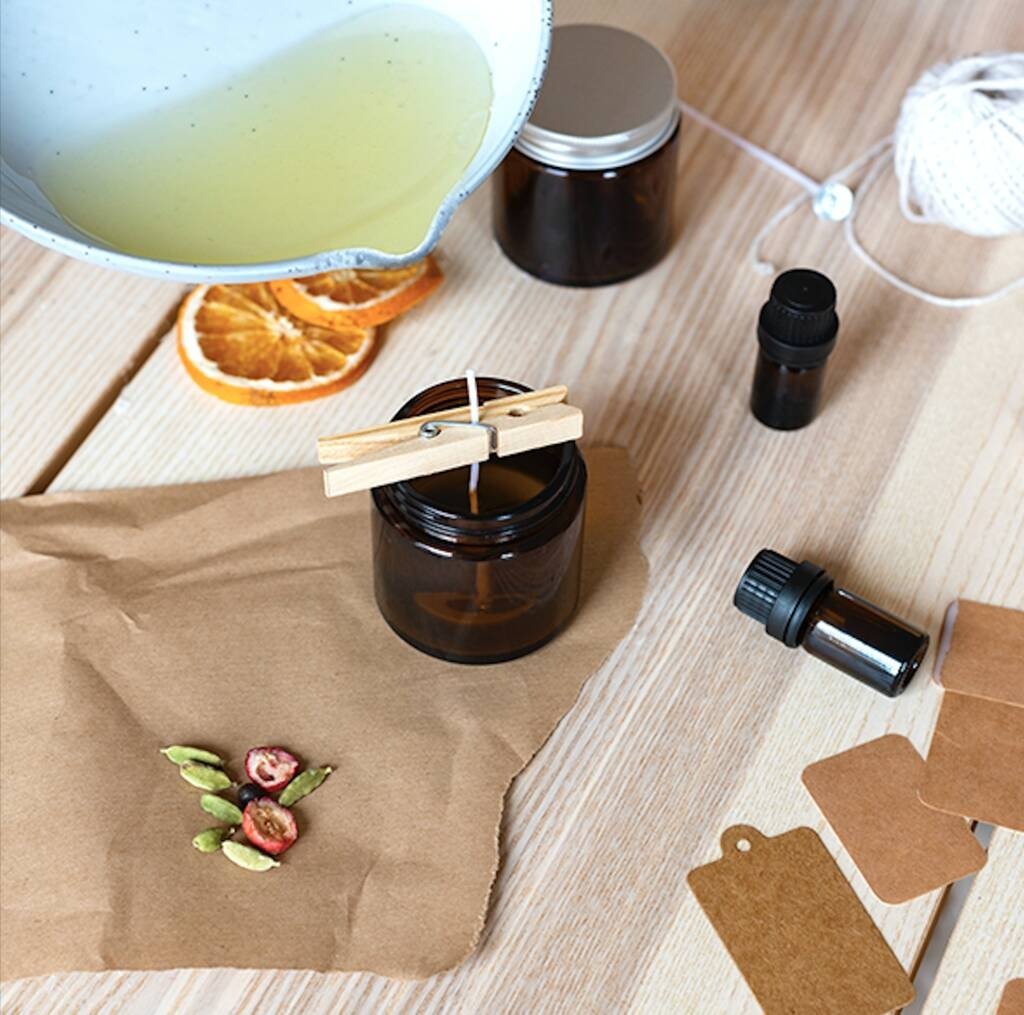
- Pouring Pitcher: Having a pouring pitcher with a spout will make it easier to transfer the melted wax into your candle jars during the second pour. Look for one with a heat-resistant handle for safety.
- Candle Wick Holder: To keep your wick centered and straight during the second pour, invest in a wick holder that fits snugly over the jar opening. This will help ensure even burning once the candle is lit.
Additionally, consider having some extra supplies on hand such as paper towels for cleaning up spills, gloves to protect your hands from hot wax, and labels for labeling your finished candles with scent names and other important information.
Overall, having the right equipment for candle making second pour not only improves the quality of your candles but also enhances your overall candle-making experience. So gather your tools, set up your workspace, and get ready to create beautiful and fragrant candles with each second pour.
Step-by-Step Guide to the Second Pour Process
Candle making is a creative and fulfilling hobby that allows individuals to express their personality through beautiful and aromatic candles. One crucial step in candle making is the second pour process, which involves topping off the candle with additional melted wax after the initial pour has cooled. This step is essential for achieving a smooth and even finish on your candles, as well as ensuring a strong fragrance throw.
The second pour in candle making serves several important purposes. Firstly, it helps to fill any sinkholes or cavities that may have formed during the initial cooling process, resulting in a more visually appealing candle.
Additionally, the second pour allows you to adjust the level of the candle surface, creating a flat and professional-looking appearance. Lastly, topping off your candles with a second pour ensures that they have an even burn pool when lit, leading to a longer-lasting and more efficient burn.
When choosing the right wax for your second pour, it is essential to select a wax that is compatible with the wax used in the initial pour. This will help prevent any issues such as poor adhesion between layers or cracking and separation.
It is recommended to use a similar type of wax for both pours to ensure consistency in color, texture, and burn performance. Additionally, consider factors such as fragrance load compatibility and melting point when selecting a wax for your second pour in candle making.
| Benefits of Second Pour | Choosing the Right Wax |
|---|---|
| Fills sinkholes/cavities | Compatibility with initial wax |
| Creates smooth finish | Consistency in color/texture |
| Ensures even burn pool | Consider fragrance load/melting point |
Tips and Tricks for Achieving the Perfect Second Pour
When it comes to achieving the perfect second pour in candle making, there are several tips and tricks that can make a significant difference in the outcome of your candles. Proper technique and attention to detail are crucial in ensuring that your second pour results in a beautifully finished candle that burns evenly and releases a pleasant fragrance.
Temperature Control
One of the key factors in achieving a successful second pour is maintaining the right temperature throughout the process. It’s important to monitor the temperature of both the wax and the container before pouring to ensure that they are at the optimal level. Too hot of a temperature can cause problems like sinkholes or uneven cooling, while pouring at too low of a temperature may result in frosting or poor adhesion between layers.
Slow and Steady Pour
When doing the second pour, it’s essential to pour the wax slowly and steadily to prevent air bubbles from forming between layers. A smooth, continuous pour helps to create a seamless finish between the first and second layers of wax. Take your time when pouring and try to avoid any sudden movements that could disrupt the even distribution of wax.
Fragrance Timing
Adding fragrance oils at the right time during the second pour is crucial for achieving a well-scented candle. It’s recommended to add fragrance oils when the wax has slightly cooled but is still liquid enough to blend easily. This ensures that the fragrance is evenly distributed throughout the candle without evaporating too quickly. Be mindful of following specific guidelines for each type of fragrance oil to prevent any issues with scent throw or performance.
By implementing these tips and tricks, you can improve your skills in candle making second pour and create stunning candles with consistent quality and aesthetic appeal. Paying attention to details like temperature control, pouring technique, and fragrance timing will help you achieve candles that not only look beautiful but also provide an enjoyable sensory experience when burned.
Common Mistakes to Avoid in Candle Making Second Pour
When embarking on the journey of candle making, especially when it comes to the second pour, it is important to be aware of common mistakes that can often occur during the process. By understanding these pitfalls and how to avoid them, you can ensure that your candles turn out beautifully every time.
Here are some common mistakes to steer clear of when working on your candle making second pour:
- Not allowing enough time for the first pour to cool properly before attempting the second pour. This can result in uneven layers or a crumbly texture in your candles.
- Overheating your wax during the second pour can lead to discoloration or a burnt smell in your candles. It’s crucial to monitor the temperature carefully and follow manufacturer guidelines.
- Pouring the wax too quickly or aggressively during the second pour can cause air bubbles to form in your candles. Taking your time and pouring slowly can help prevent this issue.
Avoiding these common mistakes will help you achieve a successful and visually appealing candle making second pour. Remember to take your time, follow instructions carefully, and practice patience throughout the process. With attention to detail and precision, you can create stunning custom candles that bring warmth and ambiance to any space.
Creative Ideas for Customizing Your Second Pour Candles
When it comes to candle making, the second pour is a crucial step that allows you to add a personal touch and customize your creations. There are endless creative ideas for customizing your second pour candles, whether you want to experiment with different colors, scents, or decorative elements.
One popular technique is layering different colored waxes during the second pour to create unique patterns and designs in your candles. You can also mix in various fragrance oils to create a signature scent that enhances the ambiance of any space.
Another creative idea for customizing your second pour candles is adding inclusions such as dried flowers, herbs, or even glitter. These decorative elements not only add visual interest to your candles but can also provide a sensory experience when lit.
Mixing inclusions into the wax before pouring can give your candles a textured look or create an element of surprise as they burn down. You can also experiment with different types of molds to achieve unique shapes and sizes for your candles, allowing you to create one-of-a-kind pieces that stand out.
For those looking to take their customization a step further, consider incorporating techniques like marbling or swirls during the second pour process. By carefully manipulating the melted wax as you pour it into the container, you can achieve stunning visual effects that resemble marble stone or swirling galaxies.
This level of creativity adds an artistic touch to your candles and makes them truly special gifts or décor items. With endless possibilities for customizing your second pour candles, let your imagination run wild and explore new techniques to elevate your candle making craft.
Conclusion
In conclusion, mastering the art of candle making second pour is an enriching and rewarding experience for any crafter. The second pour process allows for creativity and personalization, resulting in unique and beautifully customized candles. By understanding the importance of the second pour in candle making, choosing the right wax, having essential equipment, and following a step-by-step guide, you can create stunning candles that truly reflect your style.
Furthermore, by incorporating tips and tricks into your candle making routine, you can enhance the quality and appearance of your second pour candles. Avoiding common mistakes, such as overheating the wax or rushing through the process, will ensure that your candles turn out perfectly every time. Additionally, exploring creative ideas for customizing your second pour candles will add a special touch to your creations, making them stand out from store-bought alternatives.
In essence, the journey of candle making second pour is not just about producing beautiful candles; it’s about embracing a form of artistic expression and self-care. Whether you’re creating candles for personal use or as gifts for loved ones, this craft allows you to explore your creativity while enjoying a therapeutic and fulfilling hobby. So gather your supplies, set aside some time for creativity, and indulge in the relaxing yet rewarding world of candle making second pour.
Frequently Asked Questions
What Does a Second Pour Mean in Candle Making?
A second pour in candle making refers to the process of pouring additional melted wax on top of a partially cooled first pour to even out the surface and fill any sinkholes or cavities that may have formed during the initial pour. This technique helps create a smooth and polished finish on the candle.
How to Do a Second Pour for Candles?
To do a second pour for candles, you need to wait until the surface of the initial pour has started to solidify but is still slightly warm and malleable. Then, carefully reheat your remaining wax until it reaches the desired temperature and consistency.
Slowly pour the melted wax over the partially set candle, making sure to cover any imperfections and level out the top surface. Allow the candle to cool completely before trimming the wick and enjoying your beautifully finished product.
Can You Pour Candle Wax Into Another Candle?
Yes, you can pour candle wax into another candle as long as both waxes are compatible in terms of ingredients and melting points. It’s important to make sure that you’re not mixing different types of wax that could lead to uneven burning or other safety issues.
By adding melted wax from one candle into another, you can repurpose leftover wax or correct any flaws in the appearance of your candles for a more professional look. Just be sure to follow proper safety precautions when handling hot wax to avoid accidents or injuries.

Welcome to my candle making blog! In this blog, I will be sharing my tips and tricks for making candles. I will also be sharing some of my favorite recipes.

