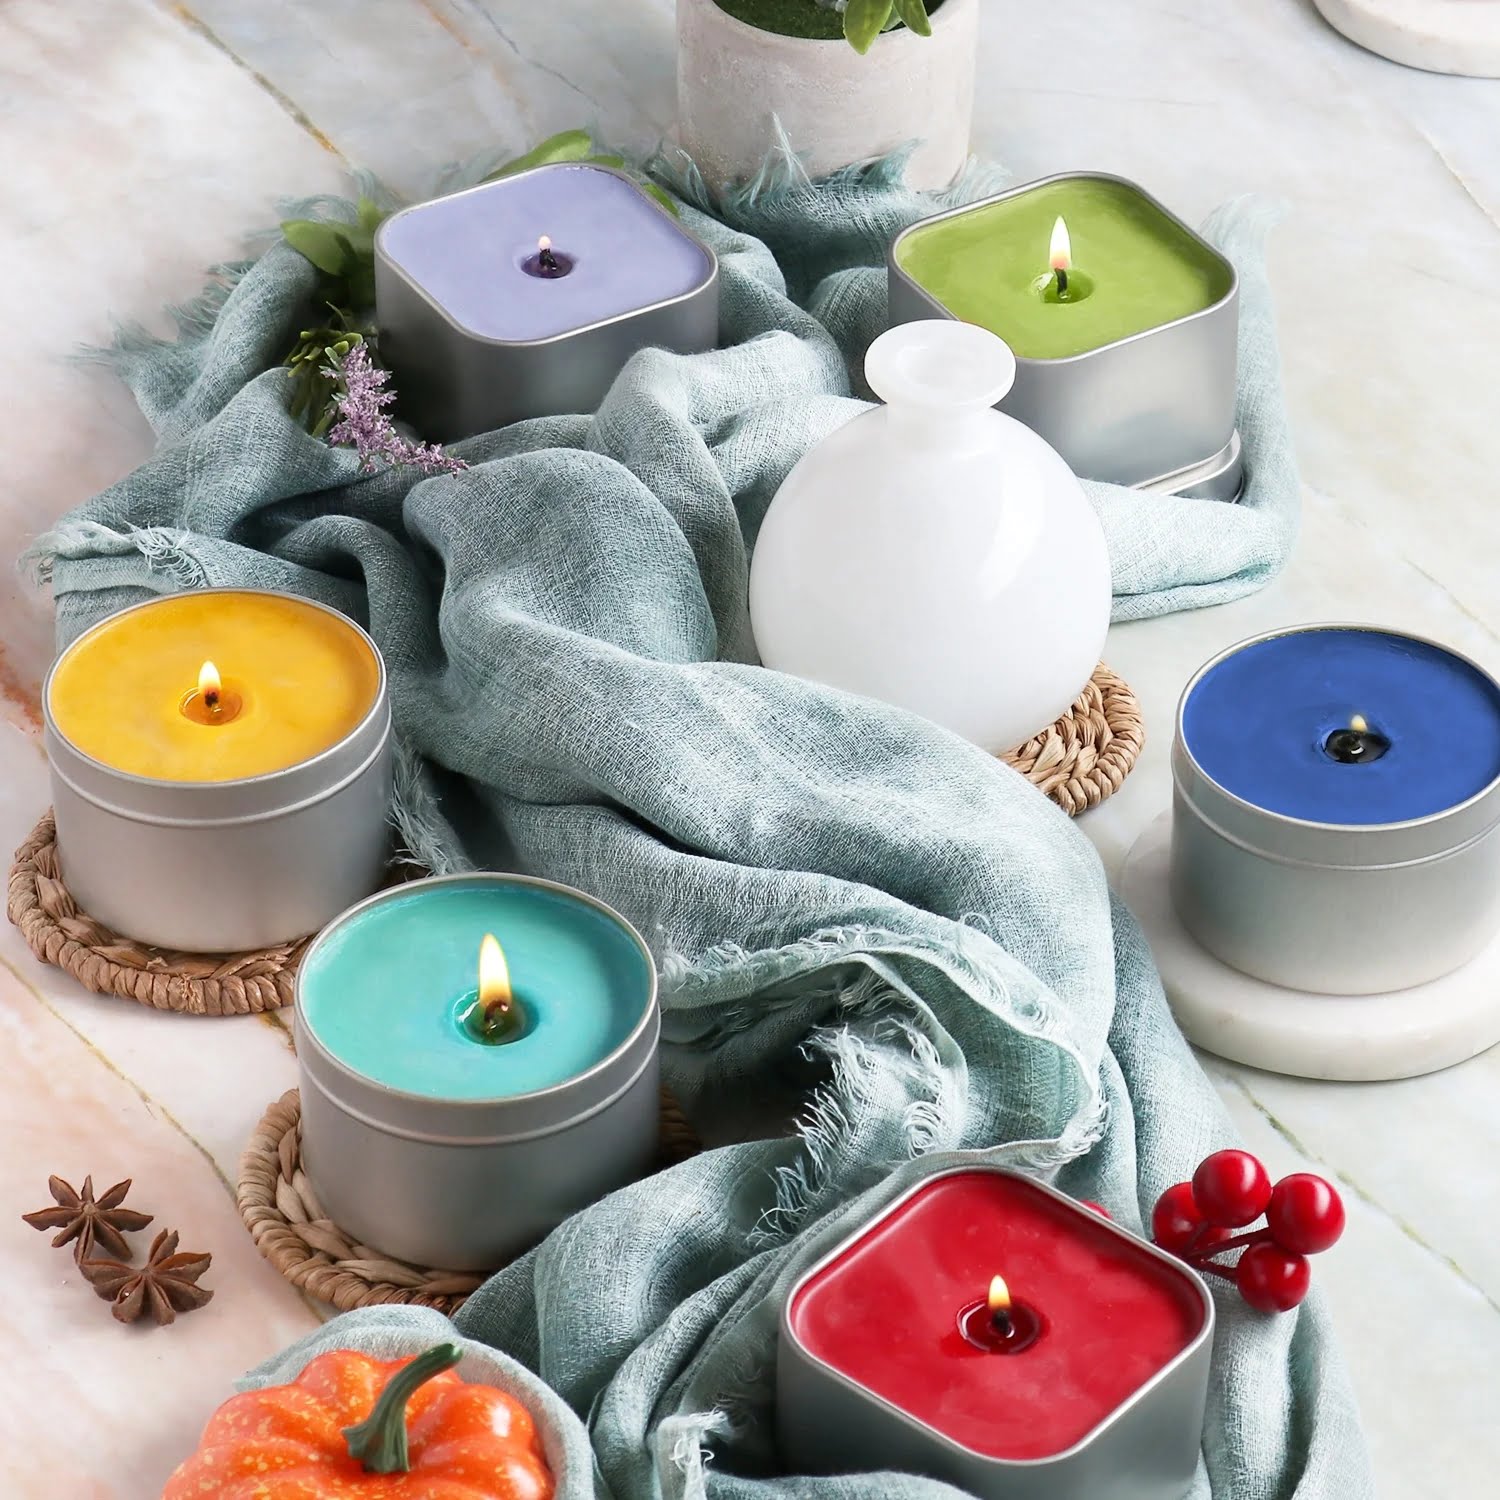
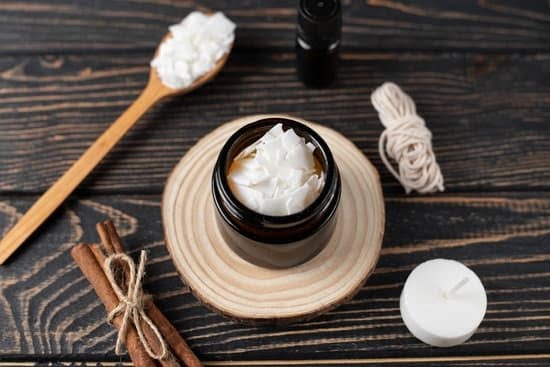
Candle making is an ancient art that has evolved over the centuries, from its earliest forms using tallow and beeswax to the modern-day variety of waxes, fragrances, and colors available. In today’s fast-paced world, candles continue to play a significant role in relaxation, meditation, and ambiance.
Many people are discovering the joy of creating their own candles as a hobby or even a small business venture. In this article, we will explore the basics of candle making, including a step-by-step guide with pictures to help you along the way.
The process of creating your own candles can be both rewarding and fun. Not only does it allow you to customize your candle to your liking, but it also provides a sense of satisfaction knowing that you made something with your own hands. With the right materials and a little bit of patience, anyone can learn how to make beautiful candles for personal use or as gifts for friends and family.
In this section, we will delve into the importance of candles in modern times and why making your own candles can be an enjoyable and fulfilling activity. From setting up your workspace to preparing molds and wicks, we will provide you with all the necessary information to get started on your candle making journey. So let’s dive in and discover the wonderful world of candle making.
Materials Needed
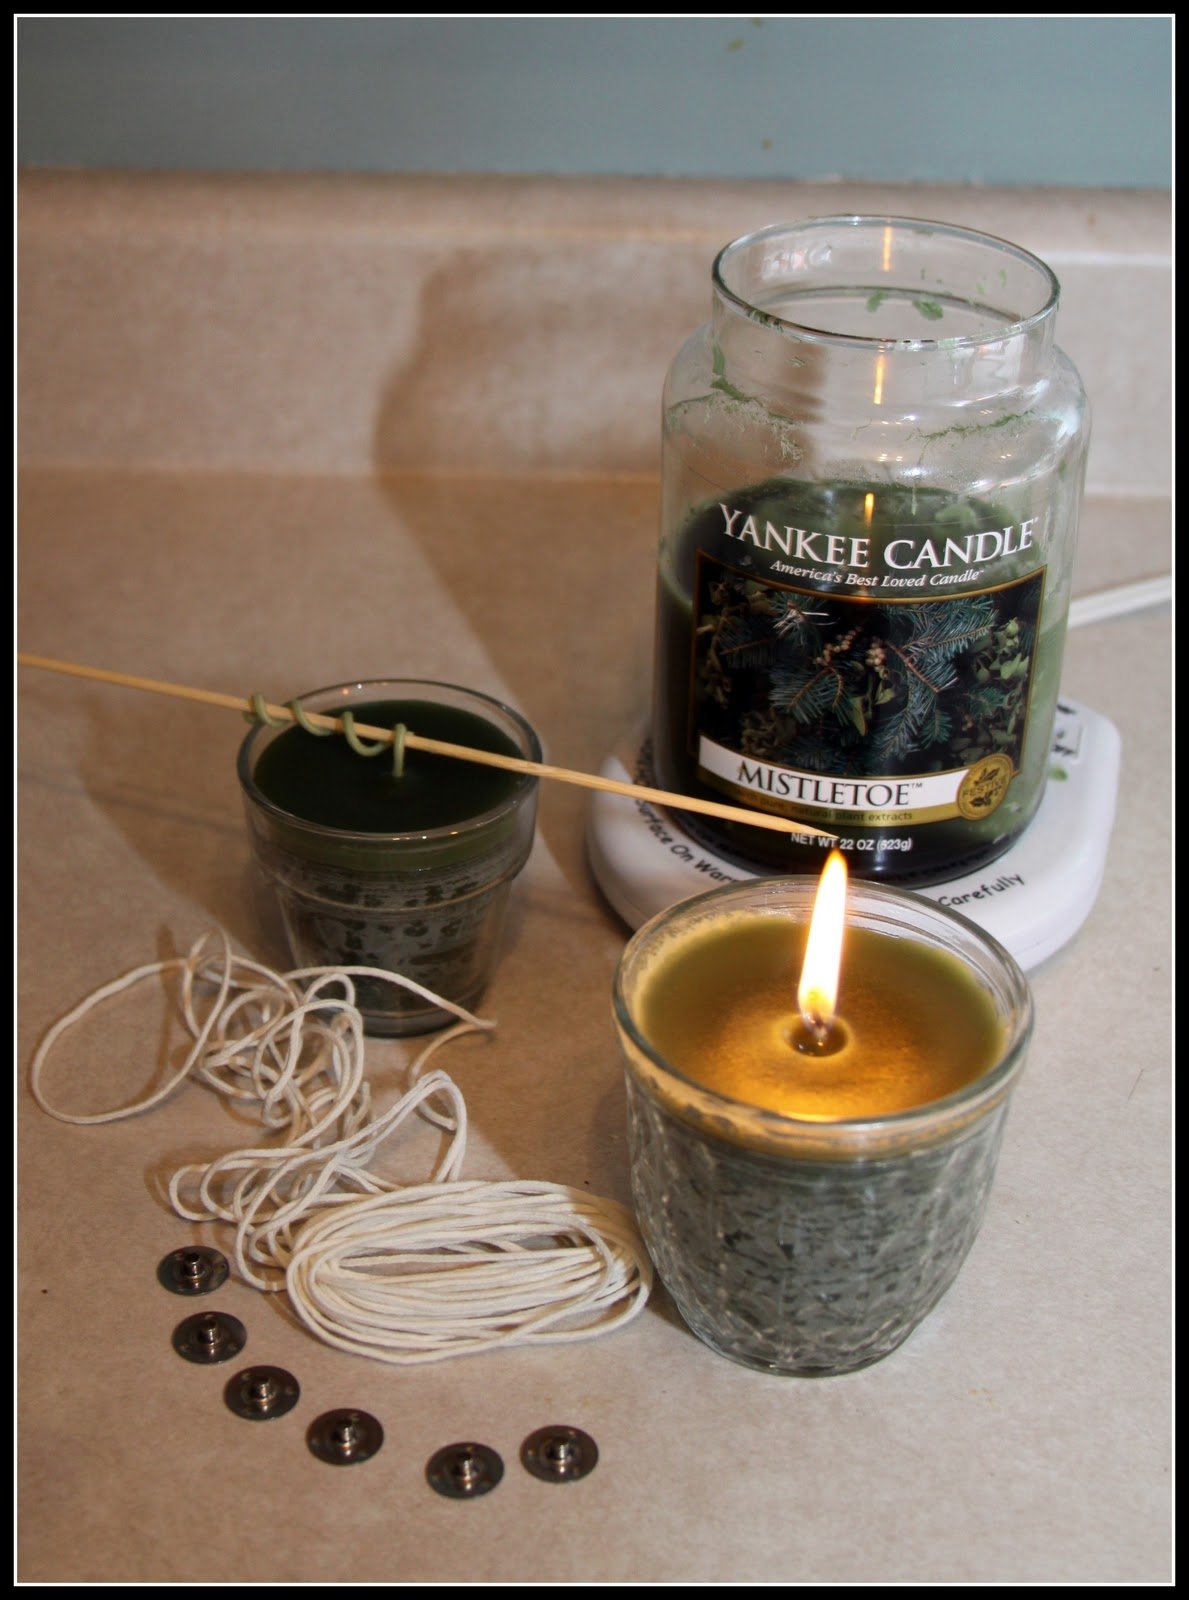
When it comes to making your own candles, having the right materials is essential for a successful and enjoyable experience. The basic materials needed for candle making include wax, fragrance oils, wicks, molds, a double boiler or melting pot, a thermometer, and a stirring implement. High-quality materials are crucial in producing beautiful and functional candles.
You can find these necessary materials at specialty craft stores, online retailers, or even your local grocery store. When selecting wax for your candles, it’s important to consider the type of wax you want to work with and its melting points.
Fragrance oils should be chosen carefully to ensure they will produce the desired scent when the candle is burned. Additionally, wicks come in various sizes and materials so it’s important to select ones that are appropriate for the size and type of candle you plan to make.
Investing in quality materials may require a bit of extra money upfront but will ultimately result in higher-quality candles with better burn times and scent throw. By using top-notch supplies from reputable sources, you’re setting yourself up for success as you embark on your candle making journey.
It’s important to note that working with quality materials not only ensures an aesthetically pleasing end product but also contributes to the safety of the candles when being used. Using subpar or cheap ingredients can lead to issues such as poor scent throw or wick performance, which could potentially compromise the overall quality of your candles. Therefore, sourcing high-grade materials is an integral part of creating long-lasting and fragrant homemade candles.
Preparation
Setting up your workspace is an essential part of preparing for candle making. Choose a flat, stable surface to work on, and cover it with newspaper or an old tablecloth to protect it from any spills or drips. Ensure that the area is well-ventilated to prevent the buildup of fumes from the melted wax.
Gather all your materials and have them organized and easily accessible. Safety precautions are also crucial at this stage. Always have a fire extinguisher nearby, wear appropriate clothing such as an apron and gloves, and keep a first aid kit handy in case of accidents.
Another important step in preparation is ensuring that your molds and wicks are ready for use. Whether you’re using traditional candle molds or repurposing household items like mason jars for your candles, make sure they are clean and completely dry before pouring the wax. If you’re using wicks that need to be cut to size, do so beforehand according to the height of your molds. Properly preparing your workspace and materials will ensure a smoother candle making process.
Properly set up workspace + safety precautions = successful candle making. It’s essential to take these preparation steps seriously in order to avoid accidents, frustrations, or imperfect candles.
| Preparation Steps | Description |
|---|---|
| Set up workspace | Choose a flat, stable surface; cover it with newspaper; ensure good ventilation. |
| Safety precautions | Have fire extinguisher nearby; wear appropriate clothing; keep a first aid kit handy. |
| Preparing molds and wicks | Ensure they are clean and dry; cut wicks to desired length. |
Candle Making Steps
Melting the Wax
The first step in making your own candles is to melt the wax. This can be done using a double boiler or a microwave, depending on the type of wax you choose. It is important to monitor the temperature of the wax and stir it occasionally to ensure an even melt. Be sure to have a reliable thermometer on hand to make sure the wax doesn’t overheat, as this can be a fire hazard.
Adding Fragrance and Color
Once the wax is melted, it’s time to add fragrance and color. Essential oils or candle fragrance oils can be added to give your candles a pleasant scent, while dye chips or liquid candle dye can be used to achieve the desired color. Carefully measure and mix these additives into the melted wax before pouring it into the molds.
Pouring the Wax Into Molds
After adding fragrance and color, carefully pour the melted wax into prepared molds that contain wicks. It’s important to pour slowly and steadily to avoid splashing or spilling. Make sure that the wick stays centered as you pour in order to create a straight-burning candle. If you’re using different colored layers, allow each layer to cool before pouring the next one for a clean, layered effect.
By following these candle making steps pictures guide, you can create beautiful homemade candles that are perfect for personal use or as gifts for friends and family. With practice and creativity, you will soon be able to enjoy customizing candles with unique scents, colors, and designs. Remember that candle making is both an art and a science, so don’t be discouraged by any initial imperfections – every mistake is an opportunity for learning and improvement.
Cooling and Setting
Allowing the Candles to Cool
After pouring the wax into the molds, it is important to allow the candles to cool properly. This step is crucial in ensuring that the candles set correctly and have a smooth, even finish. It is recommended to let the candles cool at room temperature for at least 24 hours before attempting to unmold them. Avoid placing the candles in a refrigerator or freezer, as this can cause issues with the texture of the finished product.
Importance of Patience in Candle Making
Patience is a key trait when it comes to candle making. Rushing through the cooling and setting process can lead to imperfect results such as cracks or uneven surfaces. It’s important to resist the urge to touch or move the candles while they are setting, as this can disrupt their formation. By practicing patience during this stage of candle making, you’ll be rewarded with beautifully crafted homemade candles.
How to Properly Set the Candles for Best Results
Once the candles have cooled completely, it’s important to ensure they are properly set before unmolding them. Gently press on the surface of each candle with your finger – if it feels firm and solid, then it’s ready to be unmolded. If there is any sign of softness or give, allow the candles to continue setting for a few more hours. Proper setting ensures that your homemade candles will maintain their shape and burn evenly when used.
Unmolding and Trimming
Once your candles have cooled and set, it’s time to unmold them and trim the wicks for a professional finish. Here’s a step-by-step guide for this final stage of candle making:
1. Removing the candles from molds: Carefully remove the candles from their molds by gently tapping the bottom of the mold or using a knife to loosen the edges. If you encounter any resistance, try placing the molds in the freezer for a few minutes to help release the candles.
2. Trimming wicks to desired length: Using sharp scissors, trim the wick of each candle to about 1/4 inch to prevent excessive smoking and uneven burning. Be sure to do this over a trash can or paper towel to catch any loose wick trimmings.
3. Cleaning and preparing candles for use: Once your candles are unmolded and trimmed, wipe them down with a clean cloth to remove any excess wax or fingerprints. You can also add a finishing touch by attaching labels or ribbons to your homemade creations.
Remember that patience and precision are key during this stage of candle making. Taking your time with unmolding and trimming will ensure that your candles look polished and professional when it comes time to light them.
So there you have it – with these simple steps, you’ve successfully made your own batch of beautiful homemade candles that are ready to be enjoyed or gifted to others.
Whether you’re new to candle making or an experienced crafter looking for inspiration, creating personalized candles is a rewarding creative outlet that allows you to experiment with different scents, colors, and designs. Plus, giving handmade candles as gifts adds a personal touch that store-bought options simply cannot match.
If you’re interested in exploring more advanced techniques or troubleshooting common candle making issues, there are countless resources available online including tutorials, forums, and social media groups dedicated to candle making enthusiasts. Don’t be afraid to experiment with new ideas and techniques as you continue on your candle making journey.
Troubleshooting Common Problems
Candle making, like any craft, can sometimes present challenges. However, with the right knowledge and tips, you can easily troubleshoot common problems that may arise during the candle making process. Here are some problem-solving tips for common candle making issues:
- Cracking: If you find that your candles are cracking as they cool, this may be due to a sudden change in temperature. To prevent cracks, try cooling your candles gradually by moving them to a cooler area of your workspace.
- Air bubbles: Air bubbles can form in candles when pouring the wax into the molds. To avoid air bubbles, try pouring the wax slowly and tapping the mold gently on a flat surface to release any air trapped inside.
- Poor setting: If your candles don’t set properly and remain soft or sticky, it could be due to using too much fragrance oil or coloring in the wax. To prevent this issue, use the recommended amount of fragrance and colorants for the specific type of wax you are using.
By understanding these common problems and following these troubleshooting tips, you can ensure that your homemade candles turn out beautiful and perfect every time.
Remember that practice makes perfect when it comes to candle making. Don’t be discouraged if you encounter difficulties along the way. With patience and perseverance, you’ll soon master the art of candle making and be able to create beautiful handmade candles with ease.
If you want more in-depth guidance on troubleshooting common candle making problems, consider joining online forums or reaching out to experienced candle makers for advice and support. Sharing experiences with fellow enthusiasts can provide valuable insights and inspiration for overcoming any challenges you may face during your candle making journey.
Decorating and Enjoying
Once your homemade candles have cooled and set, it’s time to add a personal touch to them. Decorating your candles can be a fun and creative process that allows you to customize the look of your candles to fit any occasion or style.
One simple way to decorate your candles is by adding ribbons, bows, or decorative labels around the base of the candle. You can also use paint pens or markers to create intricate designs or personalize the candles with names or special messages.
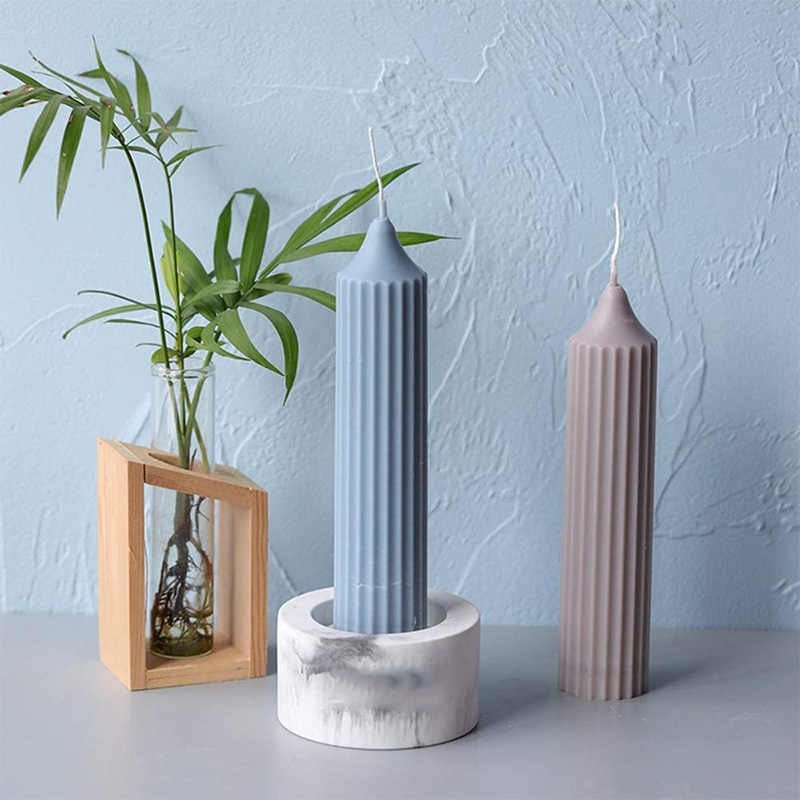
Another popular way to decorate homemade candles is by adding embellishments such as dried flowers, herbs, or glitter. Be sure to use non-flammable materials if you plan on burning the candle, and always keep any decorations away from the flame. Additionally, consider adding a decorative holder or display for your candles to enhance their visual appeal when not in use.
Once decorated, it’s time to enjoy the fruits of your labor by lighting and using your homemade candles. Whether it’s for a relaxing night at home, a romantic dinner, or as a thoughtful gift for friends and family, there’s nothing quite like the warm glow and comforting scent of a handmade candle. Take pride in knowing that you created something beautiful and functional with your own hands – a true labor of love.
If you’re looking for more inspiration for decorating and enjoying homemade candles, there are countless resources available online. From DIY craft blogs to social media platforms dedicated to candle making enthusiasts, you’ll find an abundance of ideas and tips for creating unique and beautiful candles that reflect your personal style and creativity. So go ahead, light up those candles and bask in the warm ambiance that only homemade creations can provide.
Conclusion
In conclusion, candle making is a rewarding and enjoyable hobby that allows you to create beautiful and personalized candles for yourself or to give as thoughtful gifts. By following the steps outlined in this article, anyone can learn how to make their own candles at home. The process of making candles not only provides a creative outlet but also offers a sense of accomplishment when you see the finished product.
If you’re feeling inspired to try your hand at candle making after reading this article, there are many resources available to help you get started. From online tutorials and classes to local craft stores that offer workshops, there are plenty of opportunities to learn more about this craft. Whether you’re interested in creating simple, unscented candles or experimenting with different fragrances and colors, there’s no shortage of possibilities when it comes to candle making.
So why not give it a try? Making your own candles can be a fun and fulfilling experience, and with practice, you can elevate your skills and create stunning homemade candles that rival those found in stores. And who knows, it may even become a new favorite pastime for you. So gather your materials, follow the candle making steps pictures provided in this article, and start creating your own unique candles today.
Frequently Asked Questions
How Are Candles Made Step by Step?
Candles are made by first melting the wax, then adding color and fragrance if desired. The wick is then placed in the mold or container, and the melted wax is poured around it. After cooling, the candle is trimmed and cleaned to create the final product.
How Do You Make a Candle 10 Steps?
To make a candle in 10 steps, start by preparing your work area and choosing a wax type. Then, melt the wax, add color and fragrance, prepare the container or mold, and place the wick. Pour the wax, let it cool, trim the wick, clean up any spills, and finally enjoy your homemade candle.
What Is the Formula for Candle Making?
The formula for making candles typically involves mixing together ingredients such as wax, colorant, fragrance oil, and additives like stearic acid or UV inhibitors. The specific measurements of each ingredient will depend on the type of candle being made and personal preference for scent strength or color intensity.

Welcome to my candle making blog! In this blog, I will be sharing my tips and tricks for making candles. I will also be sharing some of my favorite recipes.

