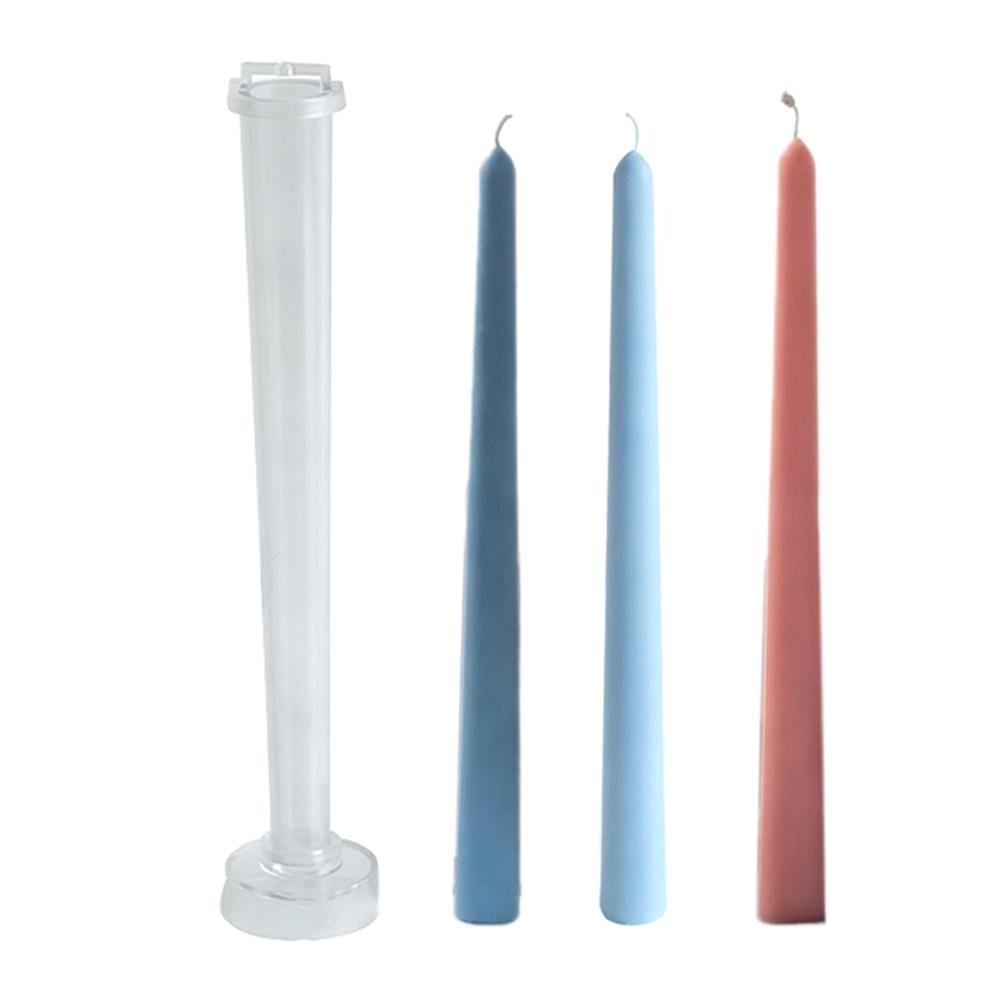
Candles are a great way to add ambiance and light to any room. They are also a great way to celebrate a special occasion. You can buy candles at any store, but did you know that you can also make your own candles? It’s easy and fun, and you can use any kind of wax you like.
The first step in making your own candles is to gather together all of the supplies you will need. This includes wax, wicks, a candle mold, a heat source, and a stirring tool.
The type of wax you use is up to you. There are a variety of different types of wax available, including soy wax, beeswax, and paraffin wax. Soy wax is a good choice for those who are looking for a environmentally friendly option. It is made from soybeans, so it is biodegradable and renewable. Beeswax is another environmentally friendly option. It is made from beeswax, so it doesn’t release any harmful toxins into the air. Paraffin wax is the most common type of wax used for making candles. It is inexpensive and easy to find.
The wicks you use are also important. You want to use a wick that is the right size for your candle. You can buy wicks in a variety of different sizes. You also want to make sure that the wick is made of a material that will burn safely. There are a few different types of wicks that you can choose from, including cotton, paper, and metal.
The candle mold is another important piece of equipment. You can use any type of mold you like, but it is important to make sure that it is the right size for your candle. The heat source you use is also important. You can use a variety of different heat sources, including a stovetop, a microwave, or an oven.
The final piece of equipment you need is a stirring tool. You can use a variety of different tools for stirring, including a spoon, a whisk, or a chopstick.
Once you have gathered together all of the supplies you need, it’s time to start making candles. The first step is to melt the wax. You can do this in a variety of different ways, including using a stovetop, a microwave, or an oven. Once the wax is melted, you can add any scent or color you like.
Next, you want to thread the wick through the hole in the candle mold. Make sure that the wick is centered in the mold. Then, pour the wax into the mold.
Finally, you want to wait for the wax to cool and harden. Once it has hardened, you can remove the candle from the mold.
Making your own candles is a fun and easy way to add a touch of personalization to any occasion. It is also a great way to save money. You can find all of the supplies you need at any craft store.
Candle Making Gatlinburg Tn
Candles have been around for centuries, and their popularity has only grown in recent years. People love candles because they can create a warm, inviting atmosphere in any room. Not to mention, they make a great gift for any occasion.
If you’re looking to get into candle making, Gatlinburg, TN is the perfect place to do it. There are plenty of candle making shops in the area, and they offer a variety of classes and workshops. You can also find all the supplies you need to get started.
The first step in candle making is choosing the right wax. There are a few different types of waxes to choose from, including soy wax, beeswax, and paraffin wax. Soy wax is a popular choice because it’s environmentally friendly and burns cleanly. Beeswax is also a popular choice because it has a natural scent and it’s durable. Paraffin wax is the most popular type of wax, and it’s available in a variety of scents.
Once you’ve chosen the right wax, you need to decide on the type of candle you want to make. There are a few different types of candles to choose from, including votive candles, pillar candles, and taper candles. Votive candles are small and typically made from soy wax. Pillar candles are large and can be made from any type of wax. Taper candles are thin and typically made from beeswax or paraffin wax.
The next step is to choose a scent. There are a variety of scents to choose from, including vanilla, citrus, and lavender. You can also choose a scent that’s specific to the season, such as pumpkin spice or peppermint.
The final step is to create the candle. This involves melting the wax, pouring it into a mold, and adding the scent. Soy wax is easy to work with, and it doesn’t require any special equipment. Paraffin wax is a bit harder to work with, but it’s worth it because it results in a stronger, more durable candle.
If you’re looking for a fun and creative hobby, candle making is a great option. Gatlinburg, TN is the perfect place to get started, and you can find all the supplies you need at the local candle making shops.
Can A Use A Metal Spoon For Candle Making
?
The short answer to this question is yes, you can use a metal spoon for candle making. However, there are a few things you should keep in mind before you get started.
When you’re choosing a spoon for candle making, it’s important to select one that is made from a non-reactive material. Metal spoons are a good option because they are non-reactive, but you can also use wooden spoons or silicone spoons.
It’s also important to make sure that your spoon is clean and free of any contaminants. If you’re using a metal spoon, make sure to scrub it clean before you start. If you’re using a wooden spoon, make sure to sand it down so that there are no sharp edges.
Once you have a clean and non-reactive spoon, you can start using it to make candles. Place the spoon in the center of your candle wax and use it to stir the wax as it melts. Be sure to keep stirring until the wax is completely melted.
Once the wax is melted, you can start pouring it into your candle molds. Use the spoon to help you pour the wax into the molds and make sure to smooth it out evenly.
Once the wax has hardened, you can remove the candles from the molds. If you want, you can use the spoon to trim the wick to the desired length.
So, can a use a metal spoon for candle making? The answer is yes, but you should keep a few things in mind first. Make sure to select a spoon made from a non-reactive material, and make sure to clean and sanitize it before you use it. Use the spoon to stir the wax as it melts, and use it to pour the wax into the candle molds.
Wax Candle Making How To
Candles have been around for centuries and are still a popular choice today. They come in many different shapes and sizes, and can be used for a variety of purposes. While store-bought candles are a convenient option, making your own candles can be a fun and rewarding experience.
The first step in making your own candles is to gather your supplies. You will need wax, a heat source, a container to melt the wax in, a wick, and a means of attaching the wick to the container.
The type of wax you use is up to you. There are many different types of wax available, including paraffin, soy, beeswax, and gel wax. Paraffin wax is the most common type of wax and is easy to work with. Soy wax is a popular choice for eco-conscious consumers, as it is made from renewable resources. Beeswax is a natural product and has a pleasant honey scent. Gel wax is a type of wax that is made from vegetable oils and is popular for use in candles with scents or colors.
Once you have chosen your wax, you need to decide on a heat source. A heat gun, stovetop, or microwave can all be used to melt wax. If you are using a stovetop, be sure to use a pot that is specifically made for melting wax.
The next step is to choose a container. The container should be large enough to hold the desired amount of wax, and should have a flat bottom so that the wax will melt evenly. Glass or metal containers are preferable, as they can withstand high temperatures.
The wick is the final essential component of a candle. The wick should be the same width as the container, and should be long enough to extend out of the top of the container by at least 1 inch.
The easiest way to attach the wick to the container is to use a wick holder. If you do not have a wick holder, you can use a pencil or chopstick. Simply thread the wick through the hole in the top of the holder (or the end of the chopstick) and place the holder in the bottom of the container.
Once you have gathered your supplies, it is time to start making candles!
The first step is to melt the wax. Place the wax in the container and heat it until it is melted. Be sure to stir the wax occasionally so that it melts evenly.
Once the wax is melted, carefully attach the wick to the container. If you are using a wick holder, simply place the wick in the holder and tighten the screw. If you are using a pencil or chopstick, hold the wick in place and pour the wax around it.
Once the wick is attached, carefully pour the melted wax into the container. Be sure to avoid getting the wax on the wick, as this will cause the candle to burn unevenly.
Allow the wax to cool and harden. Once it has cooled, you can trim the wick to the desired length.
Your candle is now ready to use! Enjoy!
Candle Making Workshops Brisbane
Candle making is a fun and creative way to relax and spend some quality time with friends or family. It is also a great way to bond with your children and teach them about science, art and creativity. Candle making workshops Brisbane can teach you the basics of candle making and give you the opportunity to create your own candles.
The first step in candle making is choosing the right wax. There are many different types of wax available, each with its own properties. The most common types of wax are paraffin wax, soy wax and beeswax. Paraffin wax is the most common type of wax and is a good choice for beginners. Soy wax is made from soybeans and is a good choice for eco-conscious people. Beeswax is made from beeswax and is a good choice for people who want a natural product.
The next step is choosing the right wick. The wick size and type will depend on the type of wax you are using. The most common types of wicks are cotton wicks, paper wicks and metal wicks. Cotton wicks are the most common type of wick and are a good choice for most types of wax. Paper wicks are a good choice for soy wax, and metal wicks are a good choice for beeswax.
The next step is melting the wax. The best way to do this is to use a double boiler. A double boiler is a pot with a smaller pot inside it. The smaller pot is filled with water and the wax is melted in the smaller pot. The water in the larger pot is used to heat the smaller pot and melt the wax.
The next step is adding the scent. The best way to do this is to use essential oils. Essential oils are oils that have been extracted from plants. There are many different types of essential oils available, each with its own scent. The most common types of essential oils are lavender oil, lemon oil and peppermint oil.
The next step is adding the dye. The best way to do this is to use food dye. There are many different colors of food dye available, each with its own properties. The most common colors of food dye are red, blue and yellow.
The next step is adding the wick. The best way to do this is to use a wick holder. A wick holder is a metal or plastic clip that is used to hold the wick in place. The wick holder is attached to the bottom of the candle and the wick is inserted into the wick holder.
The next step is pouring the wax. The best way to do this is to use a pouring pot. A pouring pot is a pot that is used to pour the wax into the candle. The pouring pot is filled with wax and the wax is melted in the pouring pot. The melted wax is then poured into the candle.
The next step is cooling the wax. The best way to do this is to use a cooling rack. A cooling rack is a metal rack that is used to cool the wax. The cooling rack is placed in a cool place and the wax is poured onto the cooling rack. The wax will then cool and harden.
The next step is trimming the wick. The best way to do this is to use a pair of scissors. The wick is trimmed to the desired length.
The next step is burning the candle. The best way to do this is to use a candle holder. A candle holder is a pot that is used to hold the candle. The candle holder is filled with wax and the candle is melted in the candle holder. The melted wax is then poured into the candle.

Welcome to my candle making blog! In this blog, I will be sharing my tips and tricks for making candles. I will also be sharing some of my favorite recipes.

