Are you looking for a new technique to improve your candle making skills? Look no further than a water bath. In this article, we will explore the use of a water bath in candle making, its benefits, step-by-step guide, best practices, common mistakes to avoid, tools and equipment needed, as well as safety precautions and tips.
Using a water bath in candle making is a game-changer for DIY enthusiasts. Not only does it help create a more even and consistent heat distribution, but it also allows for better control over the melting process of the wax. Whether you’re a beginner or an experienced candle maker, incorporating a water bath into your process can take your candles to the next level.
Throughout this article, we will delve into the various aspects of using a water bath for candle making. From understanding the benefits of using this technique to learning about best practices and safety precautions, by the end of this article, you’ll be equipped with all the knowledge you need to confidently incorporate a water bath into your candle making process.
So let’s dive in and discover how to elevate your DIY candles with the use of a water bath.
Benefits of Using a Water Bath in Candle Making
Using a water bath in candle making offers several benefits that can enhance the quality of your DIY candles. Here are some of the key advantages of incorporating a water bath into your candle making process:
- Even Heating: One of the main benefits of using a water bath in candle making is that it provides gentle and even heat to the wax. This helps to prevent hotspots and ensures that the wax melts uniformly, leading to a smoother and more consistent texture in your finished candles.
- Prevents Overheating: The use of a water bath acts as a buffer between the direct heat source and the wax, which helps to prevent overheating. This is especially beneficial for delicate waxes that can easily scorch or become discolored when exposed to high temperatures.
- Reduced Risk of Fire: By melting the wax using indirect heat, a water bath minimizes the risk of accidental fires or flare-ups that can occur when working with direct heat sources like stovetops or open flames. This makes it a safer option for candle makers, especially those who are new to the craft.
In addition to these advantages, using a water bath can also make clean-up easier as any spilled wax will be contained within the vessel holding the wax. This means less mess and easier maintenance of your work area.
Overall, incorporating a water bath into your candle making process can result in higher quality candles with a more professional finish, making it an essential technique for any DIY candle maker.
Step-by-Step Guide to Using a Water Bath for Candle Making
When it comes to making candles, using a water bath is a game-changer. This method involves placing the candle-making container in a larger pan filled with water and heating it gently. Not only does this help in achieving a more even and gentle heat for melting wax, but it also provides a safe way to prevent the wax from overheating or catching fire. Here is a step-by-step guide to using a water bath for candle making:
1. Prepare the Work Space: Before starting, make sure that you have enough space to set up your water bath. Choose a heat-resistant surface for the stovetop and ensure there are no flammable materials nearby.
2. Fill the Pan with Water: Take a large pan and fill it with about two inches of water. Place it on the stovetop over low to medium-low heat.
3. Set Up the Candle-Making Container: Put the wax or candle-making container into the pan of water. The bottom of the container should be touching the water, ensuring that the heat is being transferred evenly.
By following these simple steps, you can effectively use a water bath for candle making. This method not only ensures safety but also helps in achieving better results with your DIY candles.
| Step | Description |
|---|---|
| 1 | Prepare the work space by choosing a heat-resistant surface. |
| 2 | Fill a large pan with about two inches of water and place it on low to medium-low heat on the stovetop. |
| 3 | Place the candle-making container into the pan of water so that its bottom touches the water, ensuring even heat transfer. |
Best Practices for Setting Up a Water Bath for Candle Making
Setting up a water bath for candle making is a crucial step in ensuring that your candles turn out as intended. Here are some best practices to follow when setting up a water bath for your candle making process:
1. Use a sturdy and heat-resistant container: When setting up a water bath for candle making, it’s important to use a container that can withstand high temperatures. A double boiler or a large pot with a heat-resistant bowl placed on top works well for this purpose.
2. Use the right amount of water: It’s essential to add the correct amount of water to the pot or container when creating a water bath for candle making. The water should be filled to just below the level of the top of the inner pouring pitcher or melting container to ensure even heating.
3. Monitor the temperature: To achieve the best results, use a kitchen thermometer to monitor the temperature of the water in the water bath throughout the candle making process. This will help prevent overheating and ensure that your wax melts evenly and at the right temperature.
Remember, using a water bath provides a gentle and consistent heat source for melting wax, which helps prevent scorching or burning. By following these best practices, you can set up an effective water bath for candle making and achieve professional-quality results in your DIY candles.
Common Mistakes to Avoid When Using a Water Bath for Candle Making
When using a water bath for candle making, there are several common mistakes that beginners and even experienced candle makers can make. Avoiding these mistakes is crucial to ensure the success of your candle making process.
One common mistake to avoid is not adding enough water to the water bath. The water in the bath helps to create an even and gentle heat, so it’s important to ensure that there is enough water to last throughout the entire candle making process.
Another mistake to avoid is not properly sealing your pouring pitcher or melting pot. When using a water bath for candle making, it’s essential to prevent any water from getting into your wax or fragrance oils. Be sure to securely seal your pouring pitcher or melting pot with aluminum foil or plastic wrap before placing it in the water bath.
Additionally, be mindful of not allowing the water in the bath to boil too vigorously. A rapid boil can cause the temperature inside the melting pot/pouring pitcher to rise too quickly, which can result in your wax or fragrance oils becoming overheated and potentially causing safety hazards.
| Common Mistakes | How to Avoid |
|---|---|
| Not adding enough water | Ensure there is enough water throughout the entire process |
| Improperly sealing pouring pitcher/melting pot | Securely seal with aluminum foil or plastic wrap before placing in the water bath |
| Allowing a vigorous boil | Avoid rapid boiling by adjusting heat as needed during the process |
Tools and Equipment Needed for Candle Making Water Bath
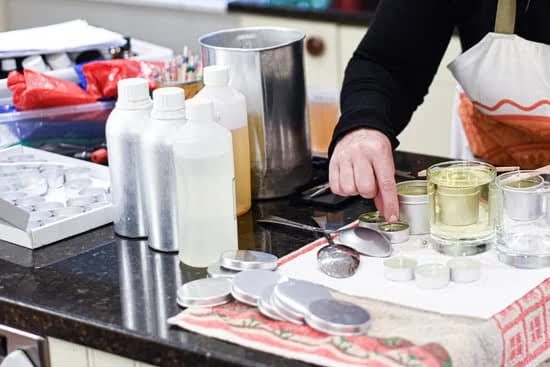
When it comes to making candles using a water bath, having the right tools and equipment is essential for a successful and safe candle making process. Here are some of the key items you will need to set up a water bath for candle making:
Double Boiler or Heat-Resistant Container
One of the most important tools you will need for a candle making water bath is a double boiler or a heat-resistant container. This will be used to hold the wax and other ingredients as they melt gently over the hot water. Make sure that the container is made of sturdy, heat-resistant material to prevent any accidents or spills.
Thermometer
To ensure that your wax and other ingredients are at the correct temperature for candle making, it’s important to have a reliable thermometer on hand. This will help you monitor the temperature of the water bath and make any necessary adjustments to keep it consistent throughout the melting process.
Stirring Utensils
Having the right stirring utensils, such as a heat-resistant spatula or spoon, is crucial for mixing and blending the wax and additives in the water bath. Make sure that your utensils are clean and dry before using them to avoid contamination of your candle materials.
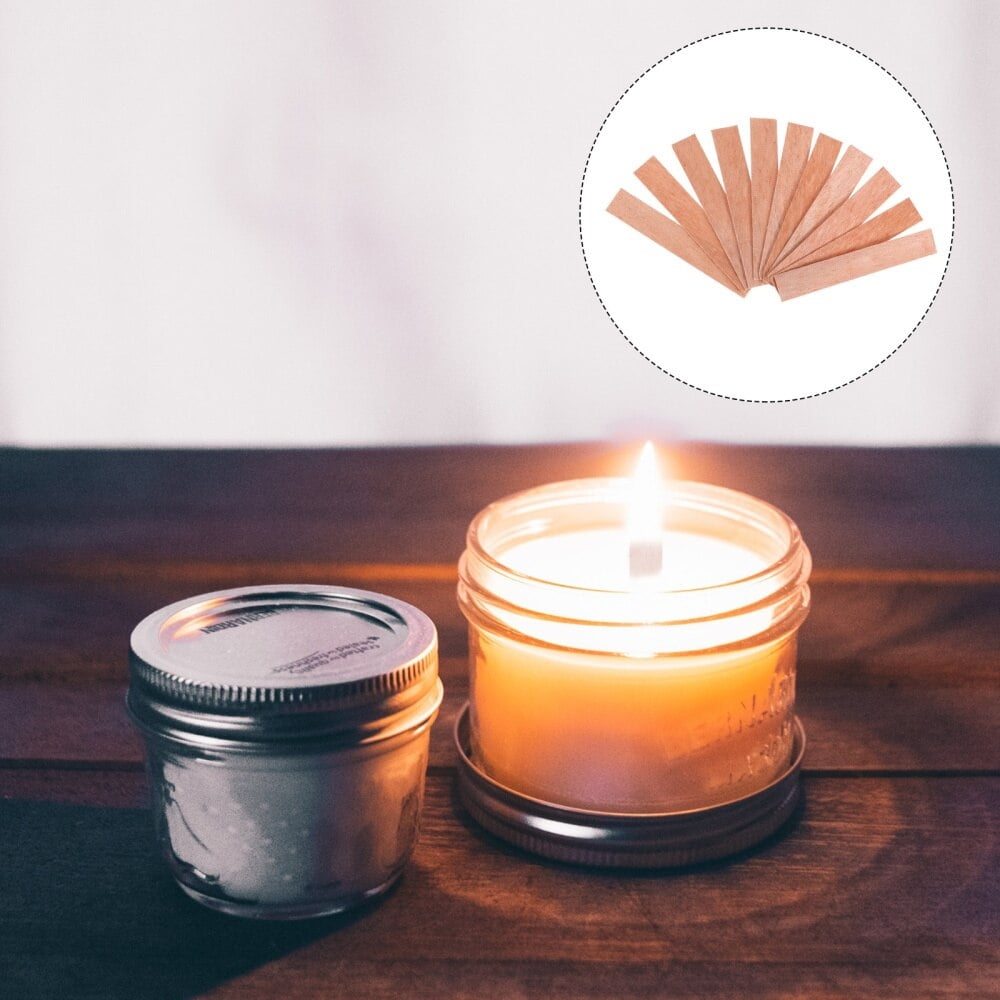
Candle Molds or Jars
Lastly, don’t forget to prepare your candle molds or jars before starting the candle making process. Whether you’re using traditional molds or recycled glass jars, having them ready before you begin will save you time and effort once your wax is melted and ready to pour.
By having these essential tools and equipment on hand, you can set up a safe and efficient water bath for candle making, ensuring that your DIY candles turn out beautifully every time.
Safety Precautions and Tips for Using a Water Bath for Candle Making
Candle making can be a fun and rewarding hobby, but it’s important to prioritize safety when using a water bath for the process. Here are some safety precautions and tips to keep in mind when using a water bath for candle making.
Use the Right Equipment
When setting up a water bath for candle making, it’s crucial to use the right equipment. This includes a heat-resistant container for melting the wax, as well as a larger pot filled with water to create the water bath. Make sure that the containers you use are specifically designed for candle making and can withstand high temperatures.
Avoid Water Contamination
One of the biggest safety concerns when using a water bath for candle making is the risk of water contamination. Make sure that no water gets into your wax or fragrance oils, as this can cause your candles to have an uneven burn or produce smoke. Additionally, keep an eye out for any condensation that may form on the lid of your melting container, as this can also lead to water contamination.
Monitor Heat Levels
It’s important to monitor the heat levels when using a water bath for candle making. Use a thermometer to ensure that the temperature of the wax does not exceed its flash point. This will help prevent accidents and ensure that your candles turn out perfectly.
By following these safety precautions and tips, you can safely use a water bath for candle making while achieving professional results. Prioritizing safety will not only protect you from potential hazards but also ensure that your DIY candles are of high quality and safe to use.
Conclusion
In conclusion, utilizing a water bath in your candle making process can truly be a game-changer for your DIY candles. The benefits of using a water bath are numerous, including more consistent and even heating, improved fragrance release, and reduced risk of overheating the wax. These advantages ultimately lead to higher quality candles that burn more evenly and emit a stronger scent.
By following the step-by-step guide provided in this article, along with the best practices for setting up a water bath and the essential tools and equipment needed, you can ensure that your candle making process is not only efficient but also yields superior results. Additionally, paying attention to safety precautions and tips will help you avoid common mistakes and potential hazards when using a water bath for candle making.
Overall, incorporating a water bath into your candle making routine is a simple yet effective way to elevate your craft. Whether you’re a beginner or experienced chandler, harnessing the power of a water bath can take your DIY candles to the next level. So next time you’re ready to create some beautiful and fragrant candles, consider giving the candle making water bath technique a try-you won’t be disappointed with the results.

Welcome to my candle making blog! In this blog, I will be sharing my tips and tricks for making candles. I will also be sharing some of my favorite recipes.


