Candle making is a timeless craft that allows individuals to express their creativity through the creation of beautiful and unique candles. At the heart of this art form is the process of wax melting, a crucial step that sets the foundation for a successful candle-making project. The careful melting of wax not only ensures proper consistency and texture but also helps in achieving the desired fragrance and color for the final product.
The history of candle making dates back centuries, with civilizations around the world utilizing various materials to create light sources. As the art of candle making evolved, so did the techniques for melting wax. From using open flames to elaborate melting pots, the methods have become more sophisticated over time, allowing for greater precision and customization in creating candles.
In this article, we will delve into the world of candle making and explore the importance of wax melting in this artistic process. We will discuss different types of wax available for making candles, essential equipment needed for safe wax melting, as well as provide a step-by-step guide on how to properly melt wax.
Additionally, we will explore how adding fragrance and color can enhance your candles and troubleshoot common issues that may arise during the wax melting process. Let’s embark on this journey together and unlock your creative potential in candle making.
History of Candle Making
The history of candle making dates back thousands of years, with the earliest candles made from tallow or beeswax. In ancient times, candles were primarily used for light and signaling purposes rather than decoration. The process of melting wax for candle making has evolved significantly over time, with modern techniques and equipment allowing for more efficient and consistent results.
One significant advancement in the history of candle making was the use of paraffin wax, a byproduct of petroleum refining, which became widely available in the 19th century. Paraffin wax revolutionized the candle industry due to its affordability and ease of use in comparison to traditional beeswax or tallow. This shift marked a turning point in how wax melting was approached in candle making, leading to more standardized production methods.
With the industrialization of candle making came further developments in wax melting techniques. Specialized equipment such as double boilers, melting pots, and digital thermometers became essential tools for ensuring precise temperature control during the melting process. These advancements not only improved the quality of candles produced but also increased efficiency in large-scale production operations.
| Key Point | Details |
|---|---|
| Earliest candles made | Tallow or beeswax |
| Significant advancement | Use of paraffin wax in 19th century |
| Industrialization impact | Specialized equipment for precise temperature control |
Types of Wax for Candle Making
Wax is a crucial component in candle making, as it is the material that will ultimately solidify and form the candle. When it comes to choosing the right wax for your candles, there are several options available, each with its own unique characteristics and melting points.
One popular choice for beginners is paraffin wax, which is easily accessible and affordable. Paraffin wax has a low melting point, making it ideal for container candles. On the other hand, soy wax is a natural alternative that is derived from soybean oil. Soy wax has a higher melting point compared to paraffin wax, resulting in longer burn times for your candles.
Beeswax is another natural option that exudes a subtle honey scent when burned. Beeswax has a high melting point, making it suitable for pillar candles that need to hold their shape and texture. Additionally, palm wax is a renewable resource that produces beautiful crystalline patterns once hardened. Palm wax also has a high melting point and works well for creating decorative candles with unique designs.
| Types of Wax | Melting Point |
|---|---|
| Paraffin Wax | Low |
| Soy Wax | Higher than Paraffin Wax |
| Beeswax | High |
| Palm Wax | High |
It’s essential to consider the type of candle you want to create and the desired characteristics when selecting the appropriate wax for your project. By understanding the different types of wax available and their melting points, you can make an informed decision that will result in beautifully crafted candles with excellent burn performance and aesthetic appeal.
Equipment Needed for Wax Melting
When it comes to melting wax for candle making, having the right equipment is essential to ensure a safe and efficient process. Here is a list of the essential tools needed for melting wax:
- Double Boiler or Wax Melter: A double boiler is a popular choice for melting wax as it helps prevent overheating by providing indirect heat. Alternatively, a specialized wax melter can also be used for larger batches.
- Thermometer: Having a thermometer on hand is crucial for monitoring the temperature of the melting wax. Different types of wax have specific melting points, so it’s important to heat them to the correct temperature.
- Stirring Utensil: A heat-resistant stirring utensil, such as a wooden spoon or silicone spatula, is needed to mix the wax as it melts and ensure an even consistency.
- Pouring Pot: A pouring pot with a spout makes it easy to transfer the melted wax into candle molds without spills. Look for one with a heat-resistant handle for safety.
- Safety Gear: Safety should always come first when working with hot wax. Be sure to wear protective gear like gloves and goggles to prevent burns or accidents.
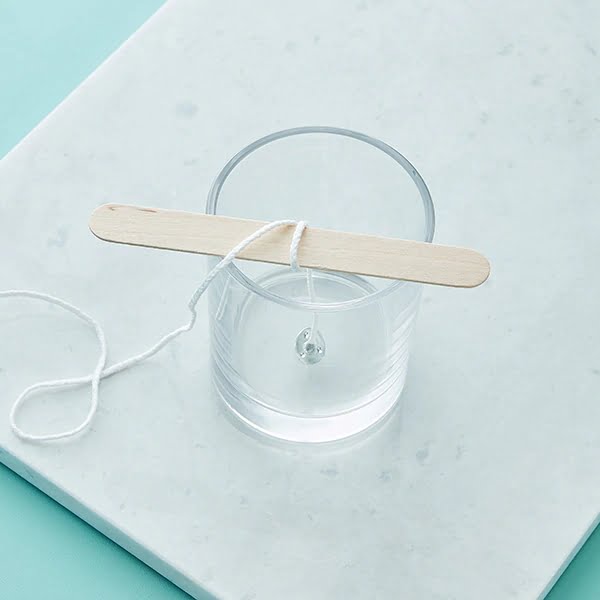
In addition to these basic tools, consider investing in extras like a digital scale for accurate measurements, a funnel for easier pouring, and a wick holder to keep wicks centered while pouring the melted wax. Having the right equipment not only ensures safety but also helps create professional-quality candles.
It’s important to set up a designated space for melting wax that is well-ventilated and away from any flammable materials. Always follow manufacturer instructions when using equipment and never leave melted wax unattended. By equipping yourself with the proper tools and practicing safe techniques, you can enjoy the art of candle making without any worries about the melting process.
The Melting Process
Setting Up Your Workspace
Before starting the wax melting process for candle making, it is essential to set up a proper workspace. Choose a well-ventilated area with a heat-resistant surface to place your melting equipment. Make sure to have all the necessary tools within reach to avoid any interruptions during the melting process. Additionally, have a fire extinguisher nearby as a precautionary measure in case of emergencies.
Choosing the Right Wax
Selecting the appropriate type of wax is crucial for successful candle making. There are various options available, such as soy wax, paraffin wax, and beeswax, each with its own melting point and characteristics. Consider the desired outcome of your candles when choosing the type of wax to use. Soy wax, for example, is known for its clean burning properties and ease of use in candle making.
Melting the Wax Safely
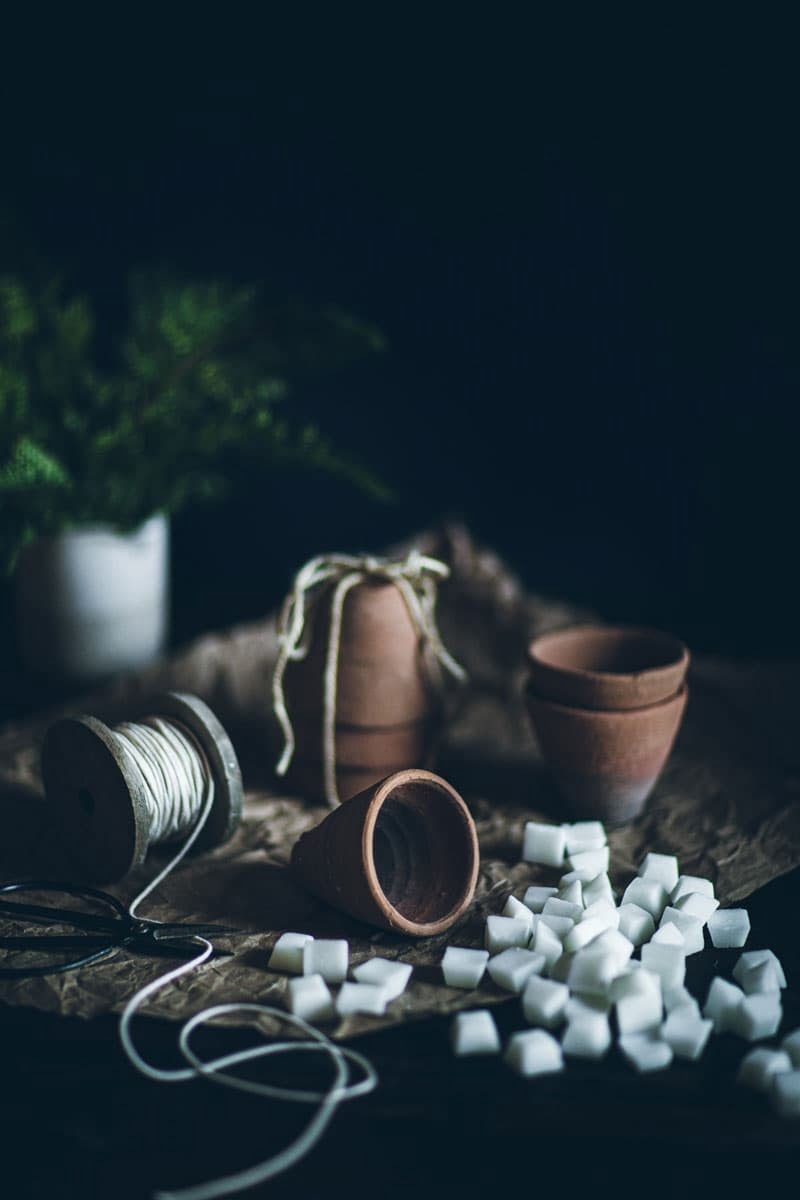
To begin melting the wax for candle making, place chunks or flakes of wax into a double boiler or a dedicated wax melter. Heat the wax gradually over low to medium heat, stirring occasionally to ensure even melting. It is crucial to monitor the temperature of the wax using a thermometer to prevent overheating, which can lead to discoloration or safety hazards. Remember always to follow safety precautions when handling hot wax and never leave it unattended while melting.
By following these steps and guidelines, you can achieve optimal results when melting wax for candle making projects. The melting process sets the foundation for creating beautifully crafted candles that can be personalized with various fragrances and colors. With practice and attention to detail, you can master the art of wax melting and take your candle making skills to new heights.
Adding Fragrance and Color
When it comes to candle making, adding fragrance and color is a crucial step in creating unique and personalized candles. Fragrance oils and dye chips can enhance the aesthetic appeal of candles while also providing a delightful scent when lit. By incorporating these elements into the melted wax, crafters can unleash their creativity and create one-of-a-kind candles for any occasion.
Choosing the Right Fragrance Oils
Selecting the perfect fragrance oil is essential for achieving the desired scent in your candles. There is a wide variety of fragrance oils available, ranging from floral and fruity to woodsy and spicy scents.
It is important to consider how strong you want the scent to be in your finished candle and how well it will complement the theme or purpose of your candle. When adding fragrance oils to melted wax, it is recommended to start with a small amount and adjust based on personal preference.
Incorporating Dye Chips for Color
Dye chips are an excellent way to add vibrant colors to your homemade candles. These concentrated colorants come in a variety of shades and can be easily mixed into the melted wax to achieve the desired color intensity. As with fragrance oils, it is best to start with a small amount of dye chips and gradually increase until you reach your desired hue. Experimenting with different color combinations can result in stunning candles that reflect your personal style.
Blending Fragrance and Color
Once you have selected the appropriate fragrance oil and dye chip for your candles, it’s time to blend them into the melted wax. After melting the wax at the correct temperature, carefully stir in the fragrance oil using a thermometer to maintain optimal temperature control.
Next, add in the desired amount of dye chips while stirring continuously until fully incorporated. This process ensures that both fragrance and color are evenly distributed throughout the wax, resulting in beautifully scented and vibrantly colored candles that are sure to impress.
Troubleshooting Common Issues
When it comes to the art of candle making, wax melting is a crucial step in the process. However, like any craft, issues can sometimes arise during the wax melting process that may hinder your candle-making endeavors. It is essential to be prepared to troubleshoot common problems and know how to fix them effectively to ensure that your candles turn out beautifully.
To help you navigate through potential challenges in wax melting for candle making, here are some common issues that you may encounter and tips on how to address them:
1. Wax Not Melting Properly: If you find that your wax is not melting evenly or completely, it could be due to various reasons such as inadequate heat or incorrect temperature settings. To fix this issue, make sure your equipment is functioning correctly and adjust the temperature accordingly. Stirring the wax gently can also help distribute heat more evenly.
2. Burnt Smell: Sometimes, during the melting process, you may notice a burnt smell emanating from the wax. This could be a result of overheating or leaving the wax unattended for too long. To remedy this situation, reduce the heat and keep a close eye on the melting wax to prevent any burning. Adding fragrance oils can also help mask any unpleasant odors.
3. Wax Smoking: If you observe smoke coming from the melted wax, it may indicate that the temperature is too high or there is residual water in the wax. Lowering the temperature gradually and ensuring that your workspace is dry can help resolve this issue. Additionally, using a thermometer to monitor the temperature accurately can prevent smoking and ensure optimal conditions for successful candle making with melted wax.
By being aware of these common problems and implementing these troubleshooting tips, you can overcome challenges that may arise during the wax melting process and create beautiful candles with ease. Remember, practice makes perfect – so don’t be discouraged by setbacks and keep experimenting with different techniques to enhance your candle-making skills.
Creative Candle Making Ideas
Candle making offers endless possibilities for creating unique and personal candles through the art of wax melting. Once you have mastered the basics of melting wax and creating simple candles, it’s time to get creative and experiment with different designs and techniques. Here are some inspiring ideas to take your candle making to the next level:
One popular technique that can be achieved through wax melting is layering different colored waxes to create beautiful ombre or rainbow effect candles. By carefully pouring layers of melted wax at varying temperatures, you can achieve a stunning visual effect that will make your candles stand out.
Another creative idea is to incorporate botanicals or dried flowers into your candles. By suspending these natural elements in the melted wax before pouring, you can create one-of-a-kind candles that not only look beautiful but also release a subtle aroma when burned.
For those looking to add a touch of luxury to their candles, consider using metallic pigments or mica powders to create shimmering and iridescent effects. Mix these additives into the melted wax before pouring to achieve a dazzling finish that will make your candles truly special.
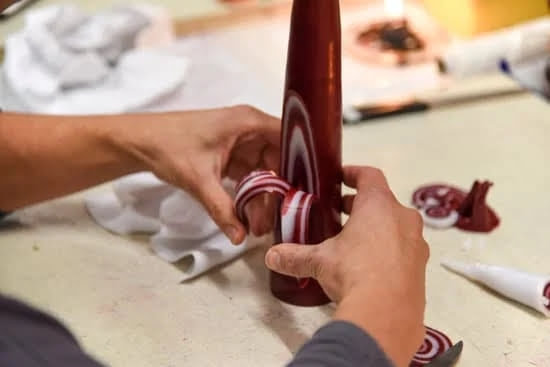
Don’t be afraid to think outside the box and experiment with different shapes, sizes, and molds for your candles. Whether you prefer classic pillar candles, elegant taper candles, or fun novelty shapes, the possibilities are endless when it comes to creative candle making through wax melting. Let your imagination run wild and see where it takes you in crafting unique and personalized candles for yourself or as gifts for others.
Conclusion
In conclusion, mastering the art of wax melting is crucial for successful candle making. From understanding the different types of wax available to knowing how to properly melt it at the right temperature, each step plays a significant role in creating high-quality candles. The history of candle making has come a long way, evolving from traditional methods to modern techniques that prioritize safety and efficiency in the melting process.
As you embark on your own candle making journey, remember that creativity knows no bounds. By adding fragrance oils and dye chips to your melted wax, you can personalize your candles and make them truly unique. Experiment with different colors, scents, and designs to create one-of-a-kind pieces that reflect your personality and style.
So don’t be afraid to dive into the world of candle making and explore the endless possibilities that wax melting brings. Whether you’re a beginner or an experienced crafter, there’s always something new to learn and discover in this captivating craft. Let your imagination soar as you melt wax and create beautiful candles that will brighten up any space with their warm glow and inviting scents.
Frequently Asked Questions
Why Is My Candle Wax Melting?
Candle wax melts when exposed to heat because it has a low melting point. The heat causes the solid wax to turn into a liquid form, which can then be poured into a mold or container to create candles.
Should You Stir Candle Wax While Melting?
It is not necessary to stir candle wax while melting unless you are adding colors or fragrances that need mixing. Stirring could introduce air bubbles into the wax, resulting in an uneven appearance in the final candle.
How Do You Melt Wax for Candle Making?
To melt wax for candle making, you can use a double boiler or a microwave. In a double boiler, place the wax in a heatproof container over simmering water until melted. In the microwave, heat the wax in short intervals and stir frequently to prevent overheating.

Welcome to my candle making blog! In this blog, I will be sharing my tips and tricks for making candles. I will also be sharing some of my favorite recipes.


