Introduction
Candle making with waxed wick is a fun and creative way to add the perfect touch of light and ambiance to any living or working space. A candle burning softly in the evening, or creating a beautiful flame during special occasions, is an effect that can be achieved with some creativity and a few simple tools. Waxed wicks are available in many sizes and help to stabilize the flame so it remains even, consistent, and safe when burning.
To begin your candle making project using waxed wick you’ll need to gather all of the necessary supplies: jars, pre-waxed and cut wicks, wax melting pots or double-boilers and of course, wax! Candle dye can be used if desired to create a colored candle; however, you can achieve stunning results with just a soft white wax as well. Once all of the supplies are collected it’s time to start a flame!
First melt down your wax in a double boiler until it reaches 130-180 degrees Fahrenheit. Be sure not to go over this temperature range for safety reasons because higher temperatures may cause explosions or fires. Now add liquid dye in your desired color (if applicable) stirring thoroughly at the same time as you are adding fragrance oils for scent (optional). Ensure your candles will burn steadily by prepping your containers before pouring used in the molten wax – do this by attaching metal adapters on both sides of pre-cut wicks securely using metal clips which should have come with your purchase thereof.
Once everything is ready pour melted wax into containers leaving 1/4 inch gap from jar’s lip; then cool overnight ” make any adjustments at this point if needed (for instance you can press the top of cooled candle lightly if center dips). You are now ready to enjoy your glowing creation. Repeat the process as desired!
Benefits and Uses of Waxed Wick
Waxed wick offers a wide range of benefits and uses for candle making. One of the primary benefits is that it helps to keep the flame burning evenly, but won’t flare up or become overwhelming. In addition, waxed wick results in a smoother-burning candle with fewer emissions than those made with an unwaxed or uncoated wick ” this makes it an ideal choice when creating candles meant to be used indoors where air quality is a concern. Waxed wicks are also more stable in hotter temperatures, so they can safely be used for larger candles and projects requiring higher amounts of heat. Beyond candle making, waxed wicks can also be used to create beautiful designs and decorations on walls, furniture, or other surfaces since the wax keeps the flame controlled yet bright enough for decorative purposes.
Choosing the Right Wick Material
When it comes to candle making, wick material is a critical factor in your end product. The waxed wick material used influences the size of the flame, burn rate, and longevity of the flame. Additionally, using appropriate sized wick for each candle is important to avoid excess smoke and unrestricted burning that depends on the weight of the wax pool created. With that being said, there are several options when it comes to choosing the right wicking material for your candles:
The most common type of wick material is cotton. Cotton is extremely popular because it’s readily available and affordable while creating a larger flame than its synthetic counterparts. It usually has paper threads inside which helps with its durability and rigidity when standing in still or melting wax.
A second option when selecting a suitable waxed wick is metal core or metal-coated wicks. This type of wick has become increasingly popular due to their superior structural stability when exposed to molten wax; they will remain rigid throughout the entire life of your candle making process. Furthermore, metal-coated or metal core candles produce much fewer noxious fumes than other Wick materials do.
Natural fiber or hemp core wicks are another option available for those looking for something more natural as these types have little-to-no carbon buildup around them so you can be sure you’re getting quality burns without compromising on scent throw, smoke, or stability all while staying eco-friendly! Lastly, paraffin-covered (also referred to as “parafinized”) may also be considered if you’re looking for extreme heat resistance and an extra large heat footprint.
In summary, choosing the right waxed Wick material depends heavily on your individual candle making preferences and desired results; however with all these options there’s guaranteed to be one perfect solution for every DIYer out there!
What Tools Do I Need To Make a Candle with Waxed Wick?
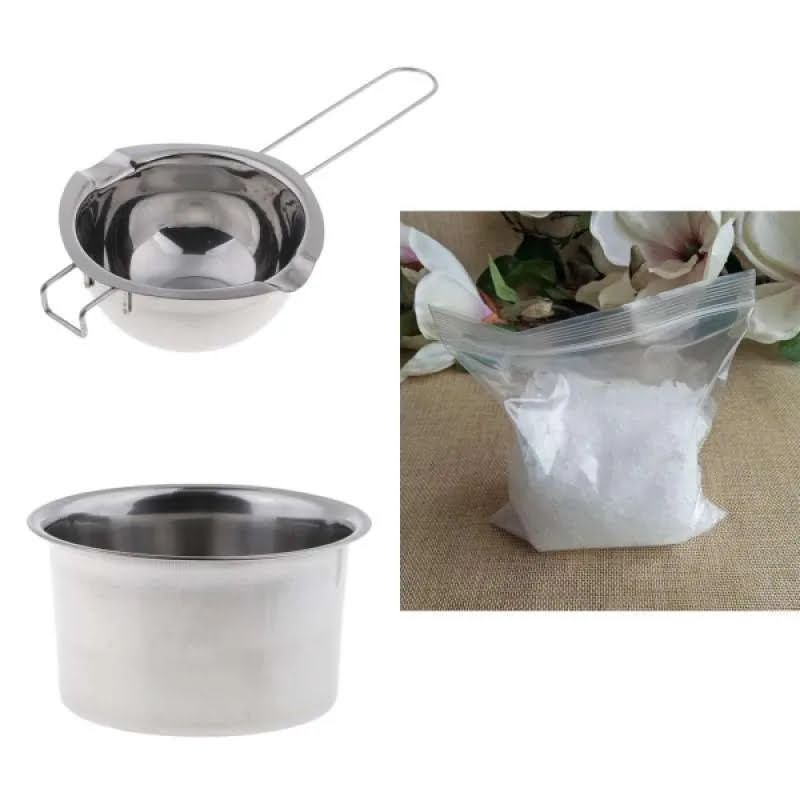
First, you’ll need a heat-resistant container such as a glass jar or ceramic mug in which to melt your wax and set the wick. You will also need a thermometer to measure the temperature of the melted wax. Next, you need a metal or wooden stirring spoon or stir rod to mix in any fragrances or dyes you may wish to add. Additionally, you will need an appropriate sized wick for your candle, which can be bought pre-waxed for convenience. Finally, you’ll need a double boiler which will allow you to melt the wax without it burning and provide extra safety when making your candle.
Preparing the Waxed Wick
Candle making with a waxed wick requires several important steps. First, carefully cut the wick to size. It should be long enough to extend past the circumference of your candle mold. Secure the end of the wick to a wooden skewer or something similar and stand it up in the middle of the mold. This will ensure that the wick stays in position once melted wax is added to the mold. For easy handling, tie a small weight such as a fishing weight at one end of the yarn so it hangs down out of your way during pouring and filling. Next, prepare your wax for melting according to instructions on its packaging. Add dye or scent to make a custom candle as desired. Finally, pour your melted wax into the mold, making sure that all areas are evenly filled before allowing it to cool and harden over several hours. Afterward, carefully remove your newly created candle from its mold and admire the results!
The Steps Involved in Candle Making with Waxed Wick
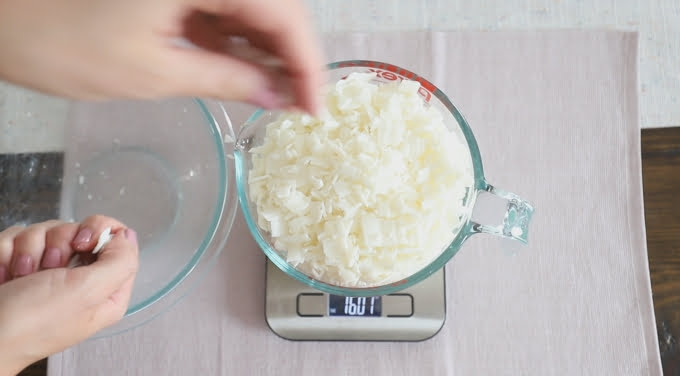
1. Prepare the Wax: The first step in making a candle with waxed wick is to prepare the wax. Choose the type of wax you would like to use and melt it. You can use either paraffin or soy wax, depending on your preference.
2. Add Scent: If desired, add a desired scent to the melted wax before pouring it into the container. Candle scents can be purchased at most craft stores or can be made at home by combining essential oils and potpourri oils together.
3. Cut and Prepare Wick: Cut your wick to the desired length and shape and make sure it is secured tightly to a piece of cardboard so that it stays upright when placed in the candle container. The wick should measure one centimeter less than half an inch above the bottom of the jar for proper burning of your candle once lit.
4. Insert Wick Into Container: Insert your prepared wick into the bottom of your container and tie off excess string/cotton as needed for additional support at either end if necessary. Make sure that there are no sharp edges poking out from any part of the wick assembly which could create a hazard when burning your candle later on.
5. Pour Wax Into Container: Once everything else has been prepared, pour your melted, scented wax into the container with your wick already inserted at the bottom (and tied off). Allow the wax to cool completely before lighting up your candle!
Troubleshooting Common Issues with Waxed Wick
One of the most common issues you might encounter when making waxed wicks is that of breakage or excessive fraying. For this issue, it is important to be sure that your heat source is fully concentrated on the wick in order for it to seal properly with the wax. If using a candle melter, ensure that it is not set too high which could cause excessive heat and drying of the wick from prolonged heating. In addition, if you are manually dipping, it’s important to fully submerge the entire wick into the hot melted wax for a few seconds before taking it out.
Another common difficulty with making waxed wick comes from improper thinning of your candle wax. Most candle types require more thinning than others which can give you a smoother and more even burn on your candles. While there isn’t one exact ratio for thinning every type of wax, keep in mind that different additives are needed as well as some trial and error experience to get this perfect. Make sure you read any manufacturer instructions on thinning prior to adding a thinner agent such as soy based dye or fragrance oil so they don’t become inactive due to too much thinning, leading to stability issues with your finished candles.
Wrapping Up
When making your own candles, the final step is to attach the prepared wick to the candle using waxed wick. Waxed wicks are specially treated with wax so they remain upright and burn more consistently. Their bigger brothers”untreated ones”may not stay upright or even melt steadily. Depending on the type of wax you use, you can purchase either pre-waxed or un-waxed wicks from candlemaking suppliers and craft stores.
To attach a wick to your candle, you’ll have to first melt some wax in a double boiler and carefully dip one end of your wick into it. Then press that end onto the bottom of your container or mold for about 10 seconds to secure it in place. Once it has dried up, trim off any excess length of the wick (usually around 1/2 an inch). Finally, tie the other end of the wick around a pencil and rest it across top of your mold or container. The pencil will keep tension on the wick as it dries and helps prevent any sagging while it sets up in place. To retain tension on all sides of your wick, you can use two pencils instead (one on each side) which will produce neater results after cooling down.
Once your wax has cooled enough for decoration purposes, you may want to spice up things with some fun tinkers! Dried up flowers or crumbled leaves look really nice affixed on top using liquid wax, such as beeswax or paraffin wax, particularly if it’s scented! You could also drizzle lines down its sides with slightly warmed up wax for an interesting abstract design before pouring in the melted wax into molds and cooling them down completely before proceeding onto removal!

Welcome to my candle making blog! In this blog, I will be sharing my tips and tricks for making candles. I will also be sharing some of my favorite recipes.


