Candle making wick length is a critical factor in successful candle making. To help create the best burning experience for a candle, it is important to use an appropriate wick length that is suited for one’s candle. Making sure the wick length of your candle is correct impacts the performance of the candle in several ways.
It affects both how quickly it will burn but more importantly, it will affect flame size and soot formation when burned. To create the safest possible burning candles, it is essential to understand how wick length impacts performance and make adjustments if necessary to get the best burn.
The right amount of wick length varies depending on many factors including wax type, container size/shape and scent load. Achieving an optimal wick length can be a little complicated as there is not one-size-fits-all solution for all candles due to these various factors; however, certain considerations should still be taken into account when determining wicking needs for any particular candle.
The most important factor in adjusting wicking needs is wax type because different waxes have different heat requirements for optimal melting and release of scent. If using paraffin wax, a longer cotton or fibreglass core wick may be necessary as this wax has higher melting points than other types of wax like soy or beeswax which may require shorter cores with flat synthetic braided cores instead of round ones.
Scent load should also be considered as heavier fragrances often require larger flames meaning a longer core closer to maximum recommended lengths or even slightly beyond might be needed in order to obtain adequate scent release while keeping soot production low.
Container shape matters too as narrow vessels tend to allow less oxygen circulation within which means at least double the recommended maximums would be needed just to ensure sufficient oxygen can still reach it and prevent tunneling during burn out; wider containers on the other hand would need less air so shorter core lengths can be used without compromising end result performance drastically;that being said though, still use caution here as you want your flame height high enough (but not too high) for fragrance release yet low enough (just above melt pool) so that safety risks are reduced significantly.
If unsure about any aspect of your chosen combination, always err on side of caution until you’re able to properly test it out before giving your final okay (often times small changes like doubling up on core threads incredibly helpful even if they don’t look necessary).
Determining correct candle making wick length requires some leg work up front but once figured out properly, future batches become much easier predictors in terms of optimal performance based off their specifications and previous testing results It’s imperative to find what works well with any given combination often times taking notes from failed tests along way can help point users towards what exactly didn’t work so they know what NOT do next time around.
Ultimately proper experimentation coupled with consistent measurements ensures successful outcomes: happy customers plus healthy businesses-win win.
Different Types of Candle Wax and Their Relationship to Wick Length
Paraffin Wax
Paraffin wax is one of the most widely used types of candle waxes. This type of wax typically comes in a solid form and melts at relatively low temperatures meaning it won’t need intense heat to create candles.
Paraffin wax melts quickly, which makes it appealing for candlemakers who are looking for an inexpensive, fast-melting option. The downside to paraffin wax is that it can emit toxins when burned due to the unnatural compounds that make up the mixture.
The amount of wick required for paraffin wax candles depends on the size and shape of the container they’re being poured in as well as the strength or thickness of the paraffin. Generally speaking, a wick length 1/8” to ¼” would suffice when making small candles with this type of wax whereas wick lengths of 1/4” to 3/8” may be necessary for larger container candles.
Soy Wax
Soy wax is becoming increasingly popular among candlemakers alike because it is non-toxic and generally burns slower than other types of candles when combined with cotton wicks – making them longer lasting when compared to other varieties. Soy is also much easier to clean up from containers than paraffin or beeswax which does not require harsh chemicals if any mistakes occur during pouring.
The downside to soy wax can be its stickiness which can make it more difficult to remove from molds or objects post cure.
The amount of wick needed for soy candles depends largely on the strength and texture of the candle itself: softer soys may require shorter wicks whereas stronger, harder soys may require much longer ones. A 1/4″ cotton core with 10 parallel cotton strands would usually suffice if you are using medium soy blends however you may need shorter length if working with soft blend mixtures or conversely slightly longer lengths depending on how hard your particular blend composition is.
Beeswax
Beeswax is another popular choice among candlemakers due its natural properties and lack of added chemicals like paraffin often has included in it’s mix. Beeswax burns slower and cleaner when compared to petroleum based products – without leaving residue behind unlike synthetic alternatives.
The downside to Beeswax, however, can be found in its texture; Beeswax often requires some tempering beforehand in order for it to reach softer consistency allowing price setting into shape rather easily after pouring temperature has been maintained during curing process afterwards.
In terms of determining properlengths, Beeswax vary greatly depending upon hardness but should be measured around 1/4″ thick with 10 parallel strands either way (one side being 12mm away from center while one yields 6mm) on average enough give enough support all surfaces sides while still maintaining optimal light generation once lit per area desired ratio levels have been reached.
Choosing the Right Size of Wick for Specific Candle Containers
Choosing the right size of wick for a candle determines not only the quality of the burning but also its safety. If the wick is too small it won’t be able to draw up enough melted wax and will struggle to keep burning. A wick that is too long, can cause overheating and can lead to flash back fire from inadequate flame control.
Measuring a wick correctly ensures that there will be plenty of fuel for the flame and achieve optimal containment. Here are a few steps you can take when choosing an appropriate size for your candle-making project.
Steps on How to Calculate Correct Wick Length
- Step 1: Measure the diameter and circumference of the container
- Step 2 : Calculate the diameter by multiplying its circumference with a constant 0.277508 (or π/11 in mathematic terms)
- Step 3 : Estimate how much wax you plan on using, like shapes, molds, etc
- Step 4 : Calculate the estimated wick length by multiplying your container’s diameter with 10.51 (if the volume of wax is less than 500ml) or 15.86 (if it is over 500ml). You can also use a ratio of 1:12 for wax height from diameter
- Step 5: Take into consideration temperature if you are making outdoor candles – if it gets below zero degrees Celsius, add 8cm to your wick length calculation.
Note: Measuring Wick Length for Making Jar Wax Candles
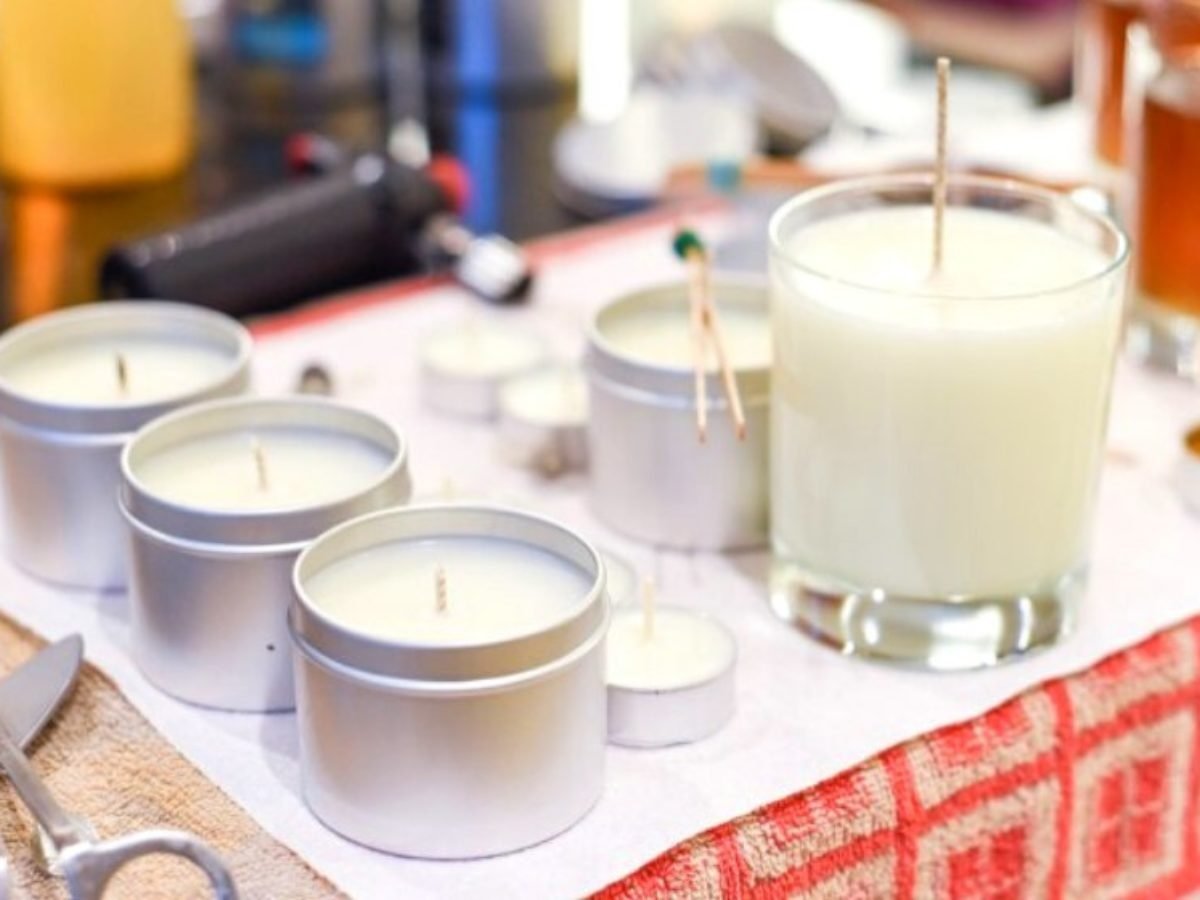
The wick is a critical element in candle-making, and is the source of the flame that will allow your candle to burn properly. The length of the wick largely determines how long and bright your flame will be, but determining the right length for each jar requires careful measurement. In this article, we will discuss different tips and techniques for measuring and assembling the wick in a jar so you can have perfectly burning candles every time.
When selecting your wick, the general rule of thumb is that you should use a longer wick than what you might expect. A shorter wick will generally produce smaller, weaker flames; while a longer wick will produce larger, brighter flames with greater heat output.
The diameter of your jar neck should also be taken into account when choosing a length – thicker jars typically require longer wicks. To get an accurate measurement of where your wick should be cut, try these helpful techniques:
- Measure from the bottom of the jar straight up until you reach just above where the wax will fill up to. There may still be some excess that needs to be trimmed off once you add in the wax.
- Roll out the pre-cut portion of your wick and line it up against either side of your jar neck. Mark or trim any extra bits at either end to make sure it stretches across perfectly.
- If working with multiple jars and sizes, consider using pipe cleaners instead. Find a section that fits snuggly across the circumference of each jar’s neck and mark it accordingly; then trim off any desired excess from either side.
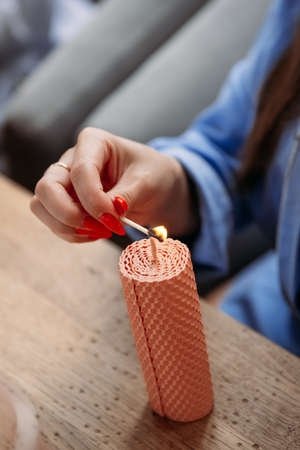
Measuring Wick Length for Making Pillar Wax Candles
Measuring the Wick Length
When making pillar wax candles, it is important to choose a wick that will fit the diameter of your candle. The first step is to measure the diameter of the candle and then determine the proper width for the wick.
This is done by wrapping a string around the pillar wax candle and then measuring from end to end. You should add about 1/4 inch on each side for a total length of at least double that of your pillar wax candle’s diameter.
Attaching the Wick in Place
Once you have determined the correct size of your wick, it’s time to attach it in place. Many people use a wick pin or clips specially made for this purpose, but if you don’t have one, you can also use tape or hot glue. To get started, lay your wick inside your clean container where it fits snugly against both sides.
Then secure it with either a pin or clips if available or with tape or glue if not. When using hot glue be sure not toget too much on so it doesn’t interfere with your candles burning performance.
Final Step
The final step in creating homemade pillar wax candles is securing your securely attached wick into its place by using another item such as weights, coins, rocks etc., which helps keep it centered in place while waiting for you pour melted wax over it.
Once secure in its place follow your remaining candle instructions such as adding additional colors and scents as applicable before pouring melted wax into the container allowing enough headspace for candle expansion once cooled and solidified completely before giving away as gifts or enjoy decorating your own home with them.
Adjusting the Length of Candle Wicks
The process of making candles involves considering many factors and adjusting the length of a candle wick is an important part of that process. The heat output created by a wick when lit determines how nicely it burns, ensuring that you have the correct wax to wick ratio. Having too little heat output will cause your candle to;
- Burn at a much slower rate than anticipated
- Smoke excessively
- Wax remaining in the jar or container
Making alterations to the length of your wick can help balance these effects but it is also necessary to ensure that you don’t have too high of a heat output which can lead to;
- Excessive soot production
- Flaring and smoking
To experiment with different wick lengths it is common practice to use what is known as a “wick tab”. This feature allows for adjustments easily and quickly and keeps the cut wick securely attached to its anchor. To make sure that you have the perfect burn for your particular candle type, testing out different lengths with multiple wicks may be necessary. Factors such as size and shape can also affect how well their flame burns.
After cutting several tabs to different heights, they need to be placed into glass jars or containers with your chosen melted wax poured in as if you were making real candles. After doing this several times with various heights, it’s important for each test sample to cool down completely before observation begins.
When it has completely cooled then you will be able to inspect whether there are any open tunnels within the wax an open crater on top of each sample can mean too much heat was produced with that particular chunk – again altering your results. Making sure that none of them are burning uncomfortably or flickering excessively is also key step in finding the perfect flame height for your desired candle type.
Sealing the Wicks to Prevent Uneven Burning and Smoke
Candle wick length is one of the most important considerations for creating a successful candle. If your wicks are too long, they might start to smolder and put off smoke or char. It is important to keep your candles balanced and sealed properly to ensure even burning and maintain the desired look of the candle. Here are some useful tips for sealing candle wicks properly.
Tips for Sealing Candle Wicks
- Wax sealant: Apply a thin layer of wax onto the base of the wick while it is still damp in order to secure it into place and stop it from moving out of position while burning.
- Tape method: Wrap a piece of tape around the outside part of the container, covering both ends of the wick to prevent them from jumping out while burning.
- Glue method: Squeeze a few drops of glue onto each end of the wick and then press it down onto that side before allowing it to dry. This will help to bond them together so that they stay in their desired position.
- Twist method: Twist each side one full revolution and then secure with a small knot or piece of tape.
It should be noted that sealing candles correctly will affect how well they burn and produce smoke. In order for candles to burn cleanly, without any smokiness or sooting, there should be enough air flow between the top and bottom parts of the containers used for burning. If there is not enough air flow between these two parts, then consider tilting the container slightly for better circulation during burning time.
Also, making sure that you have evenly trimmed your wick before every use will create slow-burning, minimized smokiness candles as you avoid overtrimming which can cause wasteful consumption or shortening one side too much which will result in leaning flames heavily towards one direction.
Finally, keep an eye on your lit candles from time to time while burning in order to make sure there are no irregularities in their form and shape as this might affect how evenly they burn throughout their lifespan.
Troubleshooting Candle Wick Problems
Many candle makers have come across issues with their wick length whilst making candles. Some of the most common problems that arise include:
- Candles burning too quickly
- Improperly sized wicks
- Wick not burning to the edges properly
In order to fix these problems, we need an understanding of how the wick and its length are connected.
The main factor influencing the rate at which a candle burns is the length of its wick. Too long and it will burn too slowly, too short and it will burn too quickly. A wick that’s too short can produce an uneven, incomplete wax pool, while a wick that’s too long will create an excessive amount of smoke, soot, and unburned residue on the surface or around the lid of your candle container.
To ensure you achieve a consistent wax pool when using multiple types of candles, it is important to select a consistent wick size for each type of candle. This means determining what size wick works best for each type – such as large for pillars or votives – and then sticking with it each time you make candles in those categories.
Different types of waxes often require different sizes depending on their melting point and their fragrance load. Typically, fragrance-heavy candles should begin with longer wicks as they need more time to fully cure before reaching optimum performance levels.
Some other things to consider when determining which size wick to use are:
- Temperature – Does this type of candle run hot or cold?
- Fragrance load – Is this particular scent heavily-loaded?
- Container size – What diameter/height is your candle container?
Conclusion
When it comes to making candles, the wick length has a big impact on how the end product turns out. In general, both too long and too short of a wick can result in an inferior candle. Therefore, understanding wick length and how it affects the quality of the end product is essential for successful candle making.
The right wick length will provide a pleasing scent release, perfect burn time and shape, and a steady flame. If the wick is too short, it will not properly regulate fuel intake and be prone to spitting and producing smoke. However, if the wick is too long it can cause excessive burning that can cause smoking or create dangerous flames. Both cases are undesirable results from your hard work of creating beautiful candles for your customers.
In order to ensure the success of each candle created, oil-based wax such as coconut wax needs to be used as these types tend to need longer wicks as they are denser than others such as soy wax. For soy waxes, a shorter size should be used as they produce much less soot (black smoke).
Lastly, all containers must be taken into consideration when assessing how long of a material should be used as certain jars require longer wicks than others; wider containers need longer wicks due to less heat gathering on shorter ones while taller containers need proportionately larger surfaces compared to those found in shorter containers with smaller diameters than taller ones for proper burning regulation.
Overall, understanding candle making wick length is vital in producing high-quality results that are safe and enjoyable by all users. Using appropriately sized materials depending on one’s container choice along with their oil-based wax preference creates an optimal outcome for successful candles every single time.

Welcome to my candle making blog! In this blog, I will be sharing my tips and tricks for making candles. I will also be sharing some of my favorite recipes.

