Candle making is a cherished craft that allows individuals to create beautiful, scented candles from scratch. One crucial component of this process is the use of candle melts, which play a significant role in producing high-quality candles. In this article, we will explore the world of candle melts and their essential role in candle making. Whether you’re a beginner or an experienced crafter, understanding the ins and outs of candle melts can elevate your candle-making experience.
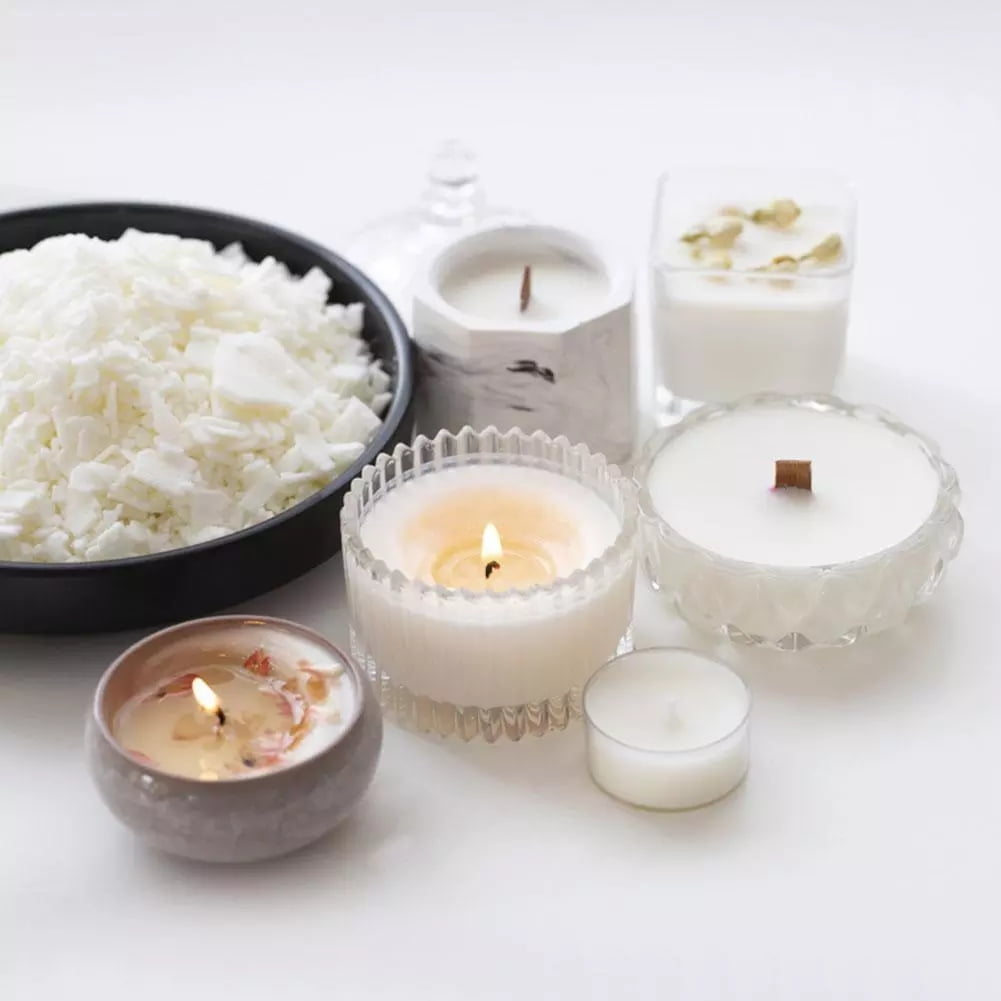
The first step in mastering the art of candle making is learning about the different types of wax used for creating candle melts. The type of wax you choose can drastically impact the quality and scent throw of your candles. This section will delve into the various wax options available, including soy wax, paraffin wax, and beeswax, to help you make an informed decision when selecting the right wax for your candle melts.
Additionally, we will discuss how fragrances and colors are incorporated into candle melts to enhance their aesthetic appeal and olfactory experience. Aromatic oils and dyes are carefully added to the melted wax to create customized scents and vibrant hues. Understanding this process is essential for crafting unique and visually stunning candles.
Furthermore, we will explore shaping techniques using molds and containers as well as refining heating, pouring, cooling, setting procedures while also addressing common troubleshooting issues encountered during this creative process. Stay tuned as we unravel the endless possibilities of using candle melts in innovative ways for your next candle-making project.
Choosing the Right Wax for Candle Melts
When it comes to choosing the right wax for candle melts, there are several options available, each with its own unique characteristics. The type of wax you choose will ultimately impact the final product of your candle melts, including their scent throw, burn time, and overall performance.
Paraffin Wax
Paraffin wax is one of the most commonly used waxes for candle making, including candle melts. It’s known for its excellent scent throw and ability to hold color well. However, it is not a renewable resource and may not be the best choice for environmentally-conscious candle makers.
Soy Wax
Soy wax is a popular choice for those looking for a more eco-friendly option. It’s made from soybeans, making it a renewable resource. Soy wax also has a clean burn and good scent throw, making it an ideal choice for candle melts.
Beeswax
Beeswax is another natural option for making candle melts. It has a subtle honey-like aroma and a beautiful natural color. Beeswax candle melts burn longer than paraffin or soy-based candles but have a lower scent throw.
When choosing the right wax for your candle melts, consider factors such as environmental impact, scent throw, burn time, and personal preferences. Experimenting with different types of waxes can help you find the perfect fit for your candle making needs.
Adding Fragrance and Color to Candle Melts
When it comes to making candle melts, adding fragrance and color is a crucial step in creating a high-quality product. The scent and appearance of the melts can greatly enhance the overall ambiance when the candle is burned. There are several methods for adding fragrance and color to candle melts, each with its own process and considerations.
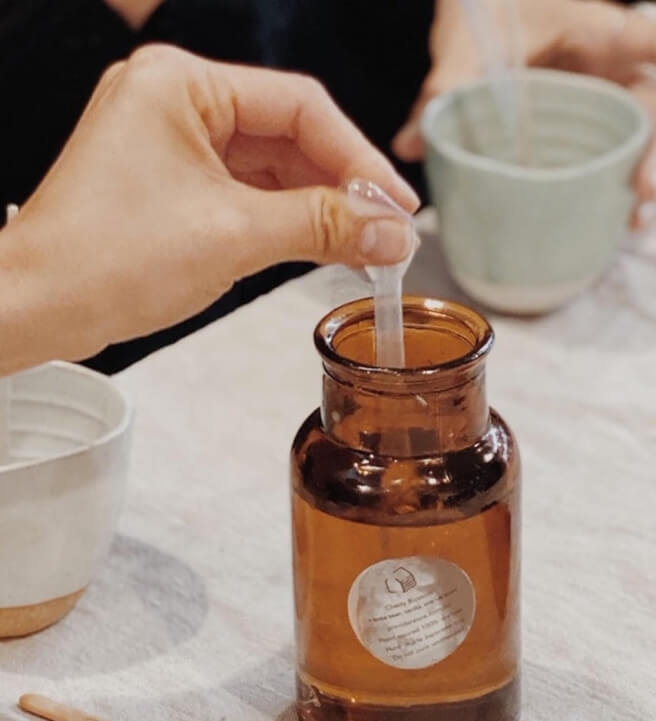
One popular method for adding fragrance to candle melts is to use fragrance oils specifically designed for candle making. These oils are specially formulated to disperse evenly throughout the wax and create a strong, long-lasting scent when the melt is warmed. It’s important to follow recommended guidelines for the amount of fragrance oil to add to your wax to ensure that the scent is not overpowering or too subtle.
In addition to fragrance, many candle makers also choose to add color to their melts. There are various types of dyes available that can be safely used in candle making. Whether you prefer natural-looking earth tones or vibrant, eye-catching hues, the right color can make your candle melts visually appealing and match any décor. It’s essential to use dyes specifically made for candles so that they disperse evenly throughout the wax and retain their brightness when solidified.
When adding fragrance and color to your candle melts, take into account any allergies or sensitivities that might be triggered by certain scents or dyes. It’s always important to test a small batch of your chosen fragrance and color before committing to a larger production. By carefully selecting your scent and hues, you can create unique and captivating candle melts that will delight anyone who experiences them.
| Adding Fragrance | Coloring Candle Melts |
|---|---|
| Use fragrance oils designed for candle making | Choose dyes specifically made for candles |
| Follow guidelines for amount of oil | Test small batches before commitment |
| Consider allergies/sensitivities when choosing scents | Create visually appealing colors matching décor |
Using Molds and Containers for Candle Melts
Candle melts are a popular and versatile option for candle making, offering a convenient way to make candles without the need for traditional candle-making equipment. One of the key aspects of using candle melts is choosing the right molds and containers for the process.
Choosing the Right Molds
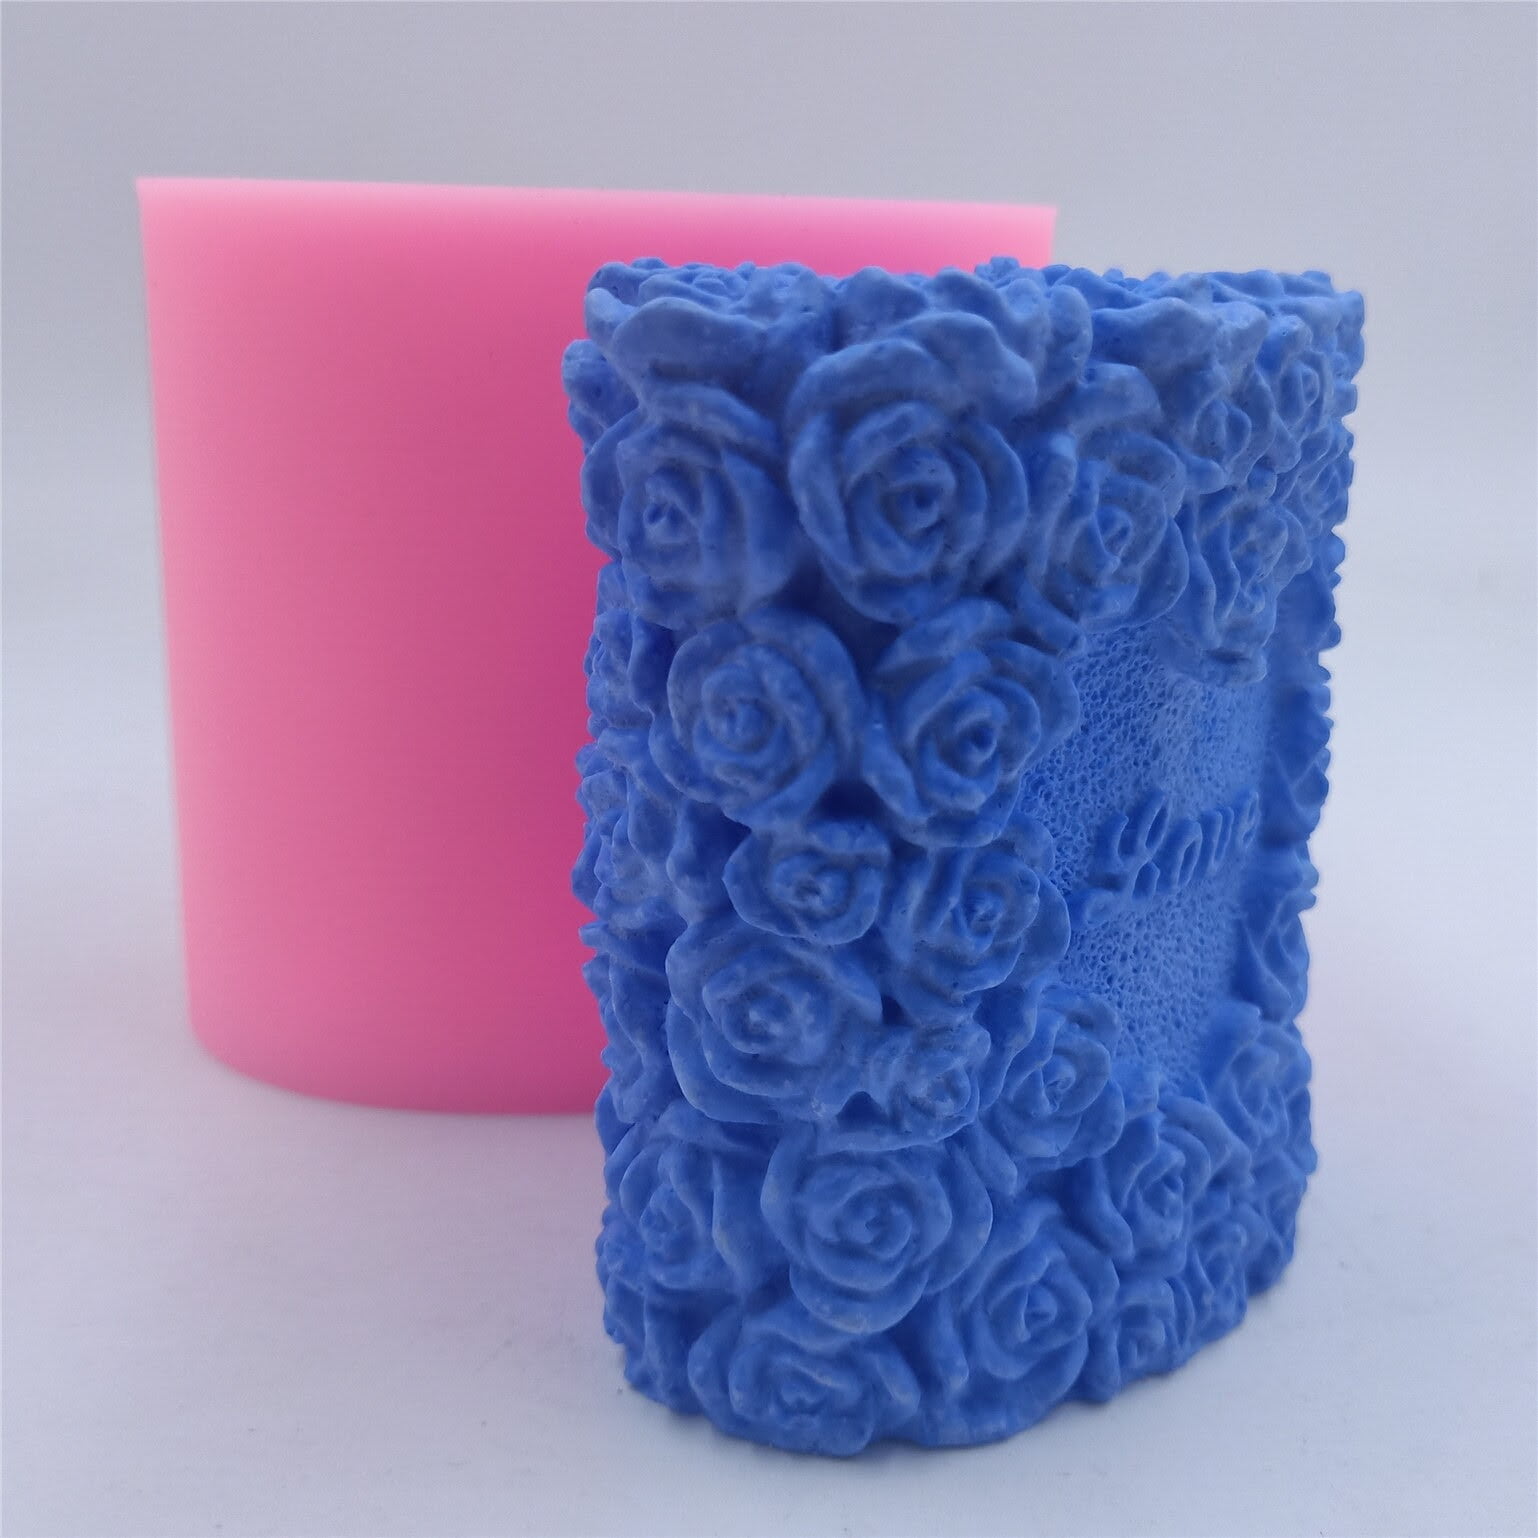
When it comes to making candle melts, choosing the right mold is crucial. There are various options available, such as silicone molds, metal molds, or plastic molds. Silicone molds are popular due to their flexibility and ease of release, while metal molds provide a more traditional look. Plastic molds are also an option, but they may not be as durable as silicone or metal options.
Selecting Suitable Containers
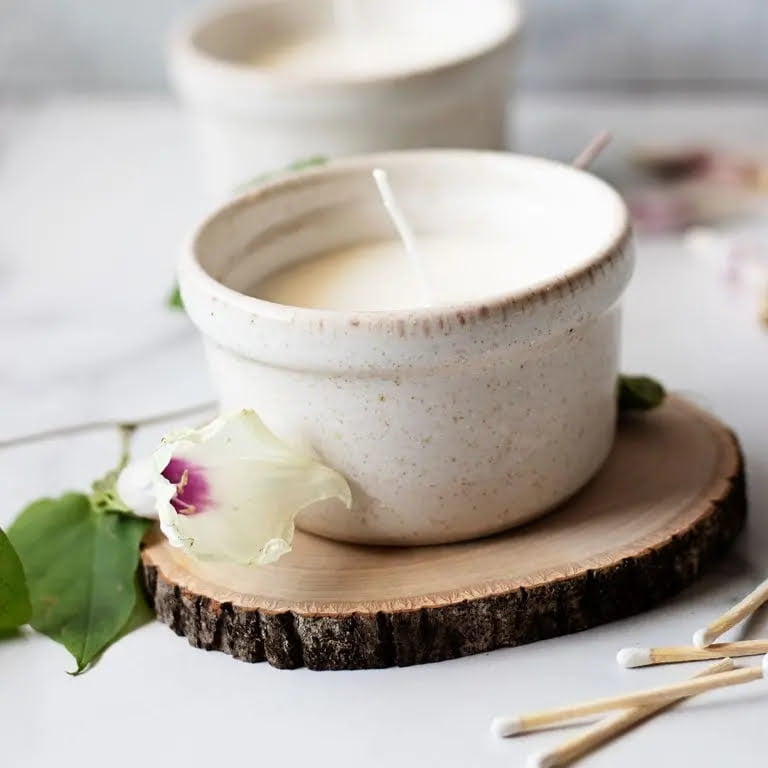
In addition to using molds, candle melts can also be poured into containers. These containers can range from small tin cans to tea light cups or even glass jars. The choice of container depends on the desired end result and intended use of the candle melt. For example, tea light cups are ideal for creating small individual melts, while glass jars are perfect for larger quantities.
Tips for Using Molds and Containers
When using molds and containers for candle melts, it’s important to consider factors such as size, shape, and material. It’s essential to ensure that the chosen mold or container is clean and free from any debris before pouring the wax. Additionally, selecting a mold or container with a smooth surface will help in releasing the hardened melt more easily.
By carefully choosing the right molds and containers for candle melts, crafters can create beautiful and unique candles that suit their specific needs and preferences. Whether opting for silicone molds or glass jars, selecting suitable options is crucial in achieving successful results when making candle melts.
Heating and Pouring Techniques for Candle Melts
When it comes to making candle melts, the heating and pouring techniques are crucial steps in ensuring the success of your project. Properly melting the wax and pouring it into molds or containers can make all the difference in the quality of your final product.
To begin, it’s important to choose the right type of heat source for melting your wax. Many crafters prefer using a double boiler setup, which involves placing a heat-safe container filled with wax inside a larger pot of water. This gentle indirect heat helps prevent the wax from scorching or burning, resulting in a smoother melt.
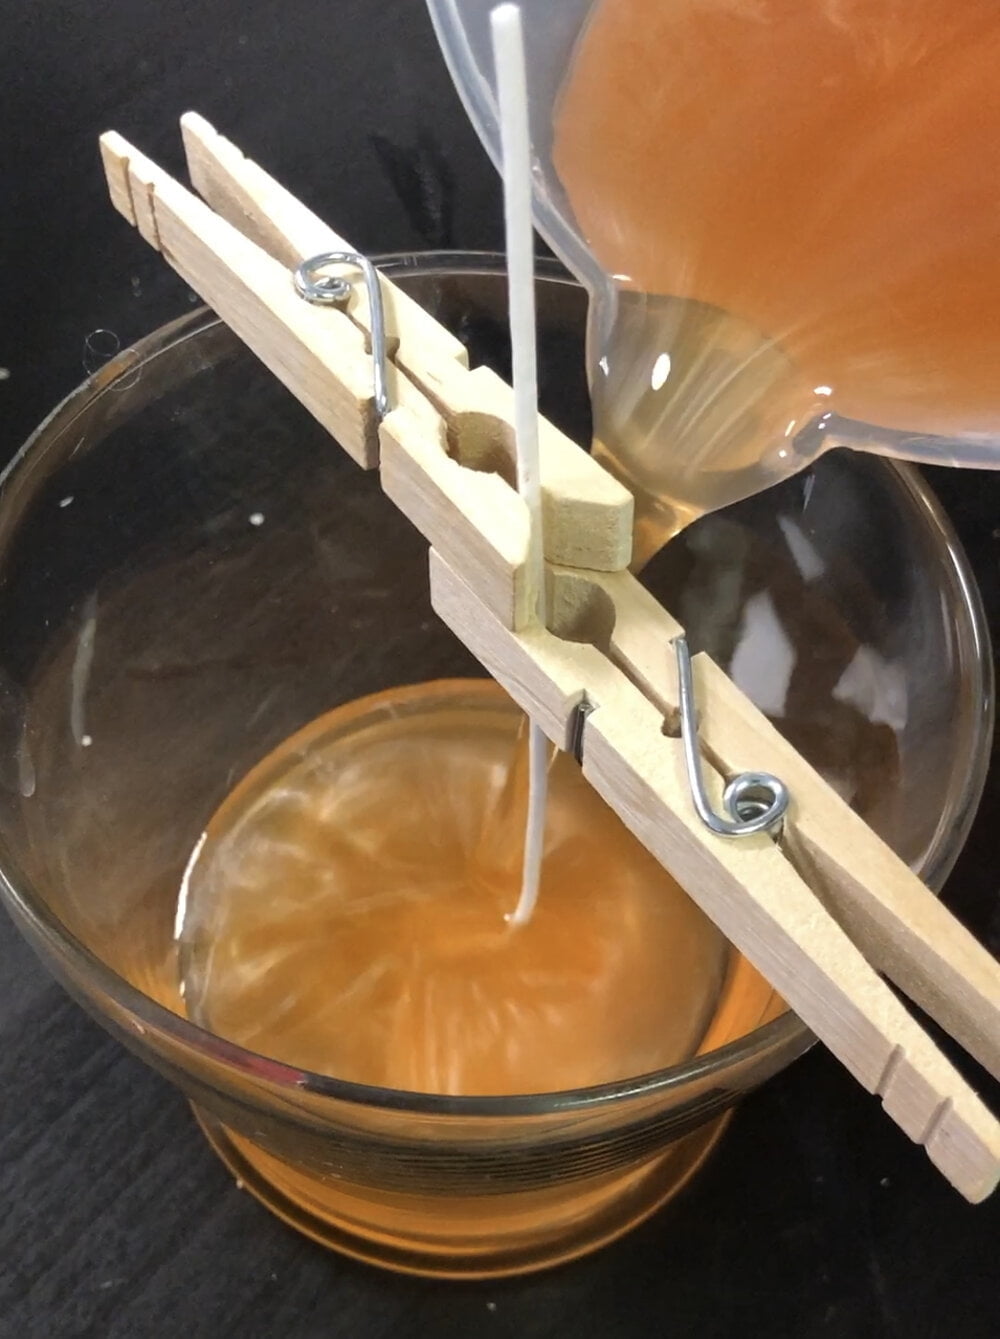
Once your wax is melted, it’s time to carefully pour it into your chosen molds or containers. It’s essential to pour slowly and steadily to avoid spills or air bubbles in the finished product. Some crafters also choose to preheat their molds or containers slightly before pouring to help prevent the wax from cooling too quickly and causing imperfections.
As you become more experienced with candle making, you may want to experiment with different pouring techniques such as layering different colors or adding decorative elements like dried flowers or glitter. These techniques can add visual interest and creativity to your candle melts, making them truly unique and special.
By mastering the heating and pouring techniques for candle melts, you’ll be on your way to creating beautiful and fragrant candles that are perfect for gifting or enjoying in your own home. With practice and experimentation, you can develop your own signature style that sets your candle melts apart from the rest.
Cooling and Setting Process for Candle Melts
The cooling and setting process is a crucial step in the candle making journey. Once you have poured your melted wax into the molds or containers, it is important to allow adequate time for the candle melts to cool and set properly. This period will ensure that your candle melts take on the desired shape and form, as well as solidify for use in candles.
The duration of the cooling and setting process can vary depending on the type of wax used, the size of the candle melts, and the ambient temperature. Generally, soy wax takes longer to set compared to paraffin wax. It is recommended to leave your candle melts undisturbed during this process to prevent any imperfections from forming in the final product.
During this stage, it’s essential to keep an eye on any potential issues that may arise such as sinkholes or air pockets. To avoid these problems, some crafters choose to gently tap their molds or containers after pouring to release any trapped air bubbles. Additionally, you may want to consider using a heat gun or hairdryer on its lowest setting to help even out the surface of your candle melts before they fully set.
Once your candle melts have successfully cooled and set, they are ready for removal from their molds or containers. Take care not to rush this process as premature handling can lead to deformities in your finished product. After removal, be sure to inspect each one for quality control before proceeding with incorporating them into your candles.
| Types of Wax | Cooling Time |
|---|---|
| Soy Wax | 4-6 hours |
| Paraffin Wax | 2-4 hours |
Troubleshooting Common Issues With Candle Melts
When it comes to making candle melts, there are several common issues that beginners may encounter. However, with the right knowledge and techniques, these issues can be easily resolved. Here are some troubleshooting tips for common problems that may arise during the candle melt-making process:
1. Sinking or Pitting: One common issue with candle melts is when they sink or develop pits on the surface after cooling. This can be caused by pouring the melted wax at too high of a temperature, creating air pockets in the wax. To prevent this issue, make sure to pour the wax at the recommended temperature and gently tap the mold or container to release any trapped air bubbles.
2. Frosting: Frosting occurs when a white film forms on the surface of the candle melts as they cool. This is typically caused by temperature fluctuations during the cooling process. To avoid frosting, try to cool the candle melts gradually in a draft-free environment at a consistent temperature.
3. Poor Scent Throw: If your candle melts are not releasing enough fragrance when burned, it could be due to using an incorrect fragrance load or poor-quality fragrance oil. Always follow recommended fragrance load guidelines and use high-quality fragrance oils for optimal scent throw.
Remember that troubleshooting common issues with candle melts is part of the learning process in candle making. By identifying and addressing these problems, you can improve your skills and create high-quality candle melts for all your crafting needs.
Creative Ways to Use Candle Melts in Candle Making
Candle melts are a versatile and convenient way to add fragrance, color, and creativity to your candle making process. Here are some creative ways to use candle melts in your candle making projects:
- Layered Designs: Create visually stunning candles by pouring layers of differently scented and colored candle melts into your containers or molds. This technique allows you to experiment with different combinations of fragrances and colors, resulting in unique and beautiful candles.
- Embedding: Embedding small pieces of decorative wax shapes or even smaller candle melts within your larger candles can add an interesting visual element. This can be done by placing the embedded wax pieces at the bottom of the container before pouring the main candle melt mixture, creating a surprise for those who burn the candle.
- Custom Blends: Mix and match different scents and colors of candle melts to create custom blends that suit your personal preferences or match a specific theme or occasion. By blending different types of wax with varying melting points, you can achieve unique textures and effects in your candles.
By using these creative techniques, you can elevate your candle making projects to new levels, producing one-of-a-kind candles that stand out from commercially produced options. The versatility of candle melts allows for endless possibilities when it comes to experimenting with different designs, colors, scents, and textures in your homemade candles. Whether you are making candles for personal use or as gifts for others, using candle melts provides an easy way to add artistic flair to each creation.
Conclusion
In conclusion, candle melts are a versatile and essential component of the candle making process. From choosing the right wax to adding fragrance and color, using molds and containers, employing heating and pouring techniques, and troubleshooting common issues, there are countless opportunities for creativity and experimentation when working with candle melts. The cooling and setting process is crucial for achieving the desired final product, and once mastered, it opens up endless possibilities for creating unique and beautiful candles.
One of the most exciting aspects of working with candle melts is the ability to explore various creative ways to incorporate them into candle making. Whether it’s layering different scents and colors, using decorative molds or experimenting with different pouring techniques, the potential for innovation is truly limitless. Additionally, incorporating additives such as dried flowers or herbs can add an extra element of beauty to your candles.
Overall, the world of candle making offers a myriad of opportunities for both hobbyists and professionals alike. By mastering the art of working with candle melts, anyone can turn their creative visions into tangible works of art. So whether you’re looking to start a small business or simply enjoy creating your own unique candles at home, the possibilities are truly endless when it comes to utilizing candle melts in candle making.
Frequently Asked Questions
Can You Use Candle Melts to Make Candles?
Yes, you can use candle melts to make candles. Candle melts are made from the same wax as traditional candles, so they can be melted down and used to create new candles. It’s a great way to repurpose old candle wax.
What Is the Best Wax to Melt for Candles?
The best wax to melt for candles depends on the type of candle you want to make. For beginners, soy wax is often recommended because it’s easy to work with and has a clean burn. More experienced candle makers might prefer beeswax or paraffin wax for different effects.
Can You Melt Down Old Candles to Make Wax Melts?
Yes, you can melt down old candles to make wax melts. This is a practical and eco-friendly way to reuse leftover candle wax instead of throwing it away. By melting down old candles, you can create new wax melts in different scents and colors.

Welcome to my candle making blog! In this blog, I will be sharing my tips and tricks for making candles. I will also be sharing some of my favorite recipes.

