Candles Making And Displaying
Candles have been around for centuries and are still popular today. They come in different shapes and sizes and can be used for different occasions. Whether you are making candles for the first time or are an experienced candle maker, these tips will help you make and display your candles in a professional and attractive way.
When making candles, use high-quality wax and a reliable melting pot. Choose a wax that is compatible with the type of scent you are using. Soy wax is a good choice for making scented candles, as it is non-toxic and burns cleanly.
When melting wax, be sure to do so slowly and carefully. Never leave a melting pot unattended, and keep a fire extinguisher nearby in case of a fire.
When pouring wax, use a Pyrex measuring cup or a pitcher with a spout. Pour the wax slowly and carefully, making sure to avoid creating air bubbles.
If you are using a mold, be sure to butter it well. This will help the candle release from the mold easily.
Allow the candle to cool completely before trimming the wick. Trim the wick to 1/4 inch in length.
If you are using a votive holder, be sure to use a votive candle. Do not use a candle that is too large for the holder, as this can cause the candle to burn unevenly.
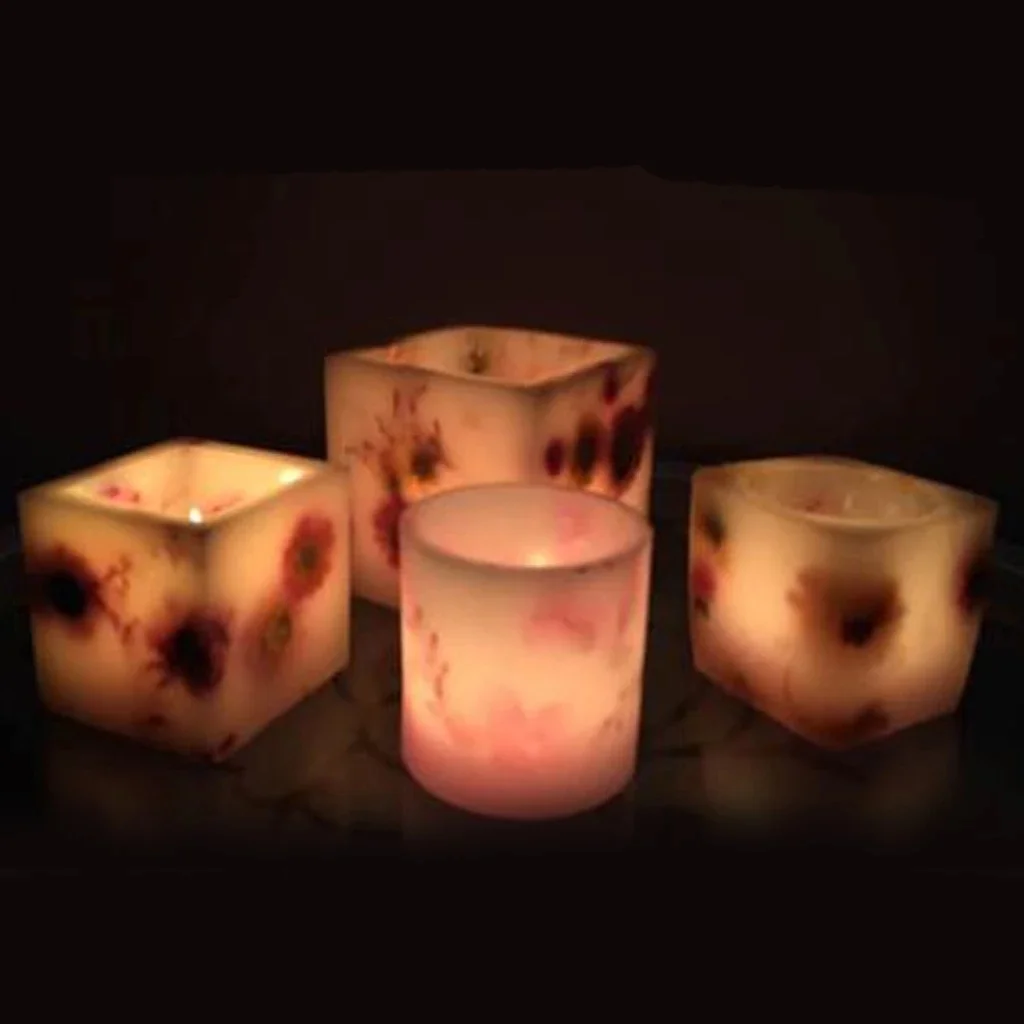
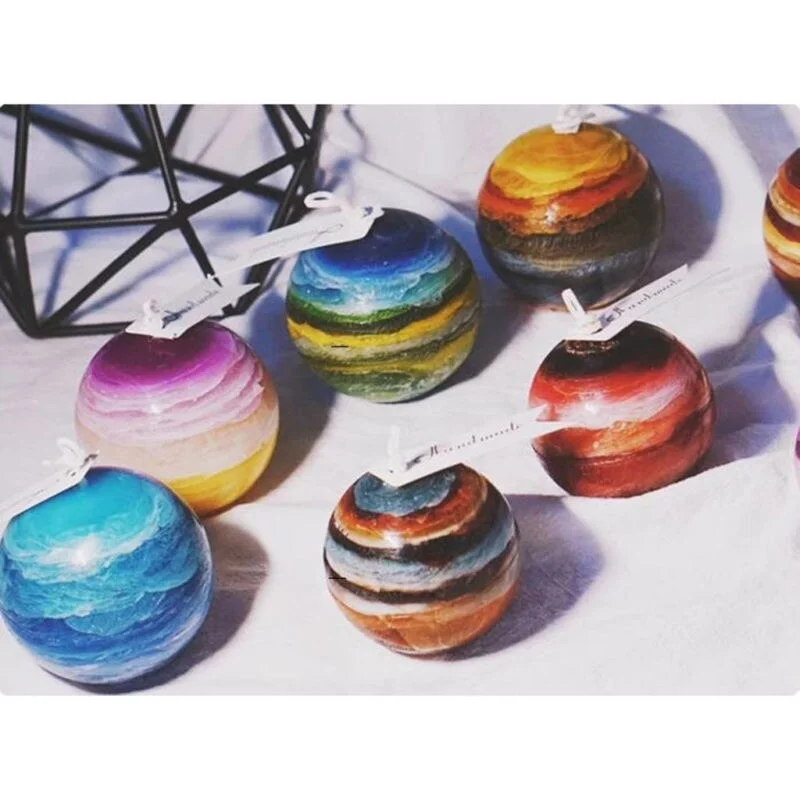
When displaying candles, use a variety of shapes, sizes and colors. Arrange the candles on a cake stand, in a bowl or on a tray.
Be sure to light the candles correctly. Always use a lighter or matches, and never use a flame from a stove or other heat source.
When blowing out a candle, do so from the side or base of the candle, not from the top.
Making Rustic Wood Chain Hanging Candle Holde
Now that the days are growing shorter and the weather is cooling off, it’s the perfect time to start thinking about winter decorating ideas. One of the easiest and most affordable ways to add some charm to your home is with a rustic wood chain hanging candle holder. This project is simple enough for even beginner DIYers, and it can be completed in just a few hours.
To make your own rustic wood chain hanging candle holder, you’ll need the following supplies:
-Piece of wood, at least 24” long and 6” wide
-Ruler or measuring tape
-Circular saw
-High-grit sandpaper
-Stain or paint
-Paintbrush
-Candles
-Hot glue gun
-Chain, at least 24” long
-Screw hooks, 2
-Drill
-1/8” drill bit
First, use a ruler or measuring tape to measure and mark the center of your wood piece. Then, use a circular saw to cut the wood piece into two 12” long pieces. If your wood is particularly thick, you may want to cut it into three or four pieces instead.
Next, use high-grit sandpaper to sand the edges and surfaces of the wood pieces until they are smooth. Then, choose a stain or paint color and use a paintbrush to apply it to the wood. Let the paint or stain dry completely.
Once the paint or stain is dry, use a hot glue gun to attach the two wood pieces together, making sure that the marked center is aligned. Let the glue dry completely.
Now, use a drill with a 1/8” drill bit to make two holes in the top of the wood piece, one on either side of the center. These will be where you attach the chain.
Finally, use a screw hook to attach one end of the chain to the top of the wood piece. Then, use another screw hook to attach the other end of the chain to the ceiling or a nearby wall.
You can now add candles to the holder and enjoy the warm, flickering light it provides.
Making A Paint Can Candle
Candles are a classic way to make any room feel more cozy and inviting. They also make great gifts, and can be customized to fit any occasion. In this tutorial, you will learn how to make a paint can candle.
You will need:
-A clean and dry paint can
-A hot glue gun
-A glue stick
-A tea light
-A piece of string or ribbon
-Scissors
-A pen or pencil
-A ruler
-A candle wick
-A candle Wick Holder
-Tape
-A bowl or pot
-Water
-Food coloring (optional)
1. Begin by cleaning and drying your paint can.
2. Cut a piece of string or ribbon that is about 18 inches long. Tie one end of the string around the tea light, and then tie the other end around the top of the paint can.
3. Cut a piece of the candle wick that is about 12 inches long.
4. Glue the candle wick to the bottom of the tea light using a hot glue gun.
5. Put the tea light in the paint can.
6. Cut a piece of the candle wick that is about 6 inches long.
7. Glue the candle wick to the top of the paint can using a hot glue gun.
8. Put the glue stick in the hot glue gun.
9. Turn on the hot glue gun and wait for it to heat up.
10. Cut a piece of the candle wick that is about 2 inches long.
11. Tape the candle wick to the bottom of the glue stick using tape.
12. Dip the glue stick in the water.
13. Turn on the hot glue gun and wait for it to heat up.
14. Hold the glue stick over the paint can, and squeeze the glue stick to release the wax.
15. Allow the wax to drip over the tea light and down the sides of the paint can.
16. If you would like, you can add food coloring to the water to create a custom color.
17. Allow the candle to dry completely.
18. Cut the string or ribbon and remove the tea light.
19. Light your candle and enjoy!
Making Soy Candles With Young Living Essential Oils
Candles have been around for centuries, and for good reason. They provide a soft, natural light that is perfect for creating a relaxing atmosphere. Not to mention, they make any room smell amazing.
There are many different types of candles you can make, but this tutorial will show you how to make soy candles with Young Living essential oils.
What you’ll need:
-Soy wax flakes
-Young Living essential oils
-Container(s) for your candles
-Wick(s)
-Scissors
-Hot glue gun
-Spoon
-Stove
1. Start by melting your soy wax flakes in a pot on the stove.
2. Once the wax has melted, add in your desired amount of Young Living essential oils.
3. Pour the wax mixture into your desired container(s), making sure to place the wick in the center.
4. Allow the candles to cool and harden.
5. Trim the wick to 1/4 inch in length.
6. Enjoy your new soy candles!
Candle Making Tea Light Cups
Candle making is a centuries old craft that has been used to create light and warmth. Today, candles are often used for decorative purposes, and candle making has become a popular hobby.
One of the most popular types of candles to make is tea light candles. Tea light candles are small candles that are typically used to provide light in a small area. They are also often used to scent a room with a fragrant candle oil.
Tea light candles are typically made from paraffin wax or beeswax. Paraffin wax is a type of wax that is made from petroleum. It is a common type of wax because it is inexpensive and easy to work with. Beeswax is a type of wax that is made from bees. It is more expensive than paraffin wax, but it has a higher melting point and a higher burning temperature.
To make a tea light candle, you will need:
-Paraffin wax or beeswax
-Candle wick
-Scissors
-Double boiler
-Tea light cup or other mold
The first step in making a tea light candle is to choose the wax you want to use. Paraffin wax is a good choice for beginners because it is easy to work with. Beeswax is a good choice for more experienced candle makers because it has a higher melting point and a higher burning temperature.
Once you have chosen the wax, you will need to cut a piece of wick that is the same length as the diameter of your tea light cup or mold.
Next, you will need to set up your double boiler. A double boiler is simply two pots that are placed one on top of the other. The bottom pot is filled with water, and the top pot is filled with wax.
Place the tea light cup or mold on top of the bottom pot. The bottom pot will heat the tea light cup or mold and the wax will melt.
Once the wax has melted, carefully pour it into the tea light cup or mold. Be sure to pour the wax in the center of the cup so that the wick is in the middle.
Allow the wax to cool and harden. Once it has hardened, you can remove the tea light cup or mold from the wax.
Your tea light candle is now finished! To light it, simply light the wick and enjoy the light and fragrance.

Welcome to my candle making blog! In this blog, I will be sharing my tips and tricks for making candles. I will also be sharing some of my favorite recipes.


