Introduction
Cleaning candle making equipment is essential for the successful preparation of candles, so it is important to be aware of the various types of equipment and their individual cleaning requirements. Depending on the type of material and purpose, there are a variety of different items needed when making candles ranging from molds and wicks, to wax melting pots and fragrances. To maintain healthy results each item requires different levels of care, including regular cleaning and maintenance.
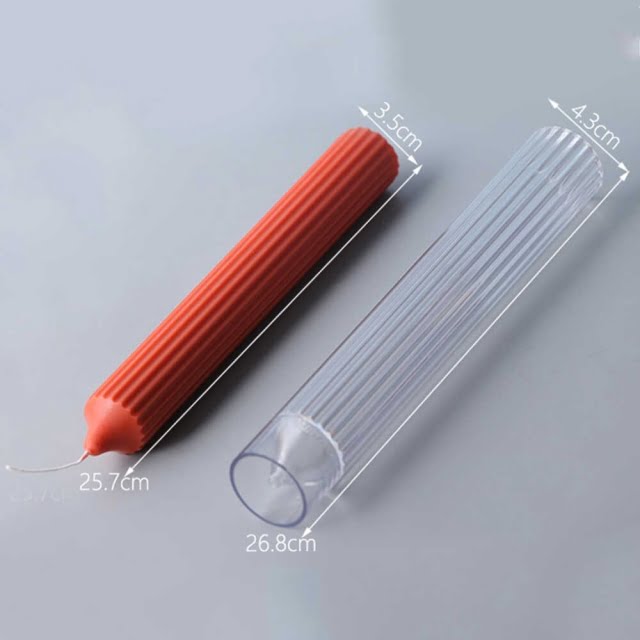
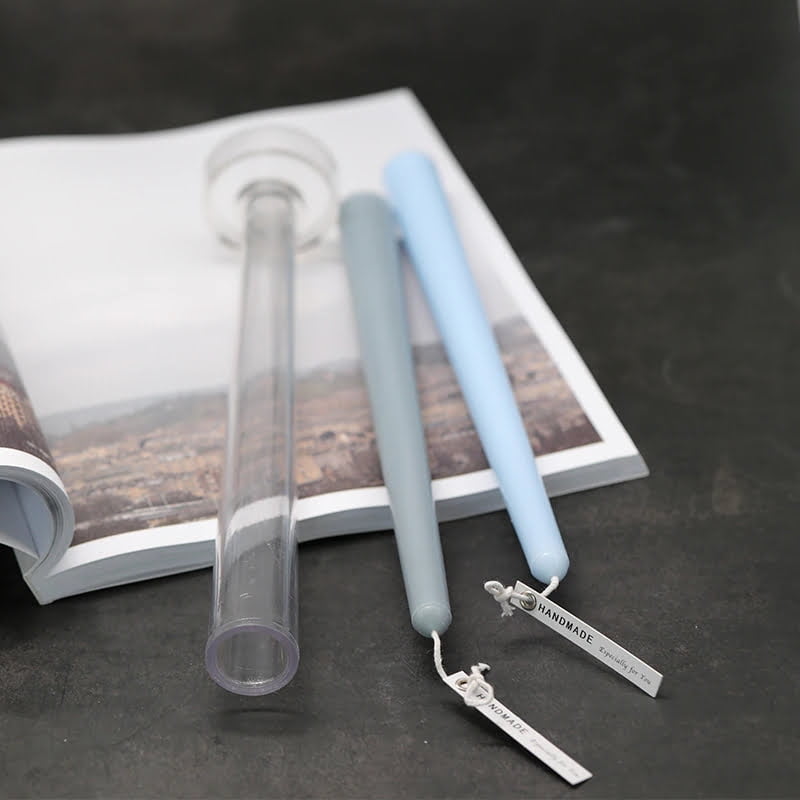
Molds – Any plastic or metal containers used as molds should first be washed with warm soap and water, then dried thoroughly before use. After each use all excess wax should be removed with a paper towel or cloth and then warmed up over low heat in order to help soften any remaining residue. After the residue has been softened the molds can easily be wiped down with a soft cloth or sponge.
Wicks – It’s important to keep your wicks clean in order to prevent them from becoming clogged or deformed due to buildup from wax residue. Any dirt on the wick can easily be removed by gently brushing it with either a soft brush or clean cloth. Additionally, you should frequently check for any loose debris that may have become attached to the threads during usage which can also hinder performance if left unchecked.
Wax Melting Pots – Wax melting pots should always be kept clean from residual wax in order to prevent any contamination which could impact your finished product in terms of scent, shape and color. The best remedy is frequent washing with hot water mixed dish soap; this will help break down the oil-based components within leftover wax deposits. It’s important not to let harden wax build up inside your melting pot; this causes uneven heating resulting in inconsistent temperatures when melting further batches which might cause poor results later on down the line. Storing your melted pot off high areas such as countertops while not in use helps reduce dirt buildup as pieces tend collect on flat surfaces when not moved around enough throughout its lifetime.
Fragrance Oils- The most effective way for keeping unwanted scents away from your finished products are using good quality fragrance oils that haven’t expired or been exposed too long periods without being stored correctly at safe temperatures (Heat damages fragrance oils). Keeping exposure time minimized along with storing strongly scented bottles separately from each other will create better results when combining fragrances into an ideal smell blend capable of creating some extravagant aromas! Storing them away from direct sunlight will significantly extend shelf life while preserving original aroma since they become more saturated over time providing better results each time they are used.
Understanding Cleaning Requirements
Cleaning is an integral part of successful candle making equipment maintenance and candle production. Poor cleaning can lead to blockages, contamination, and failure of components. It is essential that all users understand the correct methods and necessary protocol when it comes to cleaning their candle-making equipment.
When starting to clean a piece of candle-making equipment, it is important to begin with a visual inspection; look for any blockages, spillage or debris which may have built up around the components. The next step should be to use a soft cloth or brush with a mild soap and warm water to remove dirt and grime from the machine. It is essential that all parts are washed thoroughly with plenty of dishwashing liquid and rinsed off with clean running water.
If there are still stubborn stains remaining on your candle-making machine, it might be necessary to use specialized products such as alcohols or solvents in order to remove them – always read manufacturer instructions carefully before using harsh chemicals on your machines! If you use these chemicals for cleaning, you must dispose of them safely after use according to local regulations regarding hazardous waste disposal.
Finally, it is important to always store candle-making machines in a dry place away from direct sunlight or extreme heat fluctuations – this will not only keep your equipment in better condition but also help preserve its life expectancy.
Choosing the Right Cleaning Supplies
When it comes to cleaning candle making equipment, using the right cleaning supplies and materials is essential in order to get rid of excess wax and keep your tools in top condition. Start by selecting a cold-water or warm-water based cleanser that is designed specifically for cleaning up wax. To avoid scratching any delicate surfaces on your equipment, use a soft cloth and avoid harsh abrasive cleansers. Avoid getting any water inside wax melters, molds, candle jars or other containers as this can damage the material over time. For more stubborn buildup, try using an old toothbrush dipped in the cleanser solution to work away wax deposits.
A special degreaser designed for candles will also help break down hardened wax and make cleanup easier. This type of product usually comes in liquid form but can also be found as an aerosol spray. If you prefer a natural approach, try boiling water or white vinegar as both are effective at melting down stubborn residue without damaging the material they are used on. You can also use hydrogen peroxide to remove stains from containers and other heat resistent surfaces such as silicone molds or metal pouring pitchers.
For tin cans, do not use steel wool or other abrasive materials – stick with natural ingredients such as rubbing alcohol, white vinegar or lemon juice mixed with warm water to soften up residue before wiping clean with a cloth or brush. Between uses of candle making equipment always ensure that all surfaces are clean and dry since any left over moisture can lead to rusting over time.
Step-by-Step Cleaning Guide
1. Gather necessary cleaning supplies, such as dish soap, scrub brushes, paper towels, rubber gloves, and a bucket.
2. Remove all old wax residue and dirt from equipment by scraping with a non-abrasive tool such as a plastic spoon or scraper.
3. Fill the bucket with hot soapy water and submerge each piece of candle making equipment for at least five minutes.
4. Place rubber gloves on hands and vigorously scrub each piece with a soft bristle brush to remove any bits of dirt or residue that were not removed by scraping alone.
5. Rinse each piece thoroughly under running water to ensure that no soap or dirt remains on the equipment.
6. Dry each piece well with paper towels then allow to air dry completely before putting away or using again for candle making projects.
7. Ensure that all affected areas are properly sanitized by wiping down surfaces with a clean cloth soaked in rubbing alcohol after drying them with paper towels (this step should be done even if the equipment was soaked in soapy water).
8. Re-assemble the pieces of equipment and store them away until they are needed for another project
Potential Cleaning Pitfalls
When cleaning candle making equipment, it is important to ensure that all of your supplies are safe to clean and will not be damaged in the process. Inspect each item carefully and make sure to check any labels that recommend specific ways to clean. Additionally, remember that different types of materials may require different cleaning techniques so it is best to research the proper techniques up front. It is also important to use cleaning supplies made specifically for candles- if you use generic cleaners, they may contain ingredients that could harm your candles or contaminate them. Be sure to thoroughly rinse the items off after cleaning, as residue from cleaners such as soaps or chemicals can affect the odor or color of a scent when lit. Finally, it is essential to dry all candle-making tools after washing; moisture can cause rust and damage the surface of metal tools over time.
Tips & Tricks for Maintaining Cleanliness
1. Make sure to always use clean equipment- start with clean equipment and never use any used jars, wicks, spoons, or other utensils while making candles. This helps prevent cross contamination between batches of wax and fragrances.
2. Use designated containers for storing wax- Preferably, separate sealable containers should be used to store different types of wax before you begin candle making. This will help diminish the chance of fragrance seeping into other materials during the melting process.
3. Wear protective clothing– Such as gloves and aprons when working with hot melted wax to prevent potential burns and/or splatter from ruining clothing items or causing harm in general.
4. Thoroughly wash all equipment after each use– To ensure slop remains from one batch don’t make their way into a brand new batch or environment. All set-up (such as pouring pots, thermometers and stirrers) should be washed carefully with dish soap, really hot water and a damp cloth to avoid staining or leaving clumps behind that can spoil the texture of future batches of candles you plan on producing.
5. Regularly check wick sizes- One important element to keep in mind while making candles is the size of your wicks—it needs to match tthe diameter of your container properly so it’s not too long nor too short lest it compromise the quality of your finished product(s).
6. Keep your melting station neat & tidy- Buying additional tools such as wax chips holders can help facilitate quick cleanup if necessary (while also adding an aesthetically pleasing effect!) Research tips from professionals who may explain tricks for making a wax chip holder out of supplies already around the house!
Additional Resources
When cleaning candle making equipment, safety should always be a priority. Ensure that all wax and unburned material has been cooled completely before attempting any cleaning process. Having protective gear such as gloves, eye protection, and long sleeves is also essential to protect yourself from the hot wax or burning wicks.
When cleaning the containers you should run hot soapy water in them. If there is gunk or residue stuck on the sides of them you can use a soft cloth soaked in a vinegar-water solution to get it off. After each candle make sure the pouring pot is clean of any wax residue or chunks left over before adding more wax or wick material.
It’s also important to clean your wicks after every burn cycle. Use tweezers to remove any black particles built up on them then rinse with rubbing alcohol for about 15 seconds before drying with a paper towel. For heating tools, using rubbing alcohol can help loosen some of the excess wax from surfaces and tools alike.
Finally, consult additional resources for additional maintenance information such as how often parts need to be replaced and how frequently different instruments need to be cleaned with harsher chemicals than just soapy water and alcohol. Searching online for tutorials from other candle makers about best maintenance practices would also be beneficial for learning necessary skills for managing your candle making equipment responsibly and safely.[1]
Conclusion
It is important to remember that when you are finished with your candle making equipment and supplies, you will need to clean them very carefully in order to keep them in good condition. Proper cleaning not only helps keep your equipment functioning properly and free of contamination, but also reduces the risk of fire hazards and keeps your candles looking their best. Always be sure to read the instructions from the manufacturer and follow any special advice they give for cleaning their specific equipment. Taking the time to take care of all your candle making supplies will ensure that your hobby stays enjoyable for years to come.

Welcome to my candle making blog! In this blog, I will be sharing my tips and tricks for making candles. I will also be sharing some of my favorite recipes.

