Introduction
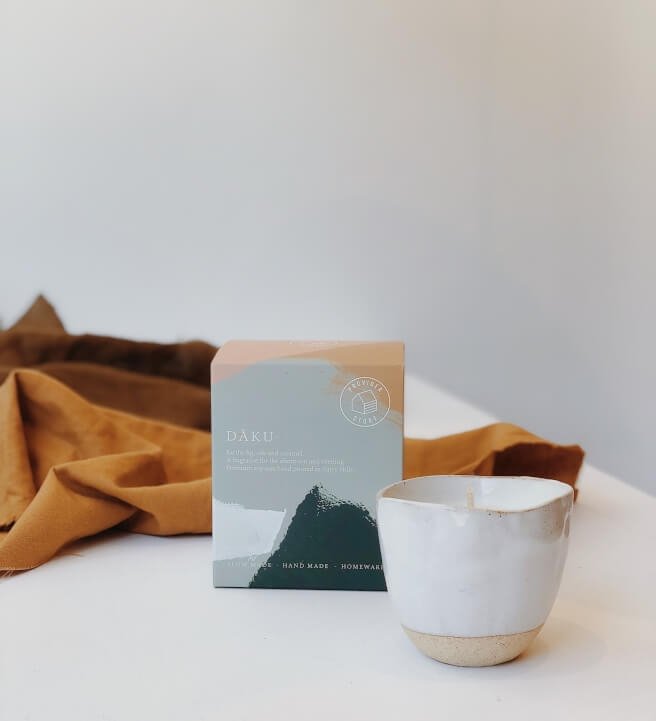
Coffee cups can easily be repurposed for making beautiful and fragrant candles. This DIY project can transform your used coffee cups into elegant, homemade candles that make great gifts or simply enhance the atmosphere of your home. The eco-friendly nature of such a project should urge everyone to give it a try!
The process to make candles using coffee cups is simple ” just prepare the wicks, melt the wax, pour it into a cup, and let it cool. Using coffee cups as containers is what makes this project stand out: not only are they cost effective, but they add a unique look to the candle while being food safe and heat tolerant. In addition, they come in vibrant colors and designs which allow you to personalize your candle. Furthermore, you can even add different scents to them to create pleasant aromas around your home.
Moreover, making candles with coffee cups also presents advantages for the environment since its materials (i.e. wax) are biodegradable. Additionally, upcycling old items reduces waste from landfills and promotes sustainability since it allows you to control what kind of products go into your product with an emphasis on sustainable approaches for production processes such as refilling and reuse of materials instead of disposing them away afterwards.
Making candles with coffee cups is an interesting way to repurpose old items and have something new from it which will last for much longer time than before. Not only does this process help extend their life cycles cost-effectively but can also spark creativity ” allowing one to produce unique items that stand apart from mass-produced goods In conclusion, making candles with coffee mugs is an effective way to sustainably reduce waste while producing decorations or gifts all at once!
Materials Needed for Making Candles with Coffee Cups
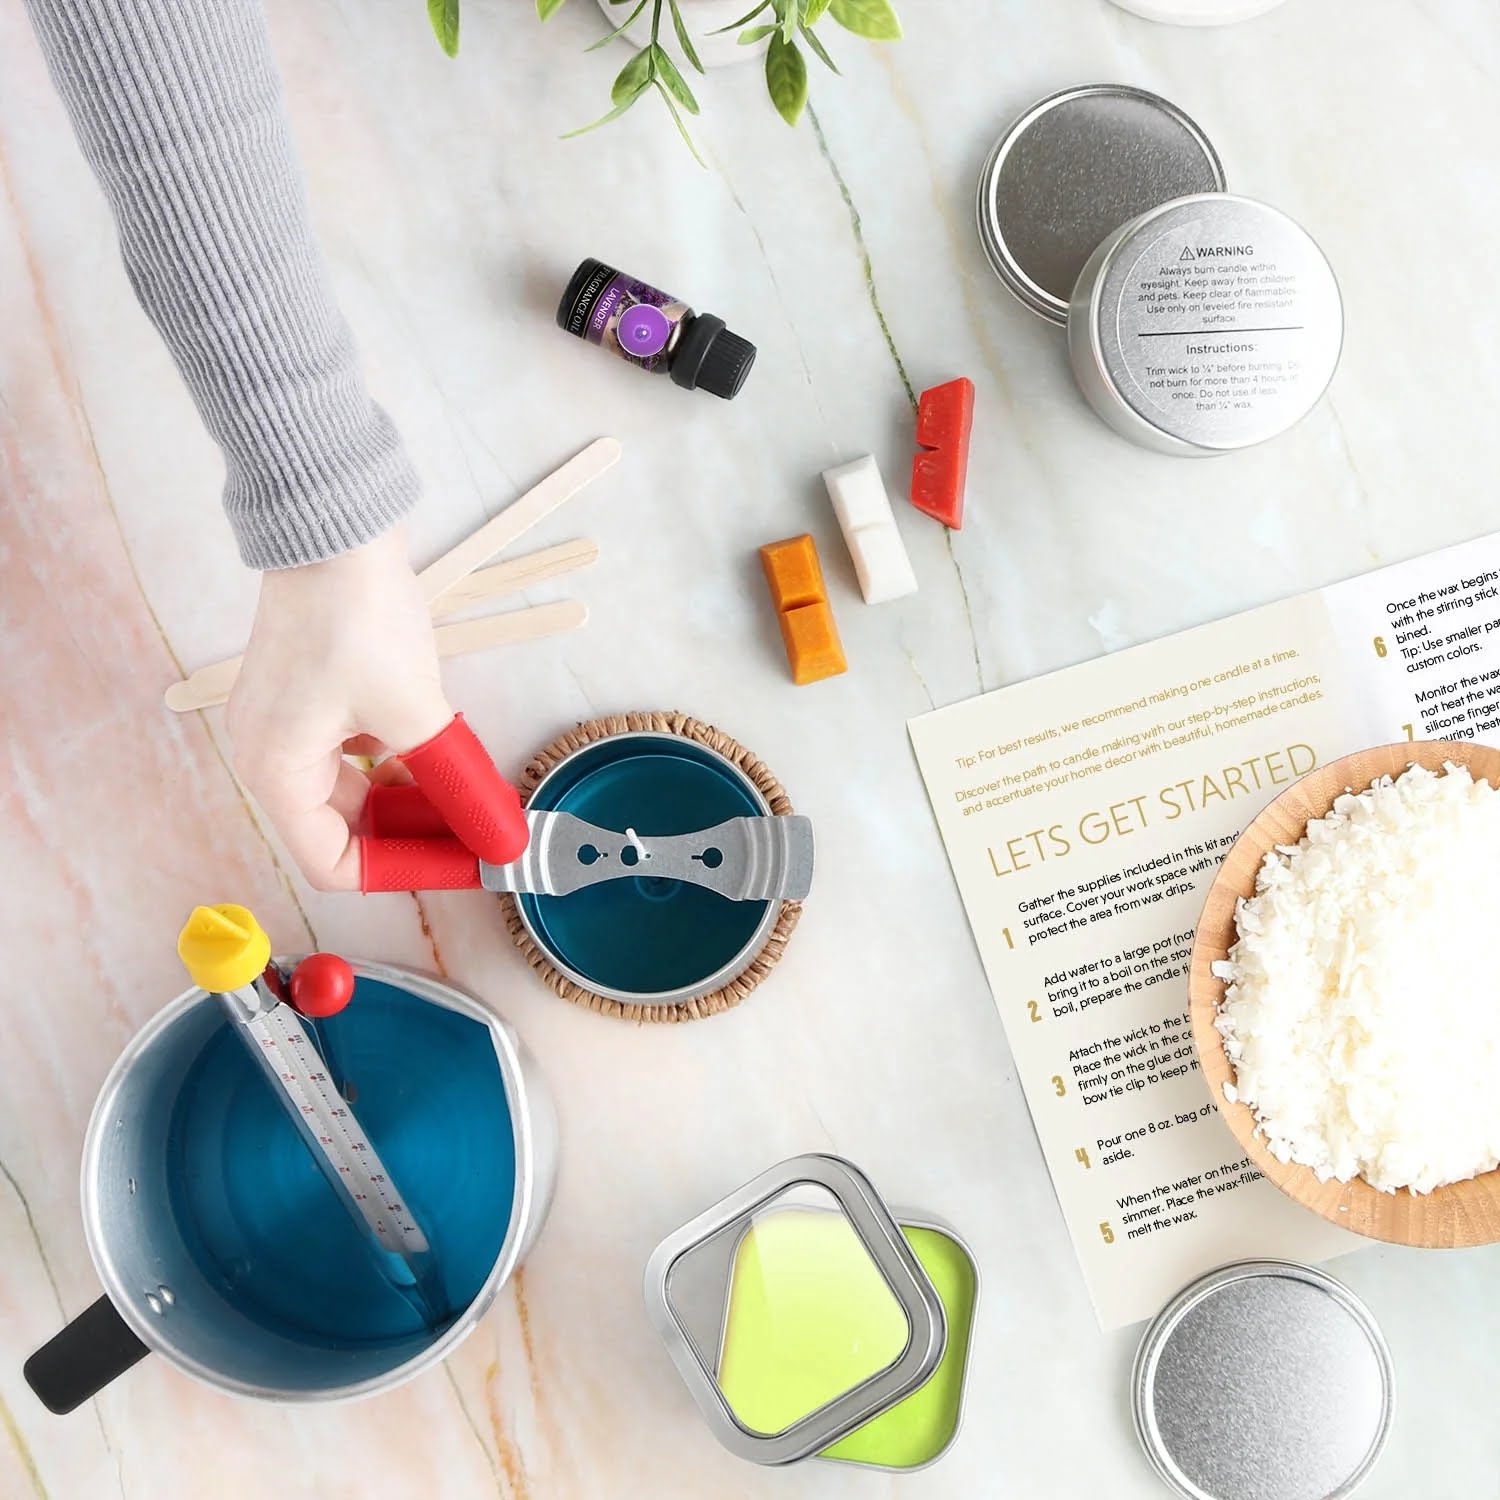
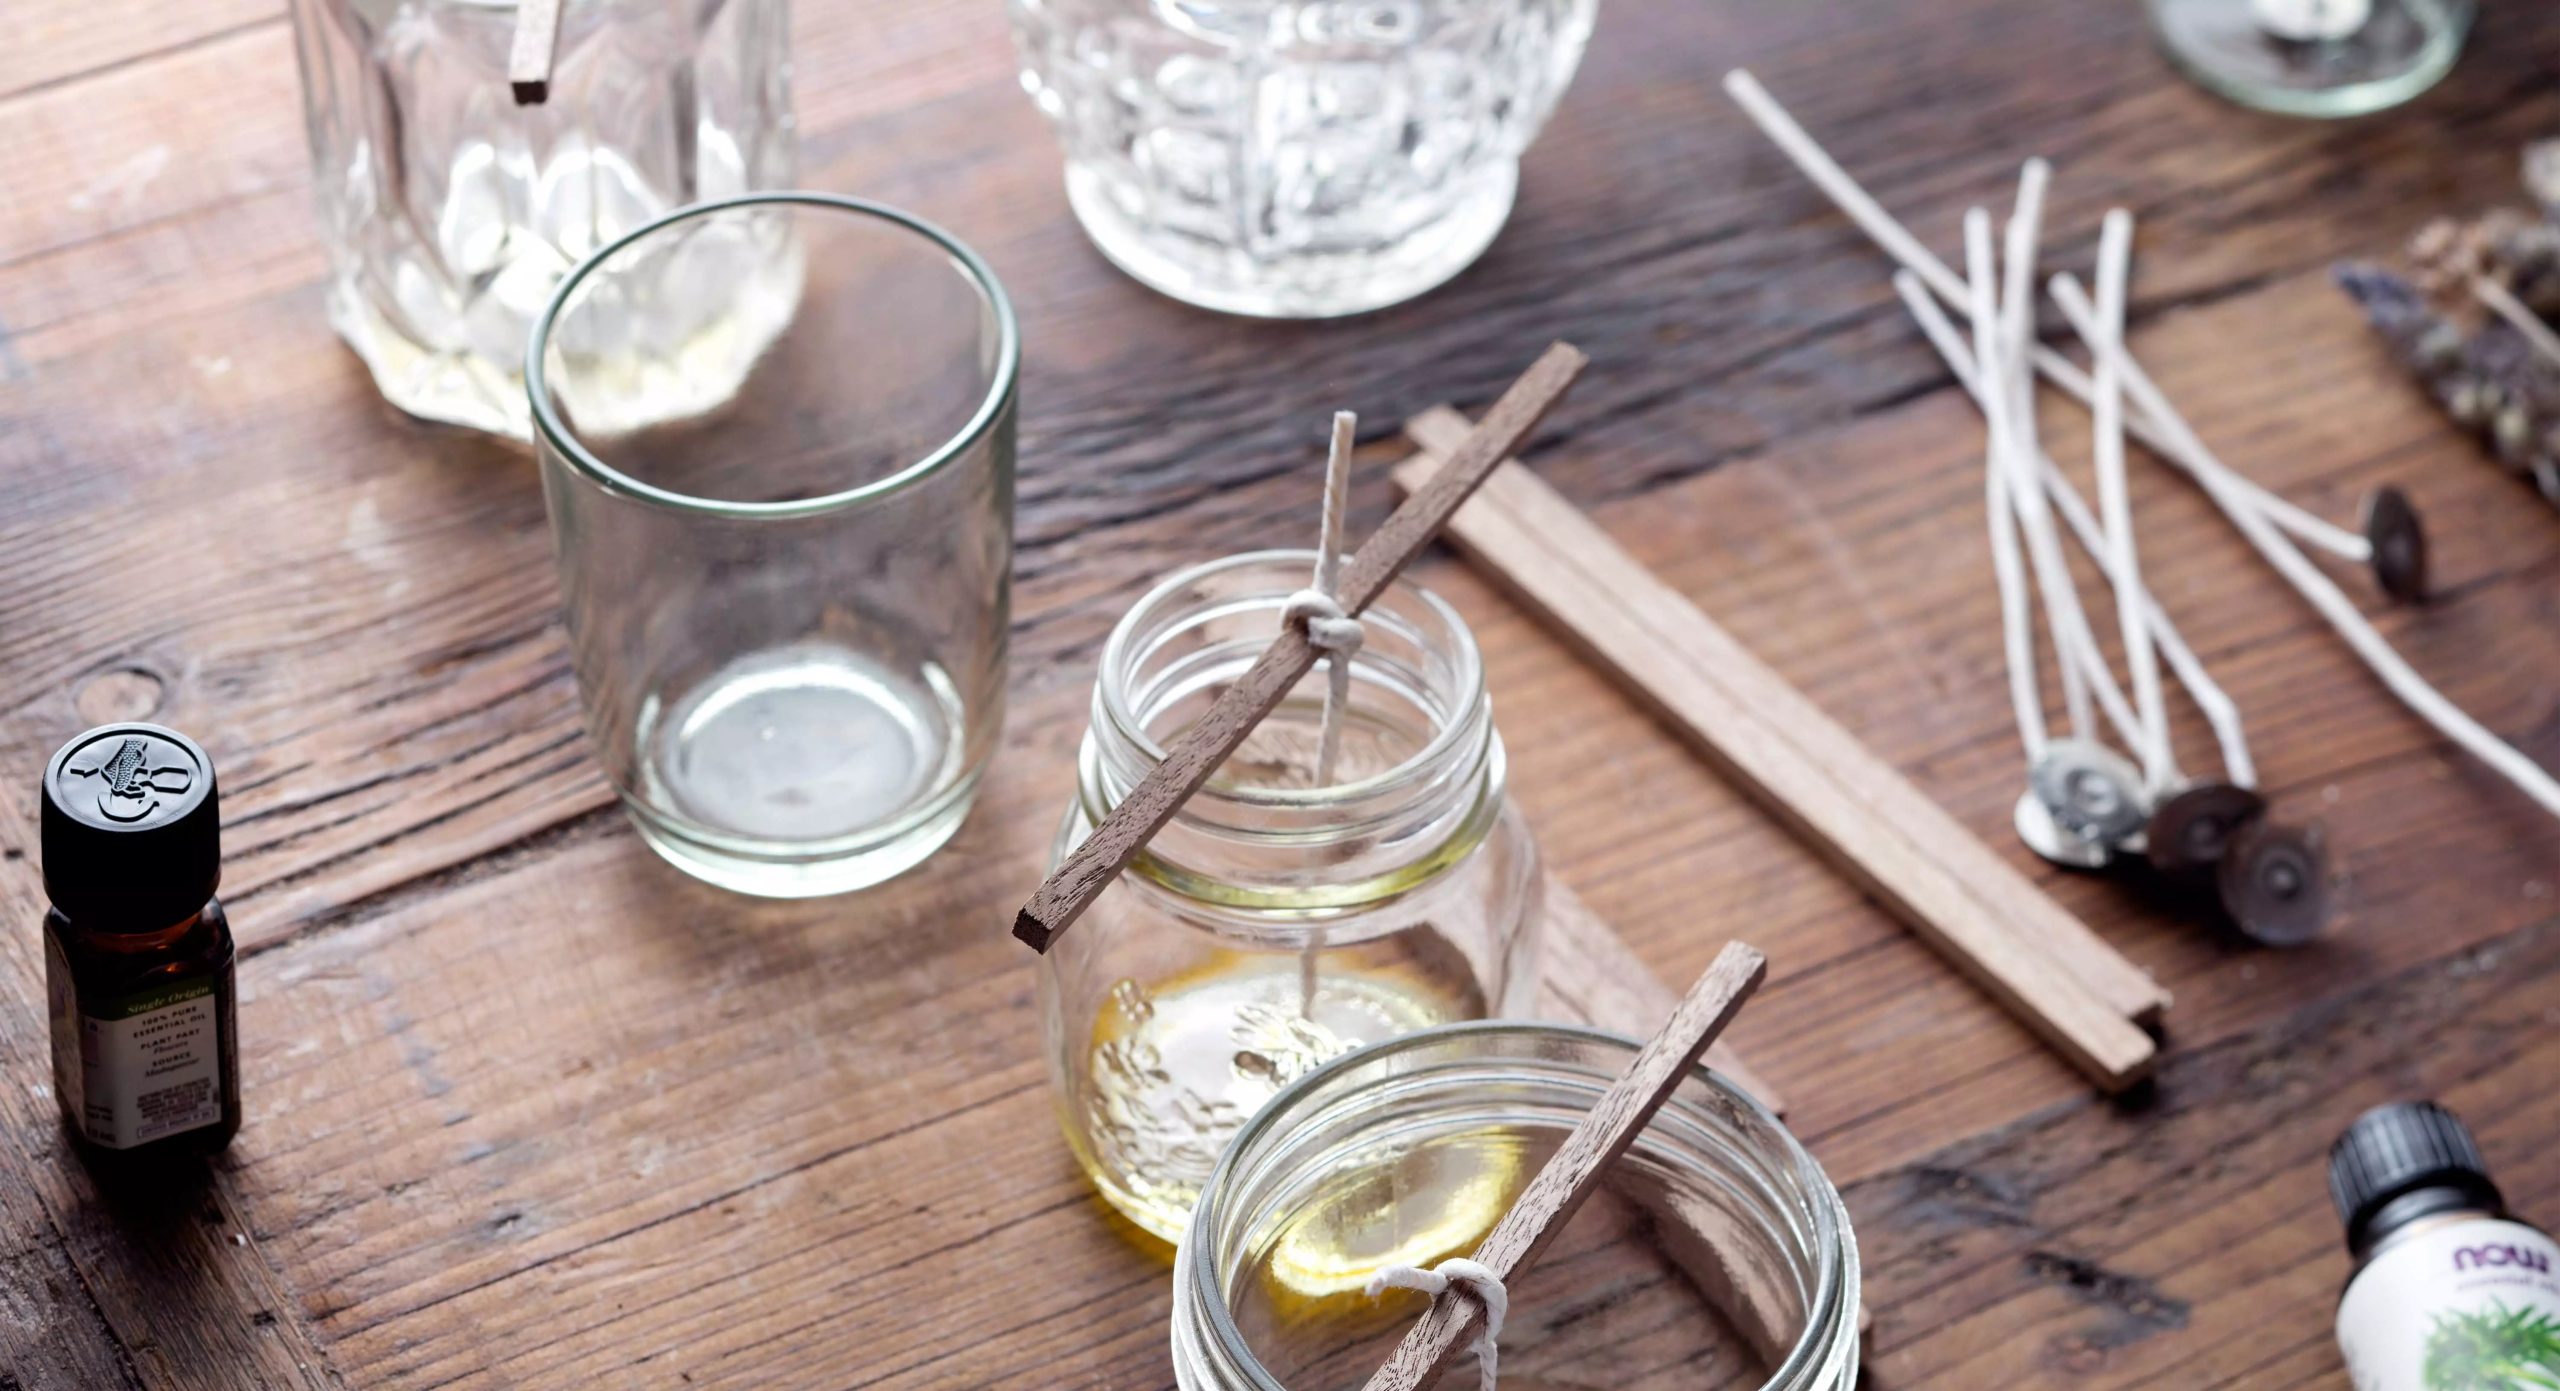
In addition to the coffee cups, you will need a few items to make candles in them. You will need some wax flakes, wick tabs, a double boiler, thermometer, and scent if desired. Make sure your double boiler is large enough to hold the entire package of wax flakes or divided into multiple batches if necessary. You will also require some type of stirrer. For example; chopsticks work great! A glue gun and glue sticks are also necessary for securing your wick tab into the coffee cup. An eye dropper is useful for measuring and pouring ingredients accurately. Lastly, you may want to add some scent oil or color dye to give it an extra dimension of fragrance or visual appeal.
Tutorial
Step 1: Gather Your Materials: You’ll need wax, wicks, fragrance/dye, coffee cups, non-toxic glue, measuring cup, and a double boiler.
Step 2: Start by gluing the wick to the bottom of your coffee cup with the non-toxic glue. Make sure that the wick is in the center of your cup and won’t move from its position as it could disrupt your candle pouring.
Step 3: To create your wax mixture, measure how much wax you need based on the size of the cup you are using and add this to a double boiler. Heat it over medium heat until it has melted completely. Add dye or scent depending on what you want for your candle and mix this into your melted wax.
Step 4: Now place your coffee cup with glued wick into a stable container or holder. Pour the melted wax into the coffee cup slowly making sure not to pour too quickly so that it doesn’t overflow out of the top. Fill up to just below where you’ve added the wick if possible so that you can have enough room for a flat surface when cooling off.
Step 5: Allow for time to cool off and dry up before burning! Keep an eye for any unevenness in the surface once cooled down as some may need another layer of wax pour after allowing it to solidify again if needed. Once done with all layers allow enough time for complete cure (circa 72 hours) before enjoying!
Different Types of Wax, Wicks and Colors to Use
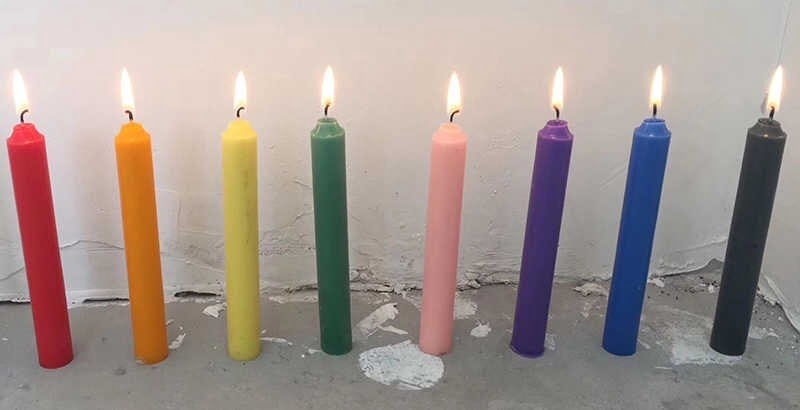
Coffee cups can be used for making candles thanks to their shape, which makes them ideal for candle making. Determining the type of wax, wicks, and colors to use is essential in order to make a successful candle from a coffee cup. The wax could be either paraffin or soy content-wise. If you prefer natural waxes, beeswax is also an option. Wicks should be made up of cotton threads and are available in varying sizes depending on the size of the cup being used. Colors can also be added in the form of wax color blocks or liquid dyes. To add scents to the candles you can use concentrated aromas or essential oils. Adding these ingredients will make your coffee cup into a unique and personalized candle you are sure to enjoy!
Tips for a Professional Finish on Coffee Cup Candles
1. Prep the coffee cup correctly ” Always make sure to thoroughly clean the coffee cup before use, and consider using a specialized wax adhesive to ensure that the wick is more secure and won’t come loose in the candle making process.
2. Use appropriate wax ” Make sure to use wax formulated for candle making. Different types of waxes have varying melting points, and it’s important to choose one that will perform best with your desired scent and size of the coffee cup candle.
3. Choose an appropriate wick ” The length of your wick should be about 1/4 inch shorter than the height of your container for optimal results – taking into account any shrinkage when selecting the right size. Consider investing in a good quality pre-waxed, tabbed wick or two-piece metal holder for best results.
4. Choose your scent mix wisely ” If you’re adding essential oils or fragrance to candles, conduct a smell test beforehand since they all behave differently with different types of waxes – so you can know how your candle will smell once finished.
5. Allow enough time to cool properly ” To prevent unnecessary cracking, allow your newly poured coffee cup candles at least 8 hours (preferable overnight) or until room temperature before trimming (and potentially relighting!) their wicks
Creative Ideas for Decorating Coffee Cup Candles
Coffee cup candles are a fun and creative way to add some personality to your home. Decorating the coffee cups can be just as much fun! To get started, you can use markers or paint pens to draw custom designs on the outside of the cups. You can also use colorful wrapping paper or decoupage glue to adorn the exterior with images of your favorite characters or scenes. Alternatively, you could give each candle its own unique motif with different patterns or quotes written around the circumference of the cup. After adding your artistic touches, simply create candles by pouring melted wax into the cup and inserting a wick along with whatever scent you prefer. Finally, top off each candle with a colorful ribbon for an extra special touch before you display them proudly in any room!
Essential Safety Tips for Making Candles with Coffee Cups
-Make sure to use a heat-resistant material such as high-temperature wax when making your candles.
-Do not light the candles until all of the elements, including wax and wick, have cooled completely.
-Never put anything flammable near the candle while it’s burning.
-Keep an eye on your candles at all times and never leave them unattended.
-You should always test your candles first in a well-ventilated area, like outside or near an open window.
-You should exercise caution when pouring hot wax into coffee cups as it can splash out of the container if added too quickly.
-Allow the finished candle to cool for several hours before moving it from the cup to prevent deformation of the shape.
Final Thoughts
Pros:
Making candles with coffee cups is easy, affordable and environmentally friendly. The material of the cup is perfect for holding wax and scents, and burning a candle in a coffee cup can create a unique ambiance in any room. Candle making with coffee cups also allows you to recycle all sorts of materials including lids, stirrers, and other items that can be incorporated into the end product.
Cons:
One downside to making candles with coffee cups is that they are not as durable as traditional glass or metal containers. The cups may crack or become brittle due to the heat from the flame. Additionally, the process may be time-consuming when trying to measure out all necessary ingredients and ensuring that everything fits properly within the cup. Finally, depending on the size of your desired candle, it might cost more to use multiple coffee cups rather than opting for one larger container.

Welcome to my candle making blog! In this blog, I will be sharing my tips and tricks for making candles. I will also be sharing some of my favorite recipes.

