Are you ready to delve into the world of DIY candle making? Creative candle making video tutorials have become increasingly popular as more people are drawn to the idea of crafting their own unique candles. The rising trend of DIY candle making stems from the appeal of honing a new skill while also creating personalized, handcrafted items for their homes or as thoughtful gifts for others.
With the abundance of online video tutorials available, it has never been easier to learn the art of candle making right from the comfort of your own home. These videos not only provide step-by-step guidance but also inspire creativity and offer endless possibilities for customizing your candles. Whether you’re a beginner or seasoned crafter, there’s always something new to learn and discover in the world of candle making.
In this comprehensive guide, we will explore everything you need to know about DIY candle making, including choosing the right supplies, preparing your workspace, following a step-by-step tutorial, adding creativity to your candles, troubleshooting common issues, adhering to safety precautions, and even sharing your creations through engaging video tutorials on social media. Let’s embark on this exciting journey together and unlock the endless potential of creating beautiful homemade candles.
Choosing the Right Supplies
When it comes to making your own candles, choosing the right supplies is crucial to ensure a successful and enjoyable candle making experience. Here is a detailed guide on the necessary materials you will need for your DIY candle making project:
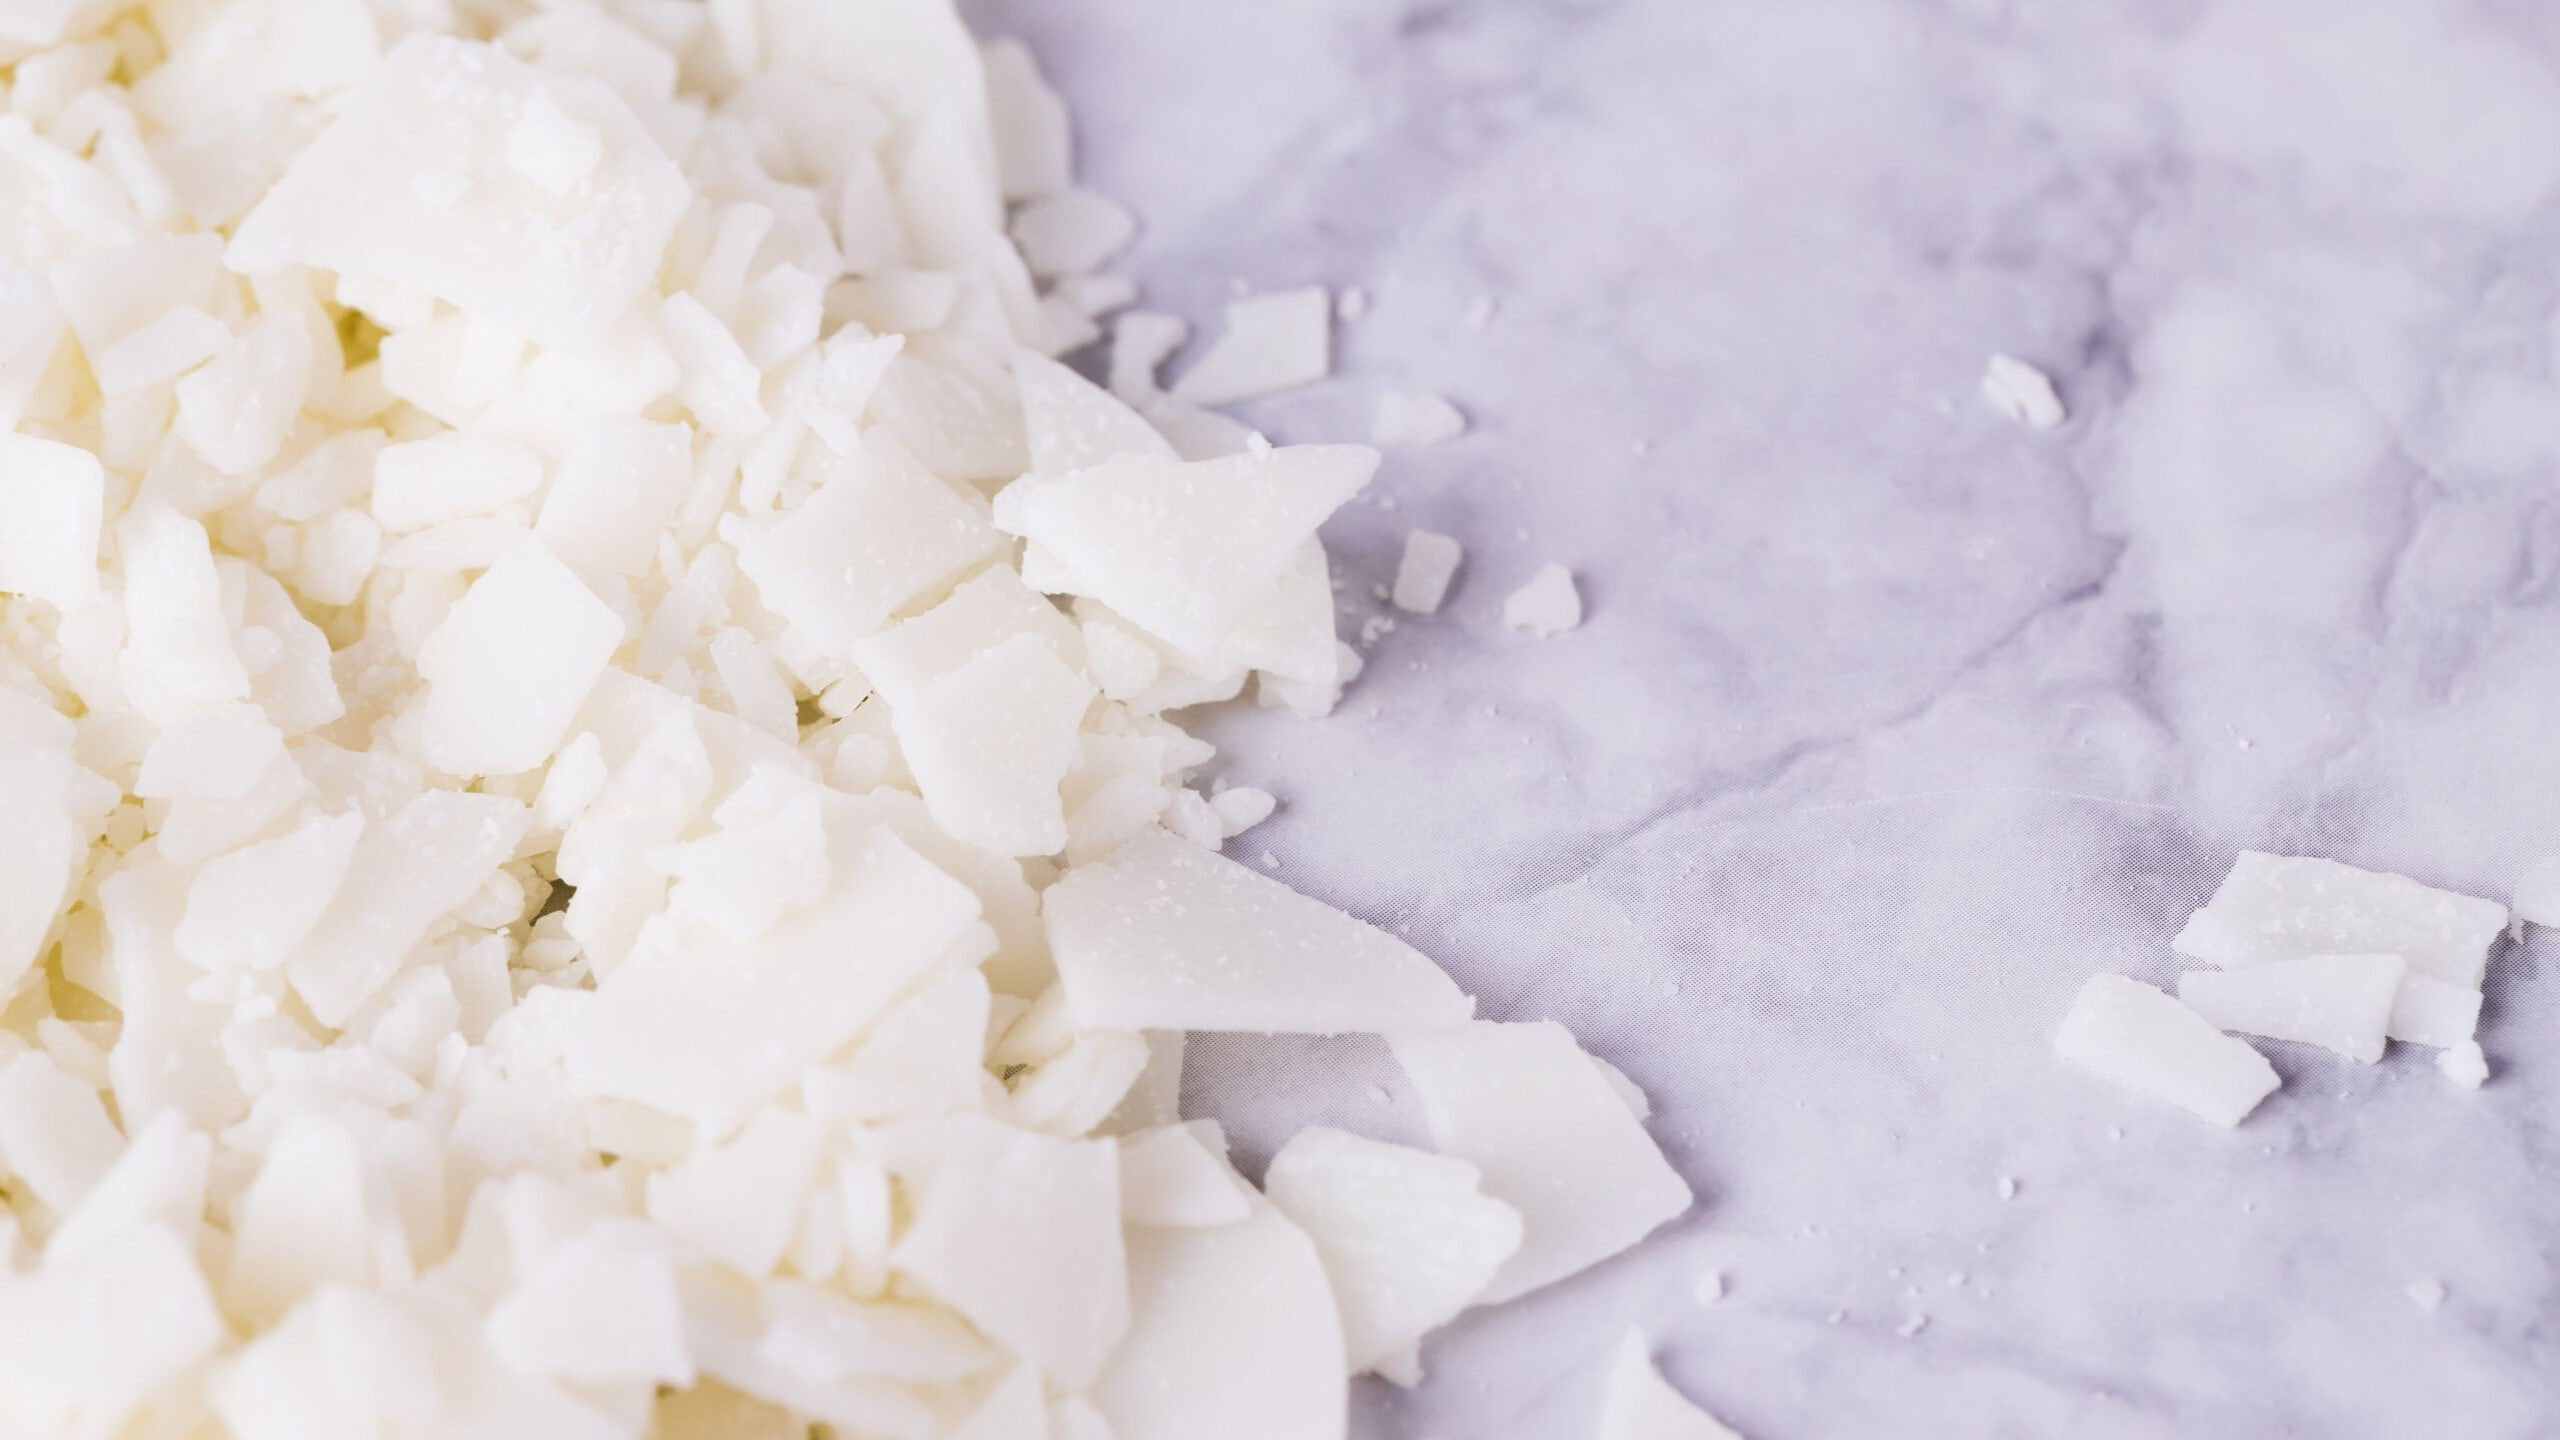
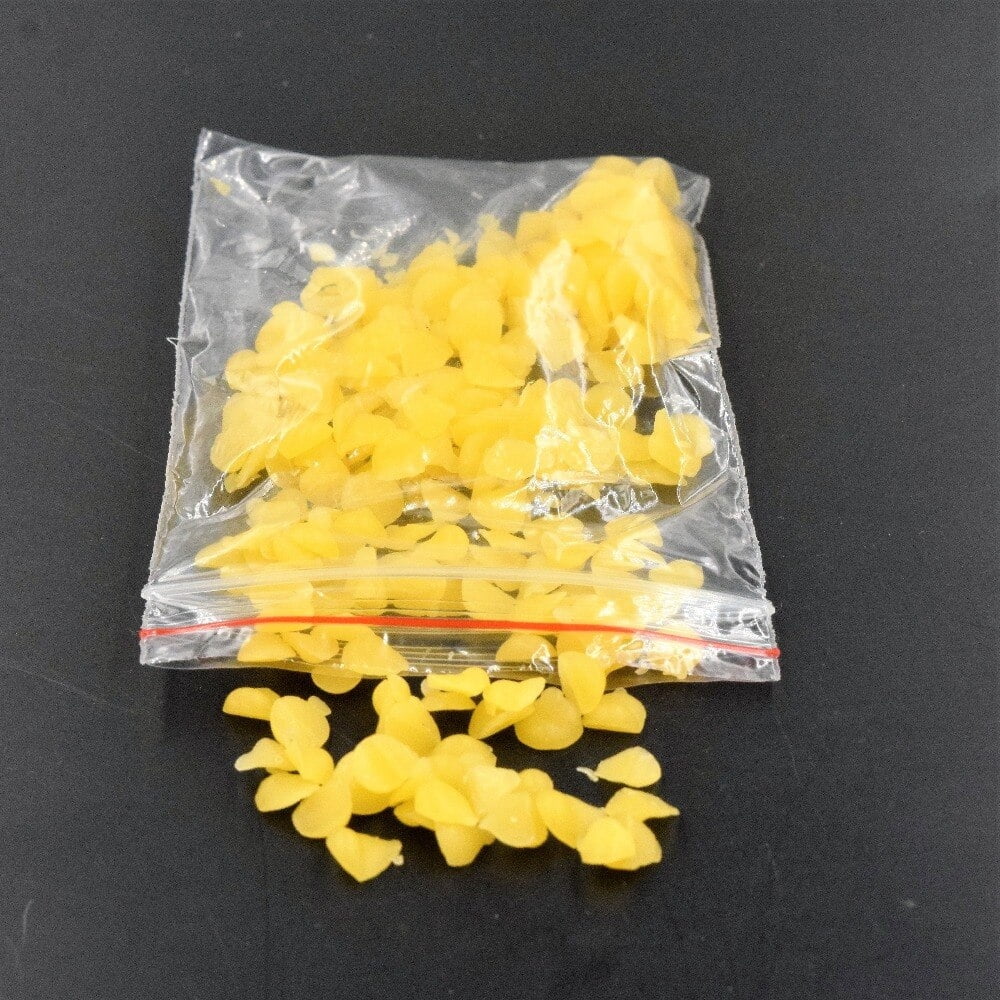
- Types of Wax: The first step in creating your homemade candles is choosing the type of wax you want to work with. There are various options available, including paraffin wax, soy wax, beeswax, and gel wax. Each type of wax has its own unique characteristics and benefits, so it’s essential to research and consider which one best suits your needs and preferences.
- Wicks: Selecting the right wick is important for ensuring that your candle burns properly. Wicks come in different sizes and materials, such as cotton or wood. The size of the wick will depend on the diameter of the container or mold you plan to use for your candles.
- Fragrance Oils: If you wish to add fragrance to your candles, there are numerous fragrance oils available in various scents. It’s important to choose high-quality fragrance oils that are specifically made for candle making to ensure a strong and long-lasting scent in your finished candles.
- Containers: When it comes to choosing containers for your candles, there are many options to consider, including glass jars, tin containers, or molds for creating free-standing pillar candles. The choice of container will affect the overall look and functionality of your finished candle.
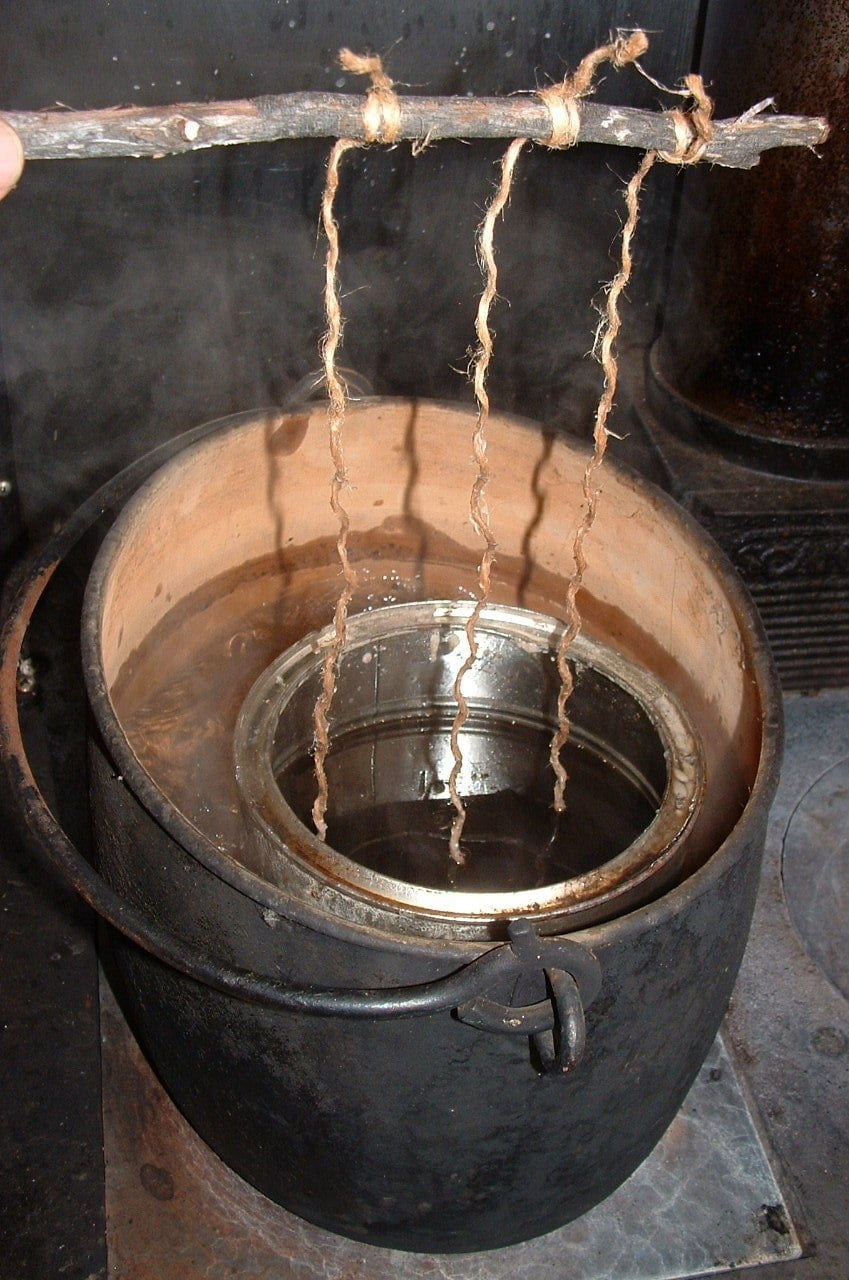
In addition to these main supplies, you may also want to invest in other optional but helpful tools such as a double boiler for melting wax, a thermometer for monitoring temperature, and molds or shaping tools for creating unique candle designs.
When gathering your supplies, it’s essential to focus on quality and suitability for your specific project goals. By selecting the right materials from the start, you can set yourself up for success in creating beautiful and fragrant homemade candles.
Finally obtaining all necessary products would be ideal if these are showcased through creative candle-making videos providing an instructional tutorial on their usage which can be an entertaining way of showcasing how each item can be used effectively through personalized creative touchEs.
Preparing Your Workspace
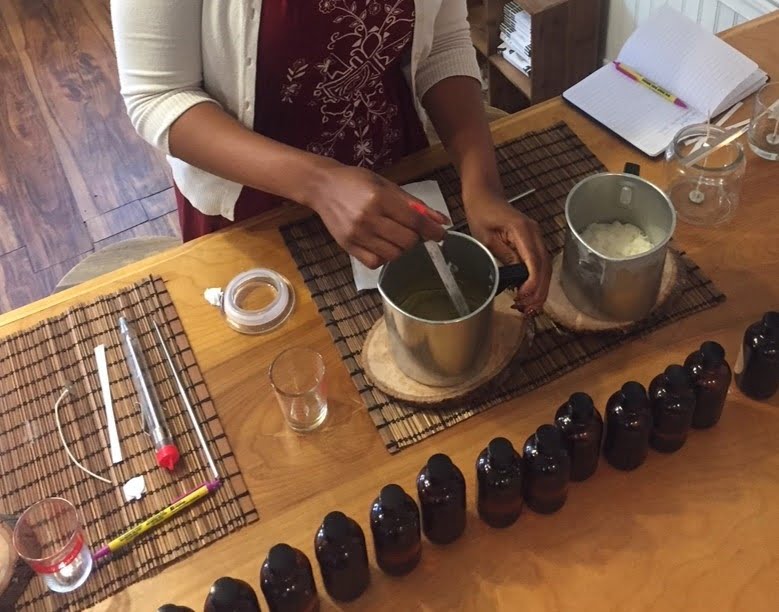
When it comes to creating your own candles at home, it’s important to establish a workspace that is safe, organized, and conducive to the candle making process. Here are some tips for setting up your candle making area:
- Protect Your Surfaces: Place a protective covering, such as a silicone mat or old newspaper, on the surface where you’ll be working. This will help prevent any spills or drips from damaging your countertops or table.
- Set Up Proper Ventilation: Candle making involves melting wax and adding fragrance oils, which can produce fumes that may be irritating to the respiratory system. To ensure a safe and comfortable working environment, make sure that your workspace is well-ventilated. You can achieve this by opening windows and using a fan to circulate the air.
- Organize Your Supplies: Keep all of your candle making supplies within easy reach to avoid unnecessary movements that could lead to accidents. Consider using containers or shelves to store your materials in an organized manner.
- Use Safety Equipment: Before you begin the candle making process, it’s important to wear appropriate safety gear such as heat-resistant gloves and safety goggles. This will help protect you from potential burns or splashes of hot wax.
By following these tips, you can create a workspace that is not only safe but also efficient for producing high-quality homemade candles. And if you want to share your creative candle making process with others, don’t forget to capture the setup and process through an engaging creative candle making video tutorial.
Step-by-Step Tutorial
Melting the Wax
To begin the candle making process, it is essential to melt the wax. There are various types of wax to choose from, including soy wax, beeswax, and paraffin wax. Each type of wax has its own melting point and instructions for melting.
In a creative candle making video, you can demonstrate the melting process using a double boiler or a wax melting pitcher. It’s important to emphasize safety measures when handling hot wax and to provide tips for achieving the right temperature for melting.
Adding Fragrance
Once the wax is melted, the next step in the candle making process is adding fragrance. There are countless options for fragrance oils, from floral scents to sweet and spicy aromas. In your creative candle making video tutorial, you can showcase how to properly measure and add fragrance oils to the melted wax. Providing information on recommended fragrance concentrations based on the type of wax used will also be beneficial for viewers.
Pouring Into Molds
After adding fragrance to the melted wax, it’s time to pour it into molds. This is where creativity comes into play, as there are various mold shapes and sizes available for creating unique candles. In your video tutorial, you can demonstrate how to securely place wicks in the molds before pouring the scented wax.
Additionally, you can showcase techniques for achieving different effects, such as layered candles or candles with embedded decorative elements like flowers or herbs. Including tips on achieving a smooth and even surface when pouring into molds will also be informative for viewers attempting this step for the first time.
Adding Creativity
Creating beautiful and unique candles goes beyond just choosing the right supplies and following a step-by-step tutorial. Adding creativity to your candle making process allows you to personalize your creations and make them stand out. One of the most effective ways to add creativity to your candles is by incorporating unique designs, colors, and textures using techniques such as layering, marbling, and embedding decorative elements.
Layering is a popular technique that involves pouring different colored waxes in layers to create beautiful patterns within the candle. Whether you want to create ombre effects or colorful stripes, layering allows for endless possibilities when it comes to creating visually stunning candles. Additionally, marbling can add an artistic touch to your candles by swirling different colors of melted wax together before they harden.
Embedding decorative elements such as dried flowers, herbs, or even small trinkets adds a unique and personalized touch to your candles. These elements not only make your candles visually appealing but also add a special meaning or theme to your creations. By experimenting with different combinations of colors, designs, and embedded elements, you can create truly one-of-a-kind candles that reflect your personal style and creativity.
As DIY candle making continues to gain popularity, many enthusiasts are sharing their creative process through engaging video tutorials on various social media platforms. Utilizing the power of visual storytelling can help inspire others to try their hand at candle making while providing useful tips and tricks for incorporating creativity into their own projects.
| Technique | Description |
|---|---|
| Layering | Pouring different colored waxes in layers for visually stunning patterns. |
| Marbling | Swirling different colors of melted wax together before they harden for an artistic touch. |
| Embedded Decorative Elements | Adds a unique and personalized touch with dried flowers, herbs, or small trinkets. |
Troubleshooting
Wick Placement
One common issue that may arise during candle making is improper wick placement. If the wick is not centered or straight in the container, it can lead to uneven burning and a shorter burn time. To address this, carefully reposition the wick while the wax is still somewhat soft. Use a wick holder or chopsticks to keep the wick in place as the candle cools and hardens.
Air Bubbles
Air bubbles can also pose a problem when making candles, particularly if they are visible on the surface of the finished product. To prevent air bubbles from forming, try tapping or gently shaking the container as you pour the wax to release any trapped air. If air bubbles do appear, use a heat gun to carefully melt and level out the top layer of wax.
Uneven Burning
Uneven burning can be frustrating and often occurs when there is an issue with the size and type of wick used in relation to the chosen container and wax. One way to address this is by conducting test burns before making large batches of candles to ensure proper wick selection. Additionally, trimming the wick to ¼ inch before each use can help promote even burning.
By addressing these common issues that may arise during candle making, such as wick placement, air bubbles, and uneven burning, you can enhance your skills and produce high-quality homemade candles that are visually appealing and functional. Share your troubleshooting tips through a creative candle making video tutorial to help others avoid these pitfalls in their own candle making endeavors.
Safety Precautions
When engaging in the art of candle making, it is crucial to prioritize safety to prevent accidents and ensure a positive experience. One of the most important safety precautions to take is to always handle hot wax with care.
This includes using the appropriate equipment such as heat-resistant gloves and ensuring that the temperature of the wax is closely monitored throughout the melting and pouring process. Additionally, it’s essential to work in a well-ventilated area to minimize exposure to fumes and potential respiratory issues.
Another crucial aspect of candle making safety is fire prevention. As an open flame is involved in lighting candles, it’s important to be mindful of fire safety guidelines. This includes keeping flammable materials away from the candle-making area, never leaving lit candles unattended, and using proper fire extinguishing equipment nearby, such as a small fire extinguisher or a bowl of water.
In addition to handling hot wax and preventing fires, it’s also important to have a solid understanding of first aid procedures in case of any accidents or injuries during the candle making process. This includes knowing how to treat burns effectively and having necessary first aid supplies on hand in your workspace.
| Aspect | Detail |
|---|---|
| Hot Wax Handling | Use heat-resistant gloves and monitor wax temperature |
| Fire Safety | Avoid flammable materials near work area; don’t leave lit candles unattended; have fire extinguishing equipment available |
| First Aid Knowledge | Understand how to treat burns and have necessary first aid supplies on hand |
Sharing Your Creations
In conclusion, DIY candle making has become an increasingly popular hobby, with more and more people turning to video tutorials for guidance and inspiration. As we have discussed throughout this article, there are numerous benefits to sharing your homemade candles on social media.
Not only does it allow you to showcase your creativity and connect with others who share your passion, but it can also serve as a platform for learning and growth within the candle making community. By sharing your creations on platforms like Instagram, Facebook, or YouTube, you have the opportunity to receive feedback, advice, and encouragement from fellow enthusiasts.
One effective way to share your homemade candle making journey is by creating a visually appealing and engaging video tutorial. These videos provide a step-by-step look at the entire process, from choosing supplies to troubleshooting common issues.
By incorporating different techniques for adding creativity to your candles, such as layering, marbling, or embedding decorative elements, you can capture the attention of viewers and inspire them to try their hand at candle making. Additionally, sharing tips for preparing a safe workspace and adhering to safety precautions will demonstrate your commitment to responsible crafting.
Ultimately, sharing your homemade candles through social media and video tutorials not only allows you to showcase your creations but also contributes to the growing community of DIY enthusiasts. Your willingness to share your knowledge and experiences can inspire others to unleash their own creativity through candle making. Whether you are connecting with like-minded individuals or simply documenting your progress for personal satisfaction.
Frequently Asked Questions
Is Making Homemade Candles Profitable?
Making homemade candles can be profitable, but it depends on various factors like the cost of materials, time invested, and market demand. Building a loyal customer base and offering unique products can increase profitability.
How Do You Make Unique Candles to Sell?
Creating unique candles to sell involves thinking outside the box. Experimenting with different shapes, colors, scents, and even embedding interesting objects into the wax can set your candles apart from others in the market. It’s important to research trends and customer preferences to ensure that your products stand out.
How Do You Make a Secret Message With a Candle?
Making a secret message with a candle involves using a white wax crayon to write a message on the inside of the candle holder before pouring the wax. When the candle burns down, the message will slowly reveal itself as the wax melts away.
This creative idea can add an element of surprise and delight for customers looking for something special in their candles.

Welcome to my candle making blog! In this blog, I will be sharing my tips and tricks for making candles. I will also be sharing some of my favorite recipes.


