Introduction
Creative candle making with crayons is a fun and exciting way to make colorful and unique candles in the comfort of your own home. It’s surprisingly easy to do and allows you to get creative with your finished product. Crayon wax melts at a low temperature so it can be safely poured into molds without any special equipment. The wax also takes on the vibrant color of the crayon, allowing you to create an array of candle designs, from intricate ones to more abstract art. To add some extra interest, you can even try adding essential oils or fragrance oils for a variety of scents and use herbs, confetti, dried flower petals, or glitter for texture. With candle making with crayons, your creativity knows no bounds!
Supplies
To get started with creative candle making with crayons, some supplies are needed beyond just the crayons. Depending on the project, you may need a hot glue gun, wax paper, a double boiler and/or wick holders. You can find these items from home or craft stores such as Michaels. To make sure that your candles burn safely and effectively, it’s important to buy high quality wax and wicks for your projects – good options include soy wax and cotton or bamboo wicks. For fun decorating options, you can also purchase molds to shape your candles in any design that you desire. Adding a scent to your candles is easy too; there are plenty of essential oils or fragrace oils that can be used in candle making, which can be found at most health food stores or online retailers. With all the right supplies ready to go, get started with candle making and watch as your vision comes to life!
Pre-Melt
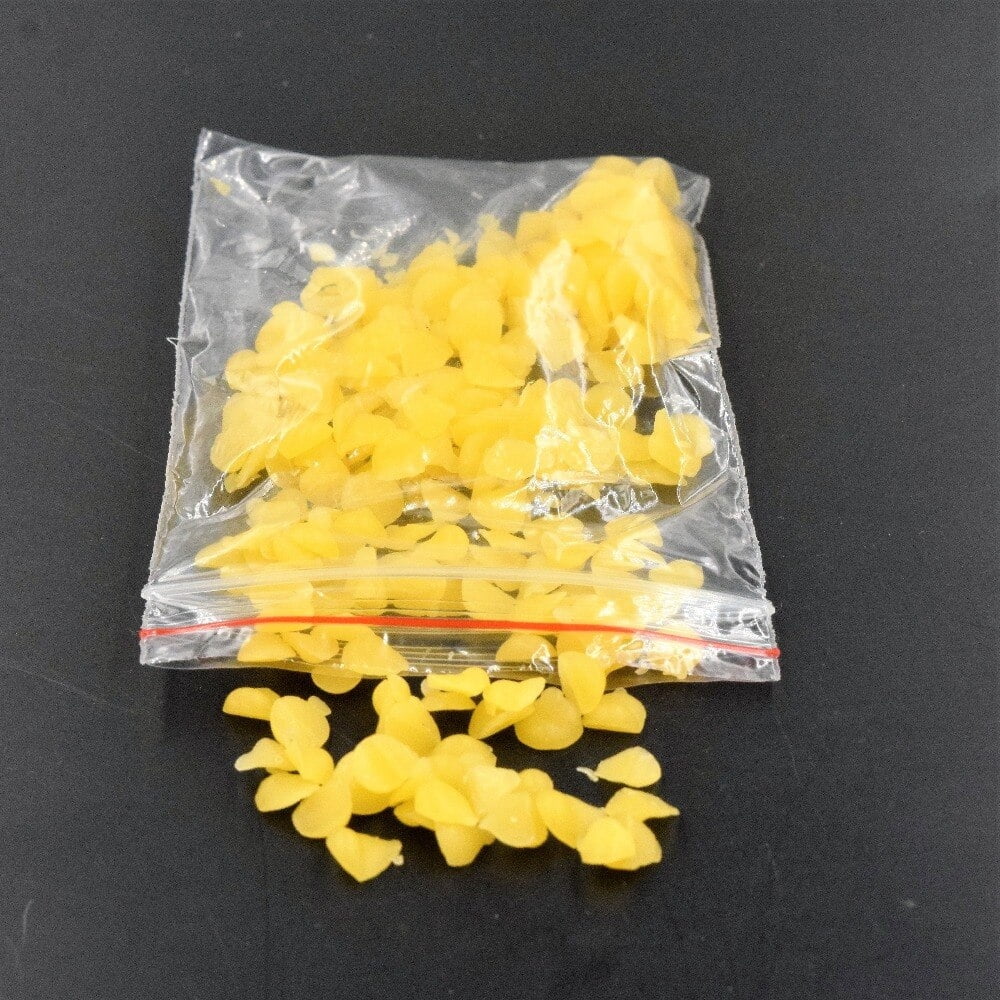
Pre-melting of candle wax, wick, and crayons in advance is a great way to save time when making creative candles. Before you begin, identify the type of wax you want to use for your candles. There are several types available including soy wax, paraffin wax, and beeswax. Each type has its own unique properties, so it’s essential to understand which best suits your needs. Also, decide whether you’ll be using pre-tabbed wicks or tabbing them yourself. Pre-tabbing makes it easier to insert the wicks into the melted wax.
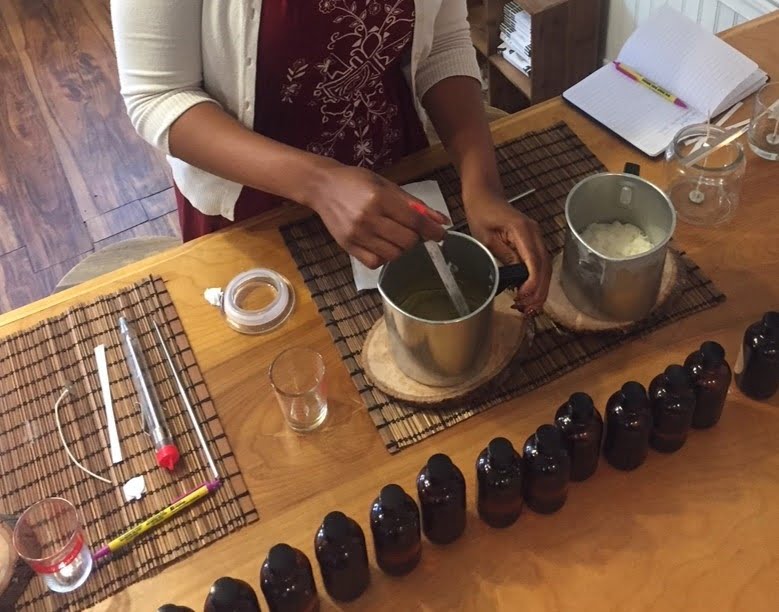
Once the materials have been selected and prepared, it’s time to melt the wax and crayons in separate containers over gentle heat sources such as double boilers or electric hot plates. If possible, opt for stoneware or stainless steel pottery pans because they conduct heat more evenly than nonstick varieties. For added safety measures, cover all parts of the stove that could come in contact with melted material with aluminum foil before beginning melting process. In addition to this precautionary measure, always keep a fire extinguisher handy when dealing with open flames and flammable wax mixtures.
When both wax and crayons have been melted together using a stirring spoon or stick (made especially for candle crafting), allow them to cool slightly before beginning the poured process into prepared molds or tubes. You can also add essential oils during this stage for an extra special scent! Make sure both items are not too hot before pouring into any type of container as this can cause permanent damage to surfaces including oils stains on fabric or table cloths if spilled accidentally during pouring process. Have patience when allowing these items cool – this allows candles more stability before being used safely. Finally…enjoy your work!
Melting Process
The creative process of candle making with crayons can be a great activity for entrepreneurs and crafters alike! To begin, you will need wax paper, wicks, an electric melting pot or double boiler, crayons in various colors, and a cardboard tube or jar to serve as your vessel.
Next it is time to begin the melting process. Place the electric melting pot on a flat surface and set the temperature setting to low. Place your desired crayons in the pot according to how much color you want in each candle. Make sure pieces are broken into smaller sizes so they melt faster. Depending on the size of candles you are making and how many colors you are using this could take between 20 and 40 minutes. When melting make sure to stir the wax often with a wooden spoon taking care not to splash hot wax on yourself or surfaces.
Once all of your crayons are melted down, attach an appropriate-sized wick to the bottom of your vessel using a dab of hot wax as “glue” if necessary. Then carefully pour the melted wax into the vessel taking care not to burn yourself or spill onto other surfaces in the process; have several sheets of wax paper handy for unexpected spills and splatter that may occur during this step! Allow the candles to cool for at least 6 hours before handling them — or overnight if possible — as patience held here has its rewards!
When ready, gently remove from casting molds then trim wicks before use, light carefully and enjoy! With that final touch you now have a unique addition to any home décor collection!
Coloring
Adding vibrant colors to your candles can instantly elevate the level of craftsmanship put into them. This can be accomplished with crayons, which are a simple and cost-effective way to dye wax. Crayon dyeing creates a unique multi-color effect that is sure to add interest and value to your finished product.
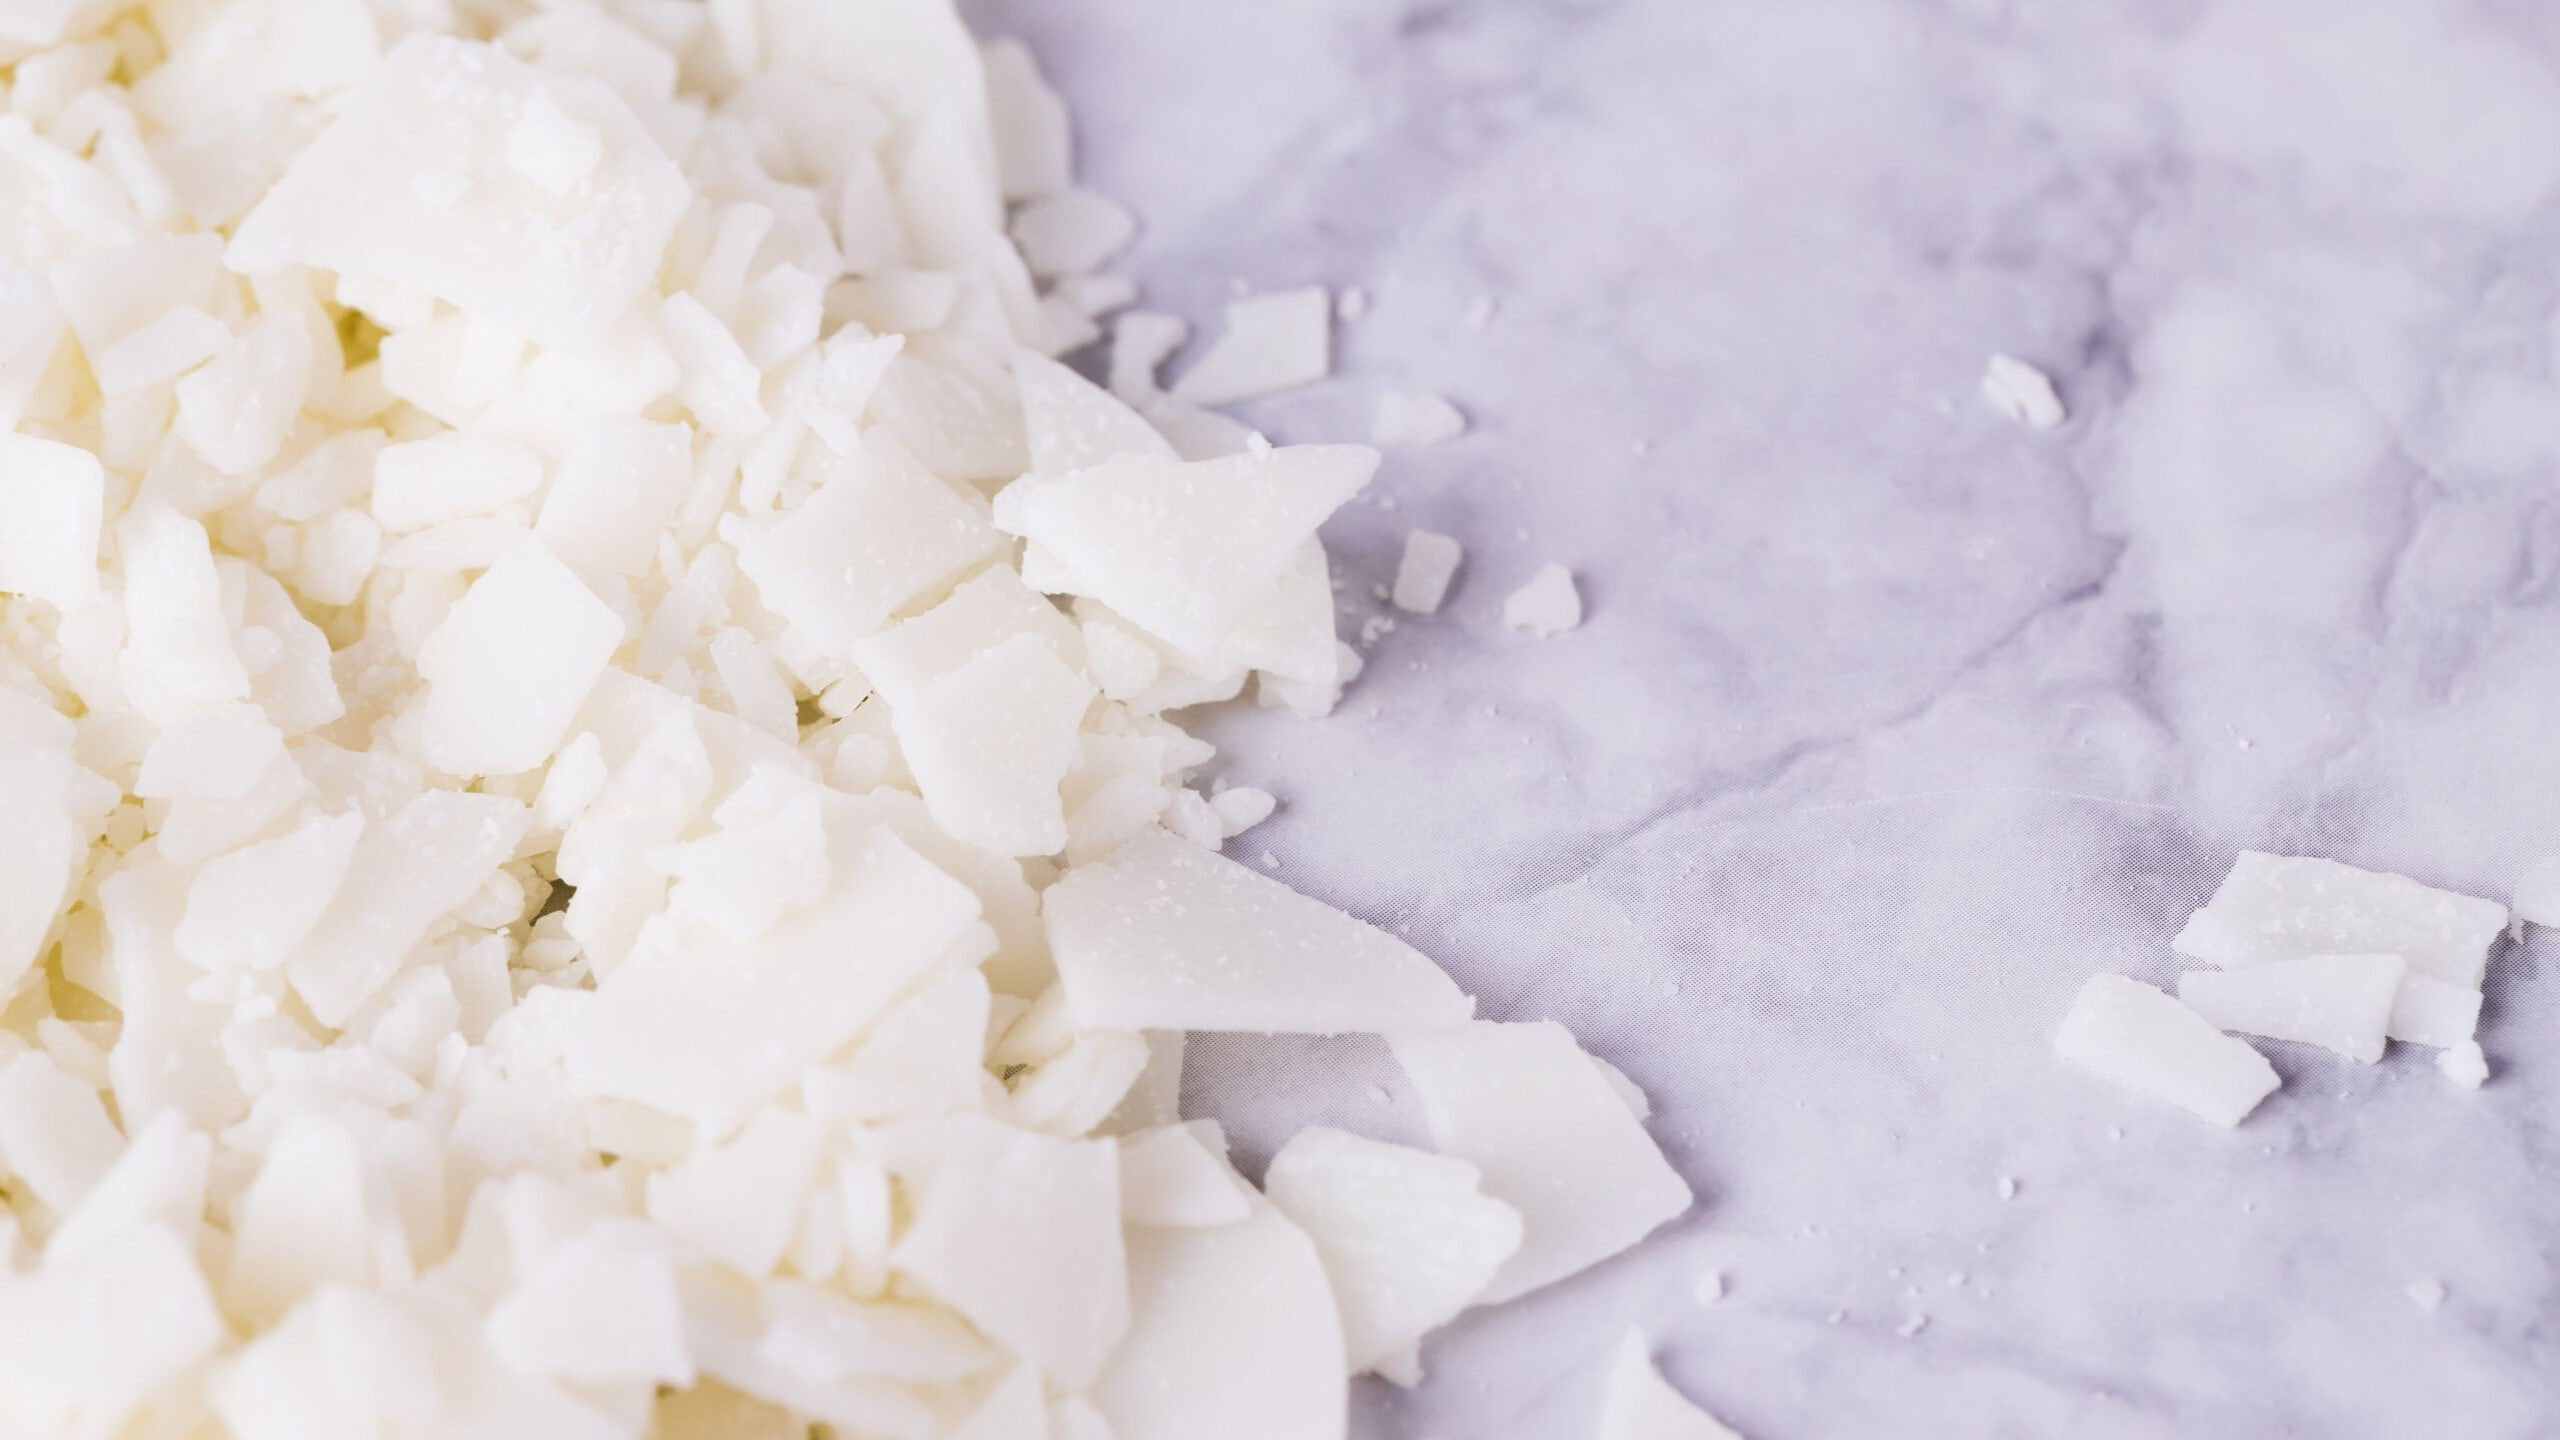
To make your own colorful crayon-dyed candles, start by gathering supplies: Paraffin or soy wax flakes, wick, spoon, and crayons. To begin the actual process of coloring candles with crayons, place a teaspoonful or two of wax flakes into an old mug or pot and heat gently over low-medium heat on the stove top until melted. Once melted, add 1/2 crayon for every ounce of wax you used as well as any fragrances you plan on adding. Gently stir the crayon pieces until combined and fully dissolved in the liquid wax. Make sure to use caution when stirring, being careful not to get boiling hot liquid on your hands or skin. Once combined perfectly, carefully pour the mixture into your prepped molds or jars and quickly insert a wick before the liquid cools down and begins to harden. Allow several hours for it to set before adding extra decorations like glitter dust if desired & enjoy!
Safety
When working with wax and crayons for creative candle making, it is important to follow some basic guidelines for safety. Before starting the crafts project, select a well-ventilated work area. Make sure to have a fire extinguisher on hand in case of an accidental flame. Additionally, all surfaces should be cleaned and free of debris before starting. Protective eyewear should also be worn when melting wax as unintentional splatters may occur during the process. Care should be taken not to fill the molds too high as these can overflow easily, creating a major mess. Lastly, never leave melted wax unattended while on the heat source as it can quickly catch fire and spread.
Ideas
Have you ever wanted to make your own unique candles? It is possible to create beautiful, unique designs by melting down crayons. Crayon candle making is a great activity to do at home or as a special craft night with friends. You can make all sorts of creative designs that add a personal touch to any room! Here are some ideas and inspiration for creative projects you can tackle.
1. Crafting colorful striped candles: Begin by cutting off the crayon tips so they will be easier to work with when melted down. After heating each color in its own separate container, layer the colored wax onto the outside of the container one color at a time until your desired design is achieved. Use sticks or skewers to hold each stripe up against the wall of the container while it hardens and sets. This technique is ideal for anyone who does not want their stripes or colors to mix together.
2. Creating multicolored drip candles: Choose several crayon colors that compliment one another and melt them in separate containers on the stovetop or microwave until melted. Carefully pour one color at a time directly into your candle jar, alternating between colors until you’ve reached your desired level and design of wax dripping down the sides. These drip candles look especially beautiful with different colors dripping all around every side of the jar and coming together as one complete piece of art when finished!
3. Making sparkly glitter candles: Whether you prefer subtle shimmer or full-on bedazzling, glitter adds an extra glitzy element to any craft project — like these hand-decorated crayon candles! Start by adding several drops of essential oil into your wax while it’s still melted, stirring consistently until it is fully combined into an evenly scented mixture. Then sprinkle matching colors of glitter around your surface prior to dipping in your jar filled with melted wax – whereas chunky pieces can provide texture, finer glitter looks more elegant and delicate! When done properly this will result in glowing sparkly effect throughout after drying for several minutes or even hours when using larger jars.
Conclusion
Candle making can be an incredibly rewarding and creative experience. Making your own candles at home allows you to choose the shapes, colors and fragrances you prefer – creating a unique piece of décor that will light up any room. Crayons are a great way to add that extra bit of flare and pizzazz to your DIY candles! The blending possibilities for colors and fragrances is virtually endless.
Not only does candle making provide beautiful handmade pieces of décor, but it also creates a relaxing escape from everyday stressors. The process itself is calming, soothing, and encourages mindfulness. For beginner candle makers it may seem intimidating at first, but with patience and practice, those new to this craft can become experts in no time. Don’t get discouraged if your project doesn’t turn out perfectly on the first go – keep trying, experimenting and learning more about the craft until you create something perfect for you!

Welcome to my candle making blog! In this blog, I will be sharing my tips and tricks for making candles. I will also be sharing some of my favorite recipes.

